thumb-recipe-gnt

DRINK | Cucumber & Elderflower Gin & Tonic
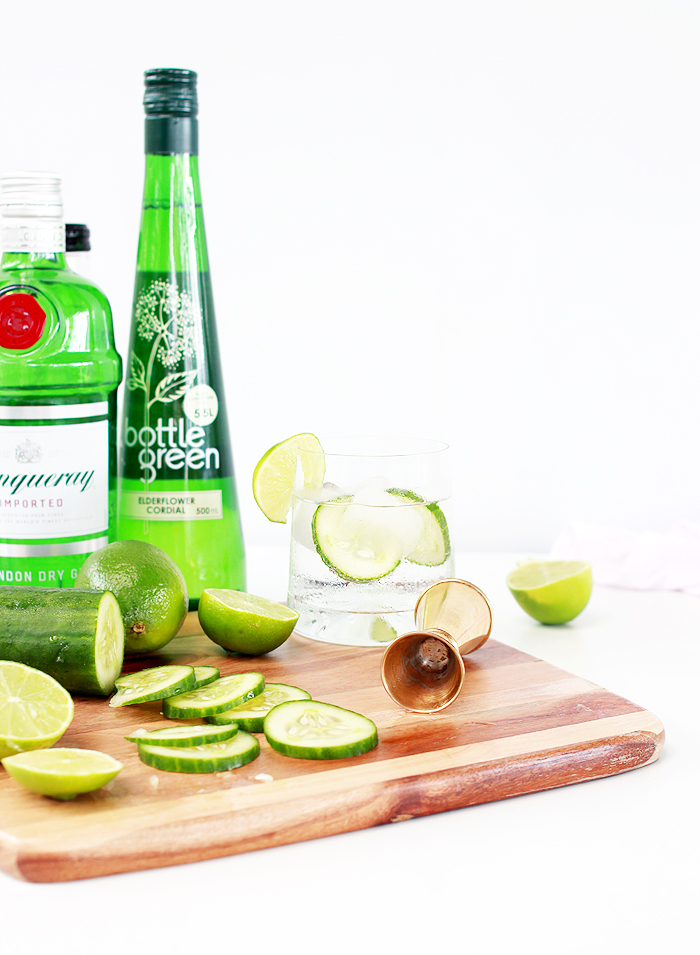
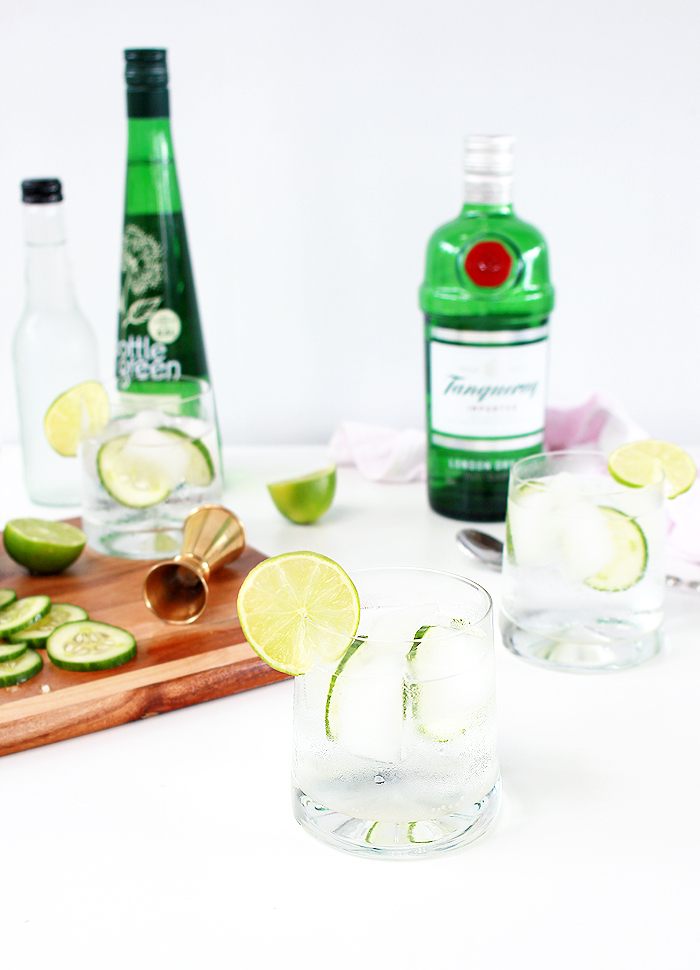
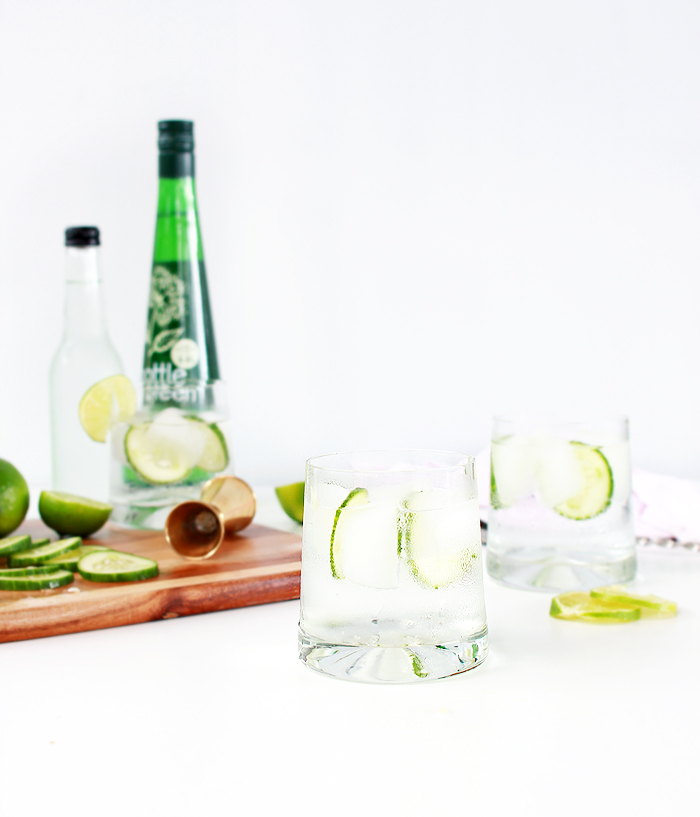
TGIW! Celebrate with a mid-week cocktail - a simple twist on an old favourite, Cucumber and Elderflower Gin & Tonic!

Is it Friday yet? No? Oh well, let’s pretend it is and make ourselves a drink to celebrate! TGIW! Amirite!?

Can we talk about elderflower for a second? It seems that despite seeing it everywhere on places like Pinterest and in recipe books, I am completely unable to track down this mythical ingredient in local stores. ‘Pick up from your grocery store’ they say. They are damn liars the lot of them! At this point, I was almost convinced that elderflower was something more akin to unicorns, or pixies, or a movie based on an 80’s cartoon that doesn’t suck - you know, things that sound wonderful, but don’t actually exist. You guys, I was totally ready to give up and then, just when I least expected it…

It was like the heaven’s opened up! There was a shining light and a chorus of angels singing, and there, in the beam of light I saw it: Elderflower…. cordial!? Eh! Close enough!

This stuff is good. Like, too good! So good in fact, that I am a little concerned how much I will love the real thing when I finally track some down. I’ve been putting it in everything. Popsicles, lemonade, cakes, icing. But by far, my favourite concoction is (of course) the alcohol related one! A dash of elderflower and a few slices of cucumber in your old fashioned G&T is next level delicious! The flavour is sweet but subtle and a perfect mix with a good quality gin (Tanqueray is what I usually have on hand, but use your favourite brand!)

Cucumber is in my opinion the perfect cocktail ingredient. It’s crisp and refreshing, and when mixed with the elderflower undertones… perfection!
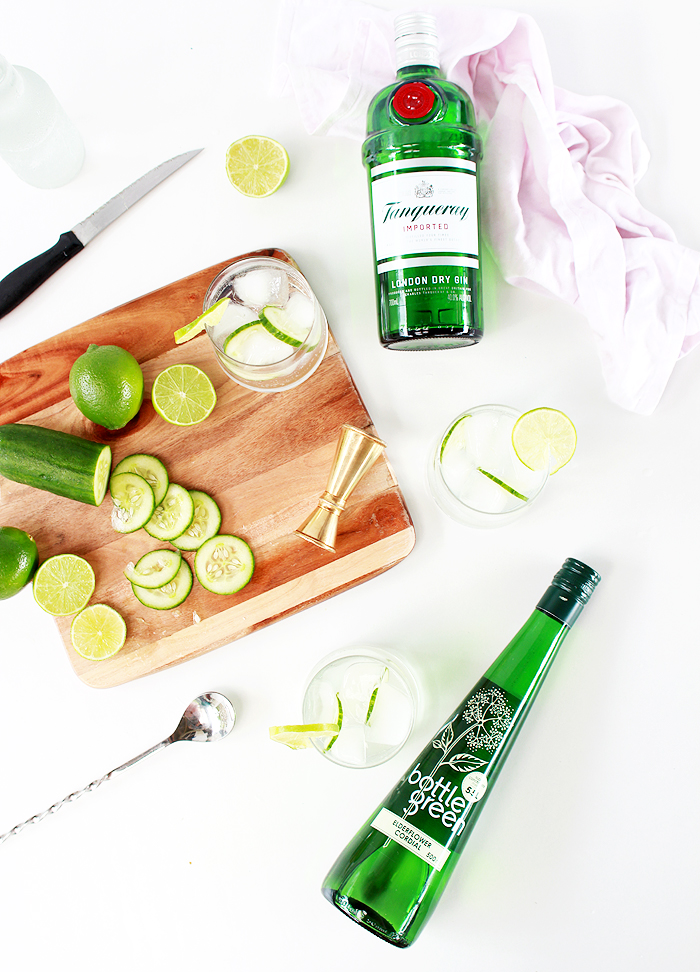
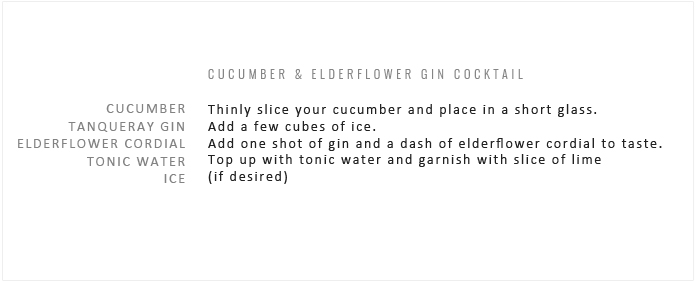
 TGIW! Celebrate with a mid-week cocktail - a simple twist on an old favourite, Cucumber and Elderflower Gin & Tonic!TGIW! Celebrate with a mid-week cocktail - a simple twist on an old favourite, Cucumber and Elderflower Gin & Tonic!TGIW! Celebrate with a mid-week cocktail - a simple twist on an old favourite, Cucumber and Elderflower Gin & Tonic!TGIW! Celebrate with a mid-week cocktail - a simple twist on an old favourite, Cucumber and Elderflower Gin & Tonic!

thumb-hash-browns

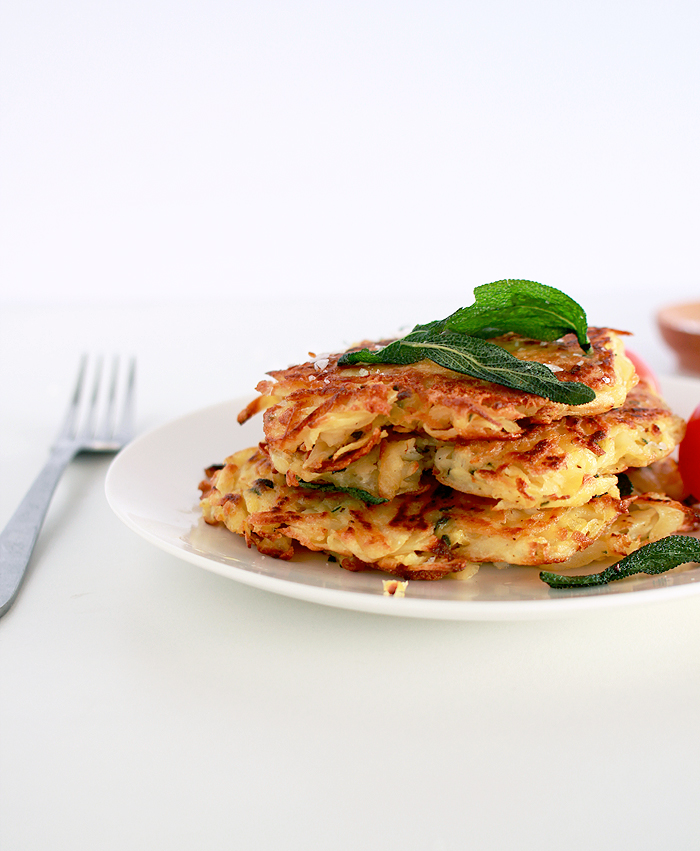
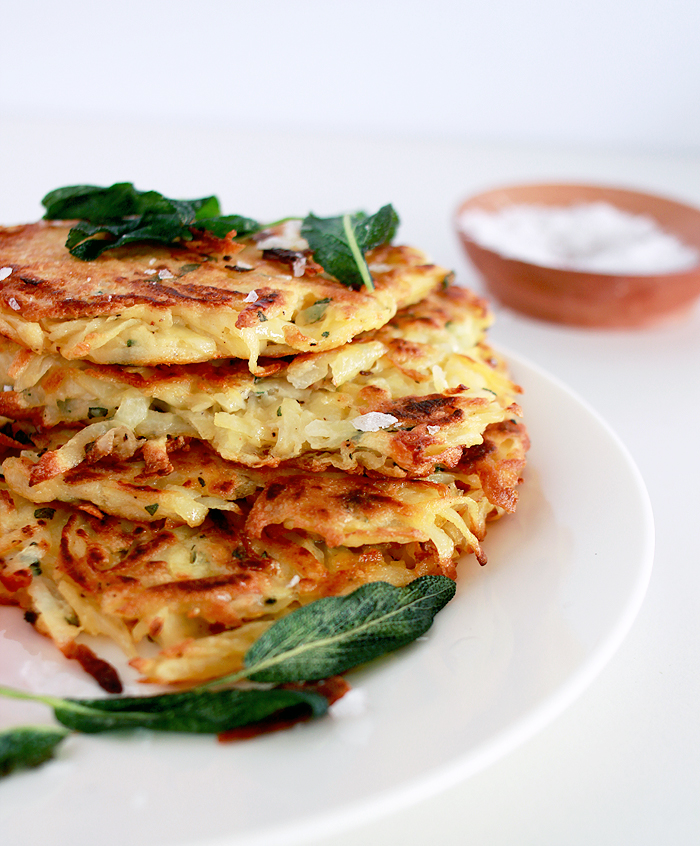
Eat | Lazy Girl’s Breakfast Hash Browns

hashbrown-1

Let’s be real, if I could eat potato in every meal I totally would. I mean, I know that physically, its completely doable, but the grown up in me knows that it’s a bad idea. (My waistline thanks me for that sliver of adult behaviour!)

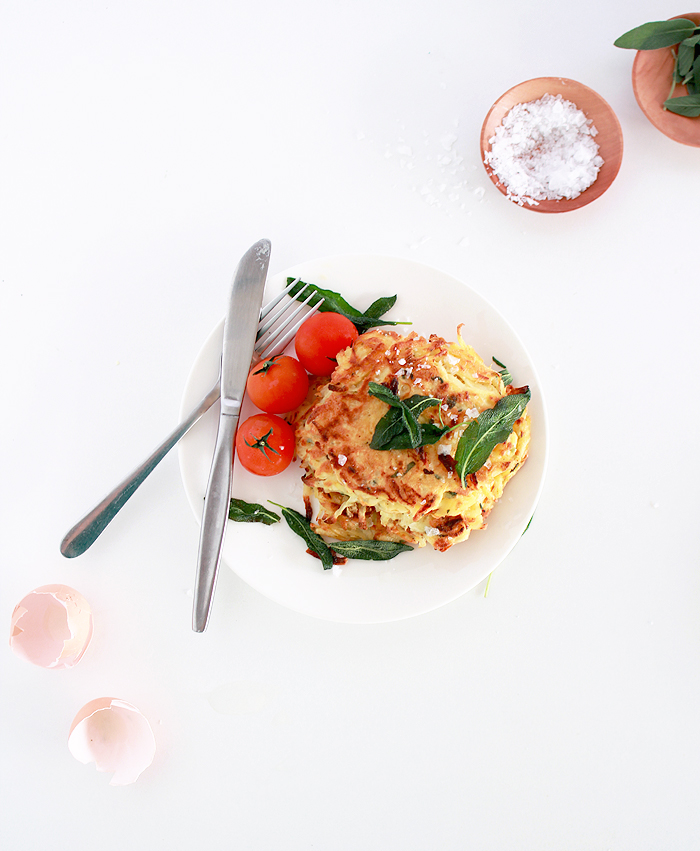
Regardless, there are times when I wake up and decide to start my day with a stack of starchy goodness. These are the lazy girl (or guy) hash browns. The kind for when you want something delicious, but can’t be bothered to cook something complicated. And complicated it is NOT: Take 3 ingredients. Mix. Cook. Eat! This is the breakfast I would make on Sunday’s when it’s almost midday and I am still in my pyjamas… if that were something that ever happens (read: all the time.)

Also, if you are anything like me, you always end up buying way everything in bulk, so this recipe is perfect for using up left over uncooked vegetables. I almost always have these ingredients in my kitchen. If I don’t have sage, you can always swap out for your favourite herb (or whatever you have on hand) I’ve tried it with basil, oregano and even coriander! It changes up the flavour so much, so experiment and find which combination you like the best!

hashbrown-3hashbrown-4

Lazy Girl's Breakfast Hash Browns
 
Author:
Ingredients
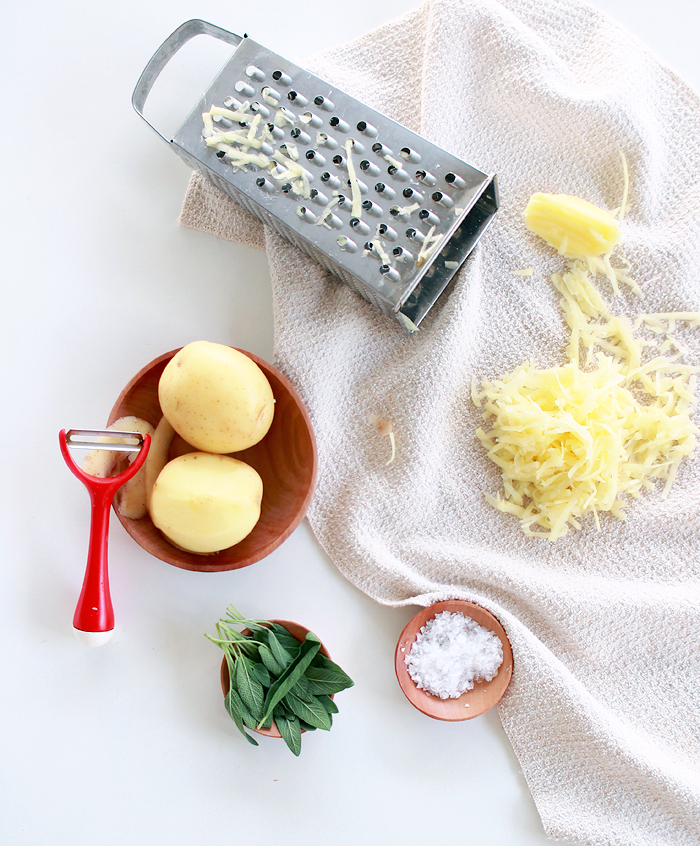
  • 4 - 5 medium to large Potatoes
  • 1 egg
  • Fresh sage, chopped
  • Olive oil
Instructions
  1. Wash and peel your potatoes. Coarsely grate and place into the centre of a clean tea towel. Wrap the tea towel around the potato and wring out the liquid
  2. Place one egg into a mixing bowl along with a large pinch of chopped sage and salt and pepper and whisk together.
  3. Add the potato and mix well to combine.
  4. In a frying pan, heat 1 or 2 tablespoons of olive oil. Place a large spoonfull of the potato mixture and flatten to your desired thickness (around 1 or 2 cm is best) Repeat with the rest of the mixture, you should be able to make around 4 or 5 large has browns)
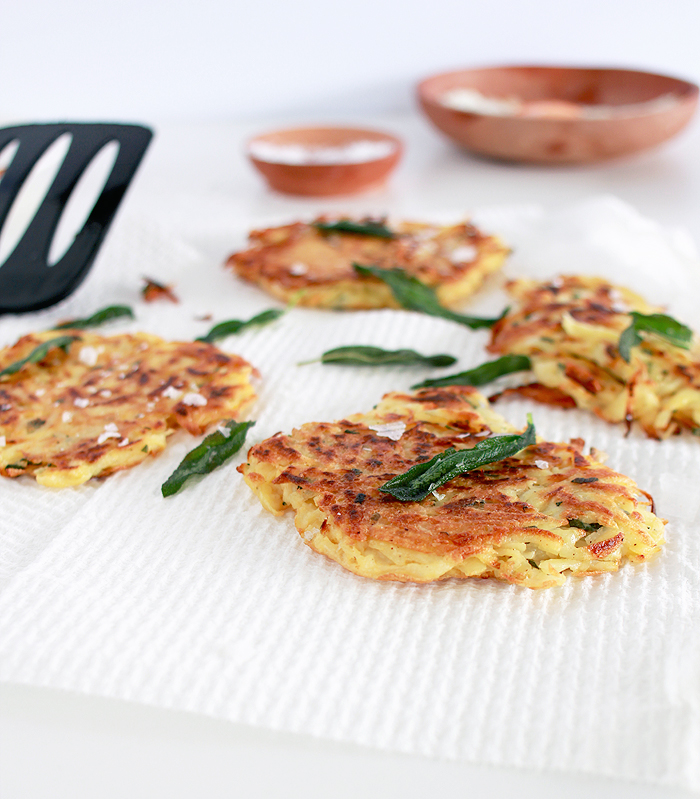
  5. Fry until golden and crispy and using a spatula, flip over and cook the opposite side.
  6. Drop a few whole sage leaves into the oil and allow to crisp up.
  7. Serve 1 or 2 with a fried egg for breakfast or enjoy a whole stack by themselves. Garnish with the fried sage leaves and a sprinkling of sea salt.

hashbrown-6hashbrown-5

EAT | Homemade Anzac Oat Slice

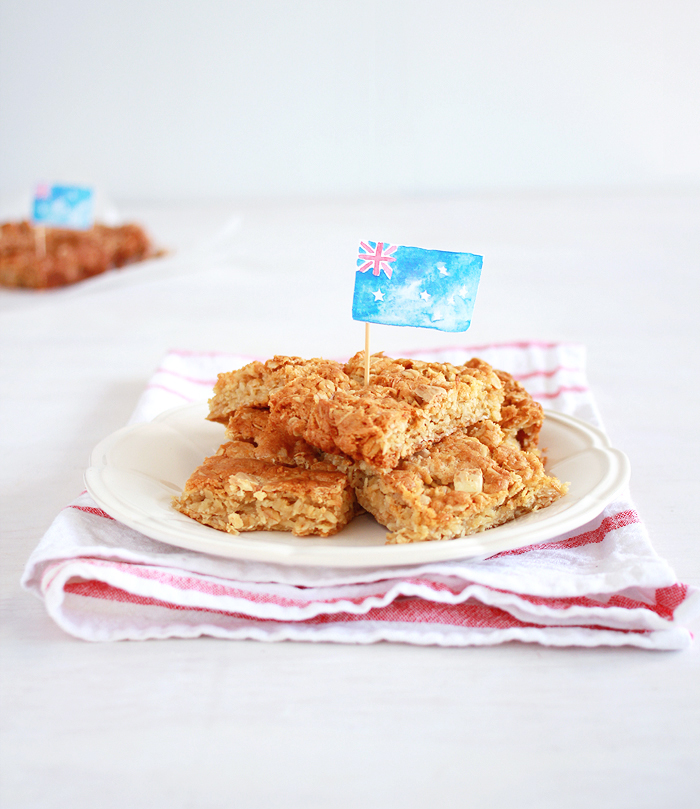
Make this Homemade Anzac Oat Slice - Perfect for celebrating Australia Day!

Happy Australia Day all! As today is our official national day, it is tradition to enjoy all things Australian. And you can’t get much more Australian than Anzac Biscuits. (For my international readers, who probably have no idea what I’m talking about; essentially cookies make from oats and coconut. They are sweet, chewy and pretty much the best oat cookies around.)

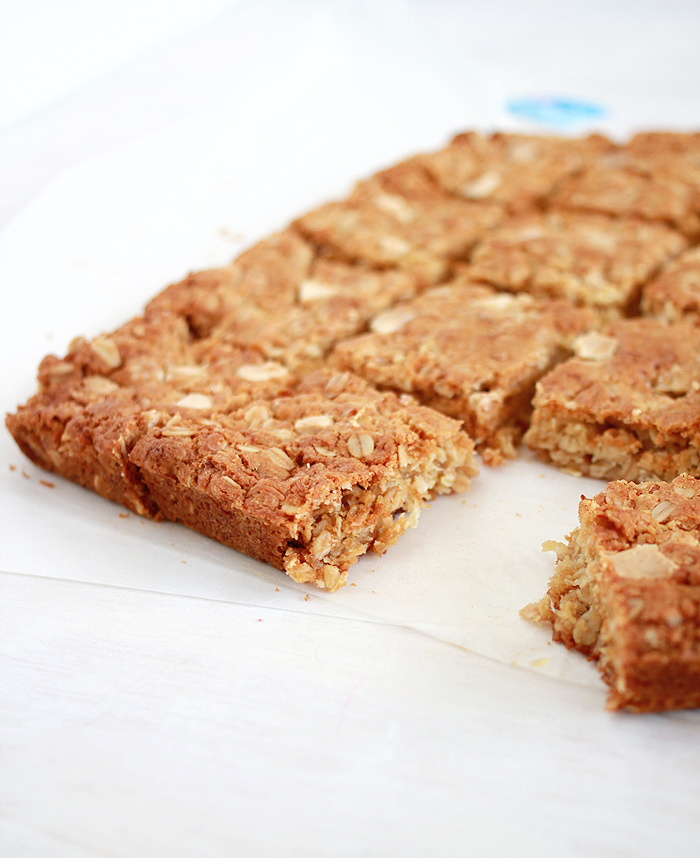
But instead of the usual Anzac biscuit you’re used too, we are going to take it a step further and make Anzac slice instead. You get the same delicious flavour, but super sized! It’s thicker, softer, and chewier, (and generally superior in every way!) Totally addictive and perfect for celebrating Australia Day!

Make this Homemade Anzac Oat Slice - Perfect for celebrating Australia Day!

Anzac Oat Slice
 
Author:
Ingredients
  • 125g of butter
  • 2 tbsp of golden syrup
  • ½ tspn of baking soda
  • 2 tbsn of cold water
  • 1 cup of flour
  • 1 & ½ cups of rolled oats
  • ⅔ cup of caster sugar
  • ⅔ cup of shredded coconut
  • ¼ cup of white chocolate melts or chips
Instructions
  1. Preheat your oven to 160°C and grease a small rectangular slice pan and line with baking paper.
  2. Place butter, syrup and water in a small saucepan over low heat and cook for 4 - 5 minutes, stirring occasionally. Remove from heat and allow to cool slightly. Stir in bicarbonate of soda and stir to combine.
  3. In a separate bowl, combine the flour, oats, sugar, coconut and white chocolate melts (chopped into smaller pieces). Make a well in the centre and pour in the butter mixture. Mix with a spoon until combined. The white chocolate will melt and combine with the mixture.
  4. Spoon the mixture into the prepared pan and press evenly into a thick, even, slice. Transfer to the oven and bake for 25 - 30 minutes or until golden.
  5. Allow to cool completely in the pan before cutting into pieces. Serve warm or store in the refrigerator for up to 1 week.

Make this Homemade Anzac Oat Slice - Perfect for celebrating Australia Day!

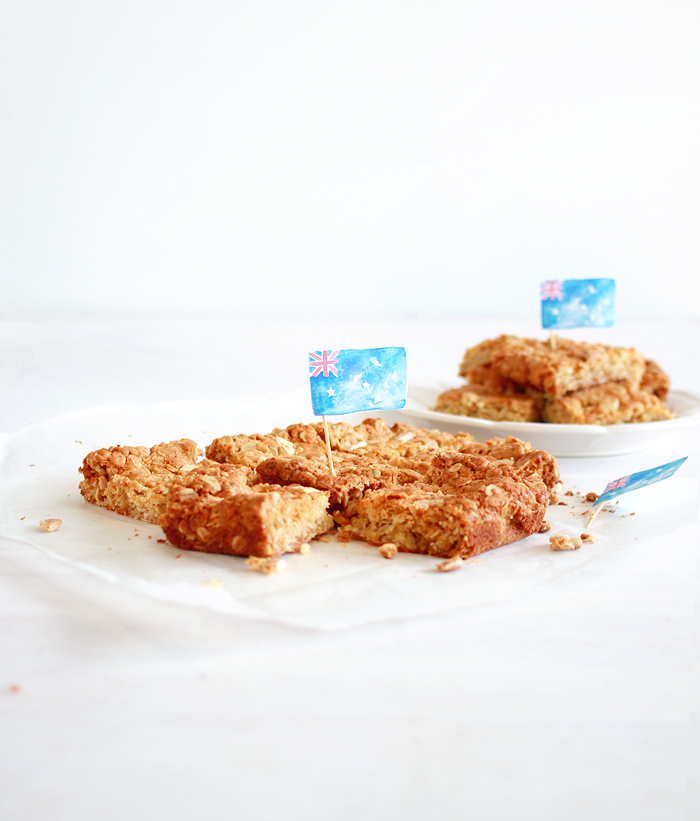
Props to Erika Rax who made these adorable watercolour flags last year on her blog. (You can download them here.)

thumb-recipe-elderflower-cake

EAT | Elderflower & Mixed Berry Cake

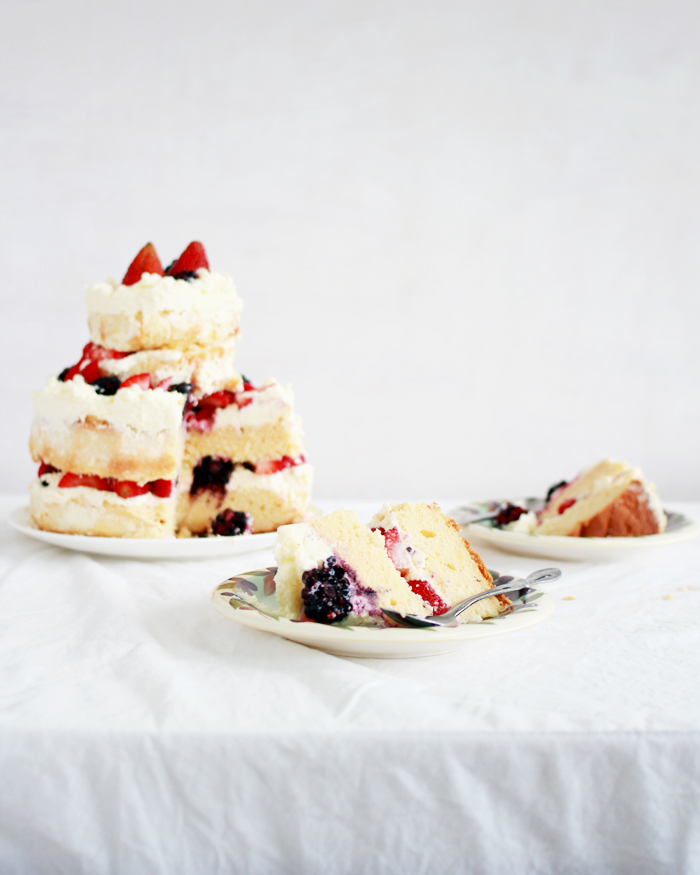
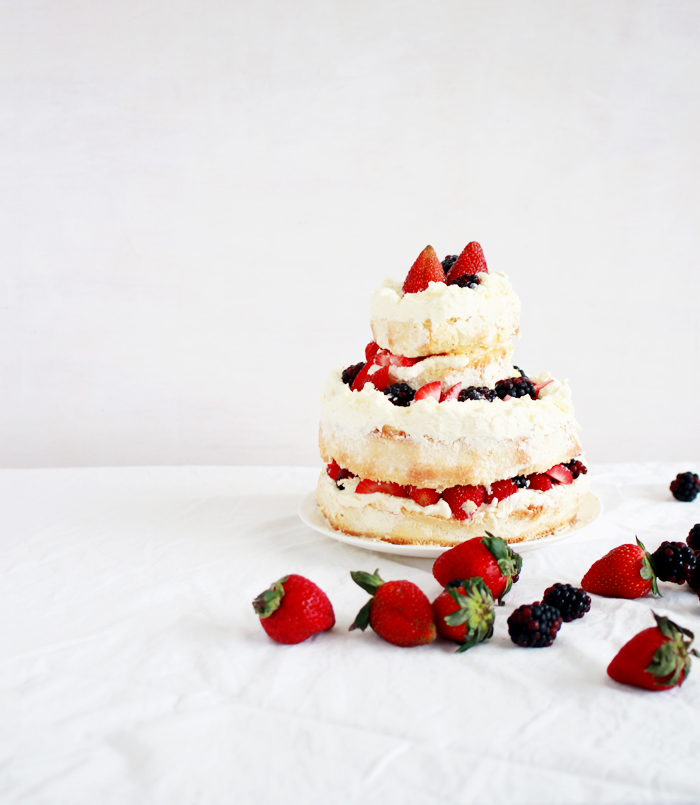
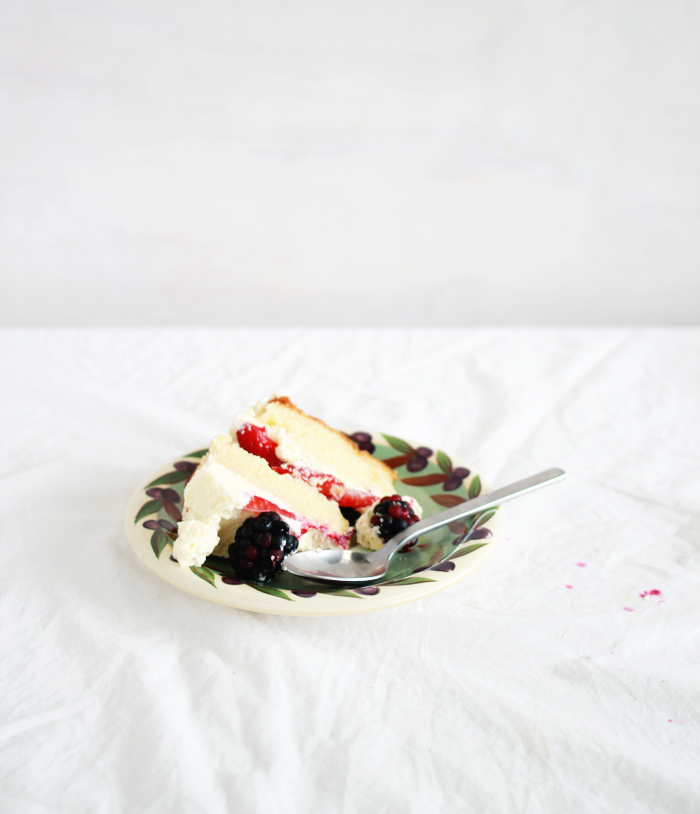
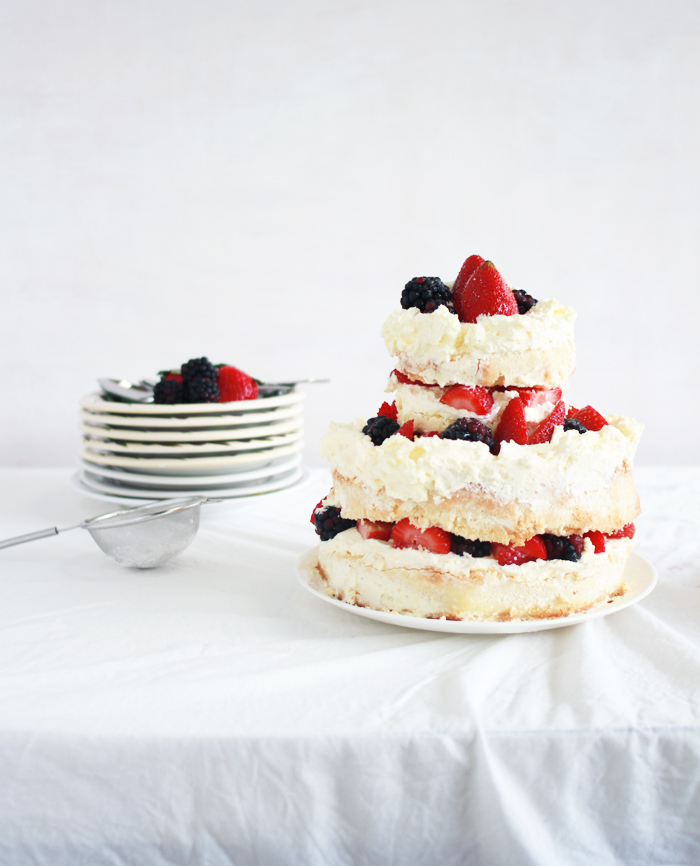
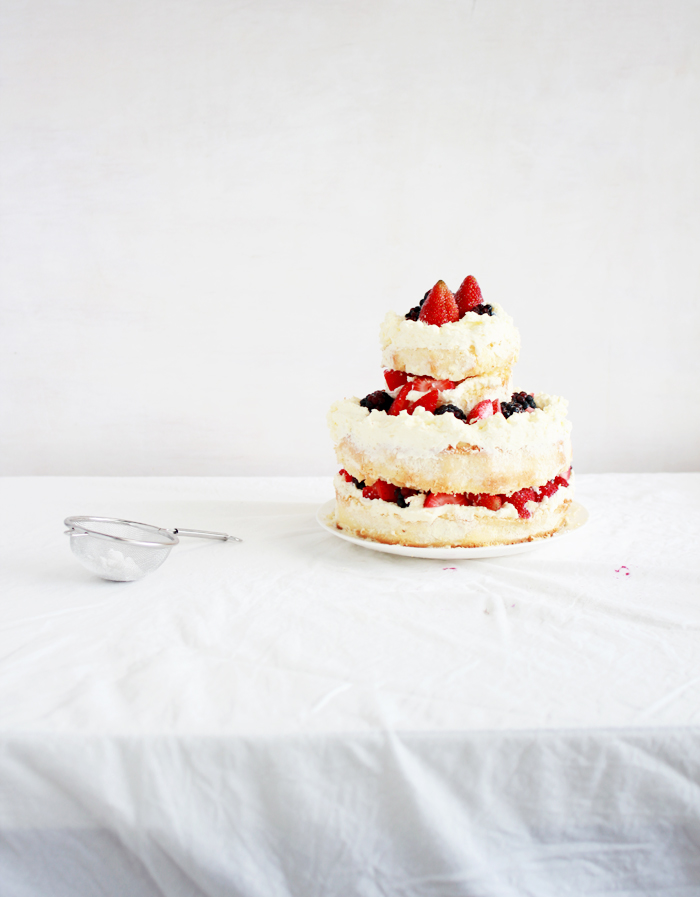
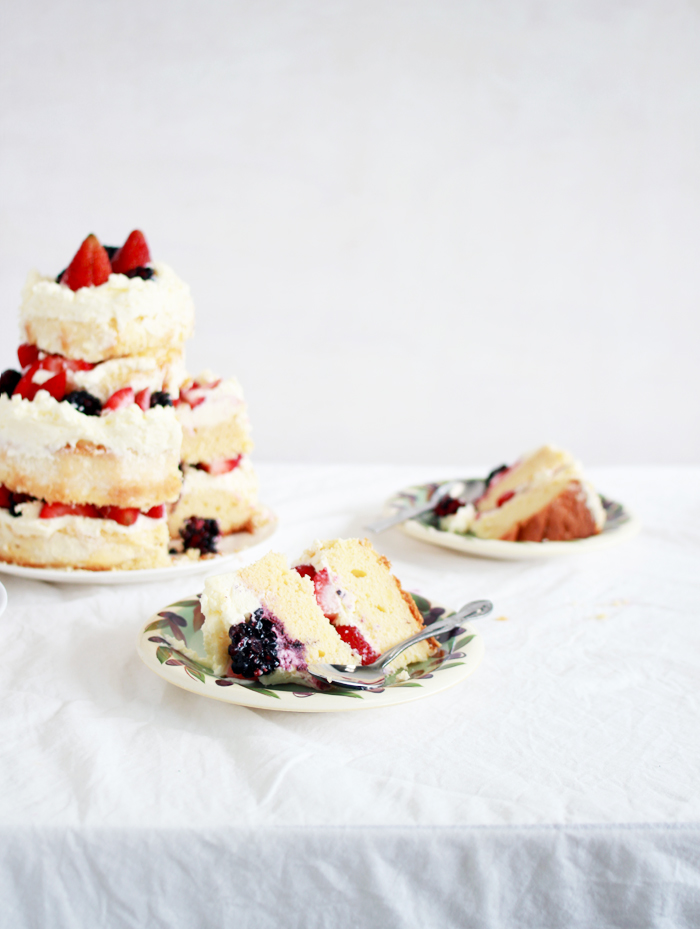
Elderflower cake with mascarpone frosting & mixed berries. YUM!

I recently came to the conclusion that any cake looks super exciting when it has cream and layers. Take this elderflower cake, for example. By itself it’s sweet and delicious and pretty much your standard little cake. But you layer that baby up, fill it with  cream and fresh berries, and BAM! Look at this fancy lady! Damn gurl! You lookin’ fiiiine!

It might seem a little ‘wedding cake’-esque, but my new favourite layering technique involves two tiers on my cakes. A medium sized base with smaller layers on top. Because this cake is ‘naked’ except for the cream frosting layers, it is super forgiving in the decorating department. The tiered layers of fluffy cream and crisp berries make it so easy dress your cake to impress!

Elderflower cake with mascarpone frosting & mixed berries. YUM!

The elderflower flavour in this cake is sweet yet subtle, which is how I like it. If I’m feeling like it needs a bit more flavour I add it into the cream frosting as well.

Elderflower cordial is something I’ve been trying to track down for ages. (If by ‘trying to track down’ means,  ‘I looked in my local supermarket, couldn’t find it and kind of stopped looking’…) I assumed I would have to get it from a speciality food store, but low and behold; on a trip to rival supermarket what should I find, on special no less!? You got it, elderflower cordial! Now I’m obsessed!

Elderflower cake with mascarpone frosting & mixed berries. YUM!Elderflower cake with mascarpone frosting & mixed berries. YUM!

Elderflower & Mixed Berry Cake
 
Author:
Ingredients
  • 250g of butter
  • 1 cup of caster sugar
  • 3 eggs
  • 2⅓ cups of self-raising flour
  • 3-5 tbsp of elderflower cordial
  • Zest from ½ lemon
  • 250 g mascarpone cheese
  • ¼ cup of powdered sugar
  • ¾ cup of heavy cream
  • 1 tbsp of lemon zest
  • 1 tsp of elderflower cordial (optional)
  • Fresh strawberries, blackberries, for filling
Instructions
  1. Preheat your oven to 170°C
  2. Grease one 25cm and one 15cm cake pan and set aside.
  3. Place the butter (softened) and caster sugar in a bowl and beat using an electric mixer until pale and creamy.
  4. One at a time, add the eggs, beating well after each addition. Add the 3 tablespoons of elderflower cordial and beat until smooth.
  5. Gradually add the flour to the mixture, beating on medium speed. Add the lemon zest and stir to combine. If you mixture is a little too dry, add 1 or 2 more tablespoons of cordial to the mixture and mix until smooth.
  6. Pour the batter into both prepared cake pans and transfer to the oven. Bake for 30-35 minutes or until a toothpick inserted comes out clean. The smaller cake will take less time to bake, (around 25 minutes) Allow to cool completely on a wire rack.
  7. Once cooled, trim away any excess cake and separate each cake into two layers. Set aside.
  8. For the frosting: Beat the mascarpone cheese and powdered sugar in an electric mixer, until smooth.
  9. Add the lemon zest and cream to the mascarpone, and beat on high speed until the mixture thickens and stiff peaks start to form.
  10. Stir in the elderflower cordial (if desired)
  11. To assemble: Place the first layer on a plate and top with a thick layer of frosting.
  12. Layer with blackberries and sliced strawberries and top with the next layer of cake.
  13. Spread another thick layer of frosting and place the first smaller cake piece on top.
  14. Repeat the above steps with the smaller layers: frosting, berries, cake and frosting on top.
  15. Top with whole berries and line the top of the larger tier with berries as well. Dust with icing sugar.

Elderflower cake with mascarpone frosting & mixed berries. YUM!Elderflower cake with mascarpone frosting & mixed berries. YUM!

thumb-recipe-palmier

EAT | Sugar & Raspberry Palmiers

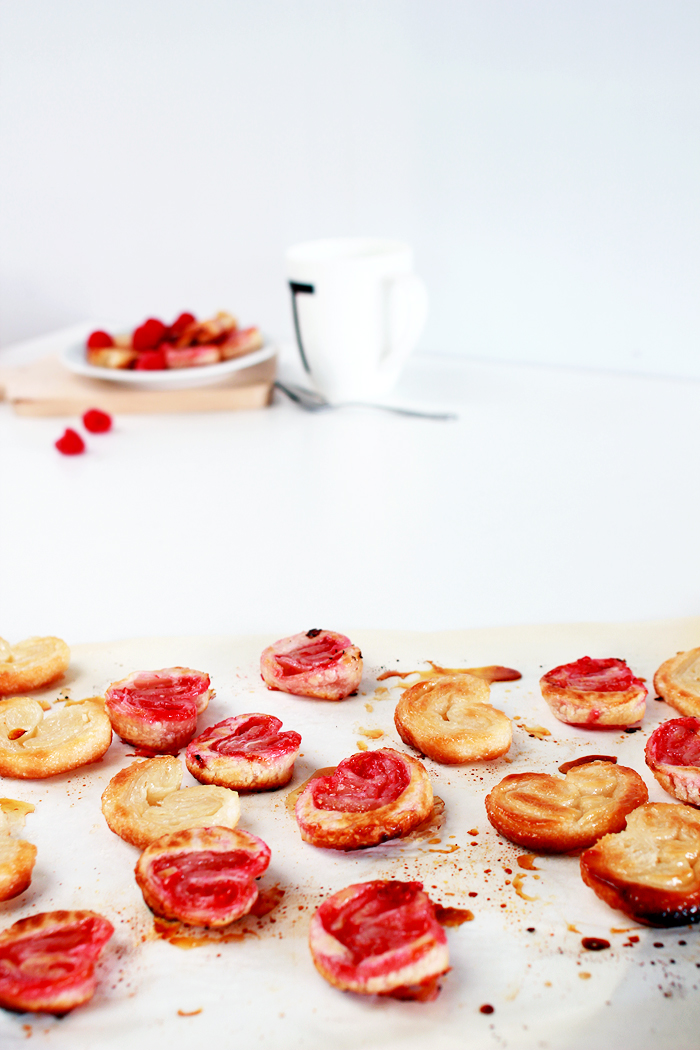
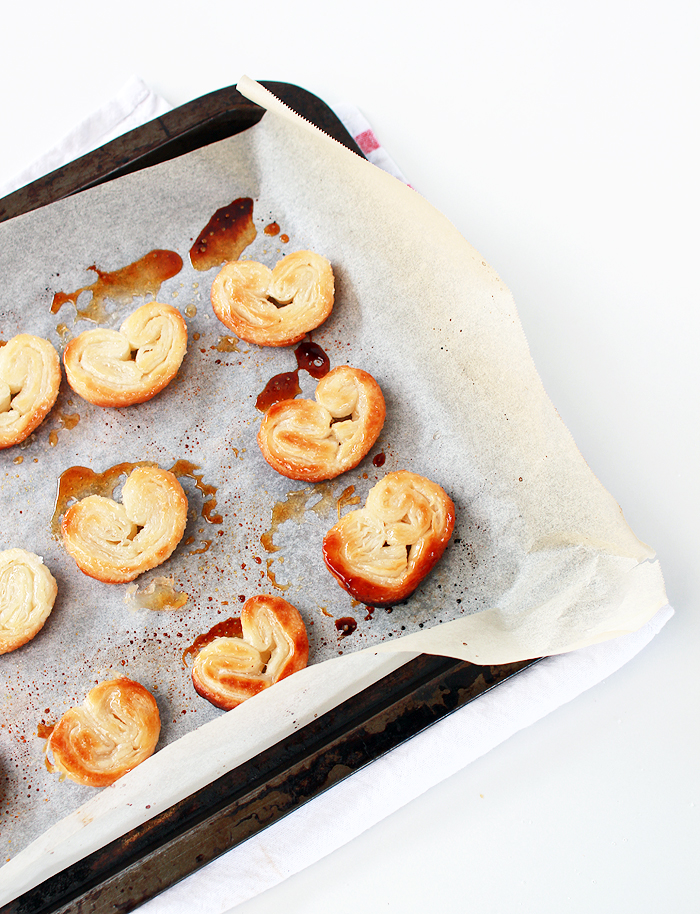
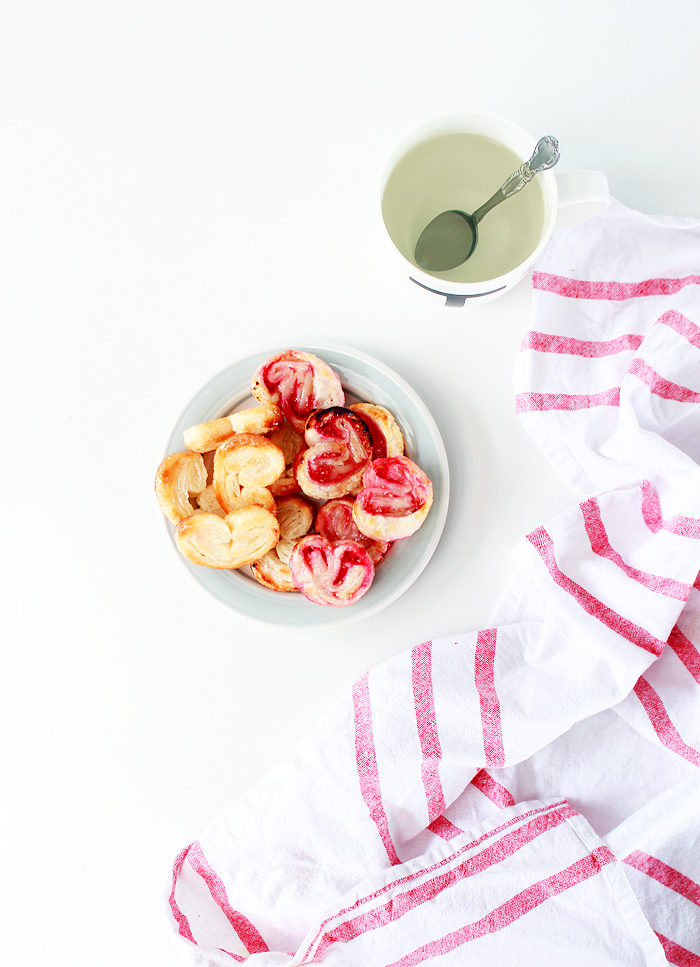
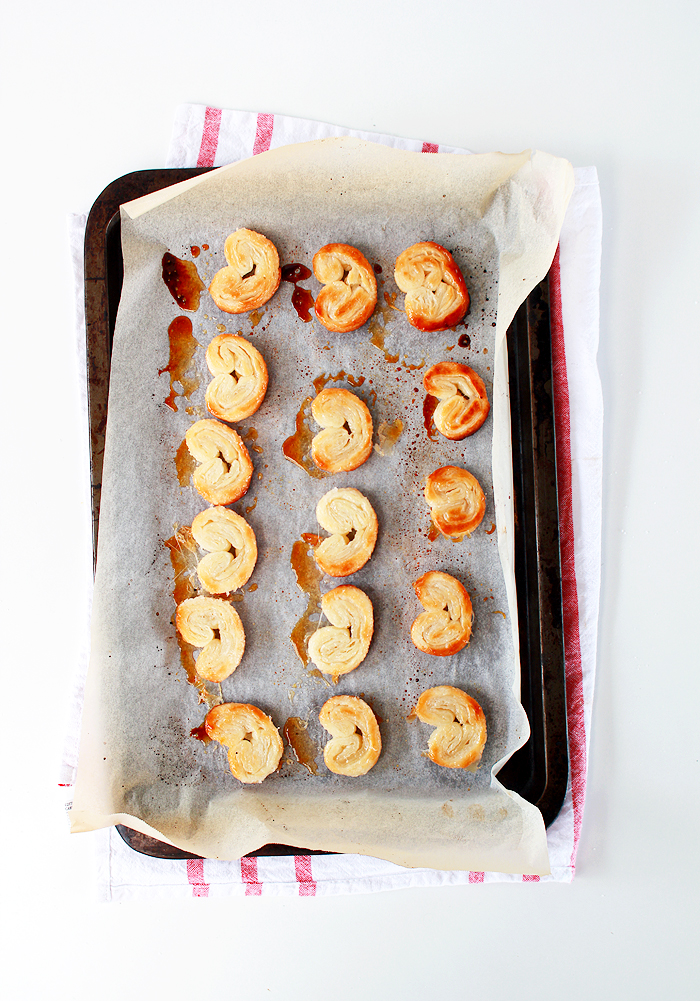
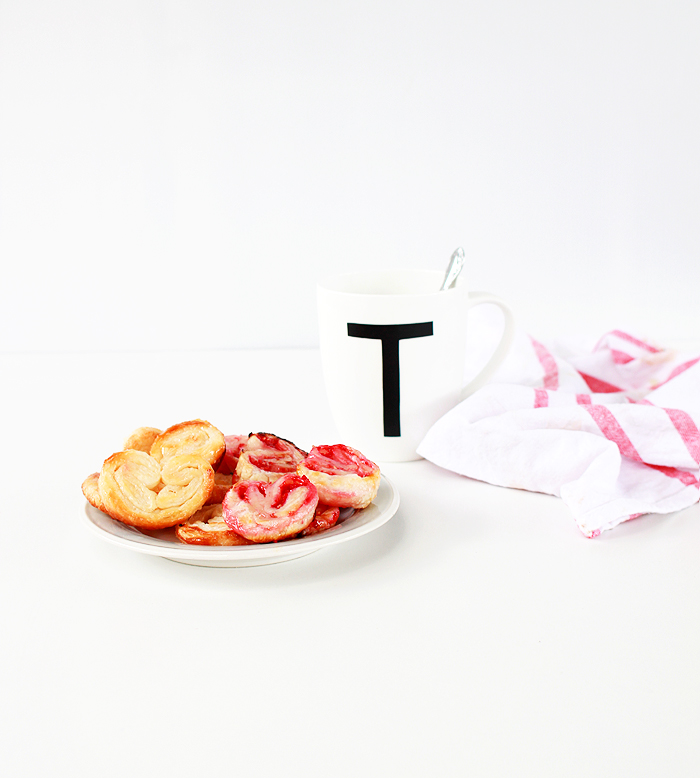
So easy to make these Sugar and Raspberry Palmiers; only 3 ingredients!

Leave it to the French to come up with something as brilliant as palmiers. Essentially a pastry cookie in a butterfly type shape. these crispy delights are crazy easy and only require 3 ingredients to make! If there’s one thing the French do well (and lets face it, they do a lot of things very well!), pastries would have to be in the top 5! But you don’t need to travel to Paris to give these treats a try whenever you like! It’s so easy and C’mon! Don’t act like I didn’t already have your undivided attention at ‘pastry cookie’.
Of course,  you can go all out and make your own pastry like a pro (this is a great recipe!) But my favourite thing about these pastries is the sheer simplicity. It is one of many recipes that are in my ’emergency entertaining’ arsenal. Frozen pastry and sugar are two of the most common ingredients found in your average kitchen. So if you ever find yourself with unexpected guests and nothing to serve them; you can whip these up on the spur of the moment, and impress them with your ‘fancy’ French pastries! How awesome are you!

So easy to make these Sugar and Raspberry Palmiers; only 3 ingredients! So easy to make these Sugar and Raspberry Palmiers; only 3 ingredients!

Sugar & Raspberry Palmiers

Ingredients

  • 2 sheets of frozen puff pastry
  • 1 cup of white sugar
  • 1 punnet of raspberries

Instructions

  1. Unwrap the puff pastry and lay it on a benchtop to thaw until flexible and soft. Cover with a tea towel to prevent the dough from drying out.
  2. Spread 1/4 of sugar across the surface of each of the dough sheets in an even coat. Gently run a rolling pin over the pastry, pressing the sugar into the dough. Carefully turn the pastry sheets over and repeat on the opposite sides.
  3. Place the raspberries in a blender and pulse to break up and release juices.
  4. Take the first sheet of pastry and fold or roll into the centre from each side until they meet in the middle. Wrap securely in plastic wrap and place in the refrigerator for 20 - 30 minutes.
  5. With the remaining pastry, pour the raspberries onto the surface and spread across the sheet before repeating the above step.
  6. Meanwhile, pre-heat the oven to 220° celcius.
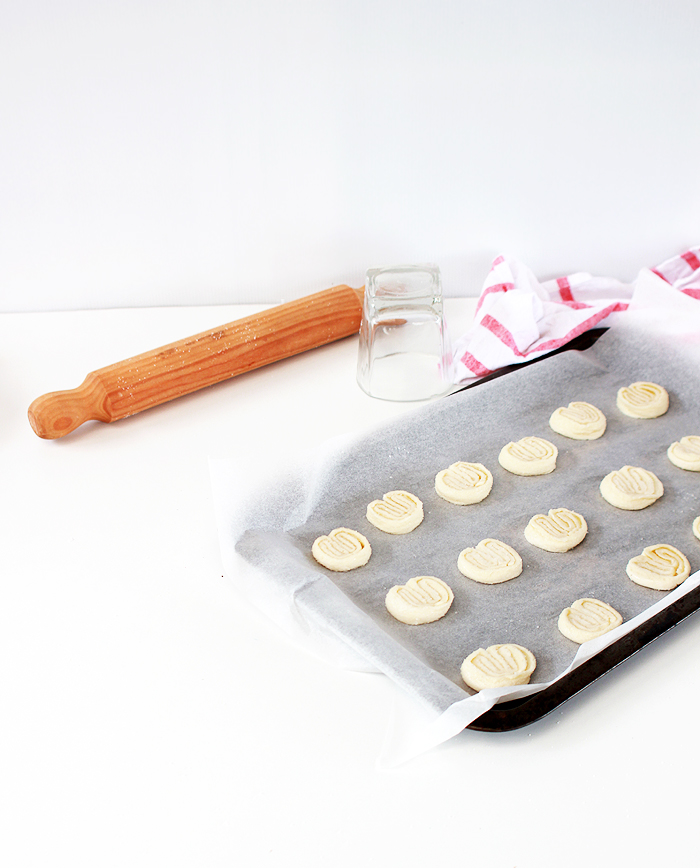
  7. Remove the rolled pastry from the fridge and using a sharp knife, slice the roll into cookie slices (approx. 2-3cm thickness). Place the cookies onto a baking tray lined with baking paper, alllowing room in between for expansion.
  8. With the base of a glass, flatten each cookie so it forms into a smooth disc. Sprinkle with additional sugar.
  9. Bake for 18-20 minutes, until the sugar caramelises slightly and the pastry is golden brown.
  10. Remove from the oven and carefully (they will be hot!) flip the cookies over to separate from any excess caramelised sugar. Allow to cool on the tray for 10 minutes before transferring to a wire rack.
  11. Serve while still warm or store in an airtight container for a few days. The cookies will lose their crisp the longer you store them.
http://www.highwallsblog.com/2015/01/eat-sugar-raspberry-palmiers/

So easy to make these Sugar and Raspberry Palmiers; only 3 ingredients! So easy to make these Sugar and Raspberry Palmiers; only 3 ingredients! So easy to make these Sugar and Raspberry Palmiers; only 3 ingredients!

thumb-recipe-diy-lemonade-bottled

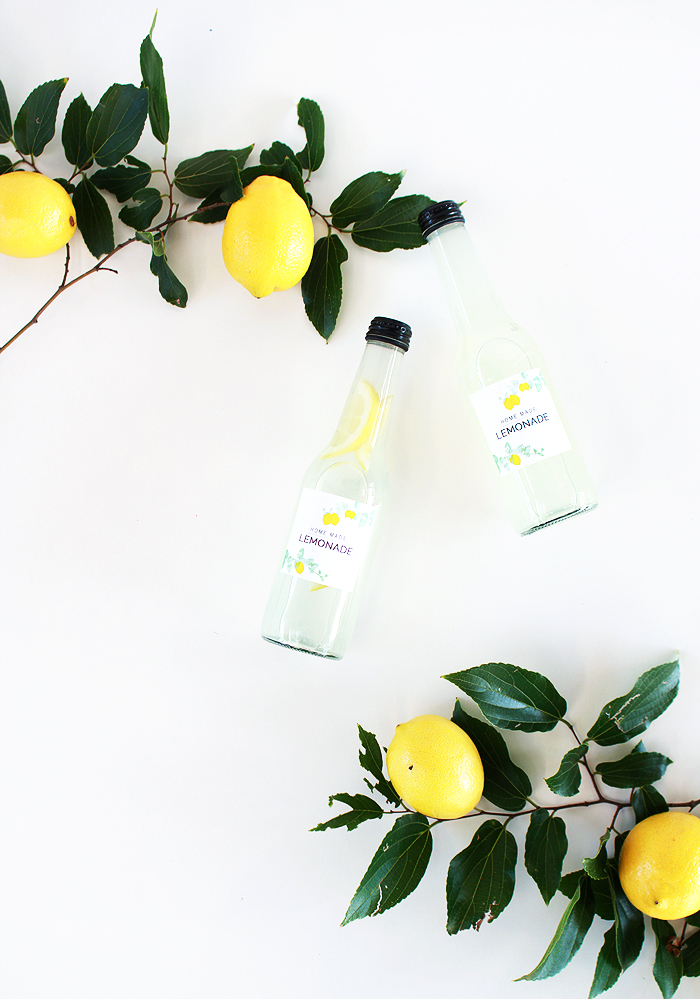
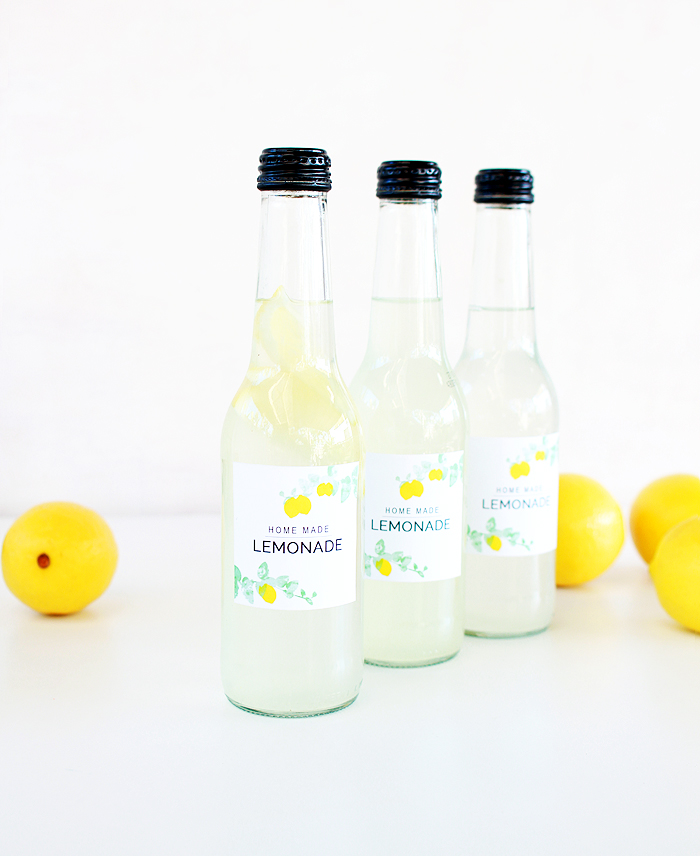
Bottle your own Home Made Lemonade!

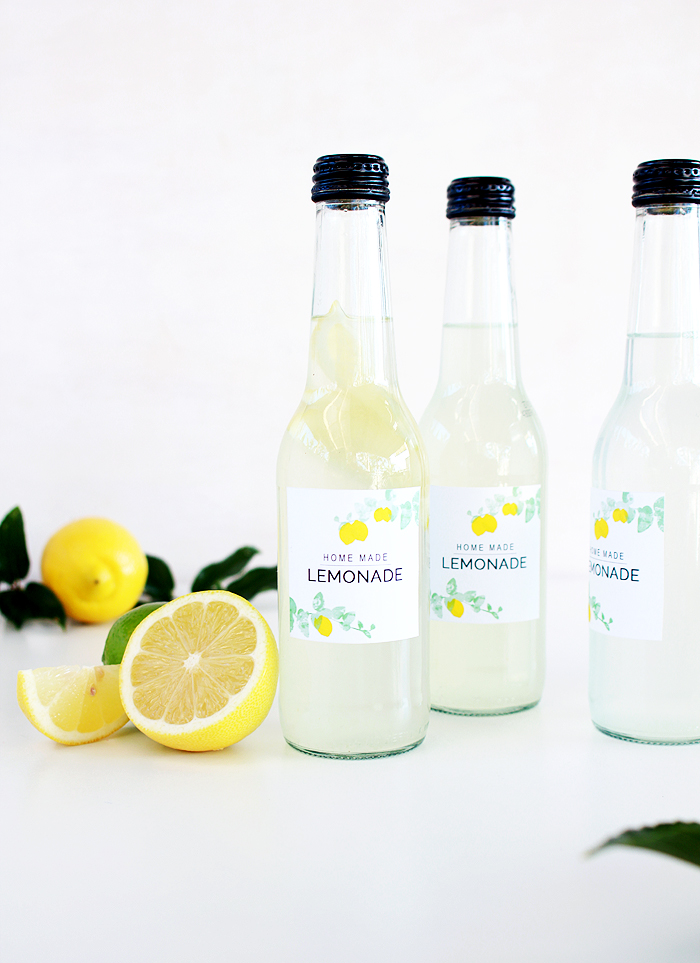
Download these FREE Lemonade Bottle Labels PLUS a recipe for the best home made lemonade!
After the holiday celebrations we found ourselves with a surplus of empty bottles, and in particular, these glass soda water bottles caught my eye. So naturally, I liberated them for some home grown recycling.

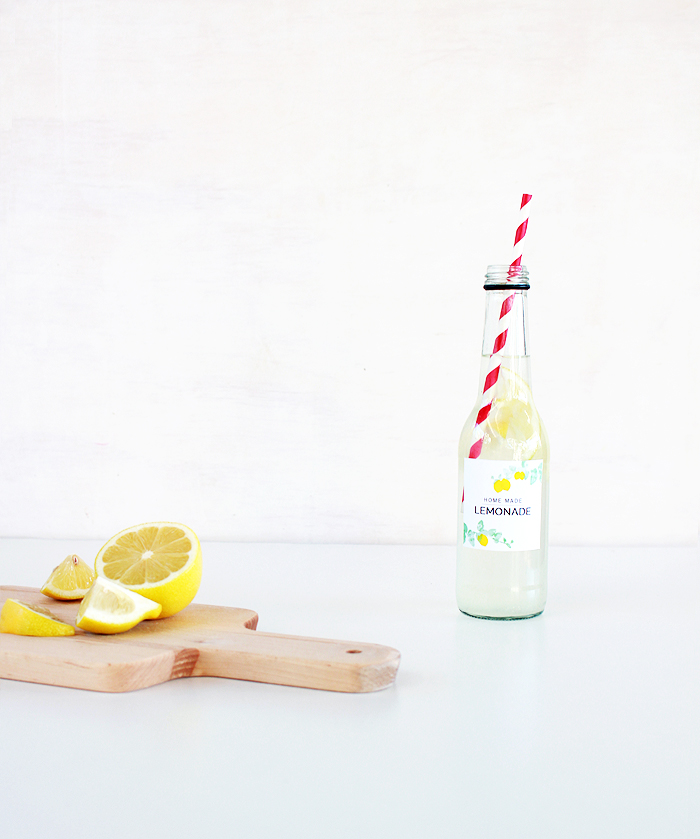
After a soak in some warm soapy water, their ugly store labels scrubbed right off, leaving them clean and ready for something a little nicer. It only takes 5 minutes to print a set of these adorable Home Made Lemonade labels (Print onto an A4 sheet of adhesive paper) and give your cheap-o supermarket bottles a new lease on life!

Fill your pretty ‘new’ bottles with some home made lemonade (you wouldn’t want that label to be a lie, now would you?) and your done! I’ve even supplied my favourite recipe for classic home made lemonade below! Take them to work or send them to school with your little ones, just generally show em off! Convince your friends you have your own exclusive brand. I wont tell ;)

click-to-dowloadDownload these FREE Lemonade Bottle Labels PLUS a recipe for the best home made lemonade!

Homemade Lemonade
 
Ingredients
  • 1 cup of freshly squeezed lemon juice (around 6-8 lemons)
  • 6 cups of water
  • 1 cup of white sugar
  • Soda water (optional)
Instructions
  1. Place the lemons on a hard flat surface and with the palm of your hand, firmly roll the lemons back and forth to soften the insides. Cut each lemon in half two and using a citrus juicer, extract the juice into a bowl and set aside.
  2. Place the left over lemon rinds into a large bowl and set aside also.
  3. Meanwhile, bring 4 cups of water to the boil.
  4. Place the sugar in a bowl and pour over 1 cup of boiling water. Mix until the sugar has dissolved.
  5. Pour the remaining boiling water over the lemon rinds, cover and allow to sit for at least an hour.
  6. Discard the lemon rind and combine with the sugar water, lemon juice and an additional 2 cup
  7. Cover the lemon rinds with the other 3 cups of boiling water and let this sit for about an hour and you will have lemon infused water. Discard the rinds.
  8. In a large pitcher, combine the lemon juice, the dissolved sugar water, the 3 cups of lemon infused water and the remaining 2 cups of water (or substitute for soda water if you prefer more fizz!). Mix well before decanting into your prepared glass bottles.
  9. Chill this in the refrigerator for a few hours or overnight before serving for a deeper flavour or else serve with a few extra wedges of lemon to garnish.

Download these FREE Lemonade Bottle Labels PLUS a recipe for the best home made lemonade!Download these FREE Lemonade Bottle Labels PLUS a recipe for the best home made lemonade!

thumb-recipe-choc-sugar-cookie

EAT | Chocolate Sugar Cookies

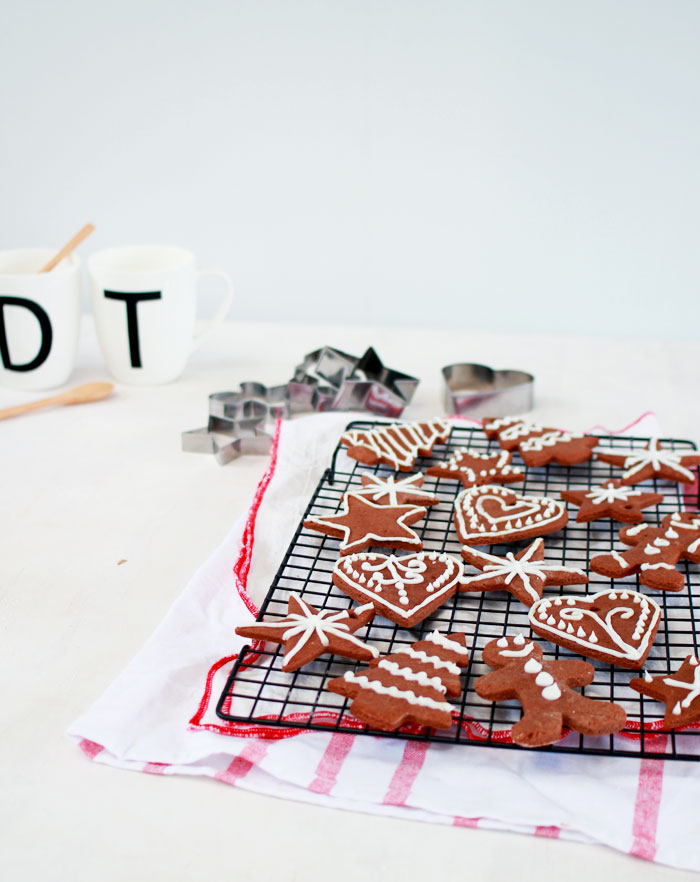
One for the Gingerbread haters: Chocolate Sugar Cookies! They might look like gingerbread, but they are SO much better!

Regardless of how old I get, I will always make cookies for Santa. There is something ingrained in me that ignores the very real fact that I am the one who eats said cookies, and not a jolly bearded man doing a well intentioned B&E. I can’t even tell you where this impulse comes from because it sure as hell is not a result of my childhood! My step-father, the brilliant man that he is, convinced childhood me that a slice of chocolate cake and a cold beer was more appropriate to leave out for Santa. After all, he had been visiting all those other houses, whose children had been leaving milk and cookies. Gotta give the old man a bit of variety, right?

My parents were clearly diabolical geniuses.

Childhood deception aside, I still am totally on board with the idea of cookies for Christmas eve. Every year I make the usual sugar cookies, or chocolate chip cookies, but they are never as festive as I would like. What I really want is some gingerbread cookies. You know the ones; with the white, patterned frosting lovingly piped onto each snowflake and star shape. There’s only one problem. I absolutely, positively, cannot STAND gingerbread. It’s one of the few baked goods that I will actually hide in my napkin and throw away later, rather than have to struggle to choke the damn thing down! They look so pretty but taste so bleh! I know  I’m probably one of the few who feels this way about gingerbread, but I still feel like I need to help my fellow haters out!
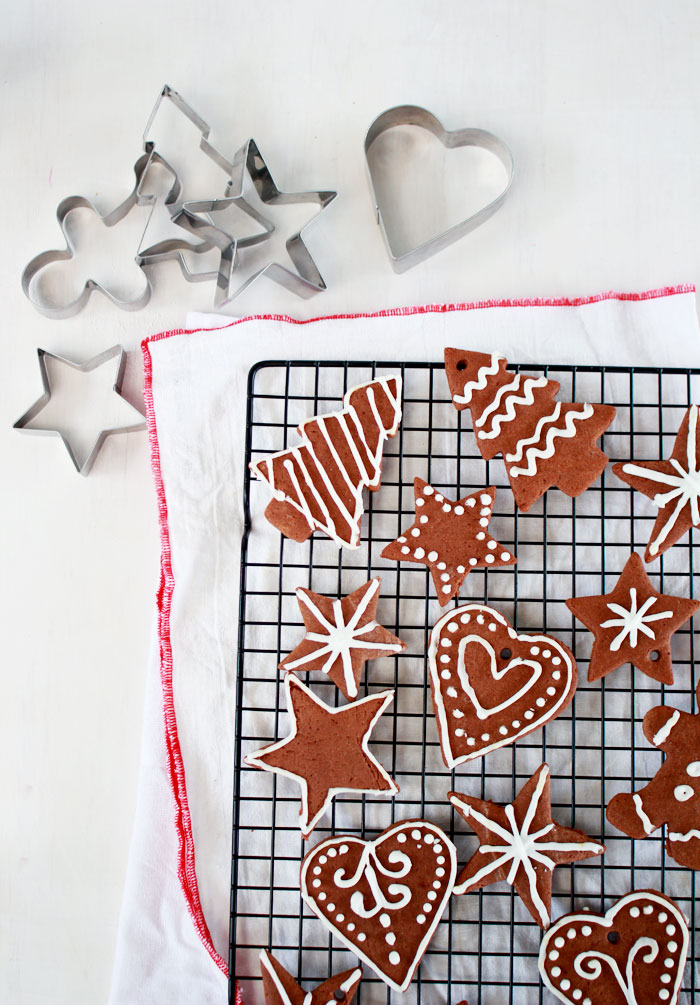
Never fear - Chocolate sugar cookies are the answer my friends. Dress em up right and they look just like gingerbread cookies, except exponentially better. Because, you know, they aren’t gingerbread cookies! Just like their vanilla counterpart, they hold their shape when you bake them into your favourite festive form. Pipe on a little white royal icing and BOOM! Faux Gingerbread cookies! Santa won’t even know the difference! Who knows, he might be thankful for the ‘variety’….

One for the Gingerbread haters: Chocolate Sugar Cookies! They might look like gingerbread, but they are SO much better!   One for the Gingerbread haters: Chocolate Sugar Cookies! They might look like gingerbread, but they are SO much better! READ MORE

Last Minute Edible Gifts

Last Minute Gift Ideas that you can make from ingredients in your Pantry!

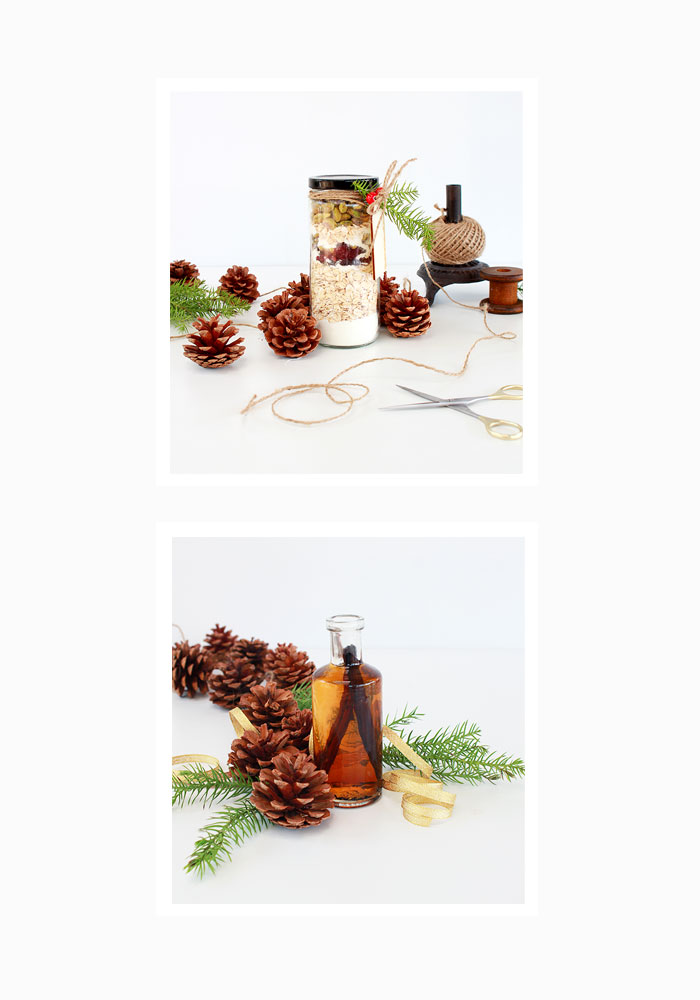
Uh oh! Guys, Christmas is in 5 Days! FIVE. DAYS. Have you finished all your Christmas shopping yet? Are you like me, who thought she’d done all her shopping and then realised she’d forgotten someone. Noooooo! What’s a girl to do? Rather than braving the stores for something less than personal, let’s make something! These little gifts only take a few minutes to make and you can tailor them for who you are giving them too. Share your favourite cookie recipe with your friend at work, or make a pretty bottle of vanilla extract for your foodie friend. They will love it!

READ MORE

tumb-recipe-cherry-rum-shooter

DRINK | Rum Soaked Cherry Shooters

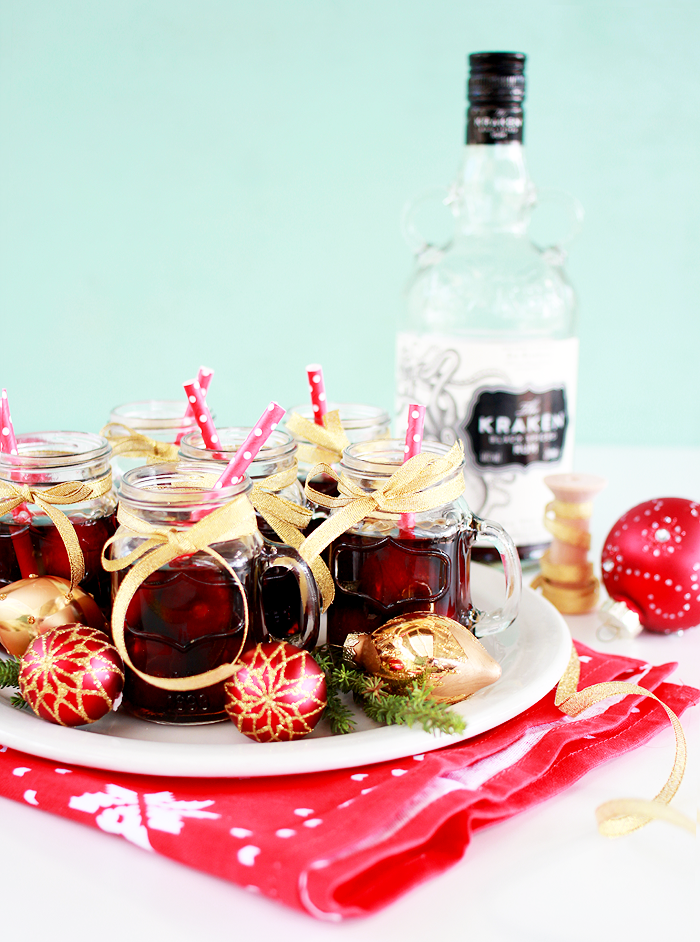
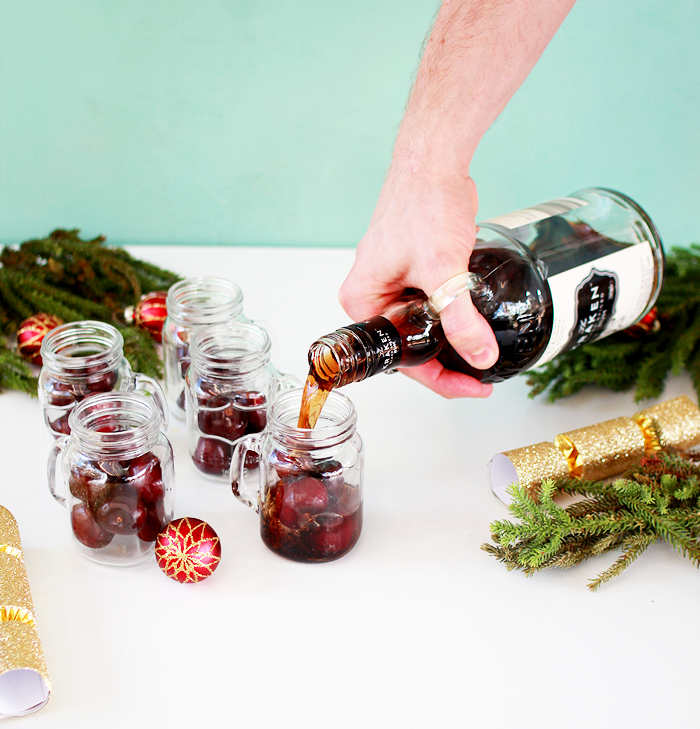
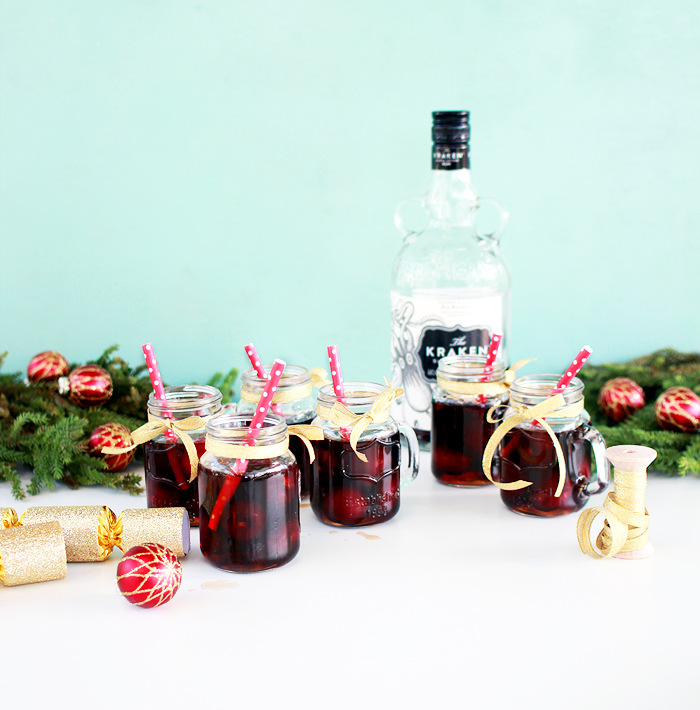
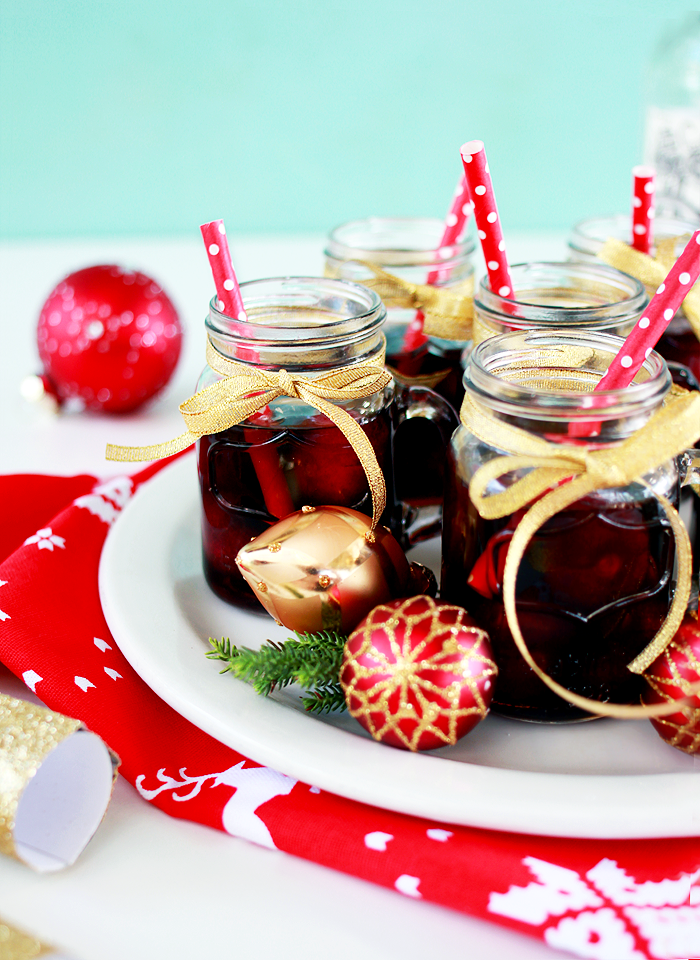
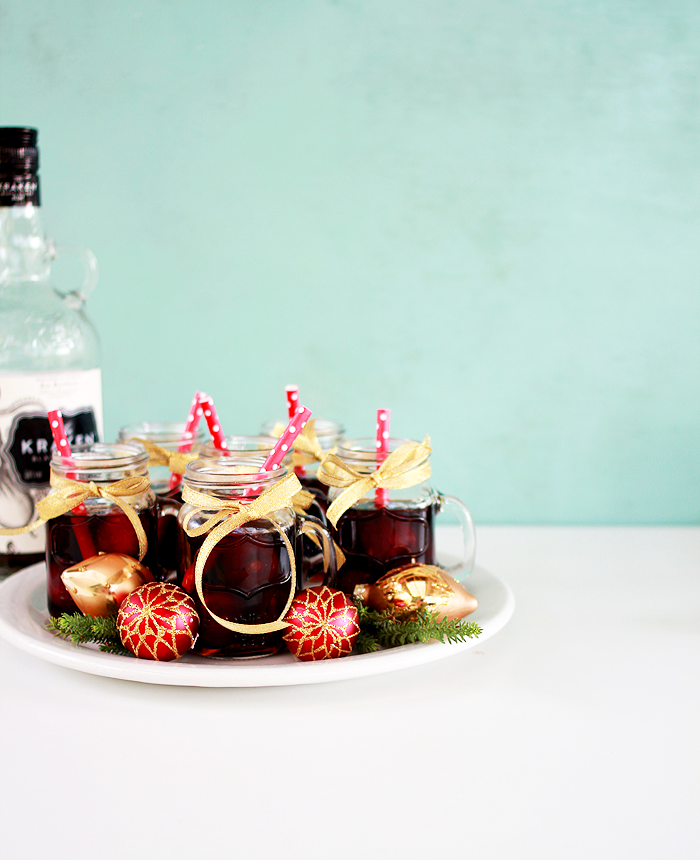
Rum Soaked Cherry Shooters! This spicy and sweet shooter is the perfect boozy dessert or nightcap for the festive season!

So, I know that we only just made sangria, so maybe I should hold off on the alcoholic drinks for at least a few days. But to hell with being responsible! Instead we’re going to make Rum Soaked Cherry Shooters! Hooorraaaaayyy!

In my defence, these little drinks need to be made in advanced, so really, even though we’re making them today, we wont actually be drinking them for a week or more!

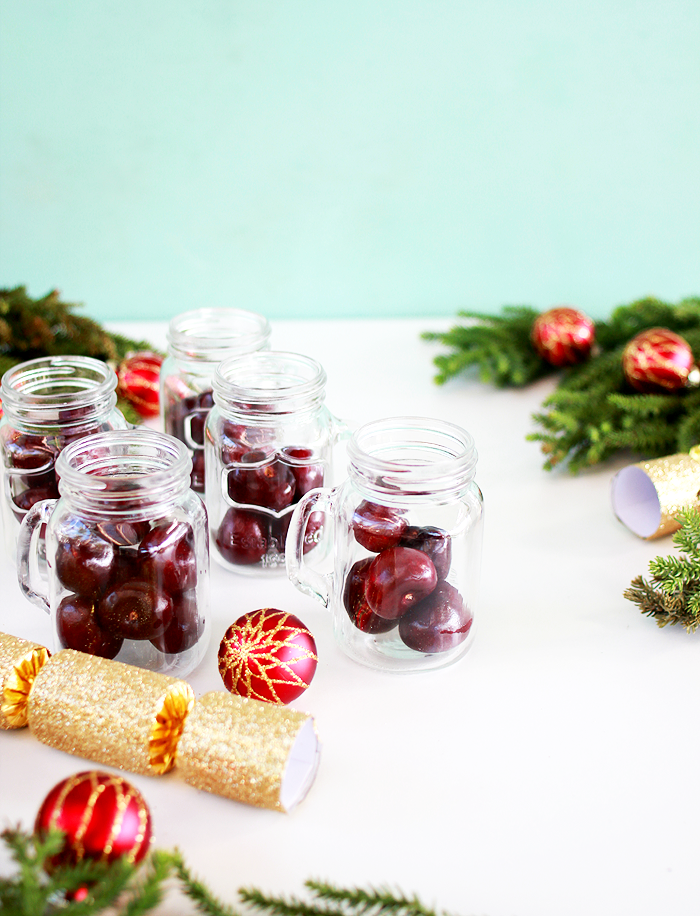
Rum Soaked Cherry Shooters are exactly what they sound like; cherries soaked in rum! Eat the cherries and drink the rum. No one, not even the most useless amateur cook in the world, can mess that up! But here’s the secret, when soaked together the cherries and the spiced rum mix together to create something extra special. The cherries, keep they crunchy texture, but suddenly have a whole lotta kick to them! And the juices from the cherries marry together with the rum, resulting in a sweeter, fruitier taste. Kind of like a strong schnapps! And don’t let the name fool you, these drinks are designed to be sipped and enjoyed, not shot down tequila style ;)

Rum Soaked Cherry Shooters! This spicy and sweet shooter is the perfect boozy dessert or nightcap for the festive season!Rum Soaked Cherry Shooters! This spicy and sweet shooter is the perfect boozy dessert or nightcap for the festive season!

At first glance there’s not a lot to this recipe -grab some cherries, a bottle of spiced rum , add together a voilà! And really that’s the beauty of it! It takes literally 5 minutes to prepare and then you can set it and forget it! While there isn’t much to the method, there are some tricks that will help you get the most out of your shooters:

  • Make sure you get fresh, ripe, crunchy cherries! You want them to crisp and full of flavour!
  • The cherries will lose a lot of colour the longer they are soaked, but don’t worry, they should retain that crunch factor as long as you keep them refrigerated.
  • If you want to make and serve these the same day, simply slice the cherries all the way around  before soaking and allow to sit fir a few hours. The flavours wont be as strong as if you soak them for a longer period of time, but you will get a similar outcome. The best way to do this is prepare the shooters in the morning and serve after dinner.
  • Simarly, if you are short on time, instead of refrigerating, store in a warm, dry, dark place, like a cupboard or pantry. This will expedite the process, but your cherries will end up a little softer and mushier than if refrigerated.

Rum Soaked Cherry Shooters! This spicy and sweet shooter is the perfect boozy dessert or nightcap for the festive season!

RUM SOAKED CHERRY SHOOTERS
 
This spicy and sweet shooter is the perfect boozy dessert or nightcap for the festive season!
Author:
Ingredients
  • 500g of Fresh Cherries
  • 1 Bottle of Spiced Rum (we use Kraken Rum)
Instructions
  1. Prepare your cherries by removing the stems and washing the cherries thoroughly.
  2. Place the cherries into the vessel they will be soaked in; this can be a large jar (from which you can serve from later) or if you have individual sized jars or cups, these will also work. It is best to store your rum & cherries in something with an air tight lid.
  3. Fill the vessel with as many cherries as you can without going over the rim of the glass.
  4. Pour the rum over the cherries until they are completely submerged, leaving at least 2cm at the top of the vessel to allow for the release of juices.
  5. Seal your cherries tightly; either with the vessels lid, or if that wasn't possible, with a couple of layers of plastic wrap secured with a rubber band. Place in your refrigerator to soak.
  6. Soak for at least 24 hours - 1 week. How long you soak the cherries for is up to you- the longer they soak, the stronger the flavours will be! 1 month is optimal for the boldest flavours but the cherries and rum should keep for 2 - 3 months as long as they are kept refrigerated.
  7. If not already individually prepared, serve in a large shotglass or small jar/glass. Don't worry about the name, these little drinks are designed to be sipped - not shot!

Rum Soaked Cherry Shooters! This spicy and sweet shooter is the perfect boozy dessert or nightcap for the festive season!Rum Soaked Cherry Shooters! This spicy and sweet shooter is the perfect boozy dessert or nightcap for the festive season!

thumb-recipe-sangria

DRINK | White Christmas Sangria

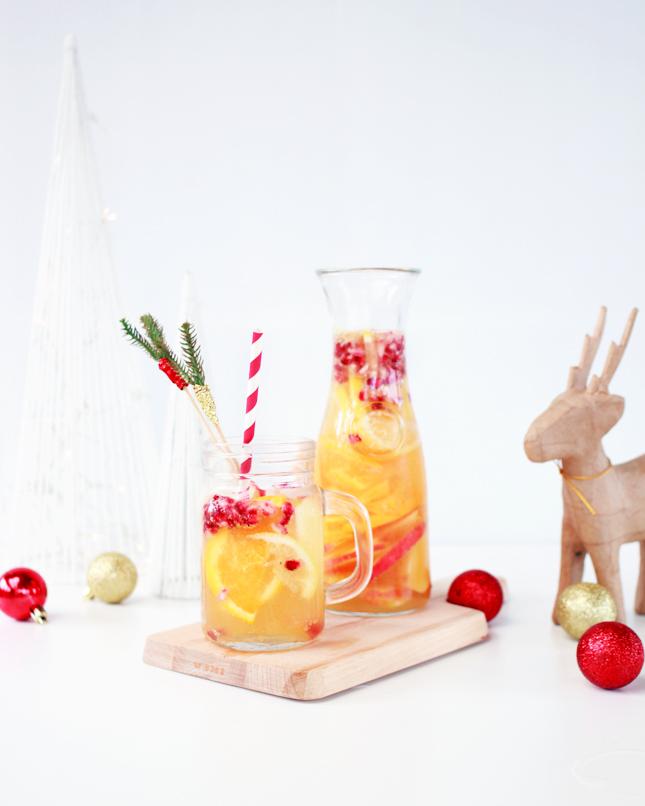
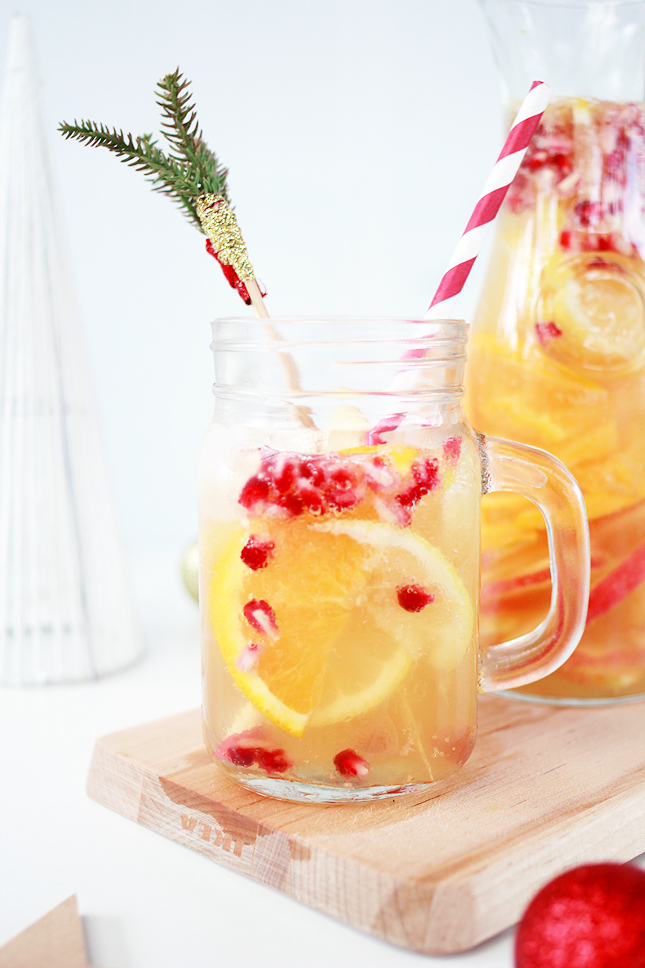
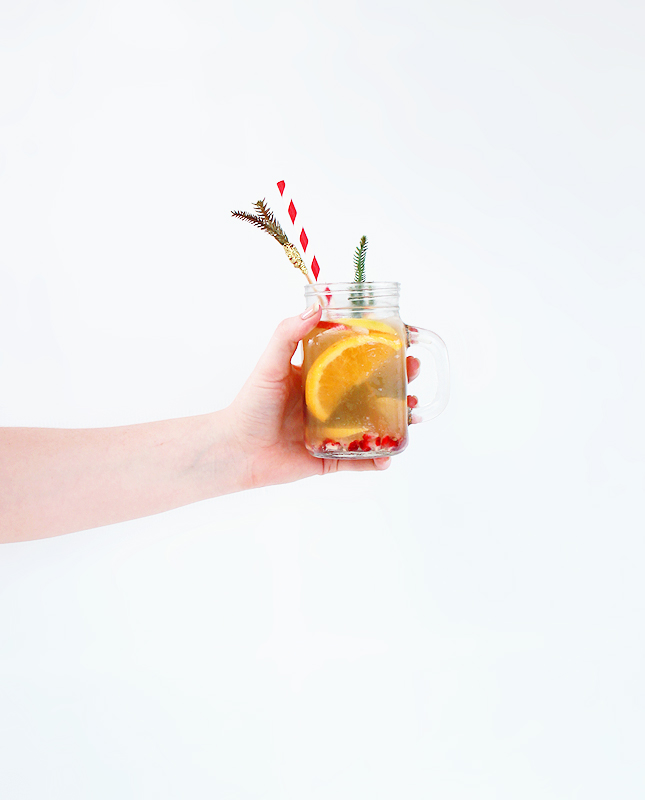
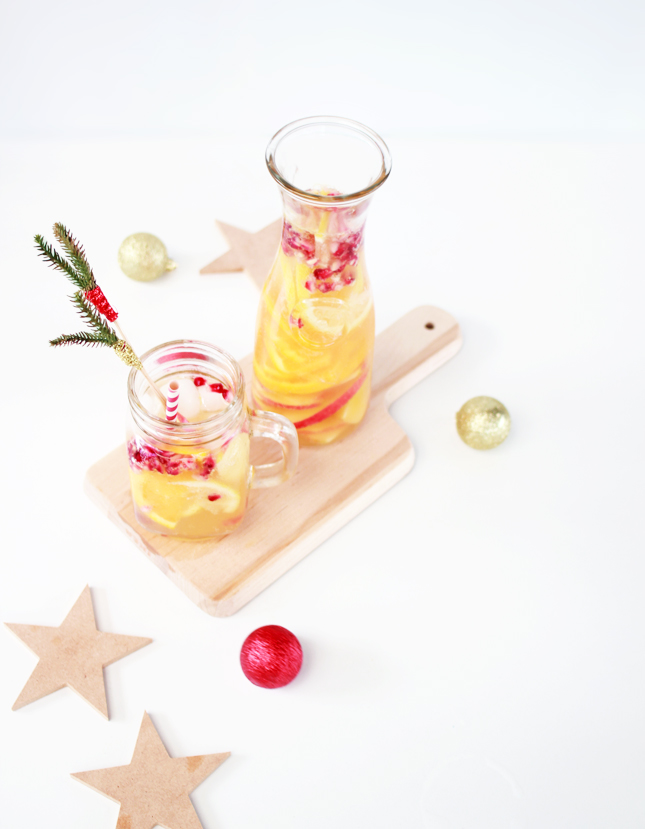
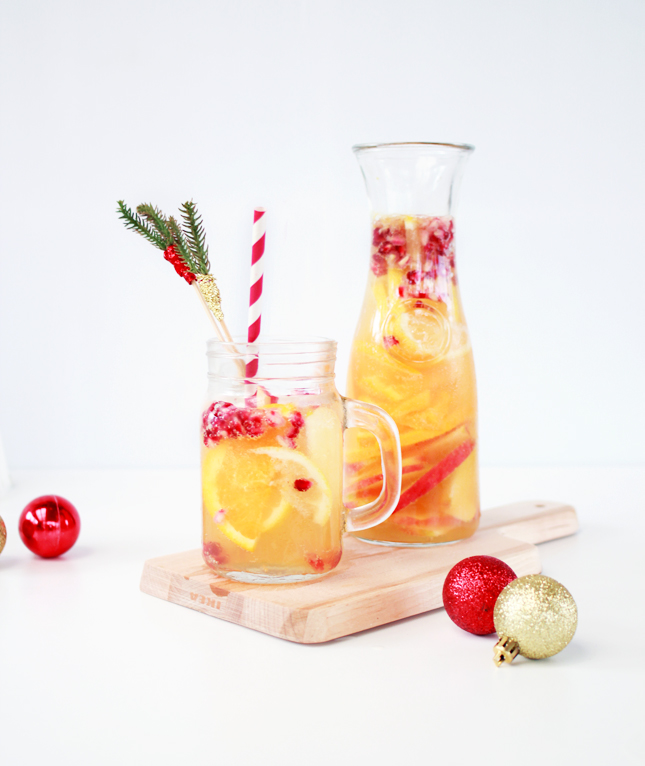
Get boozy on Christmas Day with some  Apple Cider White Sangria - it's just fancy punch!

Now that we’re adults, Christmas has changed from being all about the presents, to being all about the food and booze. C’mon, don’t look at me like that - you know its true! Everyone loves to talk about all the amazing food they are going to overeat on the big day, but (in my opinion), not enough is said about the liquor situation. I’m not sure how well that reflects on me, but I’m going with it!

Here in Australia it is HOT on Christmas Day. It’s actually the hottest time of year for us. So my Christmas usually revolves around staying cool: air conditioned houses and friends pools are at the top of my list, just after keeping ‘hydrated’. A refreshing beverage can make all the difference, so I’m happy to present my Christmas time/summer time favourite - White Christmas Sangria.

The beauty of sangria is its simplicity. Grab some of your favourite fruit - drench it in a good bottle of wine - add some more liquor (brandy, rum, or in my case; apple cider (coz I love a bit of fizz!) and top with some soda water or ginger ale for extra bubbles! If you’re feeling really adventurous you can always add fruit juice or extra sweeteners. And of course, a few herbs or spices are always a welcome addition fora bit of extra kick! This being a Christmas Sangria, I usually add a cinnamon quill, but you can replace this with some leafy herbs or omit it all together.

Essentially, we’re just making fancy punch, and you can never go wrong with punch. Merry Christmas!

Get boozy on Christmas Day with some  Apple Cider White Sangria - it's just fancy punch! Get boozy on Christmas Day with some  Apple Cider White Sangria - it's just fancy punch!

White Christmas Sangria

Ingredients

  • 750ml of white wine
  • 3 cups apple cider
  • 1 large apple
  • 1 large orange
  • 1 lemon
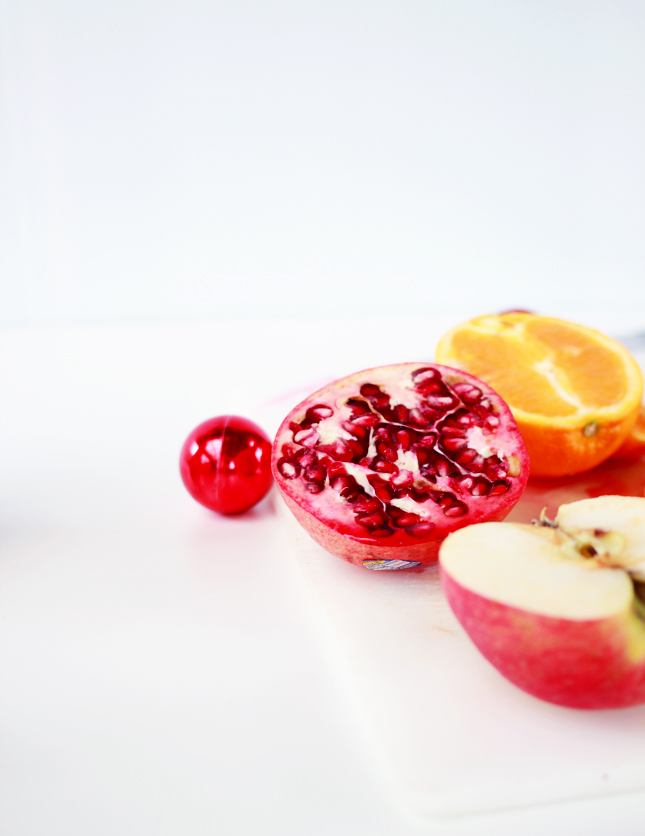
  • 1 pomegranate
  • 1 cinnamon quill (*optional)
  • Soda water (to top off)

Instructions

  1. Prepare your fruit by thinly slicing the apple, orange and lemon and placing into a large jug or container.
  2. Pour the wine and apple cider into the jug, making sure that all your fruit is submerged. Add the pomegranate seeds and cinnamon to the top.
  3. Cover with airtight lid or cover tightly with plastic wrap and refrigerate for at least 4 hours (or overnight if you have time) Remove the cinnamon before serving.
  4. To serve, scoop out some of the fruit and place into a glass with ice. Top up 3/4 full with the sangria mixture and top off with soda water for extra fizz!
http://www.highwallsblog.com/2014/12/drink-white-christmas-sangria/
Get boozy on Christmas Day with some  Apple Cider White Sangria - it's just fancy punch!Get boozy on Christmas Day with some  Apple Cider White Sangria - it's just fancy punch!Get boozy on Christmas Day with some  Apple Cider White Sangria - it's just fancy punch!