thumb-icecream-cupcakes

EAT | Ice Cream Cupcakes

Cupcakes iced with ICE CREAM  - Brilliant! | www.highwallsblog.com

A friend of mine once declared that only women love cupcakes. No exceptions. I was simultaneously outraged at such a sexist remark and disappointed on behalf of these hypothetical men who apparently aren’t allowed to be into tiny cakes with sprinkles. I mean, who doesn’t love a good cupcake? Surely women aren’t the only ones who enjoy the soft bounce of the sponge like cakes, the sweetness of the icing and the playful colours and decorations. Say what you will about cakes in general, cupcakes have always been a crowd pleaser in my book! The idea that only one demographic can love this classic dessert is outrageous! On behalf of these men who have been so cruelly  deprived, I say ‘Let them eat (cup)cake!’

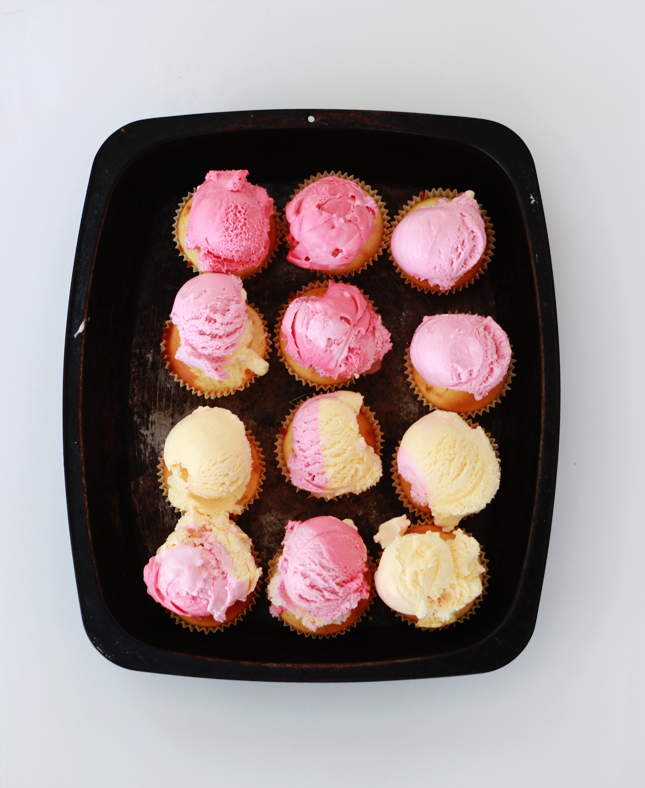
Well, Ice Cream Cupcakes  if you want to be precise. I admit, that title is kind of misleading. These are not cupcakes made of ice cream, rather cupcakes iced with ice cream. That’s right, you heard me right. No piping bags. no powdered sugar. Just a perfect, pretty scoop of ice cream.
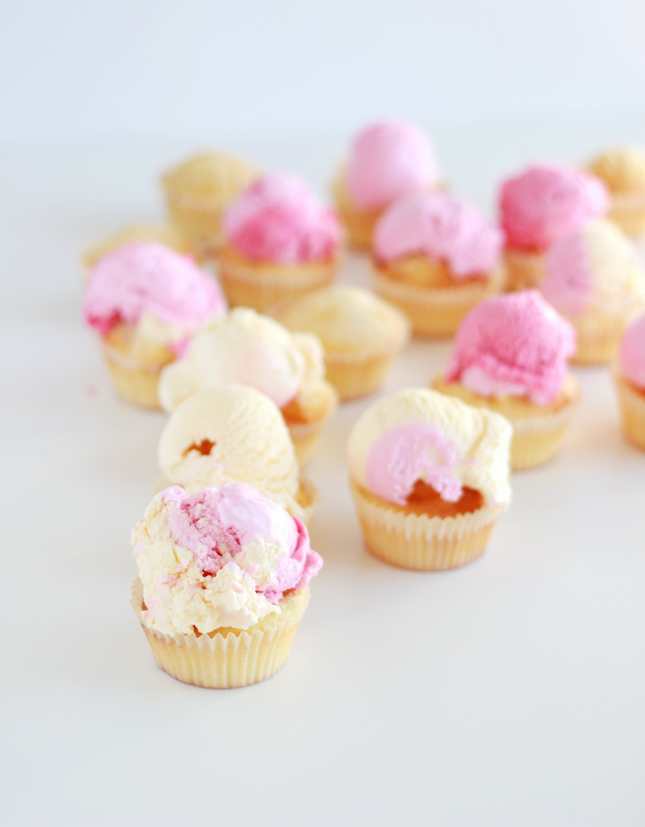
Cupcakes iced with ICE CREAM  - Brilliant! | www.highwallsblog.com

Before we go any further we need to discuss methods of consumption:

Your first option is perfect for when you cupcakes are still fresh and warm from the oven. Serve in a bowl with a spoon, allowing the ice cream to get all melty over the warm cake base. The cold, gooey ice cream combined with the warm cake sponge is, unsurprisingly, a delight.

The second is, in my opinion, the correct way to eat cupcakes in general. Twist the base of your cupcake away from the top, separating into two halves. Take the bottom half and press down onto the icing (or ice cream in this case) and enjoy as a mini cake sandwich. Trust me, if you’re not eating your cupcakes this way you soon will be. No more awkwardly trying to get your mouth around both the cake base and the too-tall mound of icing. Once you try it, you’ll never go back!
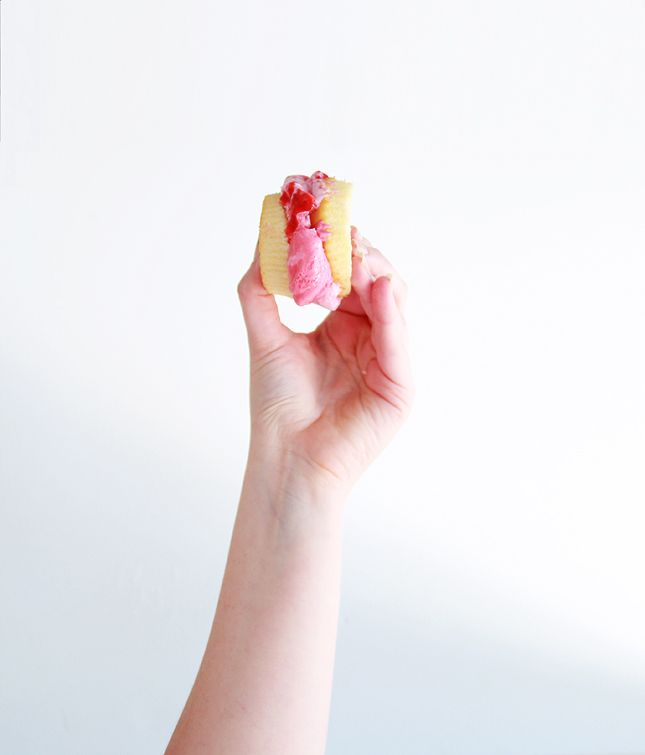
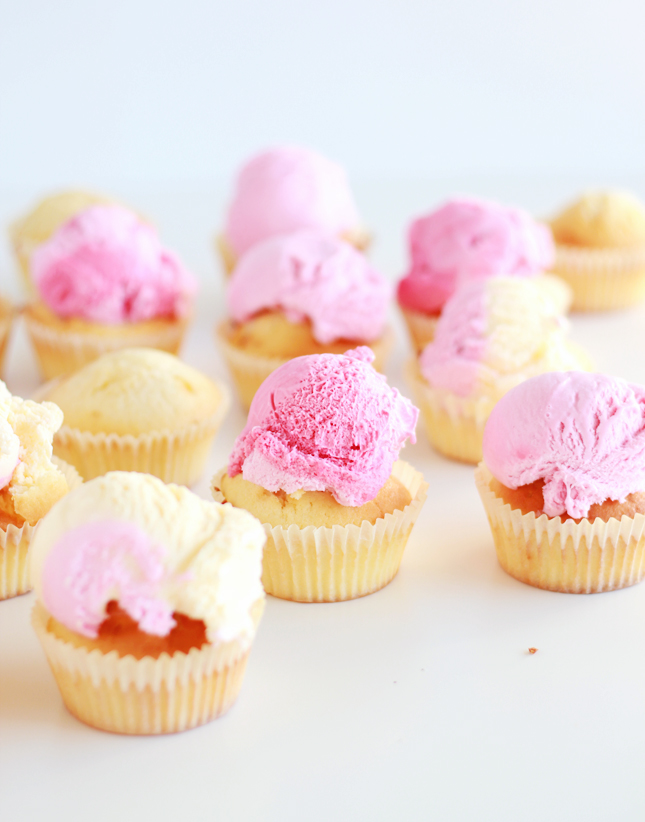
Cupcakes iced with ICE CREAM  - Brilliant! | www.highwallsblog.com Cupcakes iced with ICE CREAM  - Brilliant! | www.highwallsblog.com
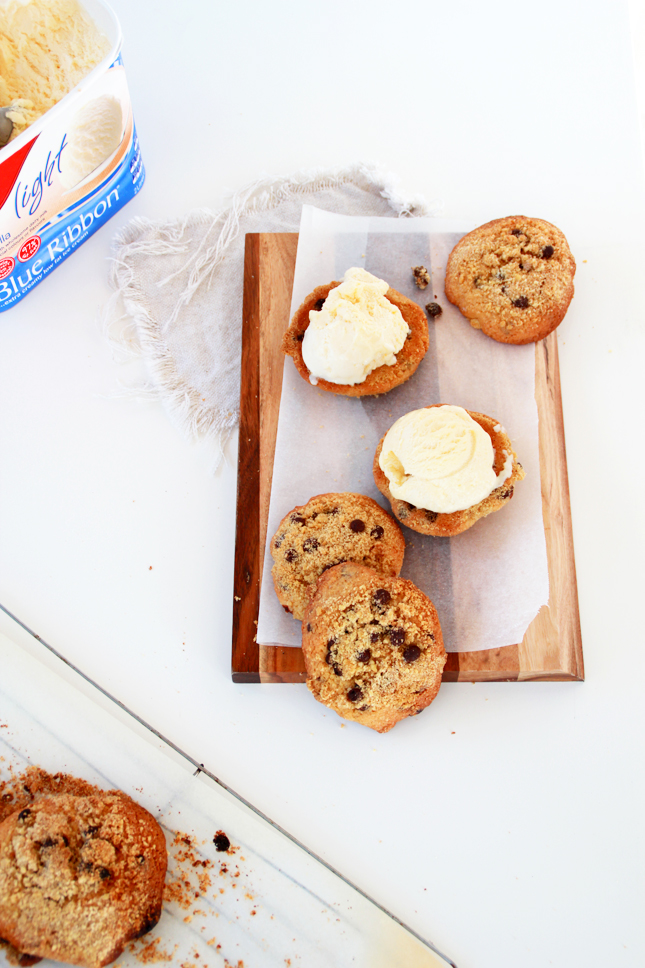
INGREDIENTS:
Cupcakes (recipe below)
Icecream
Toppings & Sprinkles
1. Using a serrated knife, cut the top off of any cupcakes that have risen unevenly, this will help the ice cream to stay on top of the cake. (You don’t need to cut off too much, just enough to have a  flat surface for the ice cream to sit on.2. Top each cupcake with  a scoop of ice cream (in your choice of flavour). The key to getting a nice round ball of ice cream is to dip your ice cream scoop into a glass of hot water in between cakes. The warmth of the spoon will stop the ice cream from sticking to the metal.3. Finish with your choice of toppings; I used leftover strawberry syrup from those delicious strawberry floats, chocolate topping, mini marshmallows, and good old fashioned sprinkles. If your cupcakes are still warm, serve immediately in a bowl. If not, return to the freezer for 10 minutes to firm up before serving.

———————————————————————————————-

Classic Vanilla Cupcakes

INGREDIENTS:
2¾ cups of cake flour
1⅔ cups of sugar
¾ teaspoon of salt
1 tablespoon of baking powder
12 tablespoons of softened  butter
4 egg whites, plus 1 whole egg
1 cup of milk
3 teaspoons of vanilla
1. Preheat your oven to 180 degrees Celsius.2. Mix the flour, sugar, salt and baking powder together in the bowl until well combined.3. Add the softened butter, a small amount at a time, allowing the butter to combine before adding the next part. With your mixer on low speed, add one egg white at a time, followed by the whole egg. Ensure each egg white is completely incorporated before adding the next.

4. In a separate bowl, add milk and vanilla extract and whisk together. With the mixer on low again, add the milk mixture a small amount at a time, allowing the dry and wet ingredients to combine properly in between additions. Scrape down the sides of the bowl as you go and after adding all the mixture, continue to beat for an additional minute or two.

5. Line a cupcake tray with cupcake wrappers and spoon the batter into each, filling around 2/4 of the way.

6. Place in the oven and bake for 16 – 18 minutes or until a toothpick comes out clean. Set aside to cool before serving.

Cupcakes iced with ICE CREAM  - Brilliant! | www.highwallsblog.comCupcakes iced with ICE CREAM  - Brilliant! | www.highwallsblog.com Cupcakes iced with ICE CREAM  - Brilliant! | www.highwallsblog.com Cupcakes iced with ICE CREAM  - Brilliant! | www.highwallsblog.com Cupcakes iced with ICE CREAM  - Brilliant! | www.highwallsblog.com

thumb-float

DRINK | Strawberry Ice Ccream Floats

 Strawberry Ice Cream Float | www.highwallsblog.com

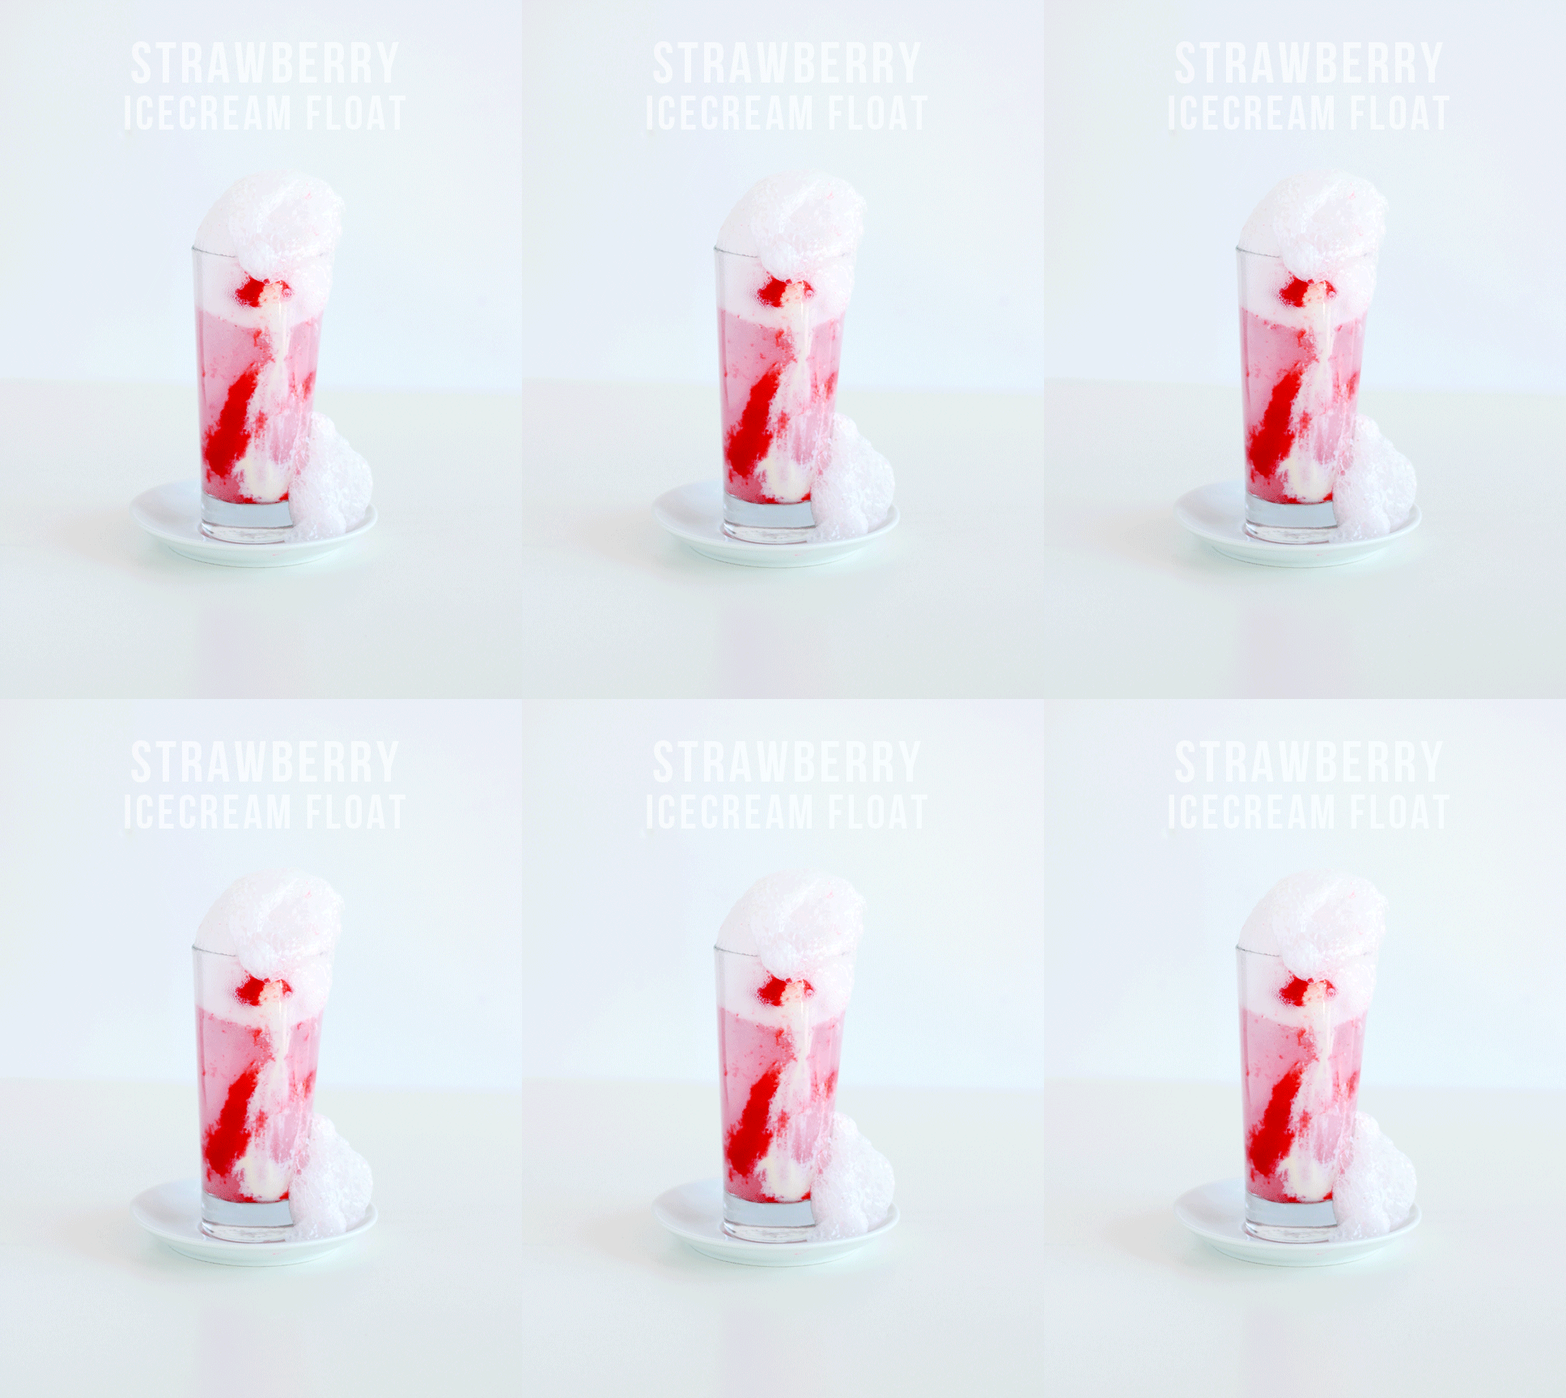
You may have seen this ridiculously delicious looking creation over at The Sugar Hit a few weeks ago. I certainly did and it totally turned me around on the idea of ice cream floats. The whole concept of mixing ice cream with soft drink (usually called a ‘spider’ in Australia) never sat well with me as a kid. I think it was more a mental aversion rather than a dislike founded on anything real. While my friends went crazy for them and had them at every birthday party, I would always keep my soft drink un-tainted and… well… boring!

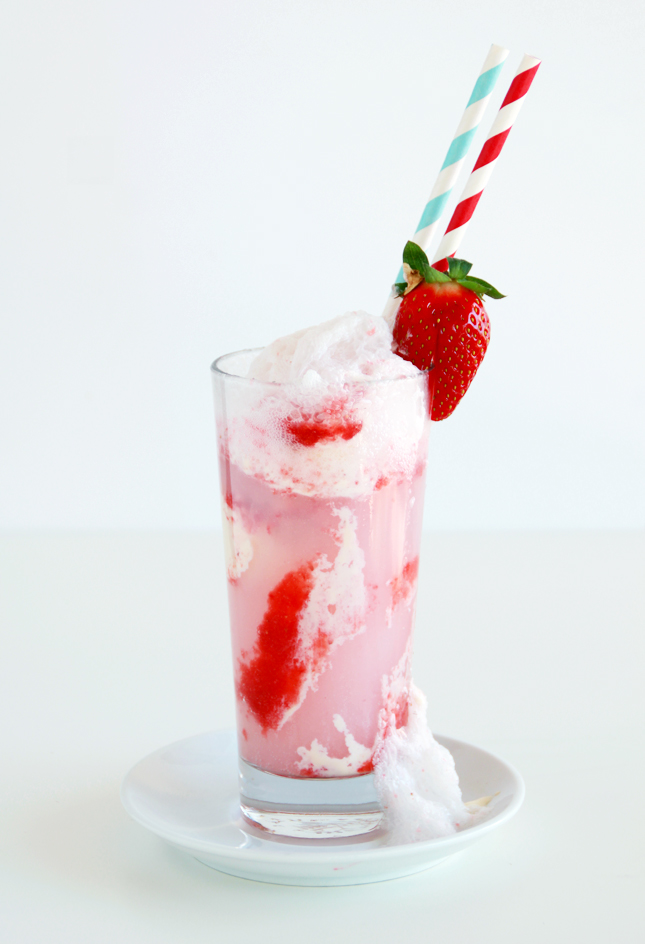
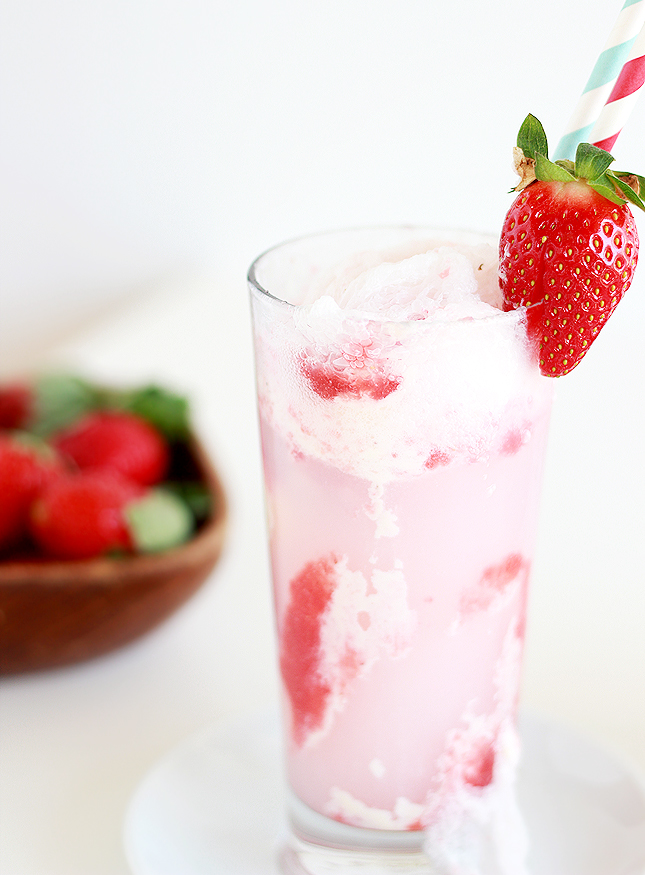
But seeing as it is ice cream month, how could I not at least give this oh so popular dessert drink a try? Taking Sarah’s advice, I opted for a fresh fruit flavour with my favourite ingredient strawberries. Guys, I’m gonna be honest. I am totally converted! I still think that creamy ice cream and fizzy drinks should not work together, but for some reason: It. Totally. Does. I don’t want to admit how many of these things I have had over the last couple weeks. It’s dangerous when you can make something so delicious with ingredients you can find in your fridge.

Strawberry Ice Cream Float | www.highwallsblog.com

INGREDIENTS:2 cups of strawberries
1/2 a cup of maple syrup
1 pint of vanilla ice cream
Soda water or lemonade
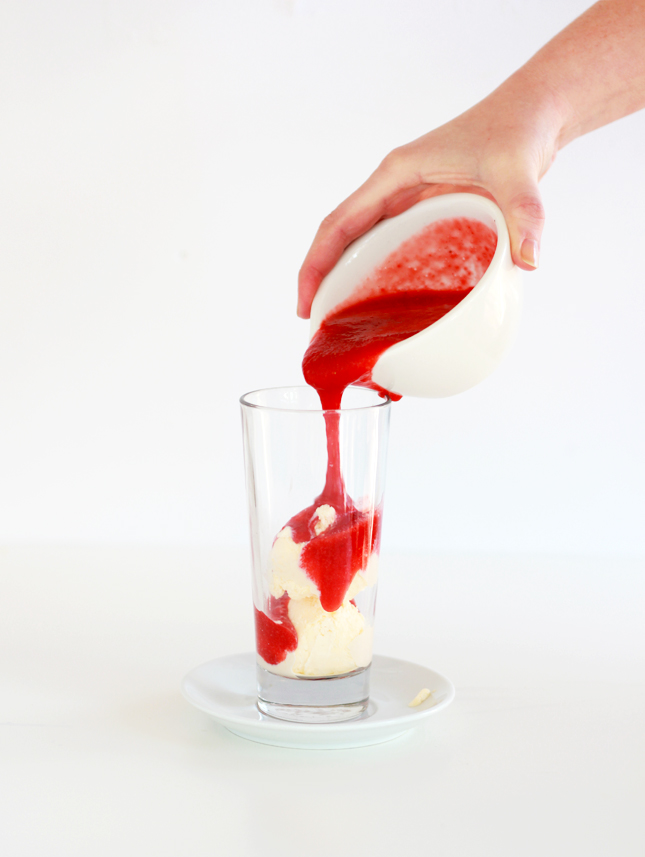
1. Wash, hull and slice the strawberries in half.2. Place strawberries and maple syrup in a blender and process until just slightly chunky to form strawberry syrup/puree.

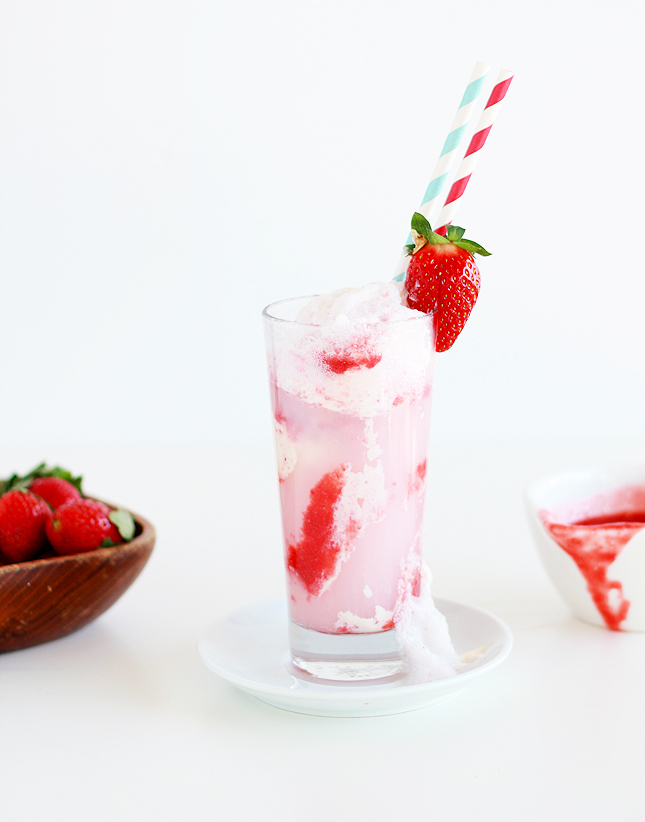
3. Scoop vanilla ice cream into a tall glass and top with 1/4 of the strawberry syrup. Fill with soda water or if you are looking for something extra sweet - lemonade! Garnish with a whole strawberry.

Strawberry Ice Cream Float | www.highwallsblog.com Strawberry Ice Cream Float | www.highwallsblog.com Strawberry Ice Cream Float | www.highwallsblog.com


thumb-affogato

EAT | Classic Italian Affogato

One for the coffee lovers - Homemade classic Italian Affogato | www.highwallsblog.com

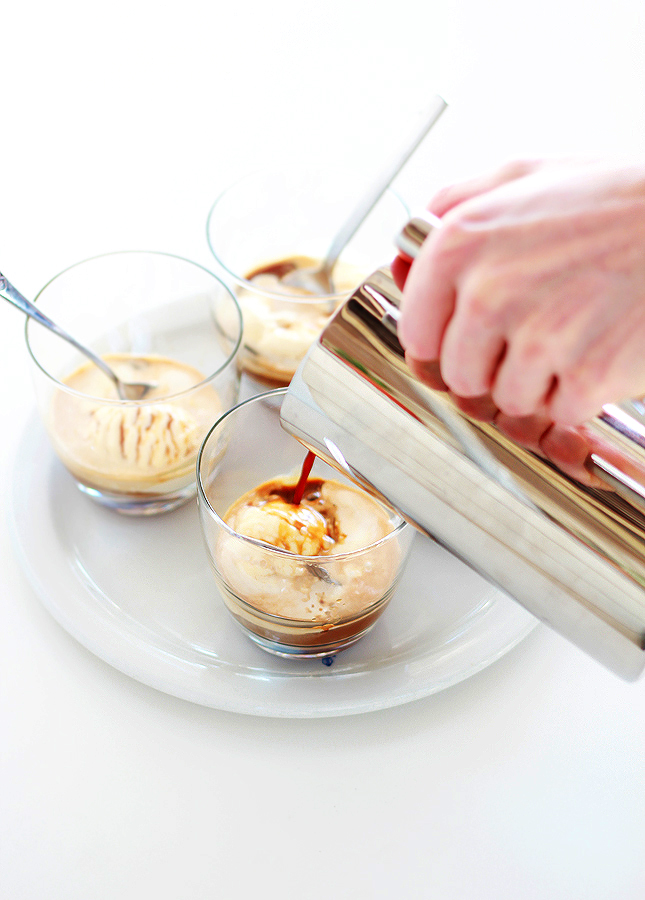
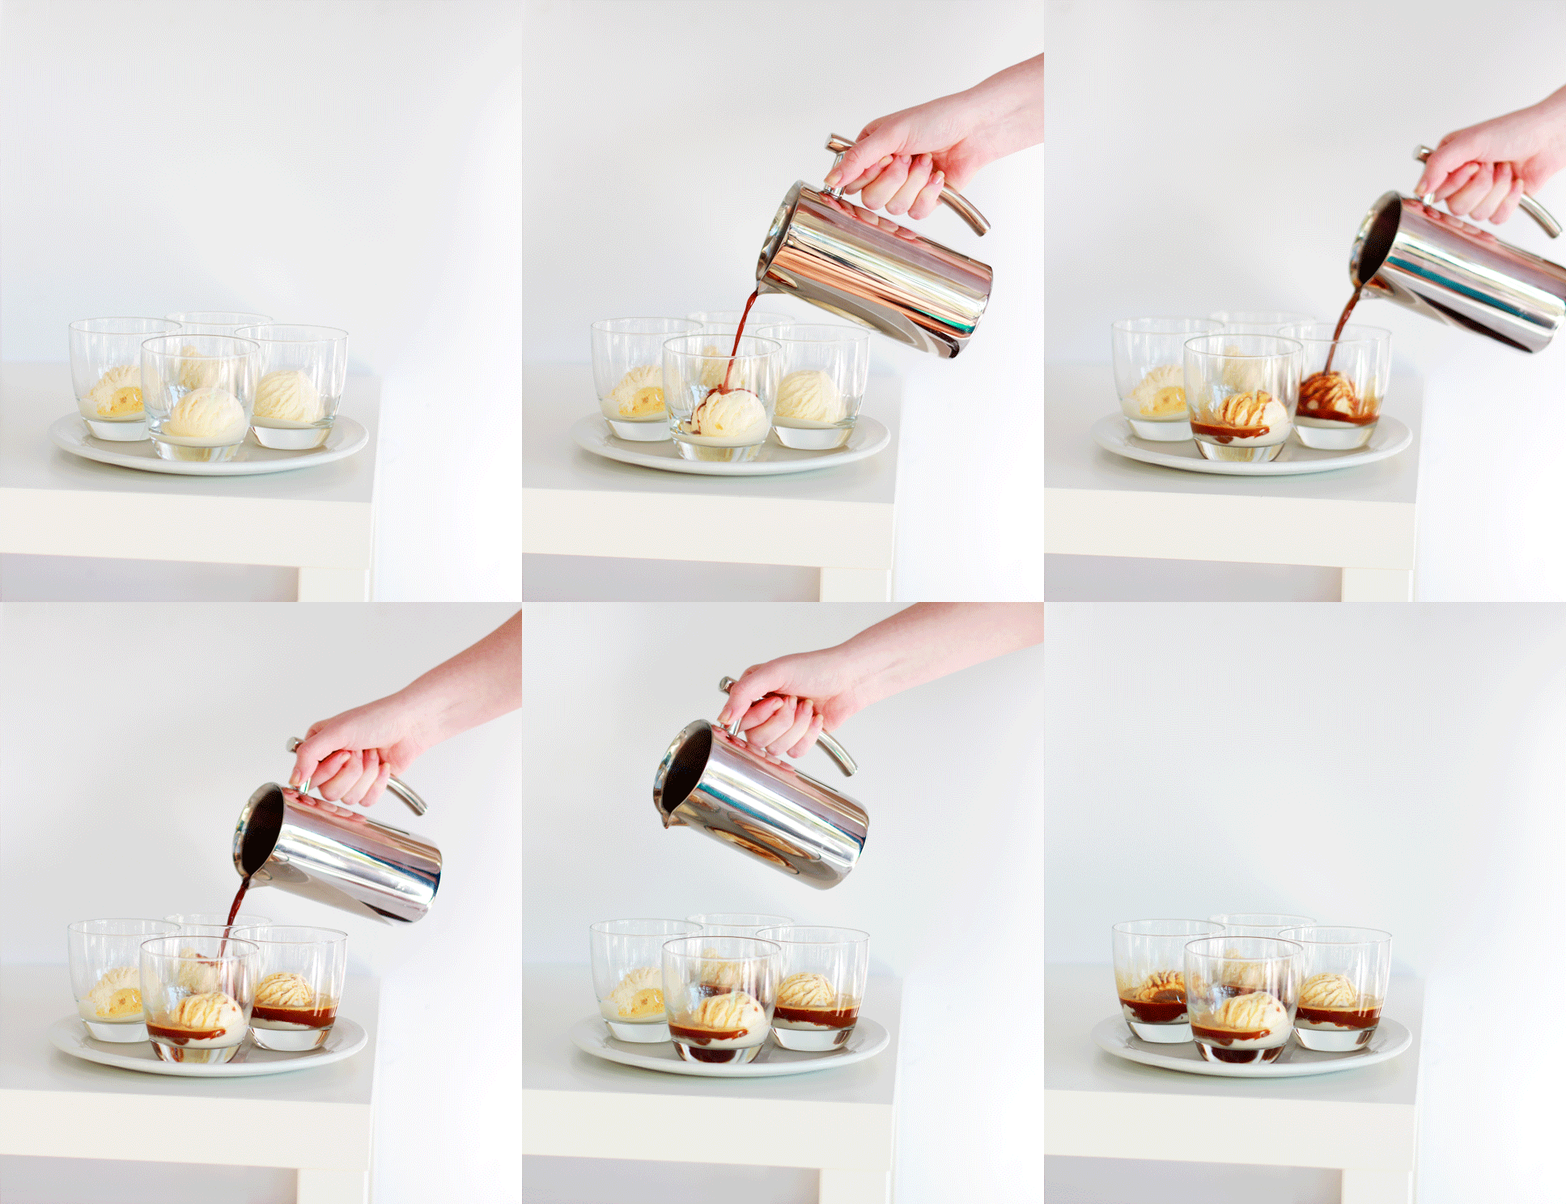
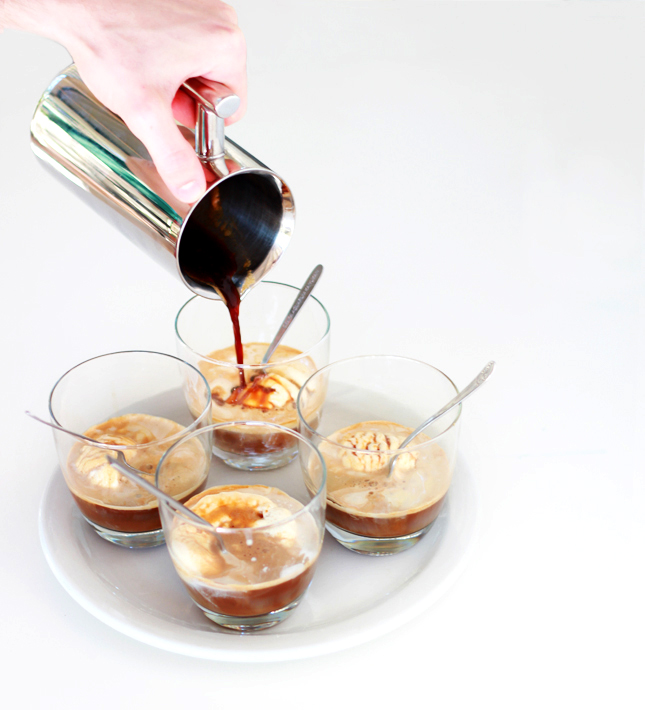
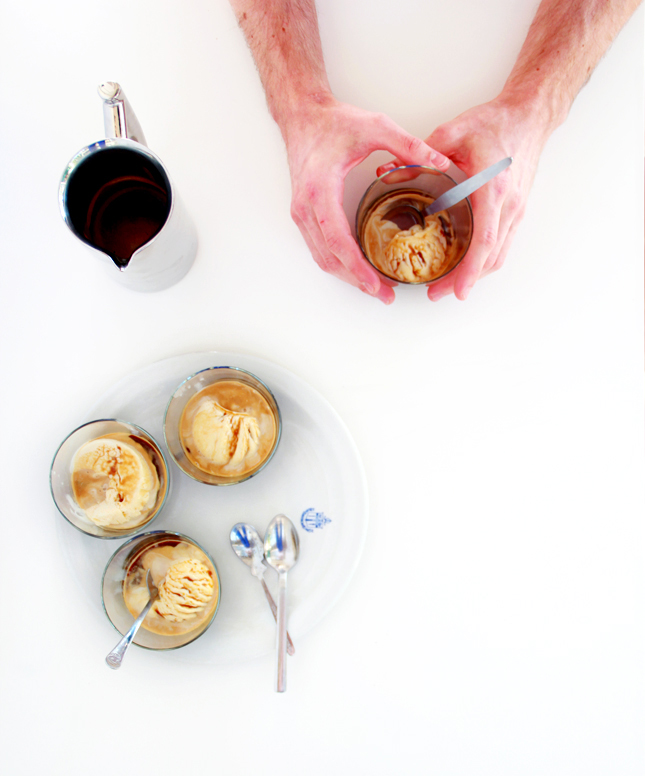
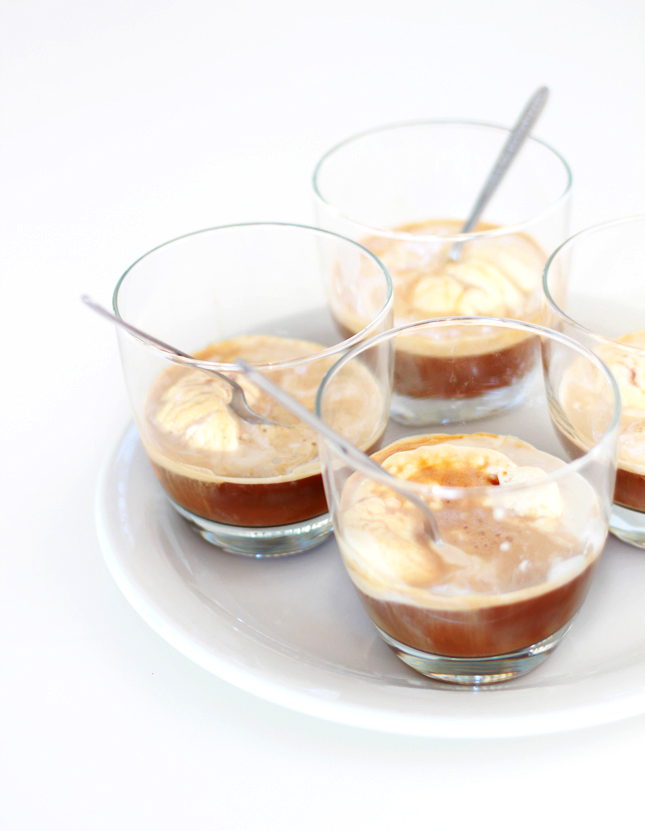
Yes we are still celebrating Ice Cream Month here at High Walls, and this week’s addition is the Italian classic, Affogato. I’m sure you’ve heard of this before. Despite its fancy Italian name (which literally means ‘drowned’!) this one is deceptively simple! You take a shot of espresso pour it over a generous scoop of ice cream, allowing the hot and cold temperatures to meld the contents into a marbled cup of delicious.

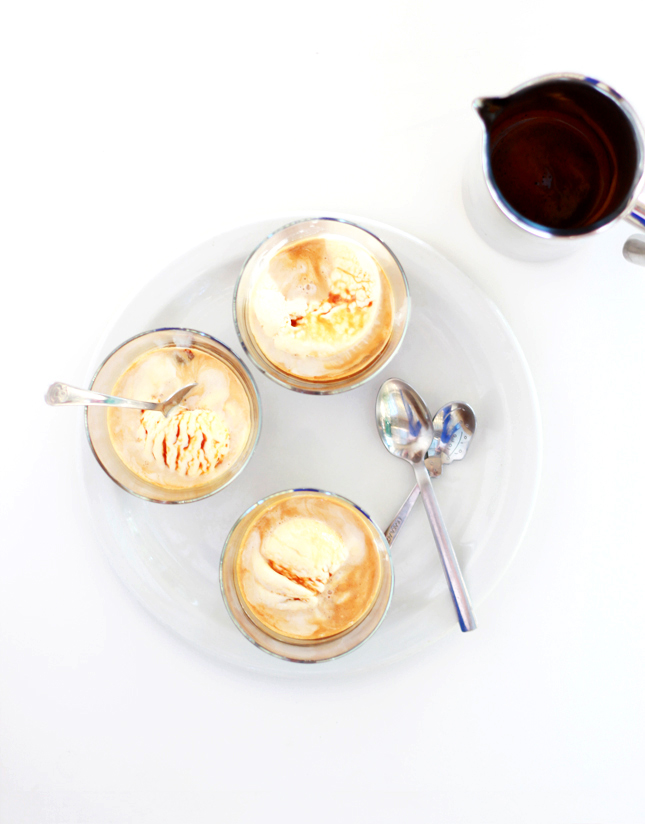
I have to admit, even though I don’t drink coffee, this is one of my favourite recipes I’ve shot for this blog! I love the simplicity of it all. The swirl of melted ice cream against the dark espresso. It’s all very decadent without being expensive or time consuming. It’s one of those recipes that is perfect all year round.

We stuck with the traditional recipe, but if you’re in the mood for a late night alternative, you can always add in a shot of Frangelico or even your favourite whiskey or port. Nightcap anyone?

One for the coffee lovers - Homemade classic Italian Affogato | www.highwallsblog.com

INGREDIENTS:
Vanilla Ice Cream
1 shot of Espresso
per person
1. In a bowl or wide glass, place a large scoop of vanilla ice cream.
2. Prepare a shot of espresso, preferably with a coffee maker - instant coffee is not really going to cut it here, and while still hot, pour over the ice cream. If adding alcohol, then pour this over at the same time.
3. Serve immediately with a spoon.  If you normally take a lot of milk in your coffee you may want to add extra ice cream to taste.

One for the coffee lovers - Homemade classic Italian Affogato | www.highwallsblog.com

One for the coffee lovers - Homemade classic Italian Affogato | www.highwallsblog.comOne for the coffee lovers - Homemade classic Italian Affogato | www.highwallsblog.com

One for the coffee lovers - Homemade classic Italian Affogato | www.highwallsblog.com

thumb-icecream-pie2

Ice Cream Pie [ Take 2 ]

Try out Ice Cream Pie  - Click through for Full Recipe

So how did you like yesterday’s Mixed Berry Ice Cream Pie recipe?  As promised, I thought I’d share another spin on this delicious dessert for those of you looking for a more ‘low-key’ version.

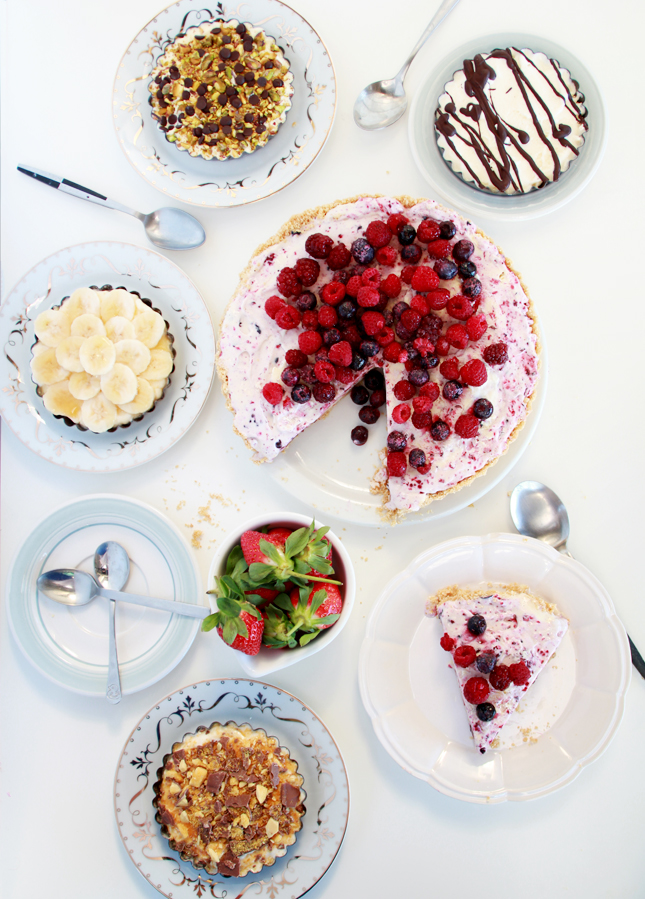
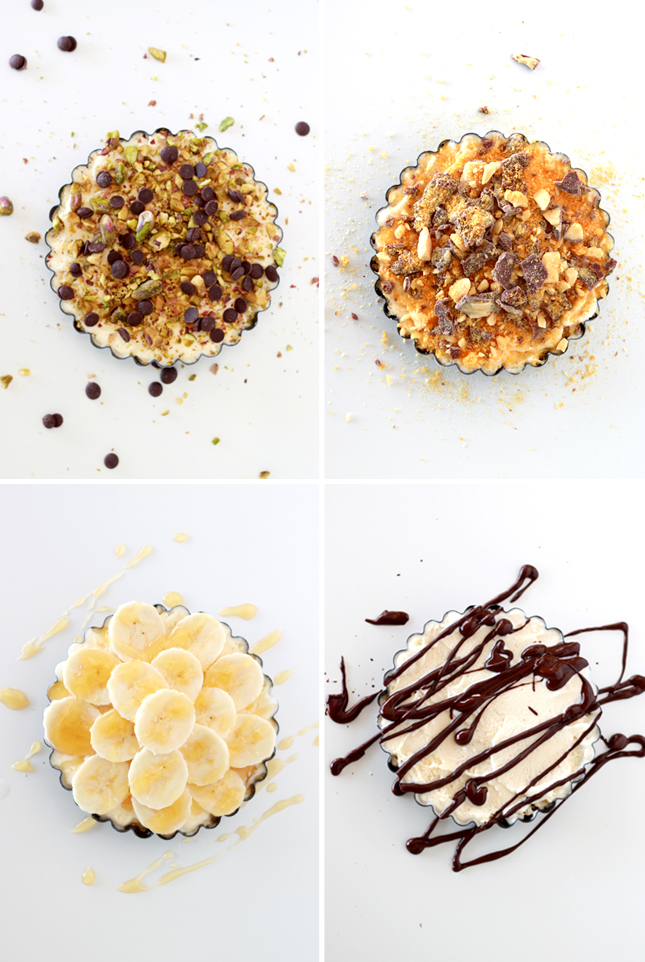
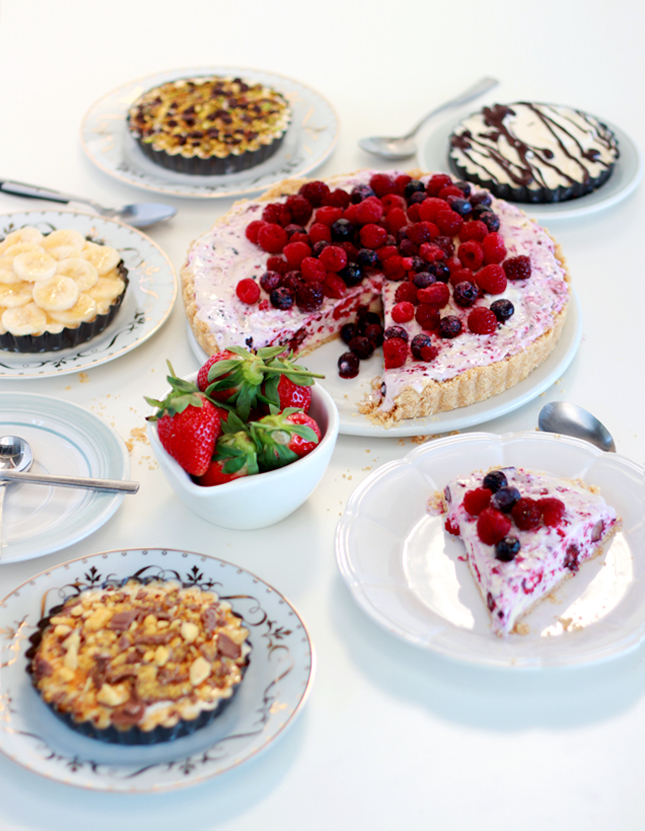
This time we’re using wafer biscuits (for that more ice cream cone style crunch) in the crust, fill it with vanilla ice cream (or you favourite flavour) and load up with your favourite toppings.  These guys are great to have pre-prepared in your freezer for a last minute dessert you can tailor from person to person. Also great for letting the little ones get involved, as they can go crazy with sprinkles and toppings!  Some of our favourite vanilla combinations include; Pistachio and dark chocolate chips, chocolate sauce, crushed honeycomb Crunchie bar and sliced banana with honey. Yuuuuuuum!

What ice cream / topping combo’s would you try? Chocolate with Peanut butter? Salted Caramel? Oreo? The choices are endless!

Try out Ice Cream Pie  - Click through for Full Recipe Try out Ice Cream Pie  - Click through for Full Recipe

 INGREDIENTS:
1 packet of Vanilla Wafers
1 cup of butter
1/3 cup of sugar
1 pint of vanilla ice cream
Toppings of your choice
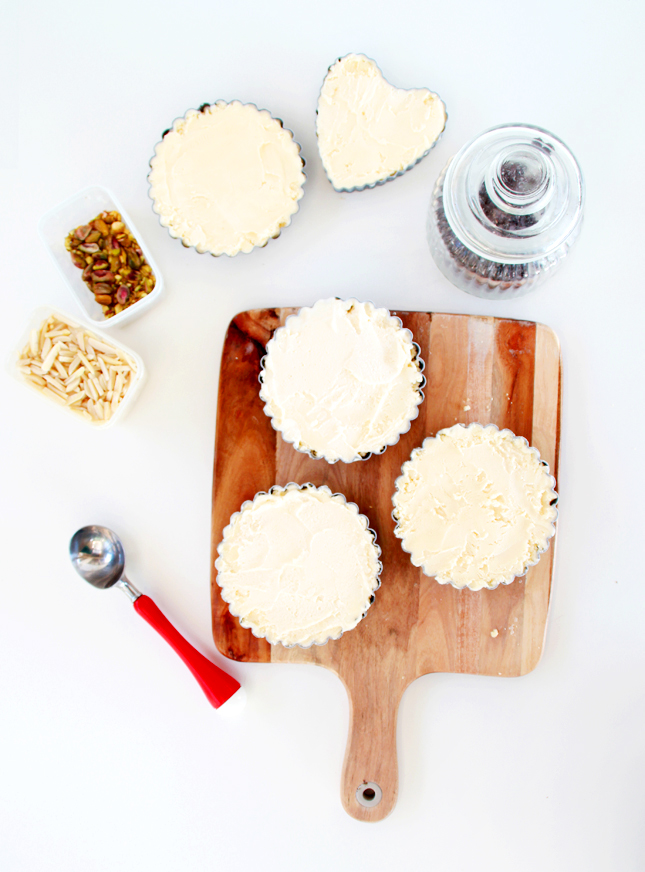
 1.  Place the wafers in a food processor and blitz until reduced to crumbs. Transfer to a bowl to a large mixing bowl. Along with the sugar (you can omit the sugar if you prefer).2. Melt the butter and allow to cool slightly before using. Add gradually to the crumb mixture, mixing as you go until the mixture starts to clump together. (you may not need all the butter)3. Divide the mixture into 4 - 5 mini pie or tart tins,  pressing down to form a thick crust. The mixture should come together as you press down. Place in the freezer to set for 30 minutes.

4. Remove the crust from the freezer and fill with the ice cream. Ensure that the crust is completely filled and smooth down the top. Wrap in plastic wrap and return to the freezer for 30 minutes to an hour.

5. To serve, remove the pie from the freezer and finish with your favourite toppings. Return to the freezer or serve immediately.

Try out Ice Cream Pie  - Click through for Full Recipe

thumb-icecream-pie1

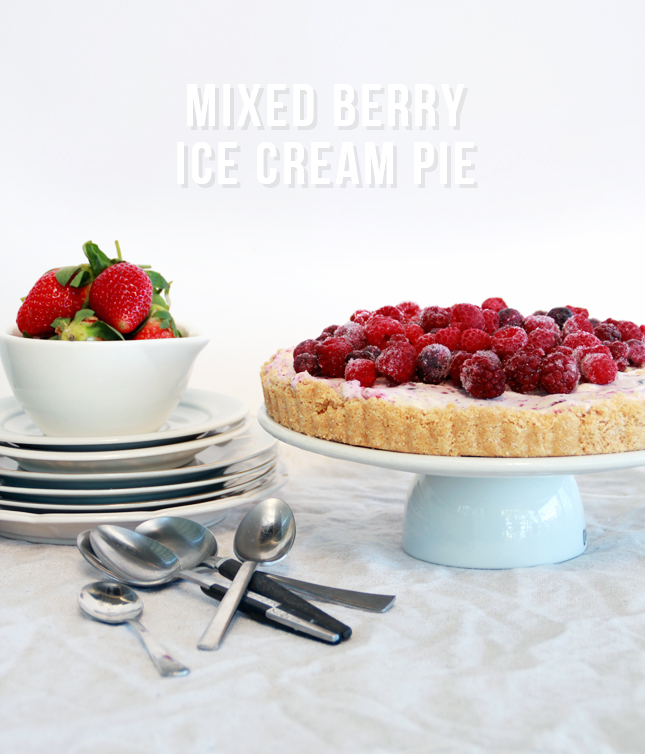
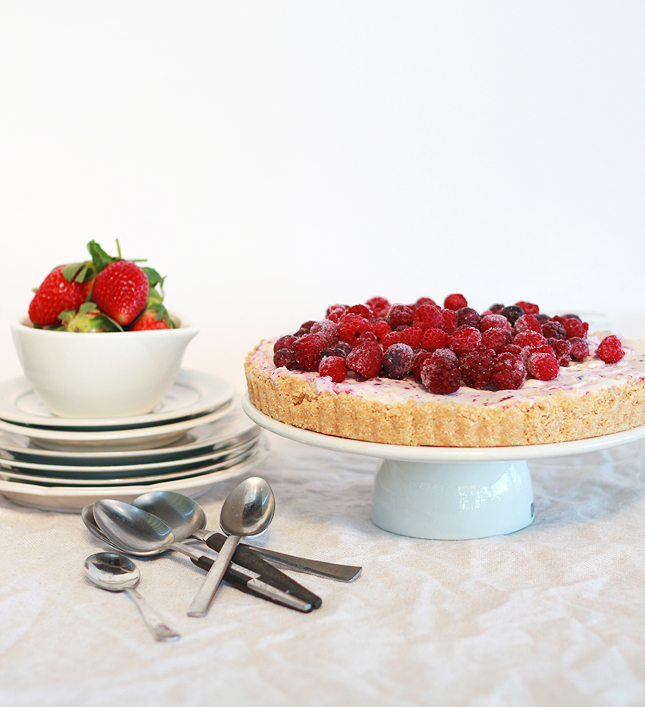
EAT | Mixed Berry Ice Cream Pie

Mixed Berry Ice Cream Pie | www.highwallsblog.com

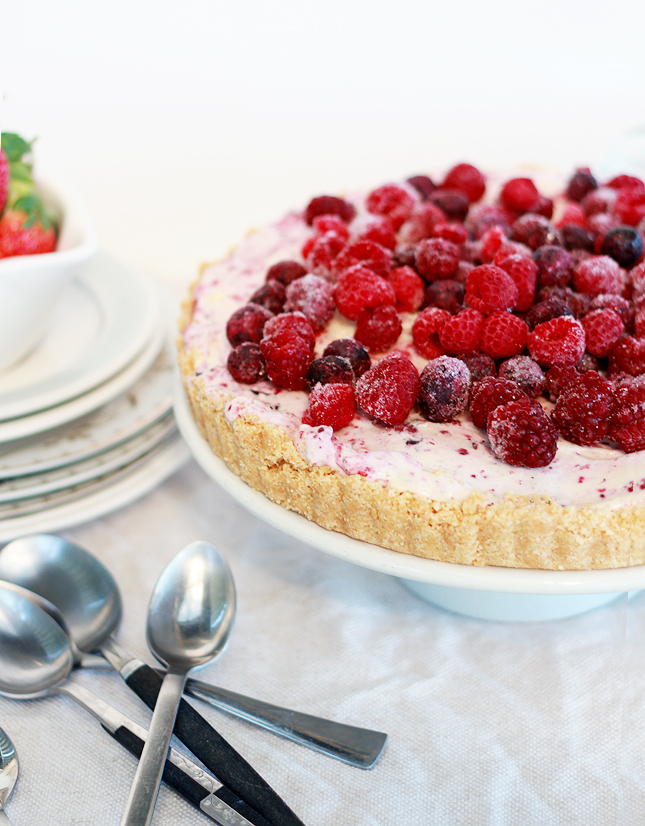
Our next stop on the runaway train that is Ice Cream Month, is the city of Pie Town. Now I know a lot of you out there will be we acquainted with Pie Town in the form of its’s flaky pastry, fruit filled exports like the all American apple pie. But today I’m going to introduce you to its little known cousin; Ice cream pie.

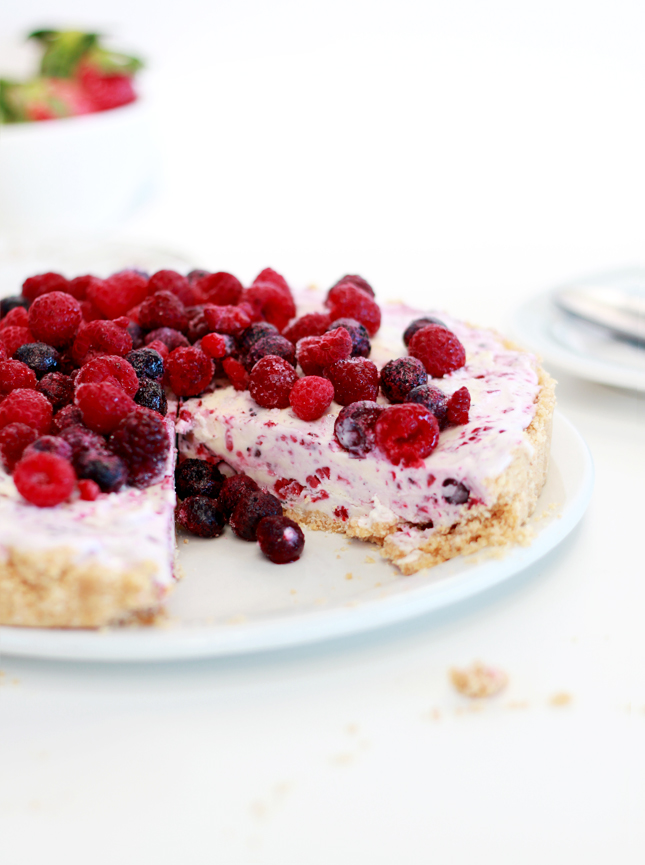
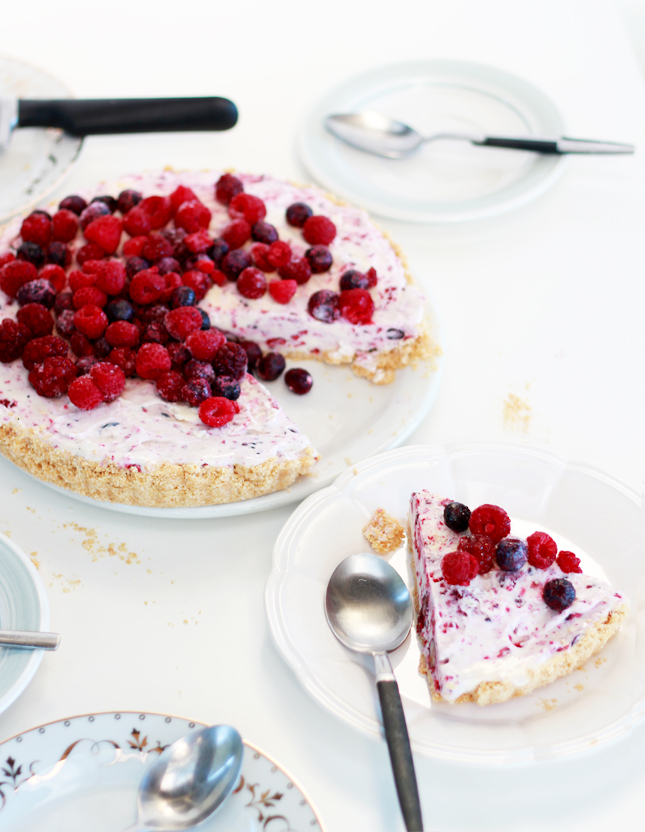
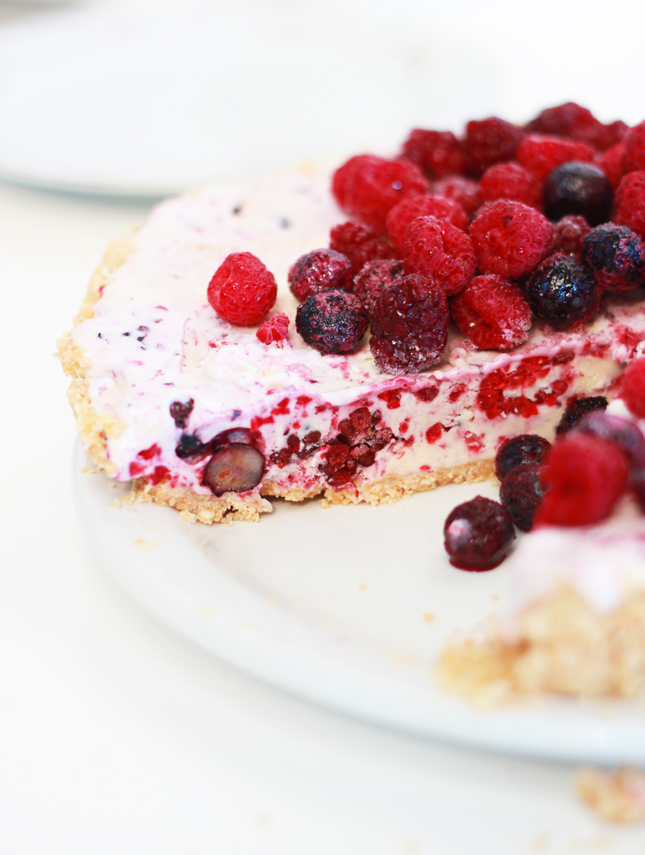
Similar to cheesecake, this little guy has a sugary cookie crust encasing its cream insides.  Add in some mixed berries that, when combined with vanilla ice cream, give the pie that sweetness and tart you didn’t realise you’d been craving. This is ice cream for grown ups people. Your friends are going to suspect that you are perhaps secretly a chef in you spare time, after you whip this one out at parties. (Do people whip out desserts at parties? Maybe I have the wrong idea about what happens at parties… or maybe the parties I’m attending are totally awesome!)

Of course if berries aren’t really your wheelhouse, you can substitute them for other ingredients, but we’ll get back to that tomorrow with a slight variation on this recipe. For now, sit back and revel in the knowledge that you only need a few simple ingredients to make something oh-so amazing.

Mixed Berry Ice Cream Pie | www.highwallsblog.com

Mixed Berry Ice Cream Pie | www.highwallsblog.com

INGREDIENTS:
1 packet of Nice Biscuits1 cup of butter

1/3 cup of sugar

1 pint of vanilla ice cream

1 packet of frozen mixed berries

1.  Place the biscuits in a food processor and blitz until reduced to crumbs. Transfer to a bowl to a large mixing bowl. Along with the sugar (you can omit the sugar if you prefer).

2. Melt the butter and allow to cool slightly before using. Add gradually to the crumb mixture, mixing as you go until the mixture starts to clump together. (you may not need all the butter)

3. Press the mixture evenly into a pie or tart tin, pushing up at the sides and smoothing the bottom. The mixture should come together as you press down. Place in the freezer to set for 30 - 40 minutes.

4. Meanwhile allow the vanilla ice cream to soften in a large bowl. Place the 3/4 of the frozen berries in a food processor and pulse a few times to break down into smaller pieces.

5. Mix the berries (and any juices) into the softened ice cream. If you are feeling it, add in some finely chopped chocolate as well.

6. Remove the crust from the freezer and fill with the ice cream and berries. Ensure that the crust is completely filled and smooth down the top. Wrap in plastic wrap and return to the freezer for at least an hour.

7. To serve, remove the pie from the freezer and allow to sit on the bench to soften slightly before cutting into slices. Top with the remaining frozen berries and dusted with icing sugar if you so desire.

Mixed Berry Ice Cream Pie | www.highwallsblog.com

Mixed Berry Ice Cream Pie | www.highwallsblog.com

Mixed Berry Ice Cream Pie | www.highwallsblog.com

thumb-icecream-sandwiches

EAT | Choc Chip Crumb Cookie Icecream Sandwiches

Chocolate Chip Crumb Cookie Ice Cream Sandwiches! WOW! | www.highwallsblog.com

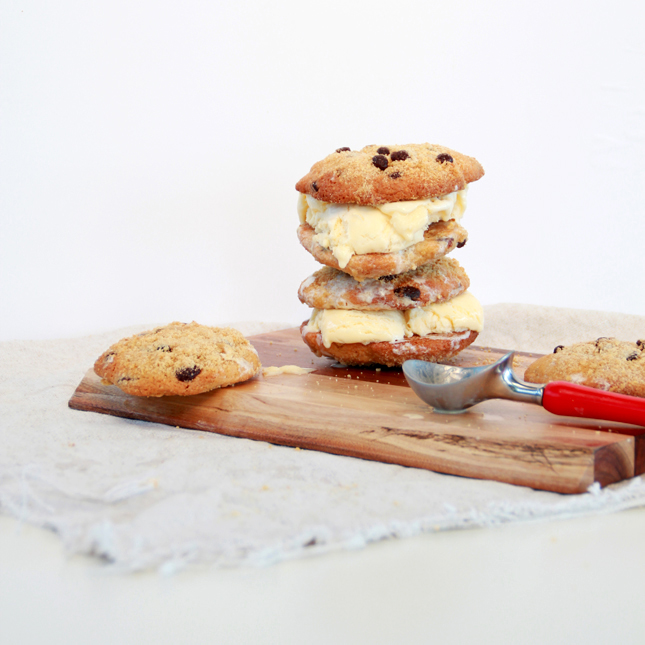
As we discussed yesterday, July is ice cream month in the US. “No Fair!” cry out all the other countries, but to them I say - why should America get all the fun?  Ice cream month sounds amazing, so let’s crash this party! We’re going to celebrate with a whole series of ice cream related recipes over the next few weeks. Let’s kick things off with an old faithful; ice cream sandwiches.

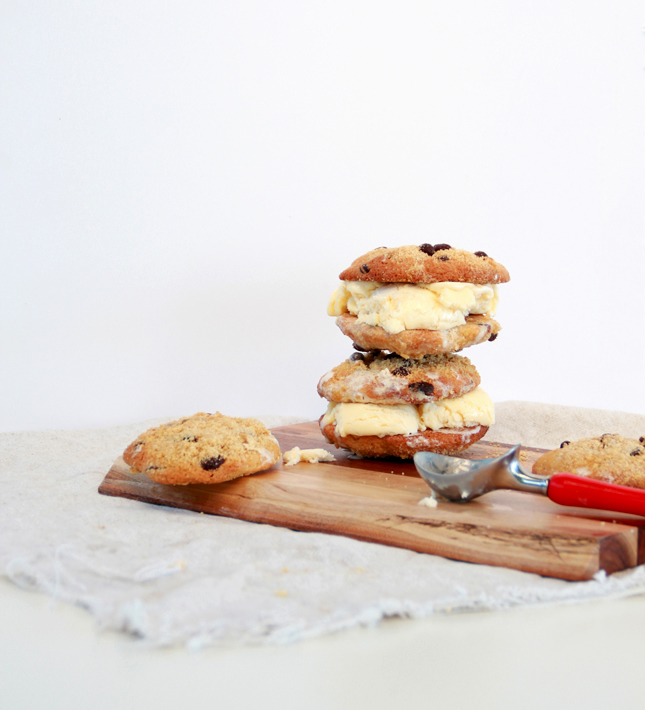
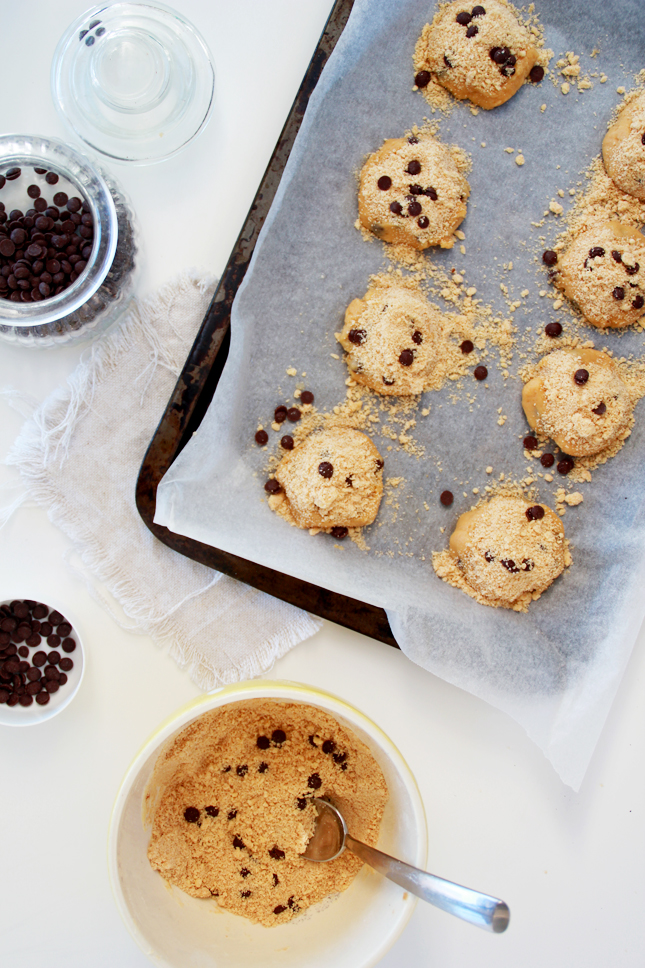
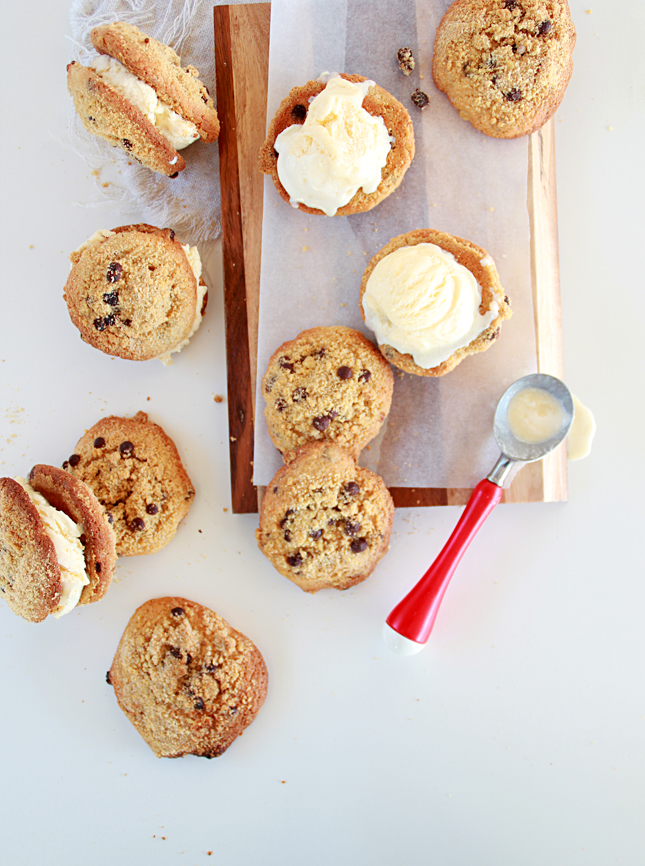
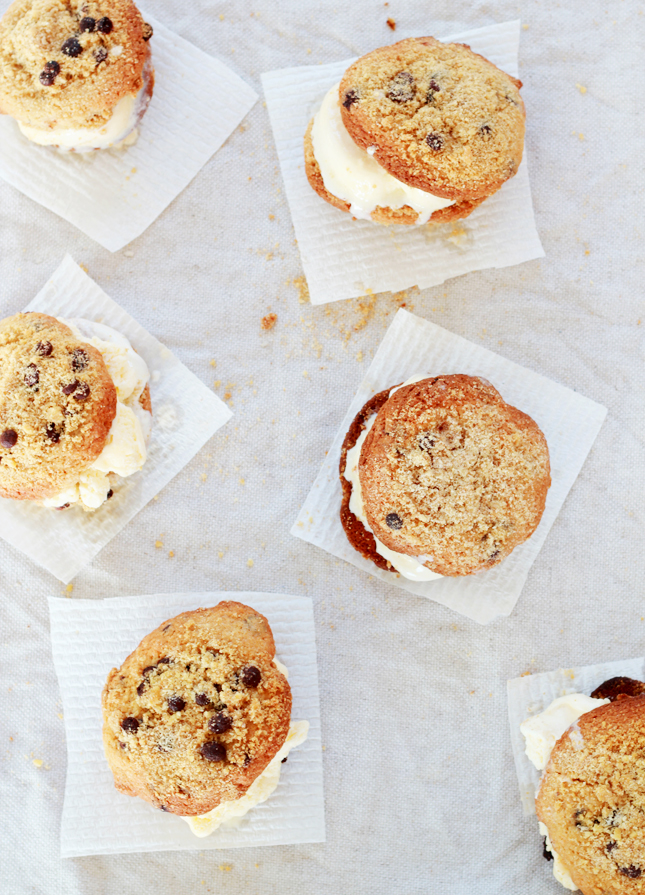
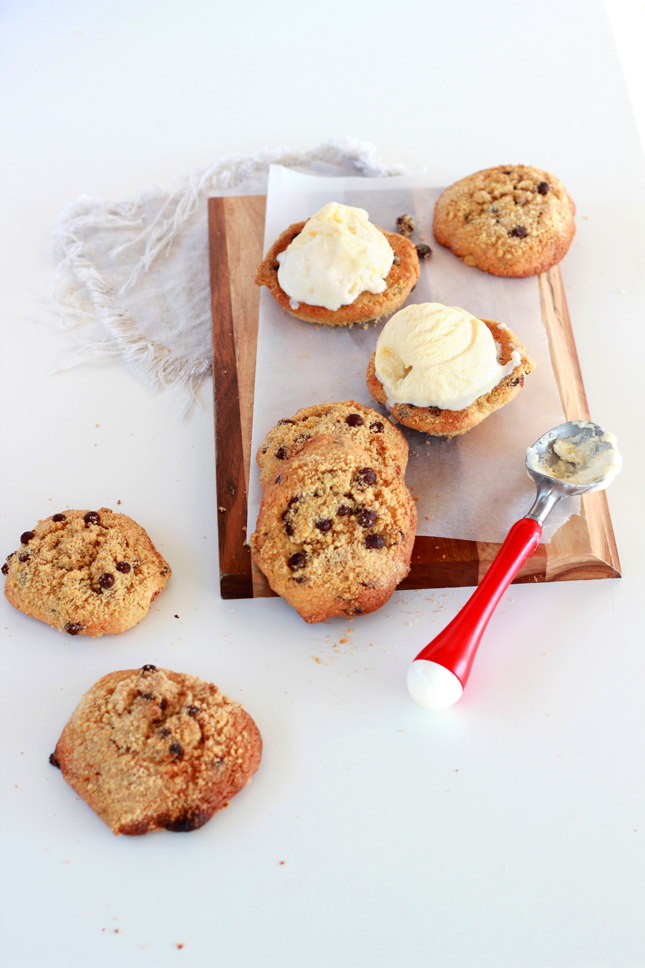
These cookies are an amalgamation of chocolate chip cookies and crumb cakes . As the name suggests, these cookies are super crumbly and while delicious on their own, when combined with ice cream they are next level.  A soft, crumbly cookie is the key to a good ice cream sandwich and these cookies sure do deliver! The crumble and chocolate chips mix in with the ice cream into a glorious messy marriage. Napkins are a must on this one guys! Be prepared for sticky fingers and dripped on shirts! Ice cream sandwiched by cookies. Is there anything better?

Chocolate Chip Crumb Cookie Ice Cream Sandwiches! WOW! | www.highwallsblog.com

Chocolate Chip Crumb Cookie Ice Cream Sandwiches! WOW! | www.highwallsblog.com

INGREDIENTS:

1 large egg
1/2 cup of caster sugar
1/3 cup of brown sugar
125g softened butter
1 teaspoon of vanilla essence
2/3 cup of self-raising flour
1 cup of plain flour
Roughly 1 cup of mini chocolate chips
Vanilla Ice cream

Crumble topping:

1/2 cup of plain flour
50g of chopped chilled butter
1/4 cup of brown sugar

1. Preheat oven to around 180 degrees Celsius (or 160 degrees if you have a fan-forced oven)

2. Place butter, caster sugar, brown sugar and vanilla together in a bowl and beat with an electric mixer until the mixture is pale and of a creamy consistency.

3. Add the egg and beat again until combined.

4. In a separate bowl, mix together the plain flour and self-raising flour. In small parts, stir the flour mixture into the butter/sugar mix until the mixture starts to form into dough. Mix in half the chocolate chips at the same time.

5. Spoon small amounts of the dough and roll in the palm of your hand into a ball.

6. Place dough balls onto a baking tray lined with baking paper 5cm apart. With the back of a spoon press an indent into the center of each cookie.

7. To make the crumble topping, place the flour and butter in a bowl and using your fingertips, rub the butter into the flour. Continue to do this until your mixture resembles coarse breadcrumbs. Add the brown sugar and stir to combine.  Mix in the remaining chocolate chips and sprinkle the crumble topping over the cookies.

8. Bake for about 5 minutes, as the cookies spread out, top with more crumble topping. Cook for another 7 - 10 minutes or until cookies are lightly golden but still very soft.

9. Transfer the cookies to a wire rack and allow to cool. Once completely cool, place 1 – 2 scoops of ice cream between two to cookies and press together firmly.

Chocolate Chip Crumb Cookie Ice Cream Sandwiches! WOW! | www.highwallsblog.com

Chocolate Chip Crumb Cookie Ice Cream Sandwiches! WOW! | www.highwallsblog.com

 Chocolate Chip Crumb Cookie Ice Cream Sandwiches! WOW! | www.highwallsblog.com

Chocolate Chip Crumb Cookie Ice Cream Sandwiches! WOW! | www.highwallsblog.com


thumb-taco-burger

EAT | Taco Burgers

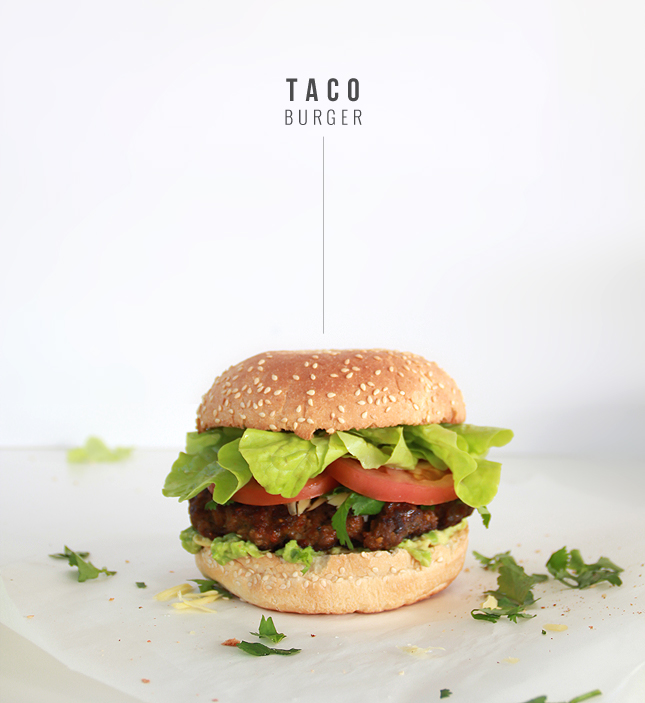
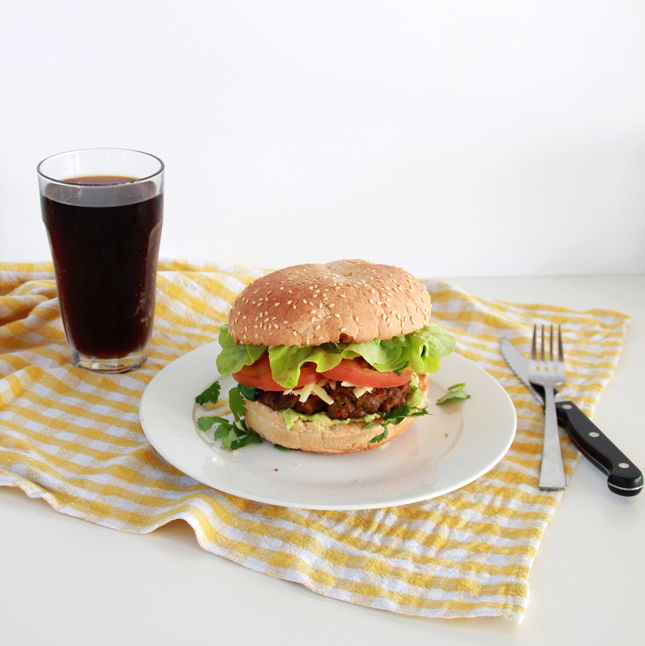
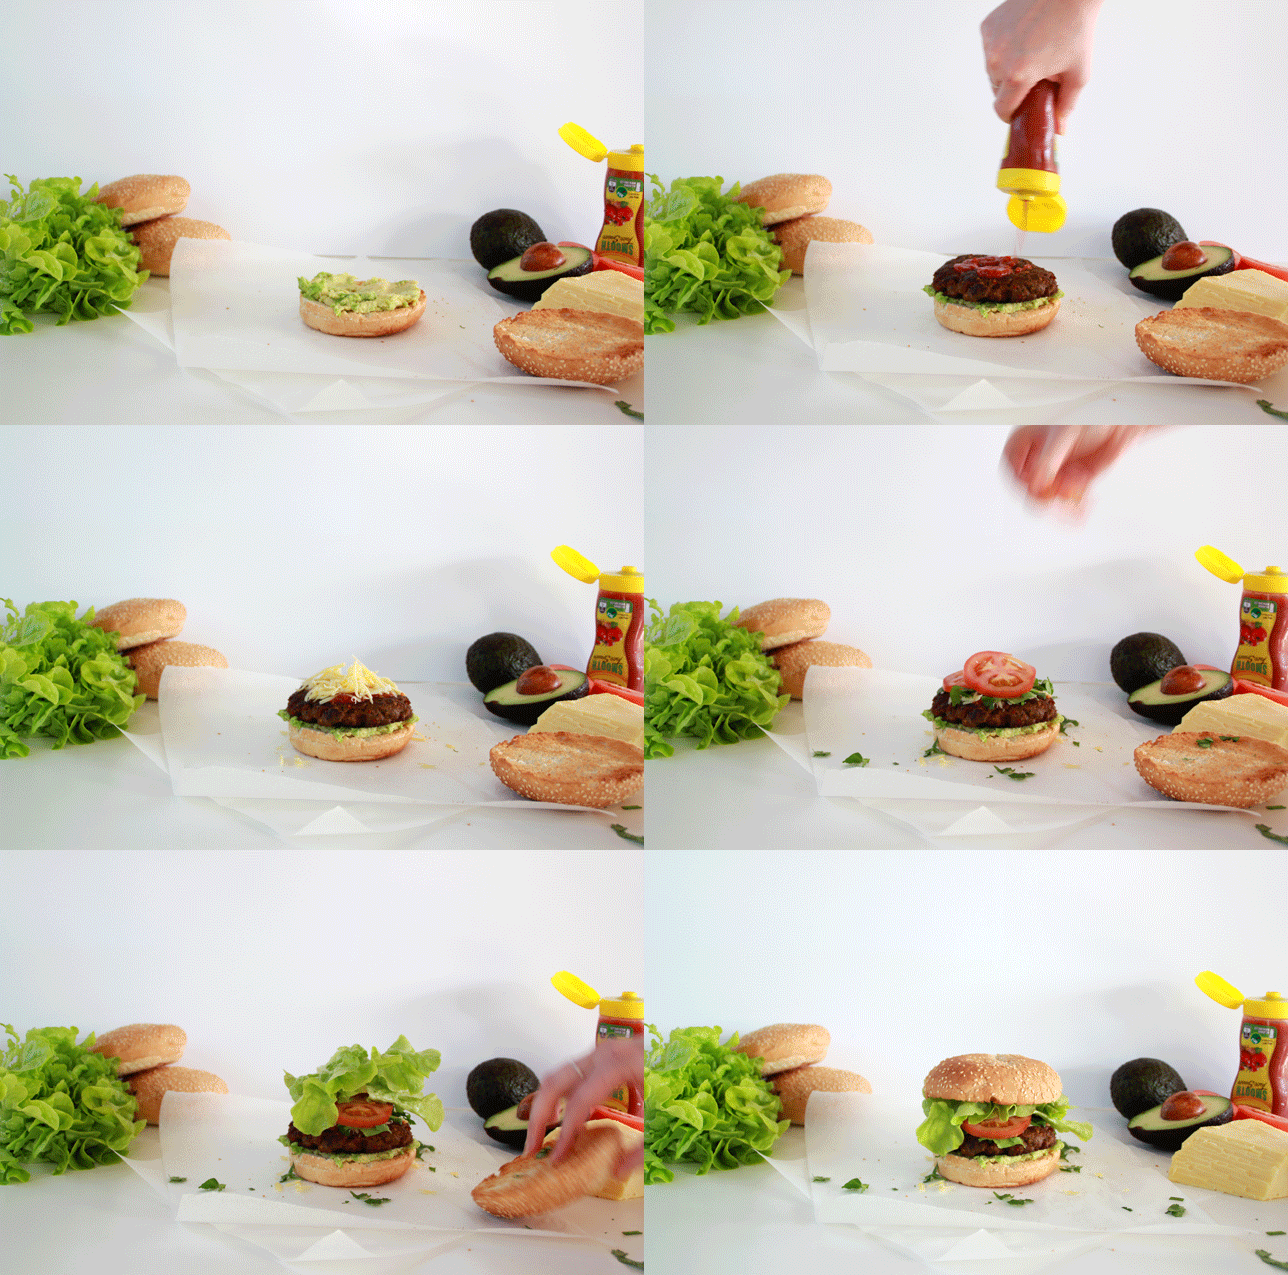
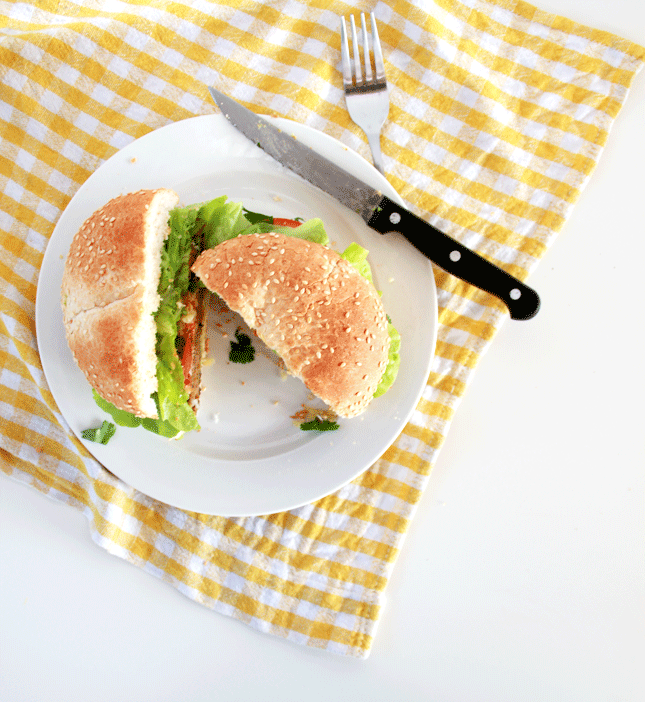
Mid-week meals: easy Taco Burgers (Click for the full recipe) | www.highwallsblog.com

When concocting new recipes, I have one of two creative methods:

1. Careful planning and research, followed by trial and error until the recipe is perfected.
2. Get a spur of the moment idea; mash ingredients together. Hope for the best.

This recipe is clearly the product of the latter process. Is it elegant? Not really. Does it taste mighty fine? Yes Sir-ee! I mean, just think about it. Everybody loves burgers. Everybody loves tacos. Burgers combined with tacos = maximum love! My logic is flawless!

These burgers are perfect for mid-week when you can’t be bothered to make anything fancy, but you also don’t want to have the same old boring meat and salad combo. You can, of course, go all out with this baby if you want to take it up a notch.  Add roasted capsicum or make your own salsa and seasonings. But for me, the best part of this burger is that it is quick, easy and a slightly different take on two old favourites.

Mid-week meals: easy Taco Burgers (Click for the full recipe) | www.highwallsblog.com

INGREDIENTS:
4 x Large Burger Buns
500g of beef mince
1 egg
1 cup of bread crumbs
A hand-full of plain corn chips
1 bunch of coriander*
1 packet of taco seasoning
1 packet of burrito seasoning
1/4 cup of milk
3 birds eye chili’s (optional)
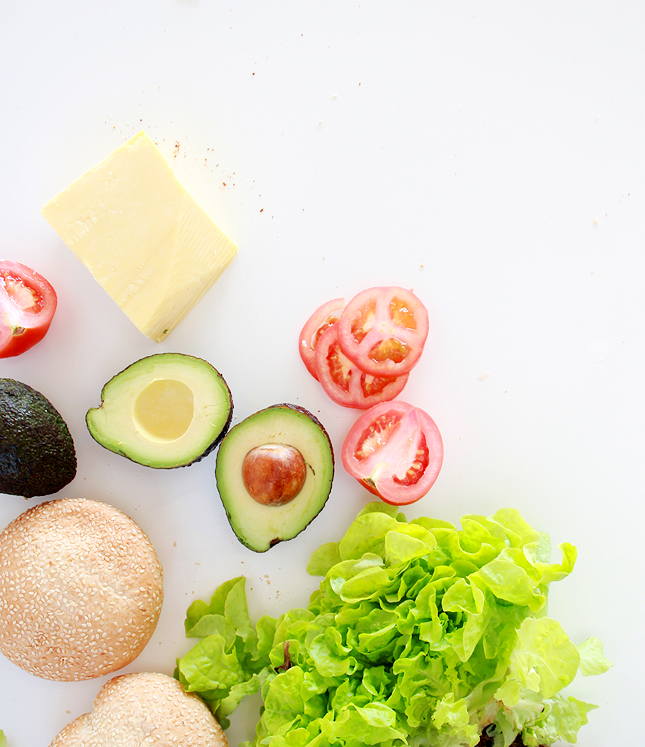
Your choice of salad & toppings, we used:

Taco salsa, oak leaf or cos lettuce, tomato, red onion, grated cheese, avocado, lime, 4 large burger rolls

STEPS: (makes 4 burgers)

  1. Place the corn chips in a food processor and process until crumbs. Add in the washed coriander (and chili if you are using it) and process again until  finely chopped and mixed in. Stir in the bread crumbs.
  2. In a large bowl combine 500g of beef mince with 1 egg, ¼ cup of milk, the breadcrumb mixture and at least ¾ of each packet of seasoning (you can use the whole thing if you want) Trust me on this, the two different flavourings work brilliantly together, I never make tacos without both now!
  3. Mix with your hands until completely combined. If you find the mixture is too dry add it a splash of milk and mix again. Split into 4 large patties and place, covered in the refrigerator for at least 30 minutes.
  4. Remove from the fridge and on a flat surface, flatten each patty with your hands until around 1 -2cm in thickness. Cook patties in  large frying pan over medium-high heat, flipping occasionally until cooked through.
  5. While these are cooking, slice the bread rolls in half and place under the grill until crisp and golden. Flip over and grill the other side. Keep in a warm oven until ready to serve.
  6. In a small bowl mash 1 avocado with a squeeze of lime juice, a handful of chopped coriander (optional) and season with salt and pepper. Slice the tomato and onion and set aside.
  7. To serve: smear ¼ of the avocado mix on the bottom bun of each burger. Top with meat, taco salsa, cheese, coriander, tomato, onion and lettuce.

* Please Note: I am a fiend for coriander so I like a LOT. If you’re not a fan you can reduce the amount or omit it completely.

Mid-week meals: easy Taco Burgers (Click for the full recipe) | www.highwallsblog.com

Mid-week meals: easy Taco Burgers (Click for the full recipe) | www.highwallsblog.com

Mid-week meals: easy Taco Burgers (Click for the full recipe) | www.highwallsblog.com

thumb-mini-quiche

EAT | Feta, Ham and Spinach Mini Quiche

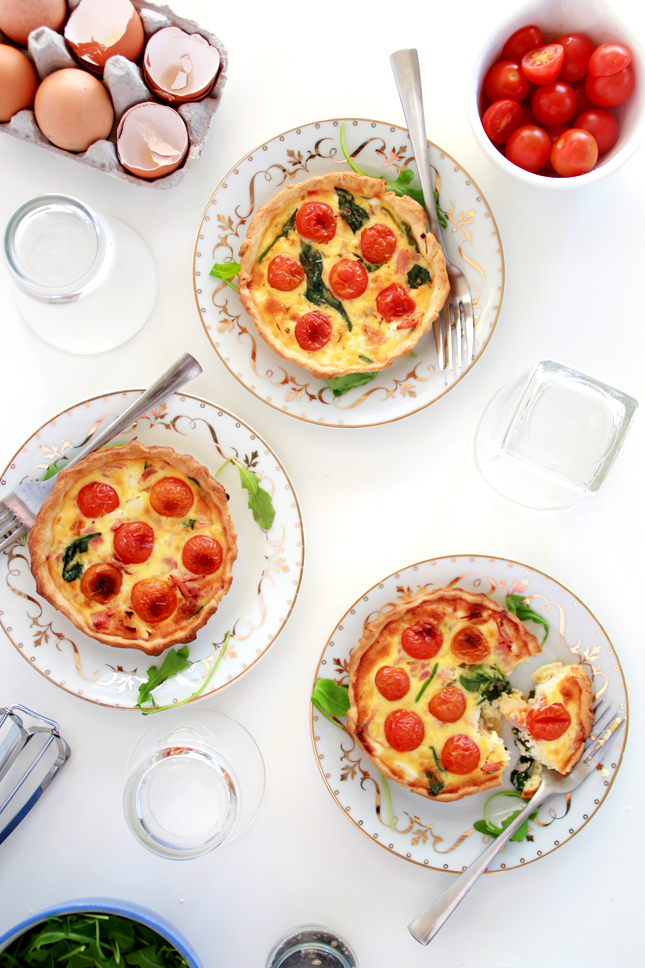
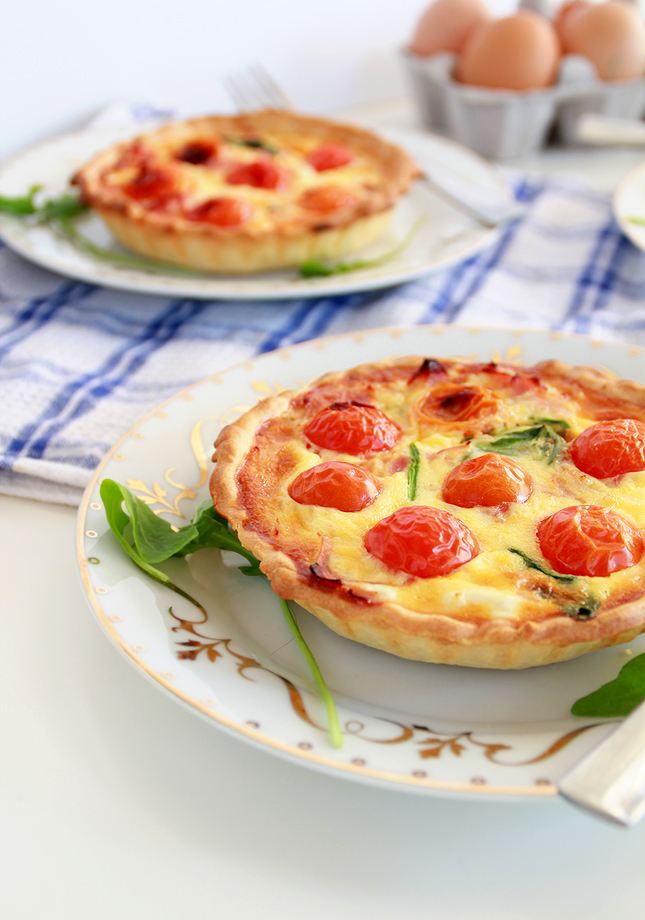
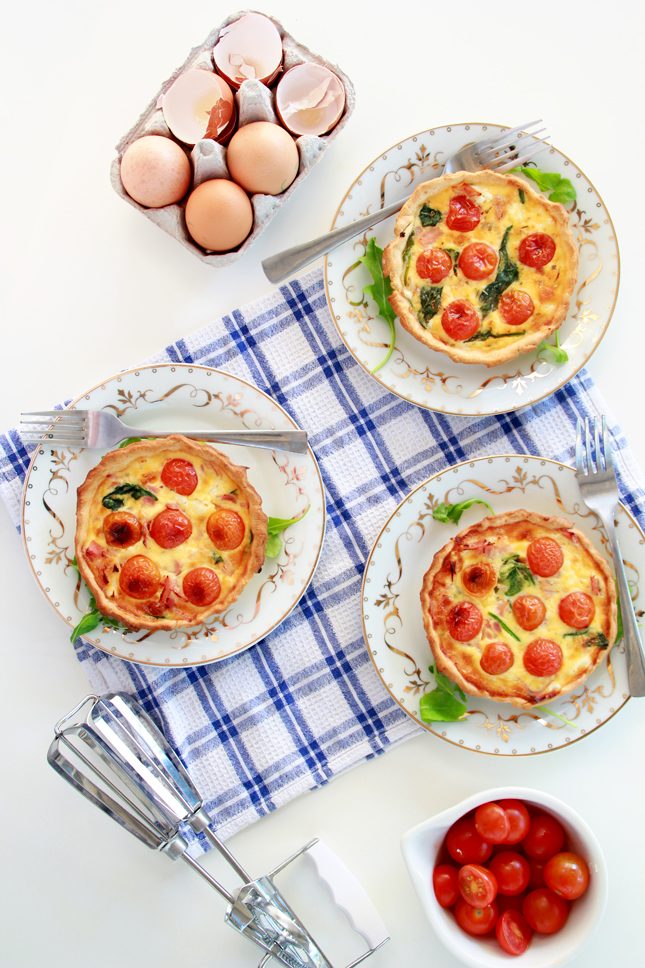
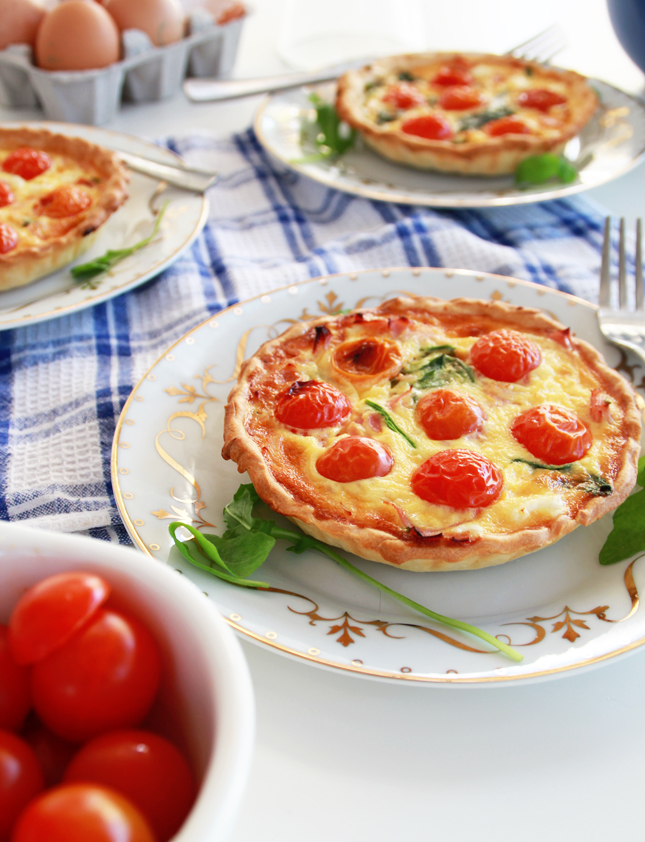
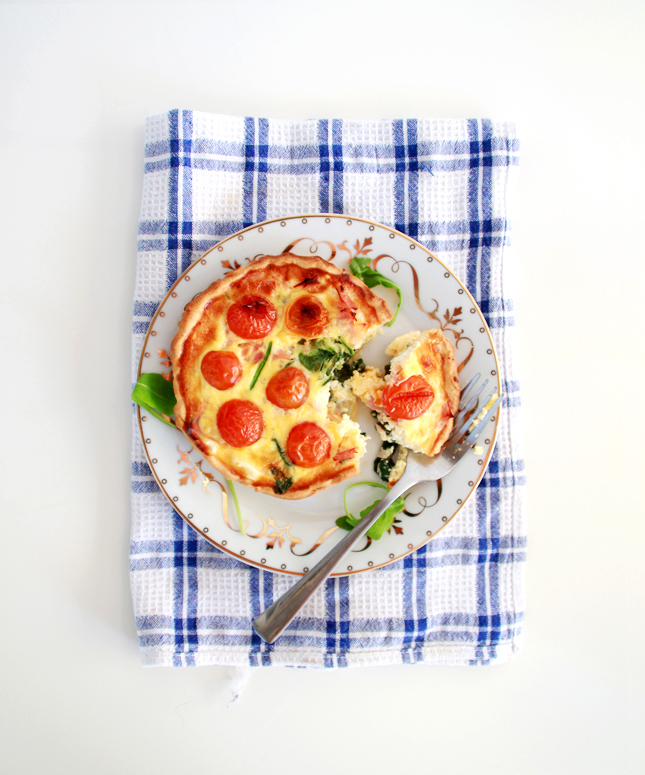
Feta, Spinach, Ham & Tomato Mini Quiches | www.highwallsblog.com

Everybody has fall back dishes they keep tucked up their sleeve for times when you just can’t really be bothered to cook a full meal. For me, quiche would be in my top 3 under the category of ‘ugh. What can I cook that’s super easy?” Mix together some eggs, milk and whatever you have in the fridge, pour in on a pastry base and bake. BAM! You’re done! No muss, no fuss, AND depending on what you put in it, you’re still bound to impress any guests you may have!

Today I have a slightly less lazy version to share with you. With a full sized quiche, I rarely make the effort to blind bake the crust (meaning you bake the crust first and then add the filling and bake a second time). A full quiche is fine with a flaky puff pastry crust because it has its own weight to sustain its shape. But today we’re going to make mini versions, which are so deliciously light that you are going to want a crisp, crumbly shortcrust base to hold it all in.

Danish feta is really the star of this dish. I say ‘add to taste’, but what really makes the difference, is when you add in lots of feta. When I make these for myself, I basically fill any gaps with feta and then add in a little more for good measure. The soft texture and silky flavour overpowers that overly ‘eggy’ flavour that puts some people off of quiche. Combined with ham, spinach and tomato, these little quiches are perfect for breakfast, lunch or dinner (or all three if you’re really feeling it!)

Feta, Spinach, Ham & Tomato Mini Quiches | www.highwallsblog.com

Feta, Ham and Spinach Mini Quiche

Ingredients

  • 3 eggs
  • 1/2 cup of thickened cream
  • 1/4 cup of milk
  • 1 bunch spinach
  • Danish feta
  • 50 grams of shredded ham
  • Cherry tomatoes
  • Short crust pastry

Instructions

  1. Grease 4 tartlet pans with butter and then line with short crust pastry, trimming to 1-2cm above the rim and fold down around the edge.
  2. Preheat oven to 180 degrees Celsius and place the prepared pastry crusts into the fridge while you prepare the filling.
  3. In a bowl, whisk together the eggs, heavy cream and milk. Season with salt and pepper.
  4. Place the spinach in a bowl, cover with cling wrap and microwave for 20 - 30 seconds to slightly wilt. Slice the ham into 1cm squares and the cherry tomatoes in half.
  5. Line the prepared pastry shells with a sheet of baking paper and fill with baking weights or rice and place into the oven for 10 - 12 minutes or until the pastry is lightly golden. Remove and allow to cool.
  6. Once cool, divide the spinach between the shells and top with crumbled feta cheese (to taste), ham and pour over the egg mixture. Lastly press the cherry tomatoes into the mixture, cut side down. Each shell should be about 3/4 full.
  7. Bake for 20-30 minutes or until the pastry is golden brown and the filling is crisp and has risen slightly. Insert a toothpick in the middle of the quiche and if it comes out clean it is ready.
  8. Remove from oven and each from its tartlet pan to cool for 10 minutes on wire rack before serving.
http://www.highwallsblog.com/2014/06/eat-feta-ham-and-spinach-mini-quiche/

Feta, Spinach, Ham & Tomato Mini Quiches | www.highwallsblog.com Feta, Spinach, Ham & Tomato Mini Quiches | www.highwallsblog.comFeta, Spinach, Ham & Tomato Mini Quiches | www.highwallsblog.com

thumb-crostinii

EAT | Crostini

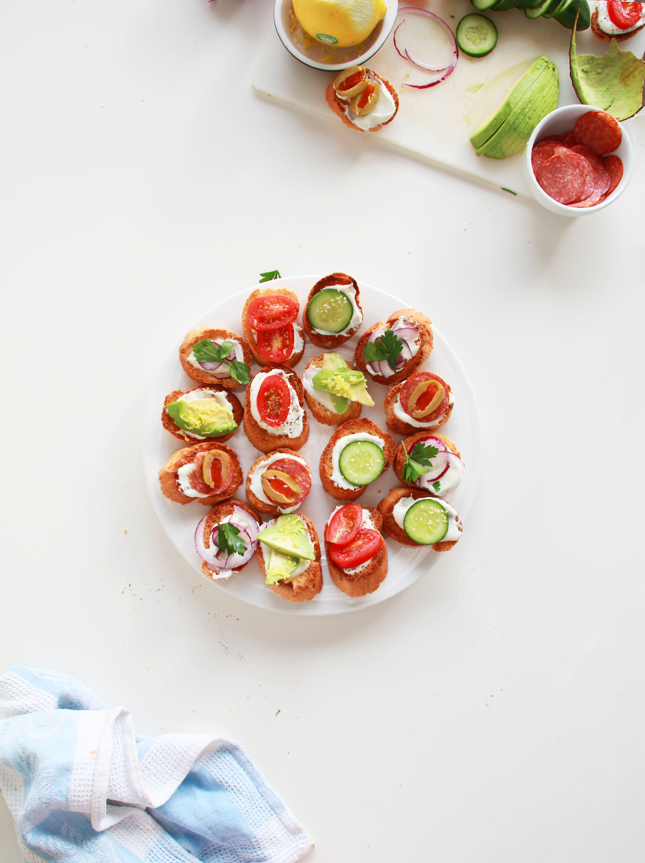
Make Crostini appetizers at home | www.highwallsblog.com

It’s a scientific* fact: food tastes better in miniature form. Why else would we have so many ‘bite size’ versions of our favourite foods? How else do you explain why appetizers taste so amazing? Teeny Tiny foods are, in my professional opinion, the BEST.

Crostini, which literally means “little toast”, is an Italian appetizer made up of small pieces of toasted bread with a variety of toppings, some what similar to bruschetta. In short: tiny toast = awesome! Choose your favourite toppings and seasonings and go crazy! Perfect for dinner parties, a light lunch or when you just feel like eating itty bitty toasties.

*Disclaimer: it’s not actually anywhere near a scientific fact. Make Crostini appetizers at home | www.highwallsblog.com Make Crostini appetizers at home | www.highwallsblog.com

Mixed Crostini

Ingredients

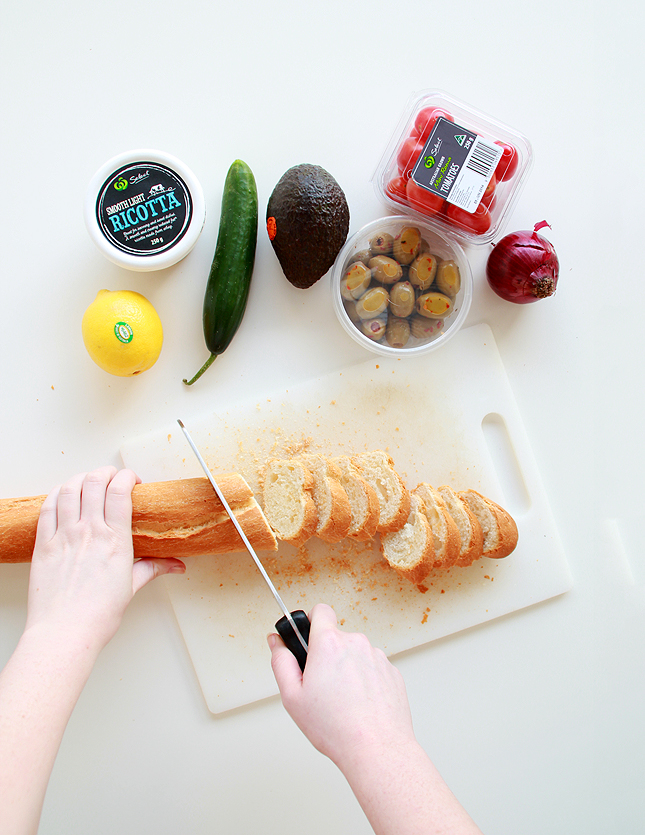
  • 1 Baguette
  • 4 Cloves of Garlic
  • Olive oilToppings of your choice:
  • Ricotta cheese
  • Cucumber
  • Cherry Tomatoes
  • Chilli & Garlic Olives
  • Hungarian Salami
  • Red Onion
  • Avocado
  • Lemon
  • Parsley or Basil

Instructions

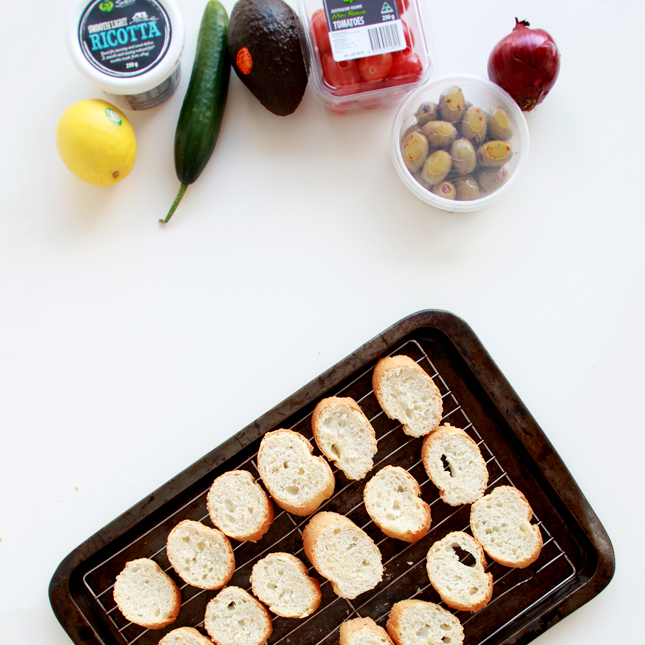
  1. Diagonally slice the baguette into ½ inch thick slices and place on a baking tray.
  2. Drizzle bread pieces with a light covering of olive oil and place under a hot grill for 3-5 minutes or until lightly toasted. Remove from the oven and turn all the pieces over and toast the opposite side.
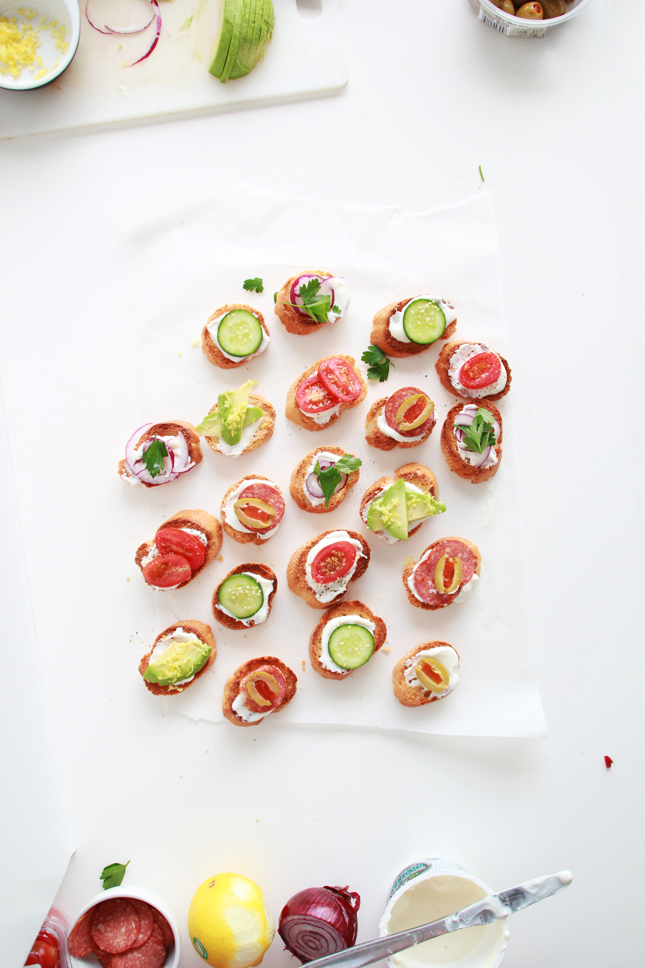
  3. While toasting, prepare your toppings: slice cucumber, red onion, avocado, salami; halve tomatoes and olives and chop your herbs.
  4. 4. Remove the toasted bread from the oven and using a clove of garlic cut in half – rub the cut side onto the hot bread. Repeat with all the cloves of garlic adding flavour to the bread.
  5. Top each piece with your choice of topping combinations.
  6. Season with salt & pepper, herbs or add a dash of dressing (lemon juice, balsamic vinegar, we placed ricotta cheese on all of ours and topped with the following: Tomato & cracked pepper, Red Onion and Parsley (not pictured – and diced capsicum), Avocado and grated lemon rind, Salami and Olive, Cucumber and sesame seeds)
http://www.highwallsblog.com/2014/06/eat-crostini/

Make Crostini appetizers at home | www.highwallsblog.com

thumb-nutella-strawberry

EAT | Nutella & Strawberry

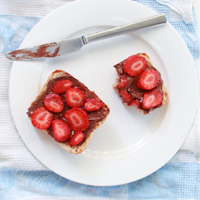
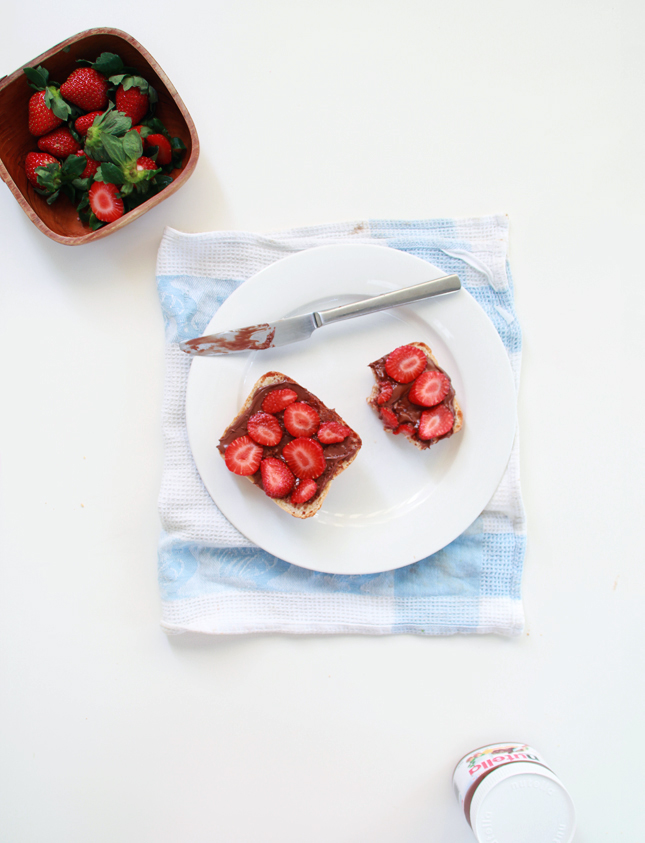
Nutella & Strawberry | www.highwallsblog.com

Hey guys, I’m jumping on a plane today – heading interstate for a wedding (and a long weekend!) but before I go, I thought I’d share one of my guilty pleasures.

Ahh Nutella, the most delicious of the falsely touted ‘healthy’ spreads. When I was a child I hated Nutella (what a freak!) It wasn’t until I was about 19 that I suddenly developed a liking for it. Since then I have been making up for lost time! I try not to keep too much in the house because once I know it’s there I will demolish it straight from the jar! I’ve taken to hiding it in the back of the pantry so I only use it when I actually need it. No self-control. Mix that strawberries, and you have a recipe for delicious delicious disaster!

Nutella & Strawberry | www.highwallsblog.com
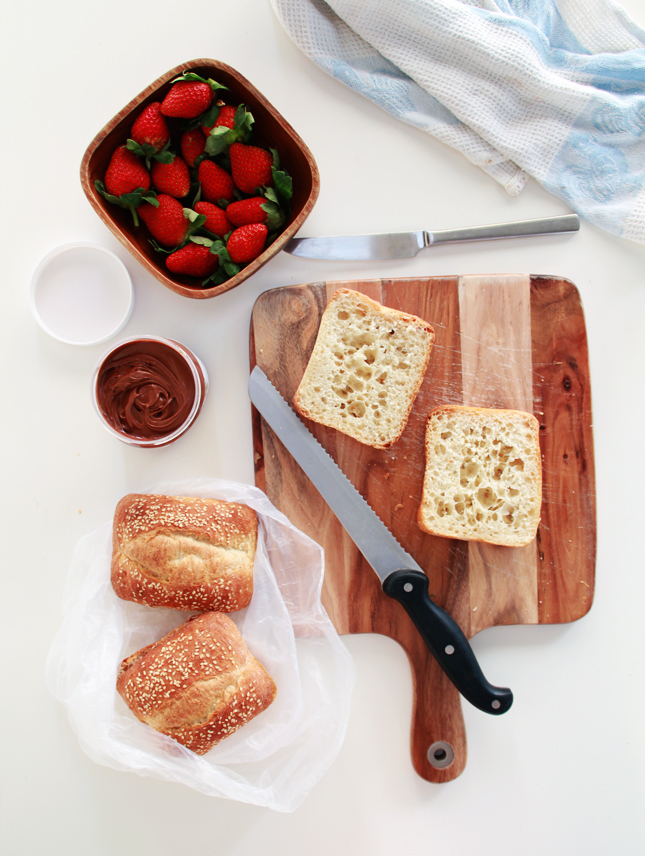
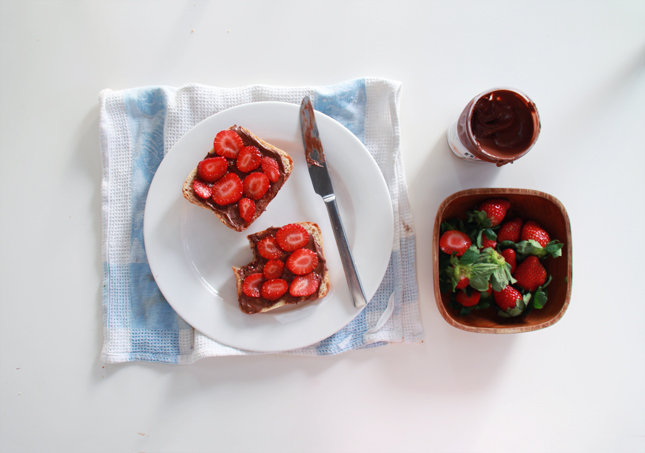
There is no real ‘recipe’ per-se. Take some crusty bread, I like to get mini Turkish rolls and warm them in the oven before slicing in half. Then add an extra generous slathering of Nutella (go crazy! You know you want too!) and top with a layer of sliced strawberries. Consume as quickly as possible, which you will immediately regret, but it was totally worth it!

Nutella & Strawberry | www.highwallsblog.com

Fun story: This video was originally a GIF was made with over 200 individual images. I spent over an hour putting it together before Photoshop promptly crashed and I (of course) had not saved… After crying myself to sleep, I attempted the GIF a second time the next day and of course it was waaaaay to big! So instead here it is in all its GIF-y, Jumpy glory but in video form! See how much I love you guys? (Does anyone else actually enjoy these gifs as much as I do?)