thumb-washitapestickers

DIY | Halloween Washi Tape Stickers
halloween-sticker-title

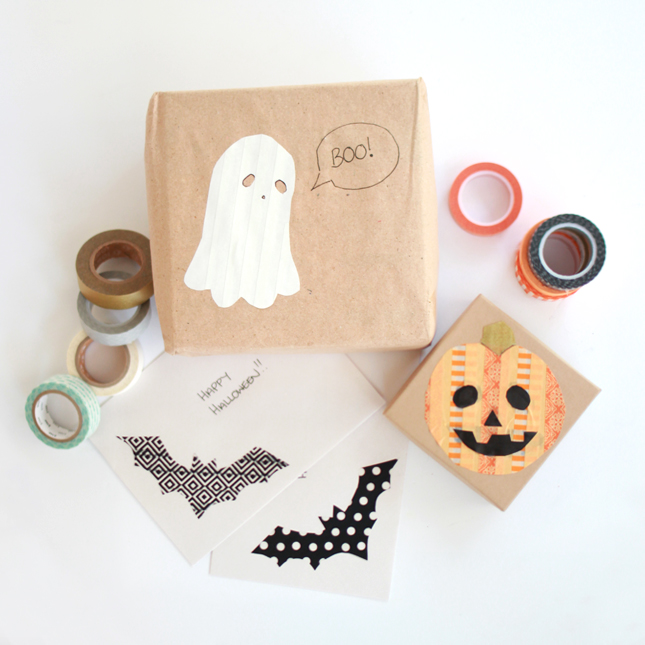
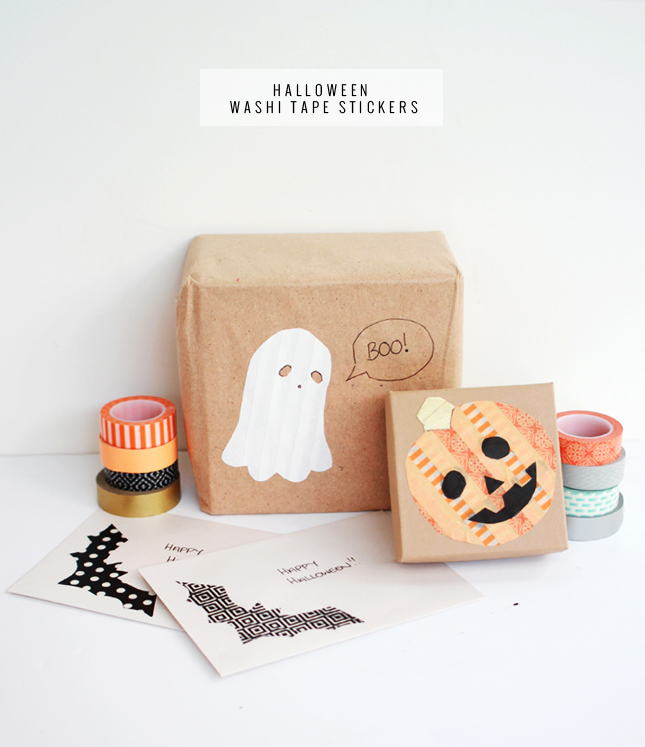
I’ve always wanted to get involved in the Halloween craze that hits the blogging world every October. I (unfortunately) don’t really get to celebrate the holiday, so it seems silly to carve a pumpkin or make elaborate Halloween decorations when I’m not really going to use them.  This year however, I finally had a solid reason to get into the spirit! A friend is holding a Halloween Party for her little ones, so after picking up a couple of gifts I thought it would be awesome to style the wrapping appropriately with some home made stickers.

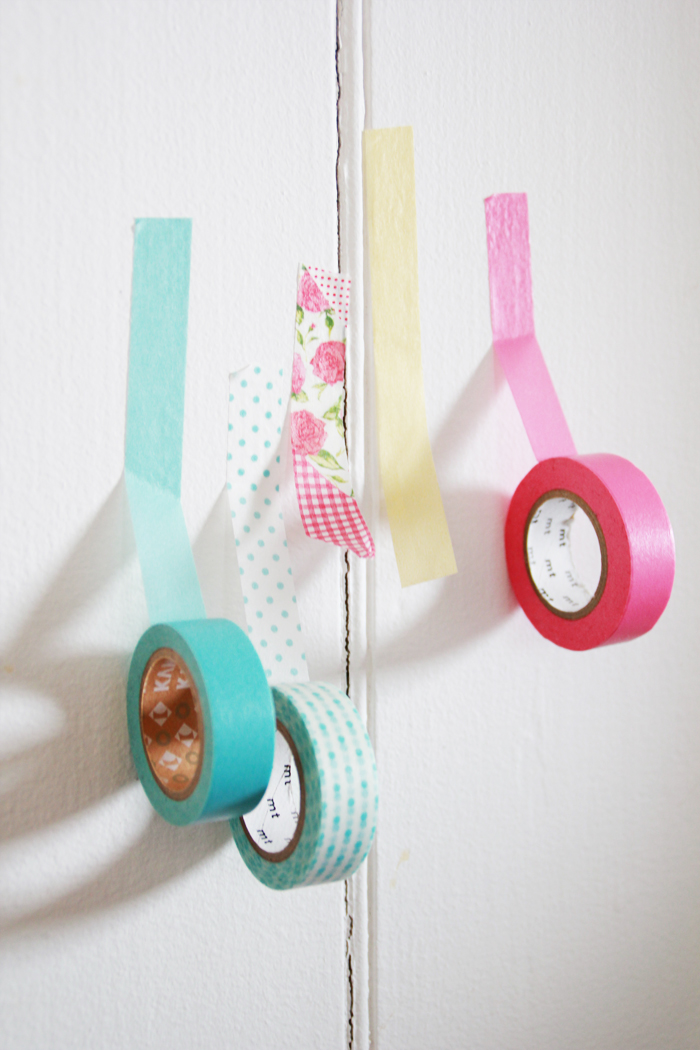
My favourite craft ‘supply’ would have to be washi tape. Ever since I discovered it, I’ve been obsessed. I have a box full of the stuff and I use it for pretty much everything. The best thing about it is that it is strong, but not super sticky. Generally, it wont damage something if you stick it to it. It’s the perfect material for awesome, stripey stickers…
halloween-sticker-AWhat You Need:
Paper & Pencil
Washi/paper masking tape
Baking or parchment paper
Sharp scissors
Exacto knife (optional)

What You Do:
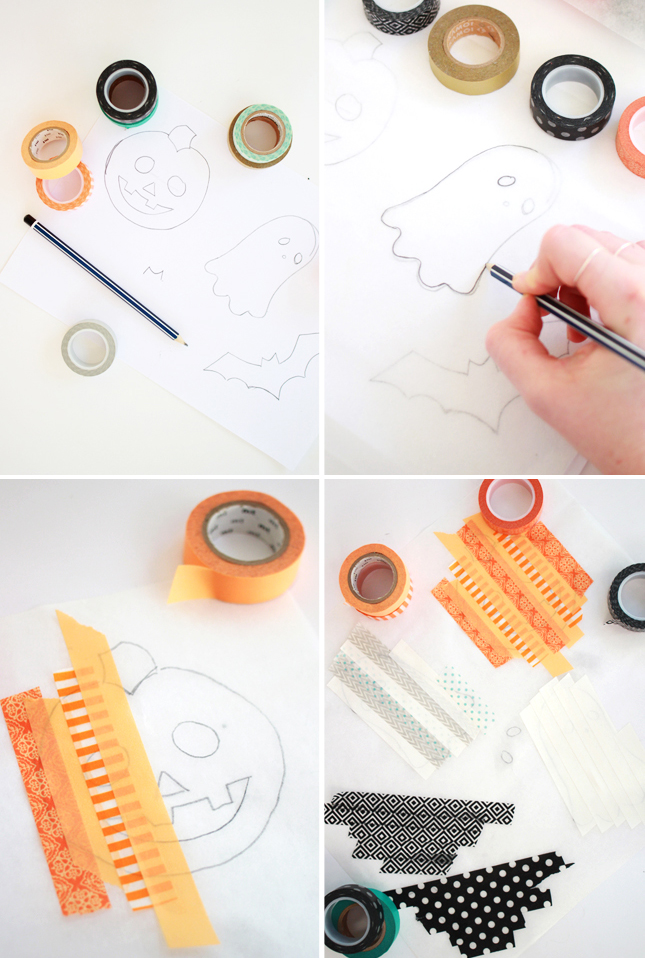
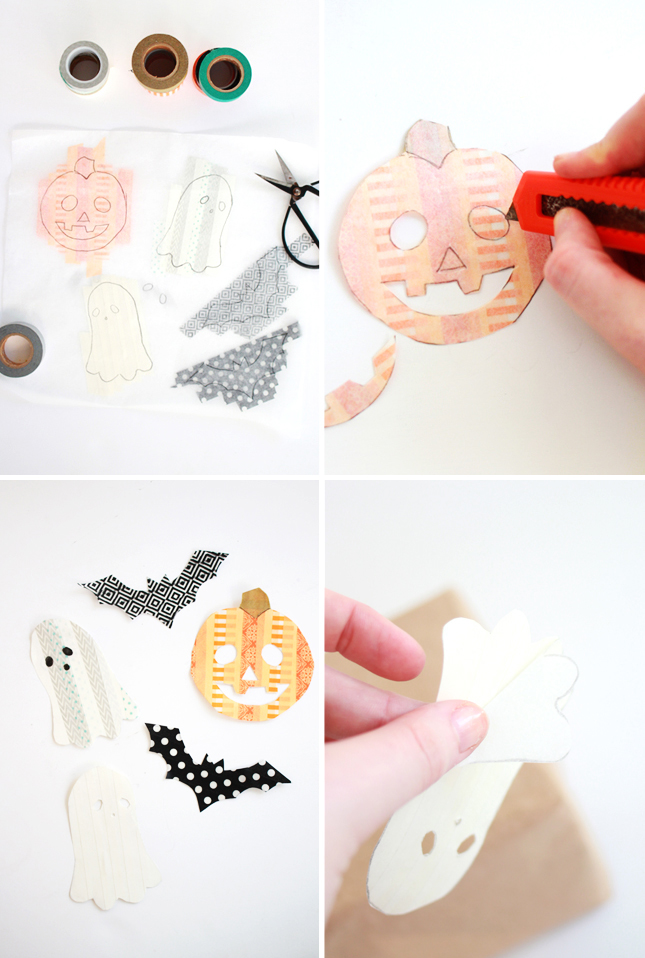
1. Start by choosing your sticker designs; You want images that are made up with block shapes. The more detail required, the more you are going to need to make intricate cuts in the sticker which will weaken the piece as a whole. Once you know what you want, sketch out your design, or find a template online and print out onto standard paper.

2. Place a piece of baking paper (or wax paper if you can get it) on top of your images and weigh down while you trace them onto it. Baking paper has one side that is slightly shiny and one side that is rougher - you want to draw onto the non-shiny side.

3. Flip the baking paper over (onto the shiny side) and, starting from one side of each image, stick down a strips of masking tape  so that they cover the image. Each strip of tape should overlap the previous piece. This ensures that your sticker holds as one whole shape. The tape should cover a little bit more than the template so you can trim away edges later.
halloween-sticker-B

4. When each shape is covered with layers of tape, you can cut out each sticker, trimming away the excess tape. Be careful as you trim as the tape may come away from the paper if you are not gentle.

5. Now you can make any finishing touches to your sticker. For example; I added a stem piece of different coloured tape to the top of the pumpkin sticker. Using an exacto knife or craft blade, cut away any interior pieces like eyes and mouths.

6. Your sticker is now ready to go! To use, just carefully peel the paper away from the tape layer side. Stick down on your chosen surface  and smooth down.

You can use these stickers where ever you like! On cards and gifts, stick onto card and use as decorative art piece, even use as a paint safe wall decal in your home! Basically, you can stick them pretty much anywhere! Go nuts!

halloween-sticker-6 halloween-sticker-5

thumb-washipencils

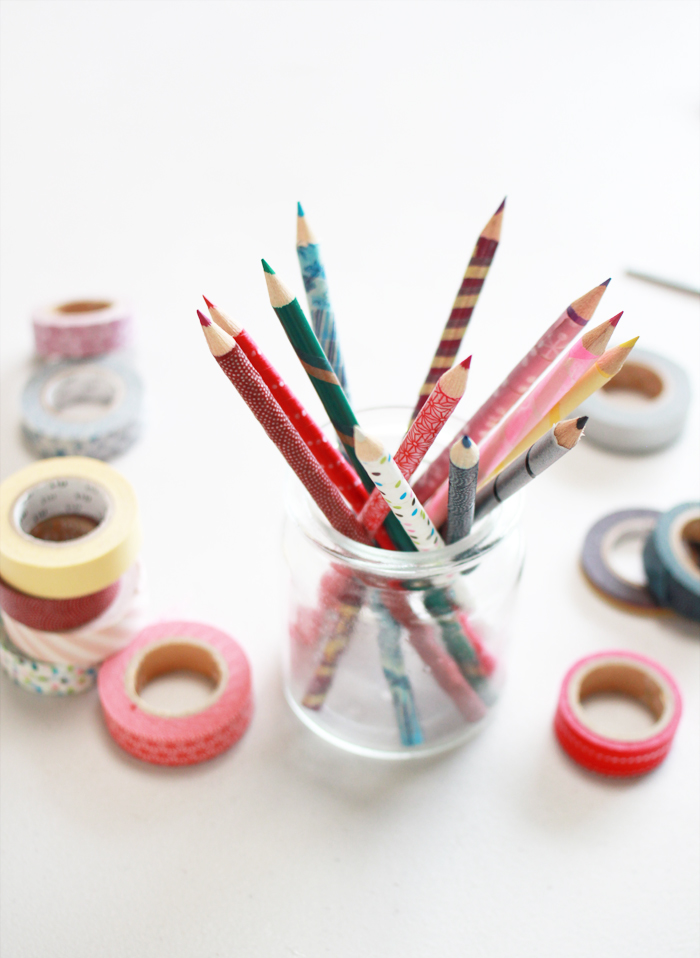
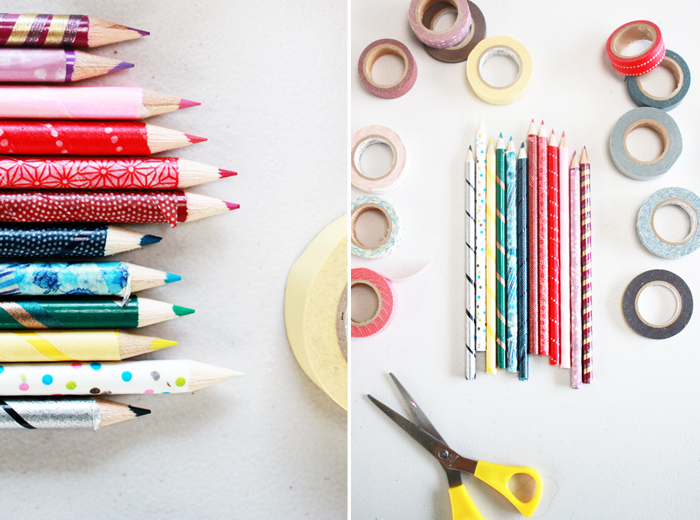
Washi Tape Pencils

Washi Tape Pencila from www.highwallsblog.com

So, maybe I have a washi tape addiction. If you’ve been with me for a while you might have noticed that this is my 4,372nd DIY project featuring washi tape (a totally accurate estimate) I just can’t seem to stop finding uses for the damn stuff! It’s not my fault I swear!

I don’t have any children of my own, so I’ll be the first to admit you won’t have seen many kid-friendly DIY projects around here. That said, I now have many friends with children, whose never ending cuteness is a constant source of  inspiration. This DIY is all thanks to an adorable conversation I had with the young boy of a friend, who was lamenting on how his pencil’s always get stolen at school because they get all mixed up. His mother suggested putting his name on each pencil with a label maker, but Ugh. How boring!

I had a packet of coloured pencils lying around looking equally as boring and lame, so I decided to give them a little personality and maybe give her some ideas to ensure all of his pencils always come home.

Washi Tape Pencila from www.highwallsblog.com

What You Need:
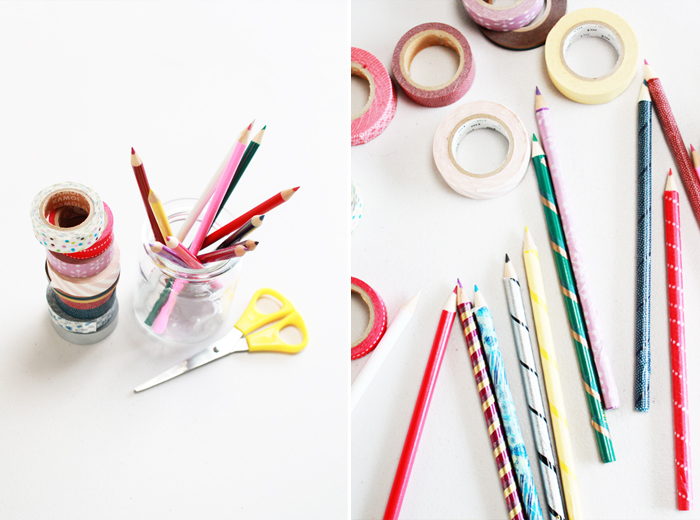
Pencils – preferably round, plain colours
Washi tape – all different patterns and colours
Scissors
Pencil Sharpener or exacto knife (optional)

What You Do:
1. Start by pairing up your pencils with a matching tape. As Washi tape can be relatively se-through (especially your lighter colours) you will want to put similar or darker colours onto your pencil.

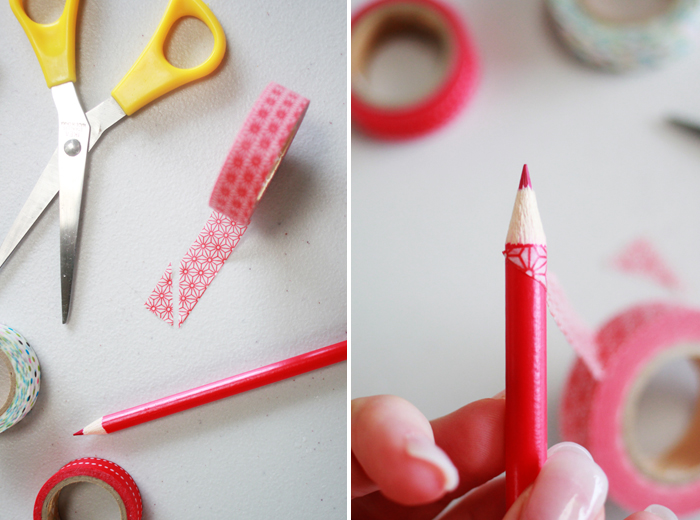
2. Take your tape and cut the end diagonally across the tape leaving a triangular shape.

3. Line the diagonal edge around the top of the pencil, along where the pencil tip begins. Wrap the tape around to create a flush line around the tip.

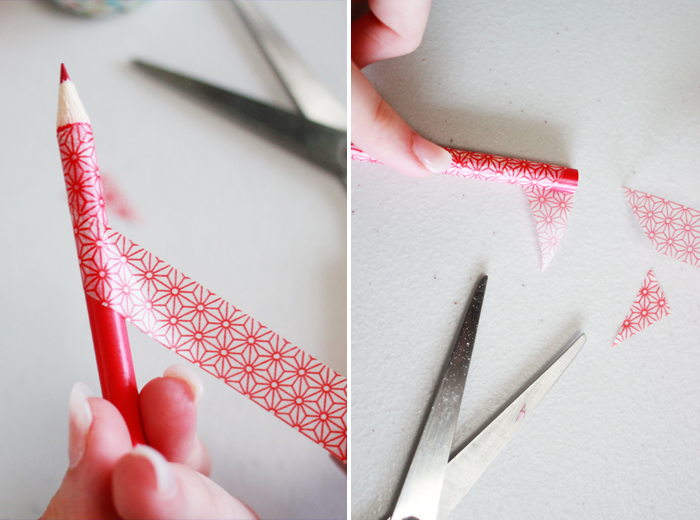
4. Gently pull the tape tight and slowly and carefully twist the pencil so the tape continues to wrap around, travelling down the pencil as you twist.

5. After a couple of turns you will be able to see if the tape is going to cover the pencil evenly. You will need to experiment with how much to angle this cut depending on how you want to wrap. For example, some of my pencils I left a gap in between the twist to leave the under colour showing through, for the patterned tapes I preferred to overlap so that the pattern was solid the whole length of the pencil. Washi tape sticks quite well, so don’t worry if you need to pull it off and try again once or twice. Just take your time so you don’t crease the tape.

6. Smooth the tape as you twist and continue until you reach the bottom of the pencil.

7. Once you reach the end, line up the base of the pencil and pull out and cut the tape around 3cm from the end. Then cut a diagonal line like we did in step 1 so that the tape wraps around the base neatly.

8. Smooth any bumps as necessary. If you find the tip is a little messy you can trim it by sharpening it with a (sharp) pencil sharpener or neaten it up with an exacto knife.

9. Repeat with all of your pencils until you have a whole set of unique and fun pencils!

Washi Tape Pencila from www.highwallsblog.com Washi Tape Pencila from www.highwallsblog.com

Most simple patterns will line up nicely as you wrap, but if you find that some patterns do not lend themselves to this method, you can always wrap the tape horizontally, cutting small strips and wrapping them individually. Just ensure that your strips are the same size so you don’t end up with a weirdly shaped pencil that is thicker in some parts.

These pencils would make a great gift, for the little ones upon their return to school or even for that crafty friend you know. What do you think? You could even use them to jazz up your plain old lead pencils!

Washi Tape Pencila from www.highwallsblog.com

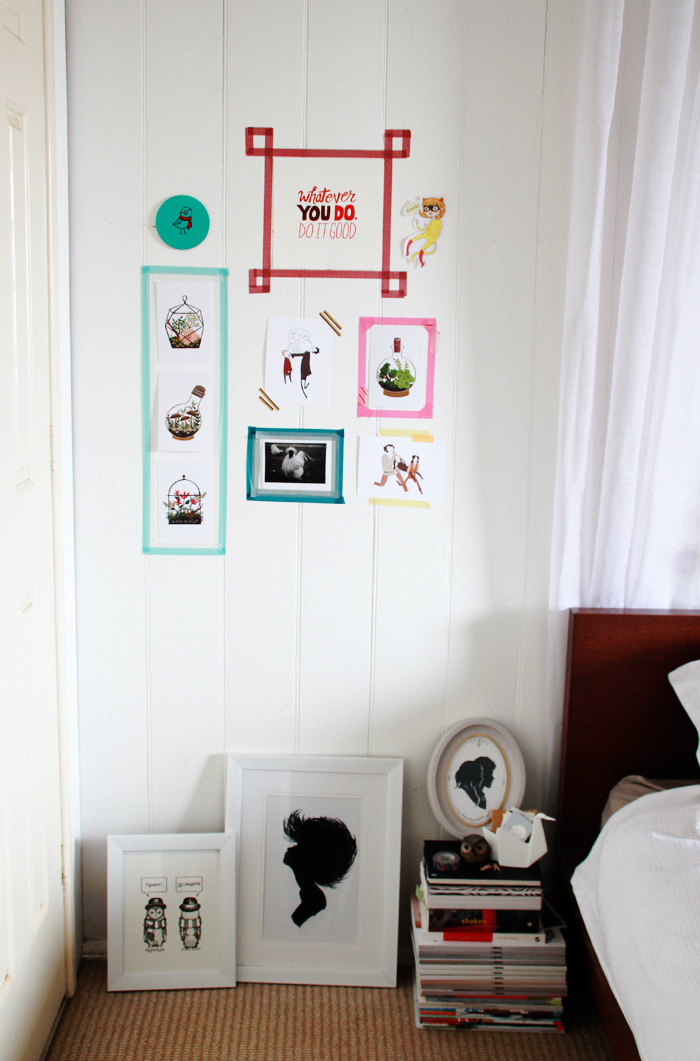
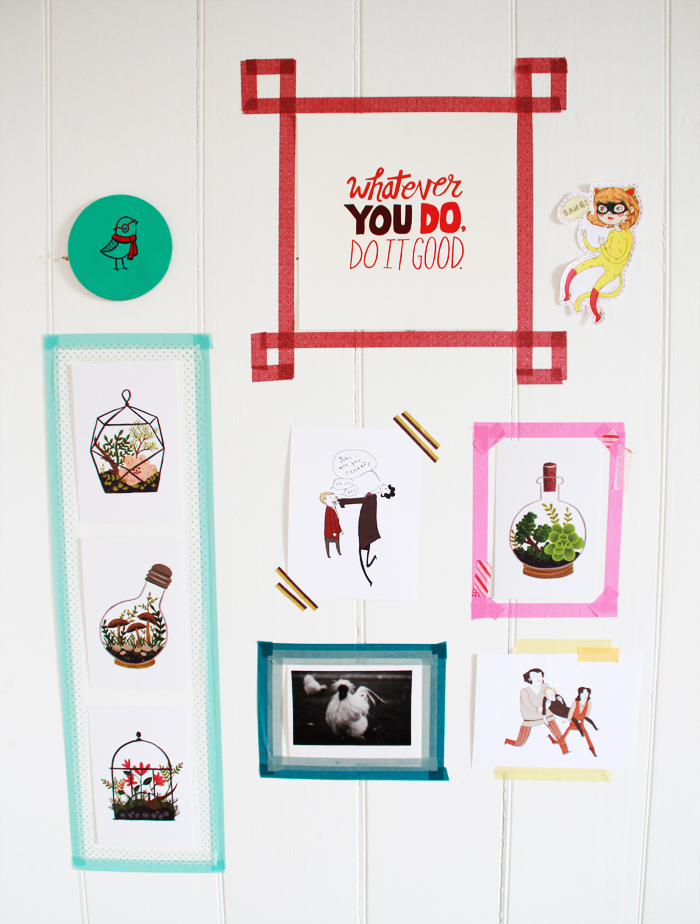
Washi Tape Frames

When I decided to share this little DIY (Is it really a DIY? Maybe more a simple idea?) I was super excited at the prospect of taking some photos with my fancy new tripod I received for my birthday. It seems, I may need some more practice with it as these photos aren’t the best… room photography is hard you guys!I don’t know about you, but I rent the house I’ve lived in for the last couple of years. While renting is super convenient, and hooray for no mortgage, it can be a bit of a deterrent to making our space a little more stylish than it is. One of my weaknesses is buying art prints and while my collection is growing slowly, I have limited space to hang them. I obviously can’t put nails in the walls and we’ve had some bad experiences with those stick on wall hangers. A few of my favourites are propped up in frames around the place, but I recently found a new way to display my art collection; washi tape ‘frames’!

Thankfully, washi tape/MT tape isn’t super strong, so I’ve had no issues with it peeling paint off the walls. I’ve been experimenting with different styles and shapes, but I feel it gives the wall a much more ‘purposeful’ feel, rather than just sticking up some pictures. What do you think? Would you try this at home? Or do you have clever ways to display your pictures?

Easy Peasy Cupcake Toppers

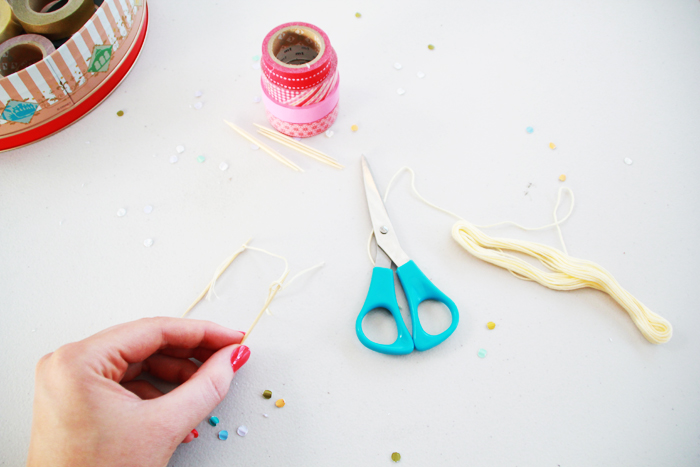
I’ve mentioned this already (probably a few too many times) but it’s my birthday on Thursday, so it’s pretty much birthday week around me at the moment! As I share my birthday with a co-worker, I thought it might be nice to make cupcakes to bring into work for her (read: us) on the day. But cupcakes weren’t festive enough apparently. Nope. I decided to add that little extra something to make them a little more exciting, and it was so simple I had to share it with you. All you need is some washi/MT tape, some toothpicks and some string (although the last one is optional).READ MORE
Letters to Friends

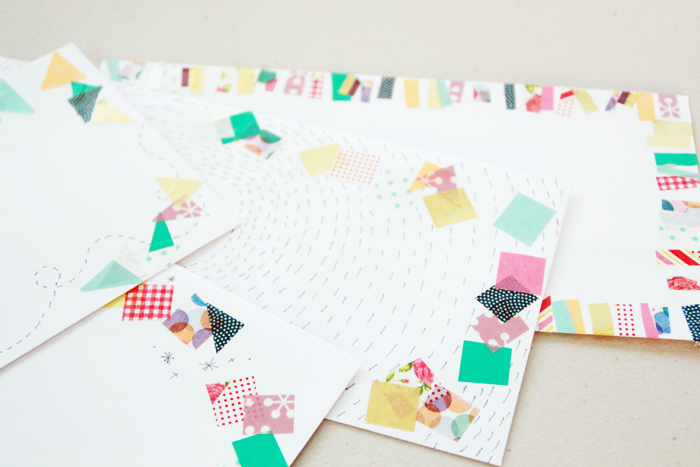
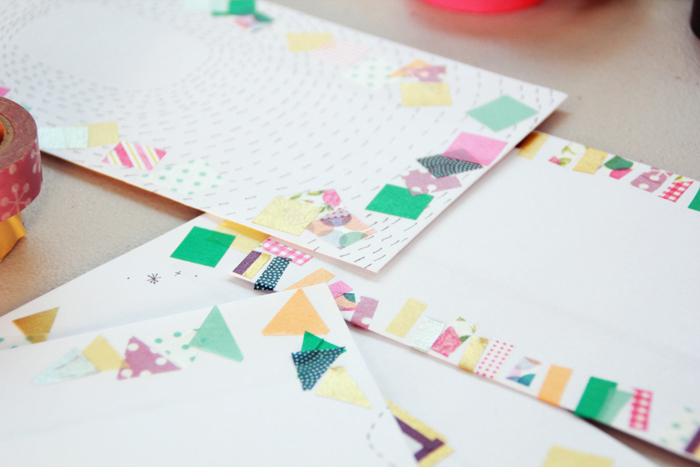
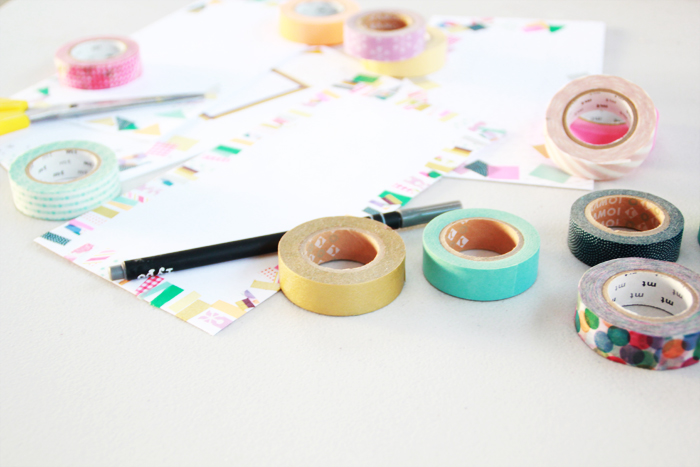
Living interstate from most of my friends and family means that I’m always trying to keeping in touch with everyone… well, you would think so… I’m actually terrible at keeping in touch with the people back home! I don’t mean to be so useless, I just get carried away in my day to day life, plus I’m really forgetful with these things. Oh dear!In an attempt to make up for the minimal frequency in which I make contact, when I do get around to sending out some letters, I try to make what I send just that little bit more exciting…

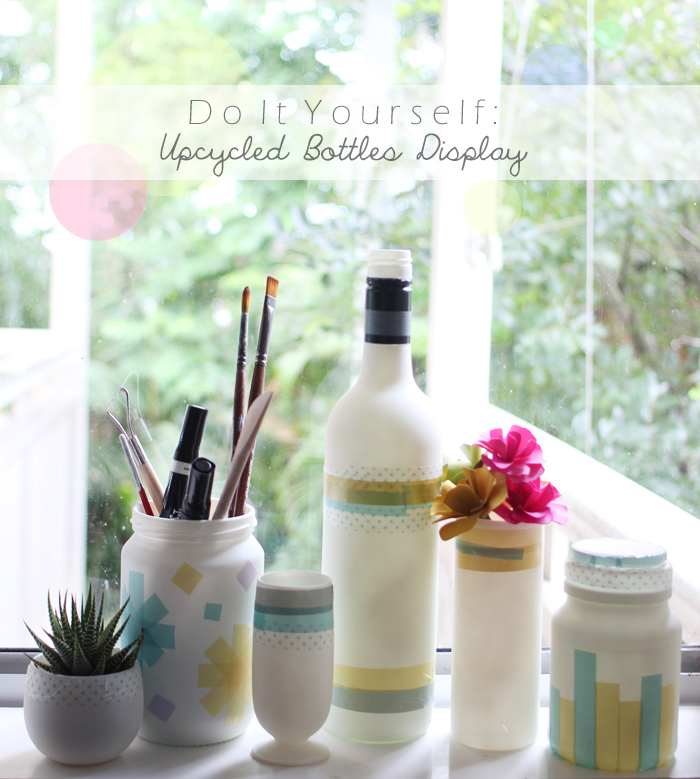
DIY: Upcycled Bottles Display

I have a tendency to buy something for a single use, but instead of keeping it stored away for the next time I need it, I devote hours to finding random uses for said item.Which is pretty much exactly what happened when I recently purchased a can of spray paint. Originally, it was purchased to touch up a couple of scratched palings around my house. However, it wasn’t long before I starting thinking: “What else can I spray paint?”In my defence, spray painting is stupidly fun. There really is no other cheap medium in which you can get such a smooth even finish so easily.

I had actually wanted to do this DIY for ages, inspired by these beautiful painted bottle - I had intended to create something similar. I popped down to my local thrift store to find a few bottles to use, only to find that they were having a sale on glassware! I picked up all you can see here (with the exception of the wine bottle – which I ‘emptied’ by myself) for a measly $2! Bargain! My good luck inspired me to get a little more exciting with my DIY-ing (especially as I only had white spray paint).

READ MORE

thumb-washinotebooks

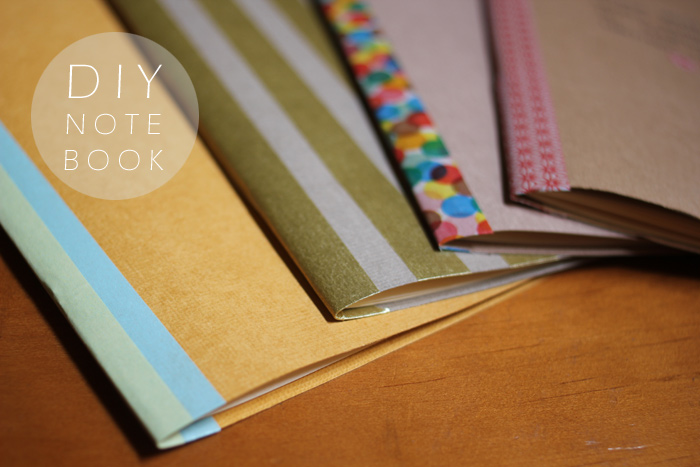
Home made Notebooks

Can we take a minute to talk about notebooks? I’m pretty sure you’re all like me and can’t resist a good notebook… No? Just me then? Fine. I have a huge collection of beautiful blank books just waiting to be written or drawn in. Aaand a lot of them will stay that way! I don’t want to ruin their crisp perfect pages with my horrible handwriting or a drawing that didn’t turn out… I have a problem, okay! (Don’t judge me.) 

One of the ways I’ve found to combat this problem is to make my own notebooks. They are the perfect size to carry around in your bag for making lists and notes, and they are super light so you can take a couple with you.