DIY | Christmas Plate Decals
Now that our Christmas Gift Swap is up and running for another year, I’m really getting into a festive mood! I’ve mentioned it many, many times before, but Christmas really is my favourite time of year. I love buying presents, I love coming up with fancy ways to wrap said presents, I love the food, the drinks, the friends and family and of course; the decorations. Last year I didn’t get around to as much Christmas crafting as I would have liked, but this year I’m back - with a vengeance!
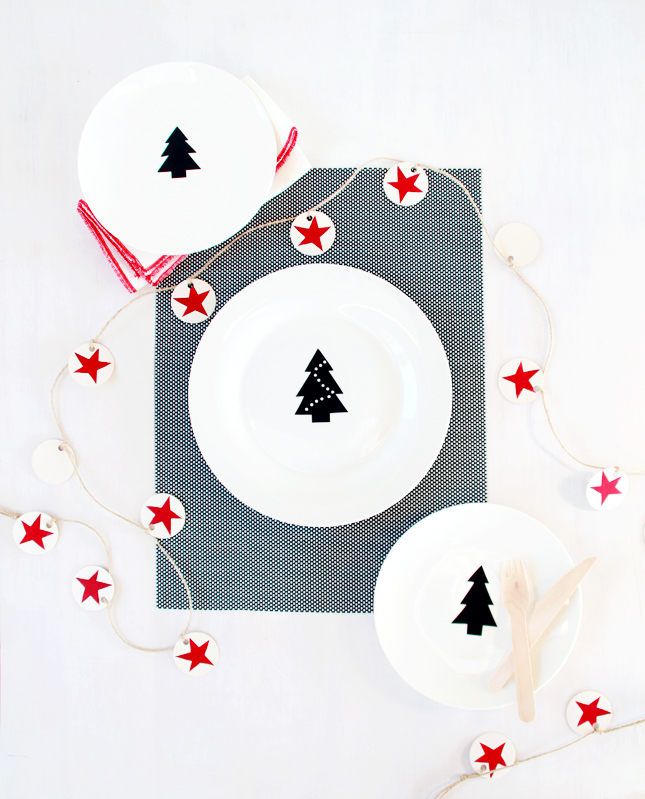
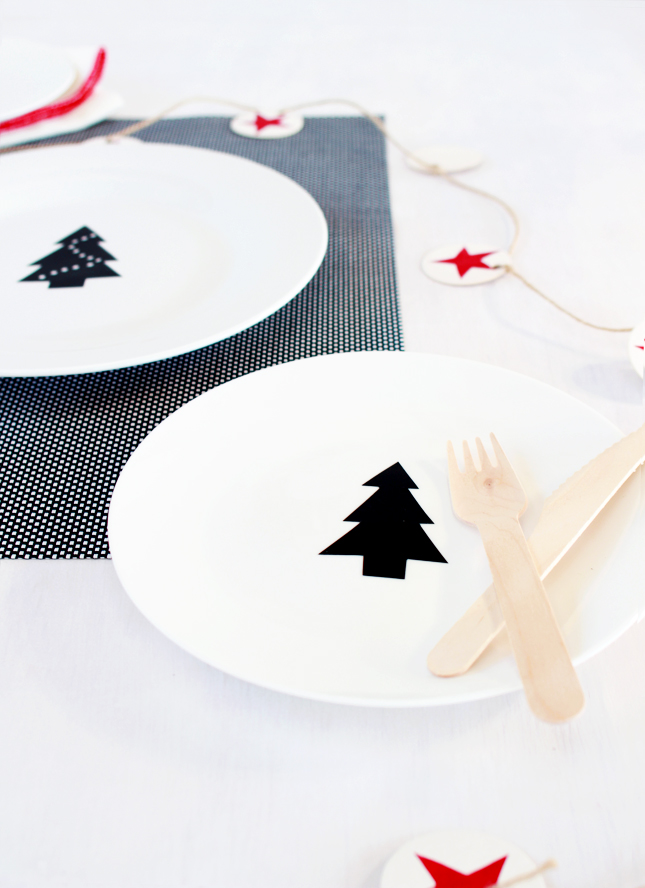
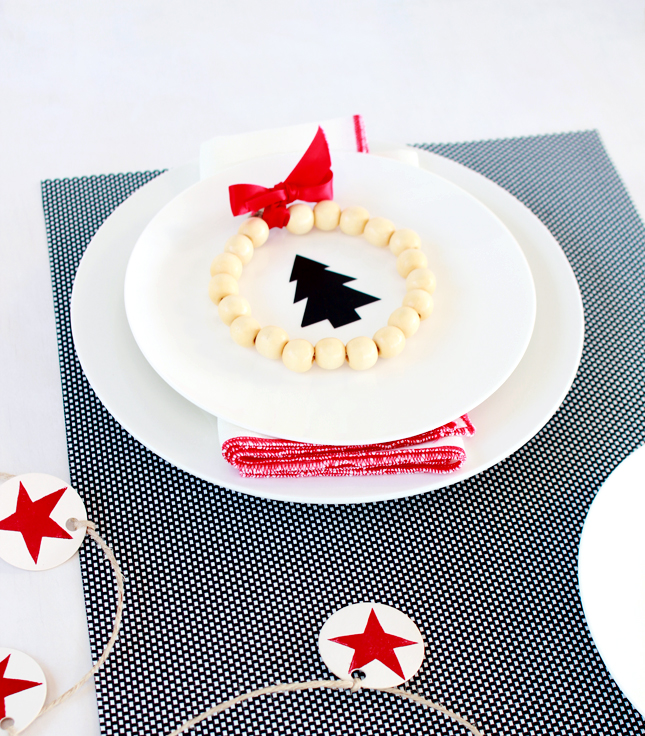
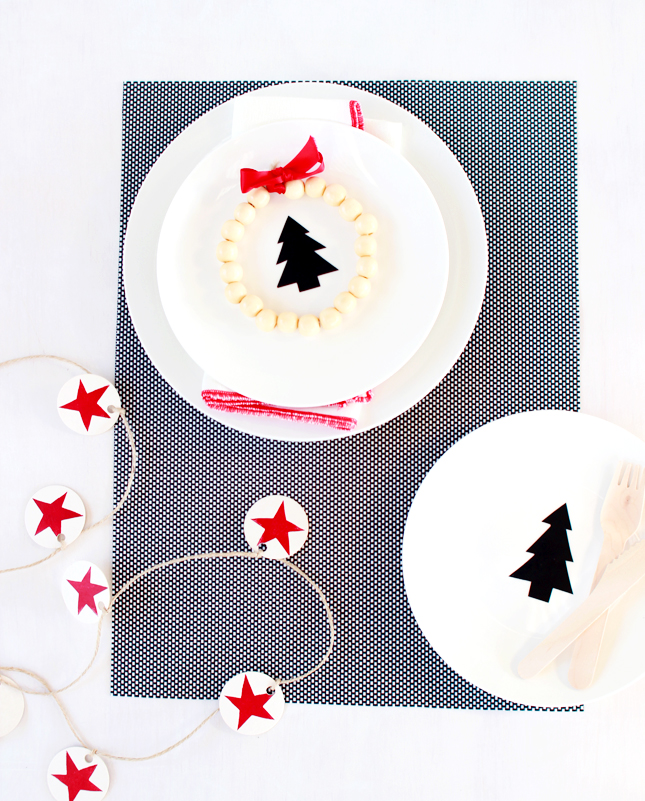
Probably one of my most favourite DIY projects from this year was the Monogrammed Mugs we made all the way back in July. I figured, those mugs turned out so well (and are still going strong after all this time), why not extend my new-found skill to decorating some more kitchenware with something a little more festive! They turned out pretty well, dontcha think? I decided to go with good old Christmas trees for the design, but feel free to experiment with different shapes or even different coloured vinyl.
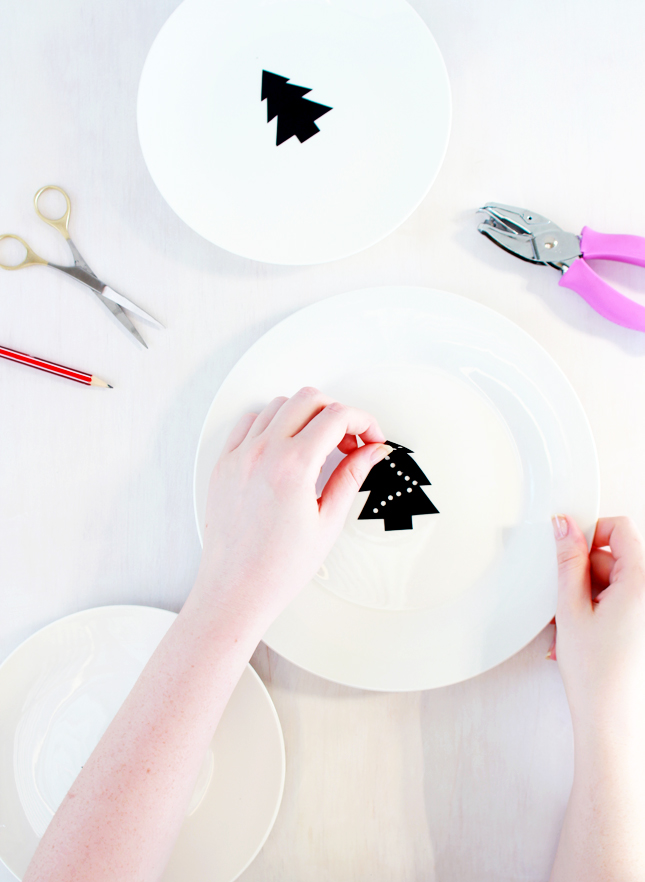
To make these decals yourself is super easy; you’re going to need some adhesive vinyl, a small hole punch, sharp scissors and of course some plates, bowls or cups!
1. Cut a piece of vinyl big enough to accommodate for your shapes.
2. Sketch out a Christmas tree shape (three triangles, stacked on top of each other), or if you are not confident in your tree drawing abilities, you can print out a tree image and use as a guide like we did in the mug tutorial. Your trees should be around 10cm high.
3. Carefully, cut out each tree shape and trim away any rough edges.
4. If you would like to add tinsel/bauble lines onto your trees, take a small hold punch and punch a line of holes in a zig-zag pattern across the tree.
5. Wipe down the surface, where you are going to stick your decals and make sure it is completely dry before proceeding.
6. Remove the backing paper and carefully smooth the vinyl onto the plate surface, making sure there are no air bubbles as you go. You may want to measure out and mark the center before you stick anything down.
Voilà! These decals should stay firmly adhered to your plates or bowls as long as you take care of them. No dishwashers and hand wash with warm soapy water (do not soak). That said, if you decide you no longer want festive plates, it can always been removed and the glue residue scrubbed off.


Liz Carroll
November 19, 2014 at 2:45 amThese are so cute! I love them. Sharing on our Facebook page!
Dani
November 27, 2014 at 10:44 pmThanks Liz :)