
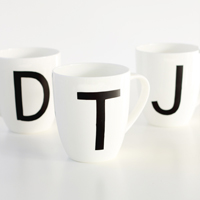
DIY | Monogrammed Mugs
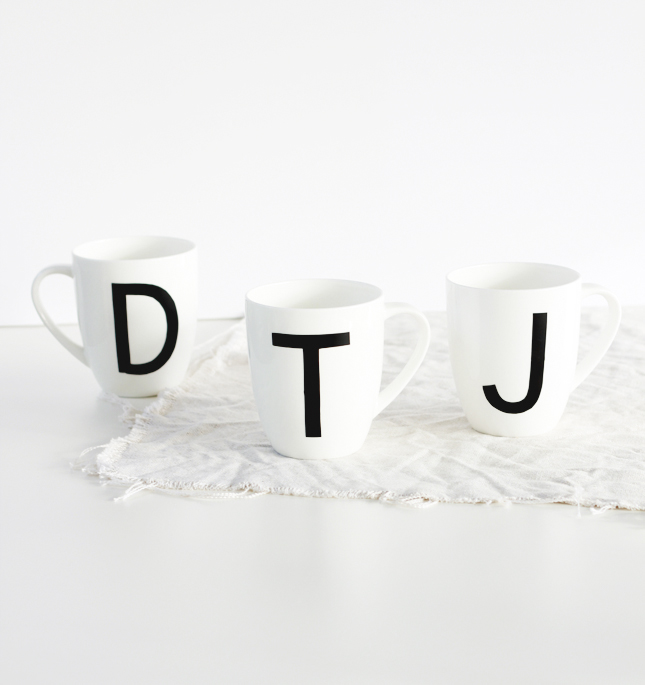
Hey you! Yes you! Has that plain old boring coffee mug got you down? Do people at work forget your name because they just don’t know what letter it starts with? Do you enjoy decorating things with letters? Well then, do I have the craft project for YOU! Presenting, the world famous: Monogrammed Mugs!
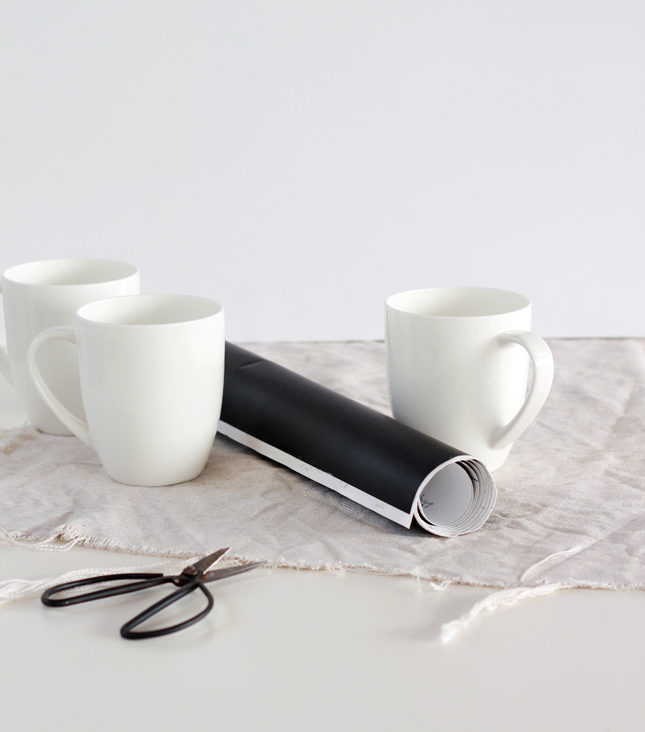
You’re totally hooked now aren’t you? Man, I think I missed my calling as an infomercial presenter. Anyways, I don’t know why I’ve been so into the coffee and tea related projects lately, but I’m super excited to share this one with you. Ages ago I bought a roll of adhesive vinyl. What I originally planned to do with it I can’t tell you, but upon coming across it during a cleaning spree, I suddenly had a flash of brilliance. A quick trip to the supermarket later and I had the makings of this week’s craft project.
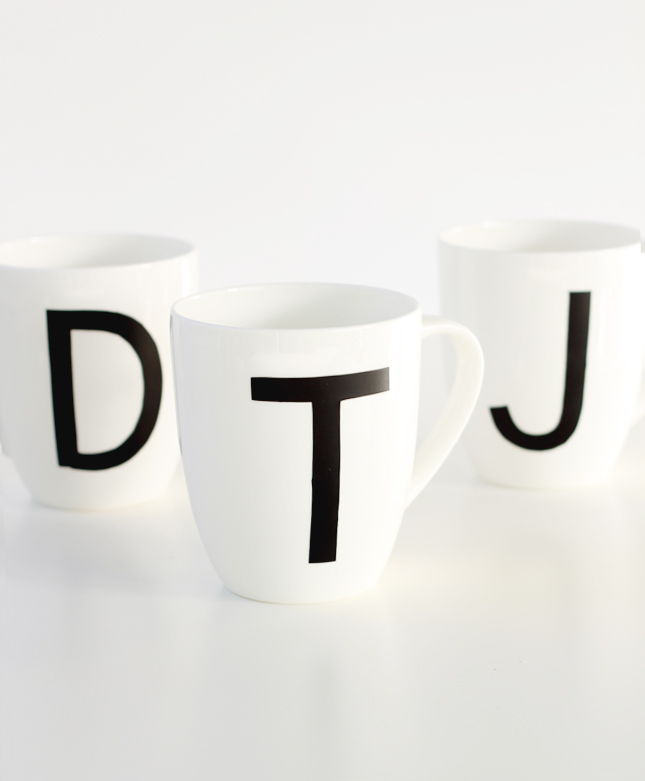
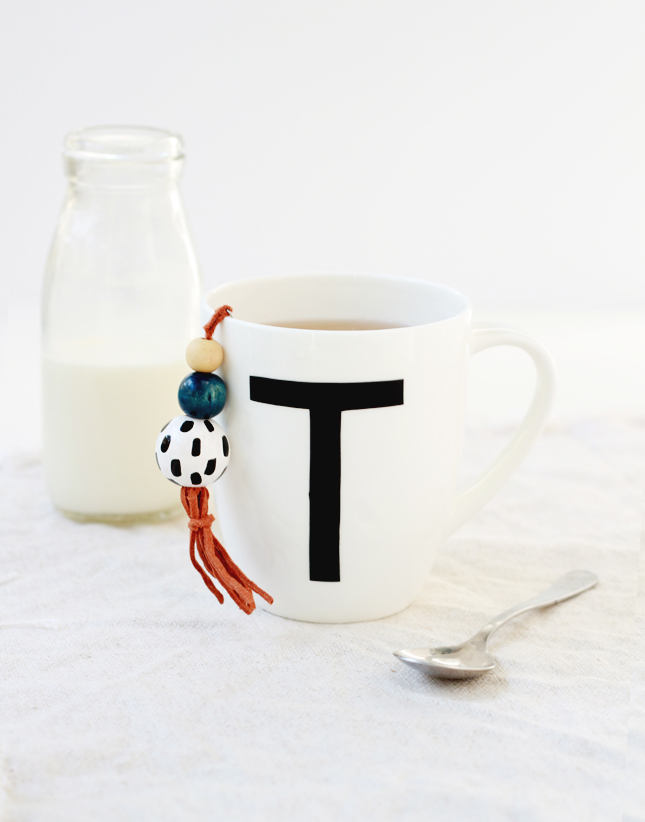
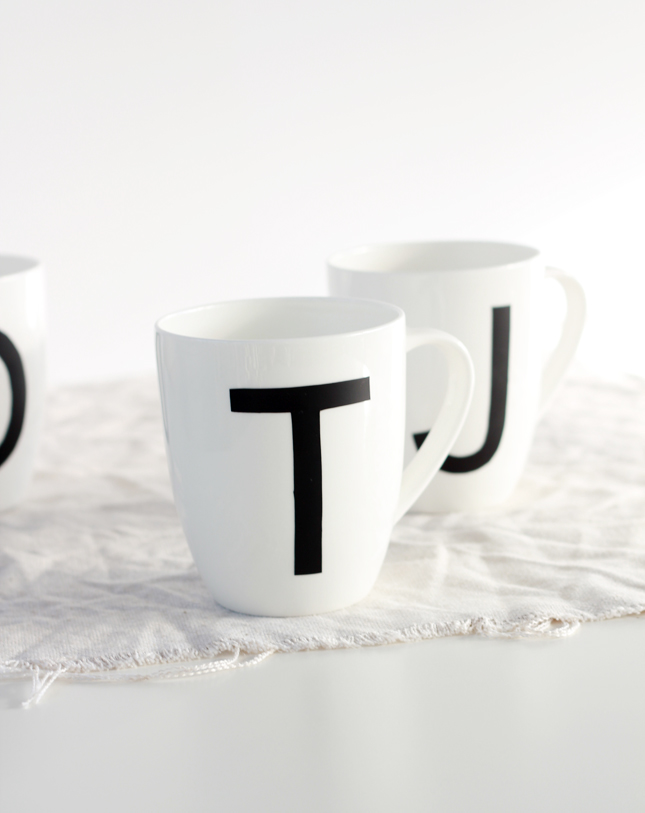
I really love how these mugs turned out. My boyfriend didn’t actually realise that I had made them! When he saw them he thought they were store bought! Not bad for a quick project on a Saturday afternoon, huh?
|
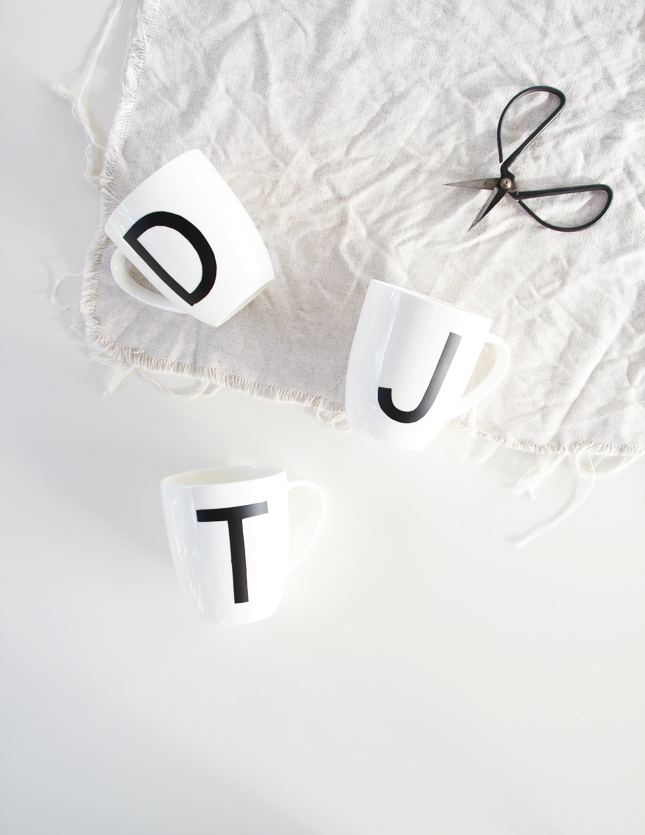
You Need: White Mugs |
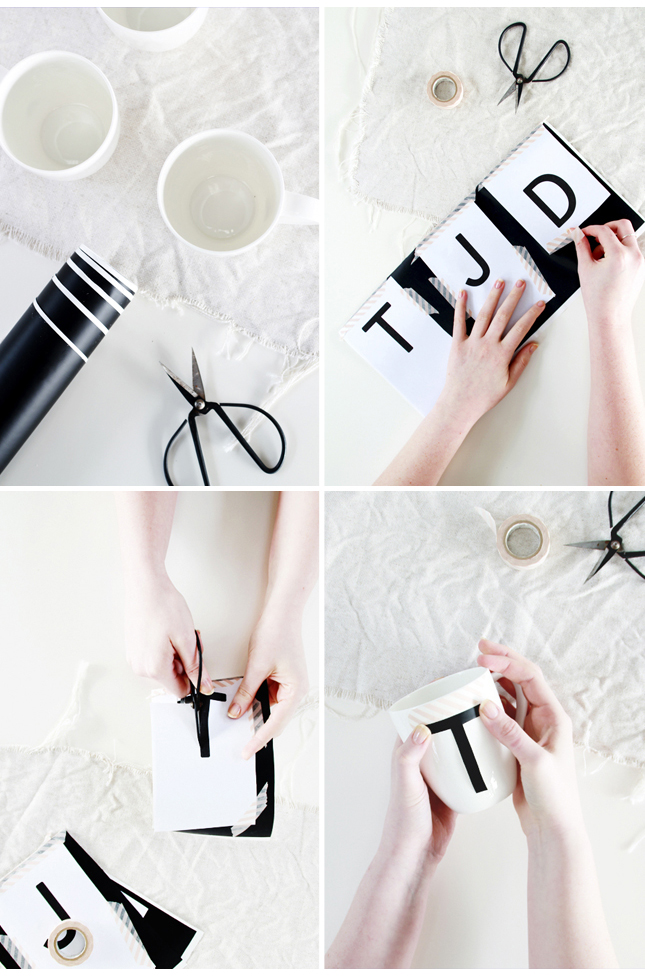
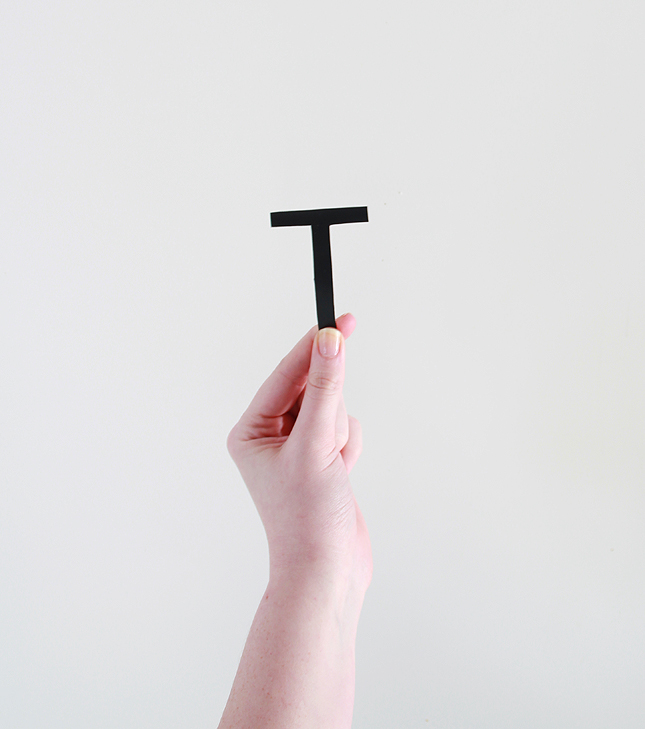
Steps: 2. Cut around each letter to separate from the main sheet. Using masking tape, stick the letter to the vinyl sheet at the edges of the paper and cut around the paper separating the vinyl area from the excess. 3. Using sharp scissors cut through both the paper and the vinyl, using the printed letter as a guide. Set the vinyl letters to the side and discard the paper. 4. Take a strip of tape and line the top of the glass where you want to stick your letter. Use the rim of the mug as your guide to keep the tape straight. 5. Line up the top of your letter with the bottom of the tape. If you feel like it isn’t straight enough, place another strip of tape along the bottom rim of the mug for extra guidance. When you are happy with how it looks, peel back the backing paper and firmly smooth the letter onto the mug. 6. If you want to monogram both sides of the mug, repeat this process on the opposite side making sure to keep your letters in line with each other. |
A quick note: the longevity of your monogrammed mugs will depend on your vinyl. We’ve been using our mugs for a couple of weeks and so far they have be able to withstand hot temperatures and hand washing. I wouldn’t suggest you stick these in the dishwasher, but a light wash should be fine.
Link Love - Noor AlQahtani | Noor AlQahtani
July 13, 2014 at 11:51 pm[…] loved the High Walls blogs and last week she posted a DIY for monogramed mugs which I cannot wait to try out for […]