Oh Etsy: 17.04.13

After my DIYing adventures took me into the kitchen, I’ve been feeling the want need to bring my kitchen in line with my new colour scheme. As always, I’m still loving the more neutral, muted tones, but now I’m leaning towards some lovely blues and greys.

ONE / Always a sucker for pretty linens (and geometric shapes!) These Natural Modern Dot Tea Towel from Manusmade are almost too classy for my house!

TWO / The teal inside of the Ceramic Heart mug from Ross Lab is what ultimately won me over. I don’t even use mugs all that often.

THREE/Definitely my favourite of this collection, I simply must have a Set of 4 Stoneware Pottery Bowls from Little Wren Pottery!

FOUR /What? Who doesn’t need a 1930’s French Bottle CarrierCultural Pollination knows what constitutes a kitchen essential…

thumb-ombrecutlery

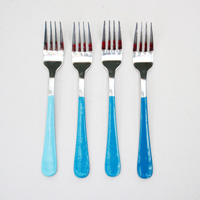
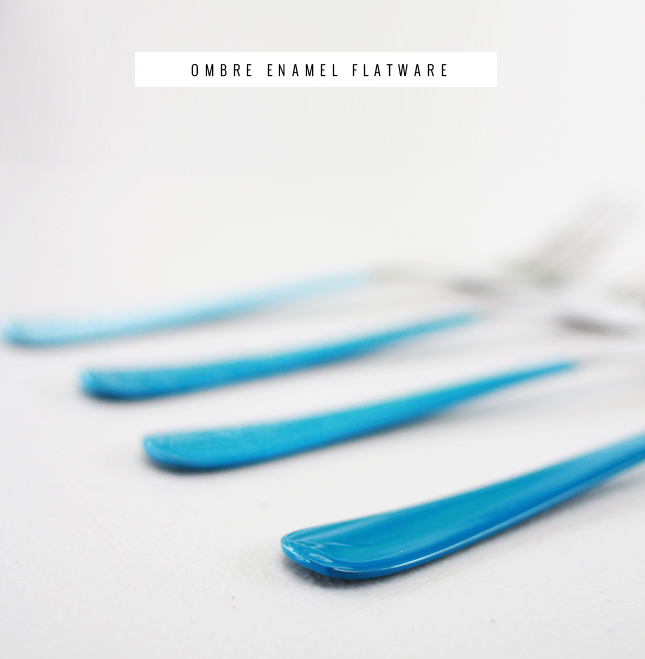
Ombre Enamel Flatware

DIY Ombre Enamel Dipped Flatware | www.highwallsblog.com

As soon as people started dipping wooden spoons in bright colours I knew this was the project for me. Simple, elegant and something that can be totally personalized to your own taste.

My researched brought me to the conclusion that enamel paints were the way to go; the glorious thick paint is perfect for even coverage and should stand the test of time. ‘Plain silver and a rainbow of pastel colours,’ I thought, ‘What a good idea! And so much cheaper than buying the same thing in the stores. Dani - you so smart!’ and off I skipped to my local hardware store to choose the perfect shades for my apparently brilliant project.

So… enamel paint is expensive. (Alright, that’s not entirely true.) Hardware stores charge between $10 - $16 per teeny can and when I had my heart set on 8 different colours that’s a pricey DIY! Sure, I could get them online where they are half that price, but then I can’t see the true colour in person prior to buying and besides, ain’t nobody got time for that! (So maybe I’m not the most  patient of people…)

Besides my monetary issues, I also couldn’t find the colours that I wanted either! I almost abandoned the whole thing altogether when I suddenly had a stroke of genius: What colour scheme do I love for a DIY? That’s right kids, it’s another ombre DIY!  This meant I only had to buy 2 tin’s of paint instead of 8. As I don’t have a lot of use for enamel paints, this was the perfect compromise to not only bring down the cost, but also stop a lot of wastage.

Disclaimer: This method is what I found was best to reduce wastage of your paint. You can of course mix a series of different shades from lightest to darkest, but chances are you will not use all of the paint, so you will either need to store each colour separately for later use, or discard it all.
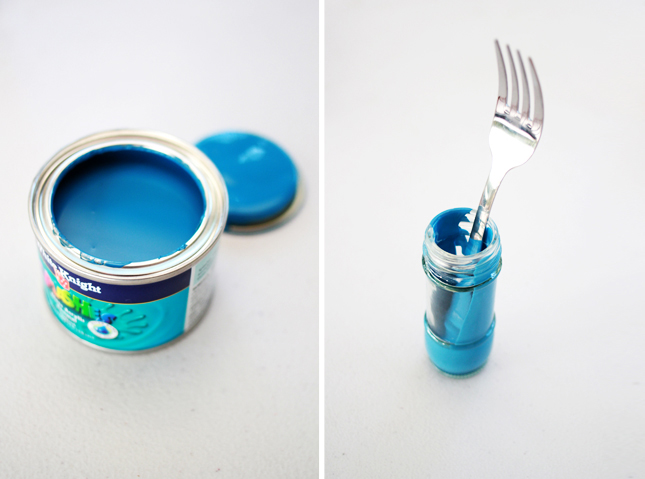
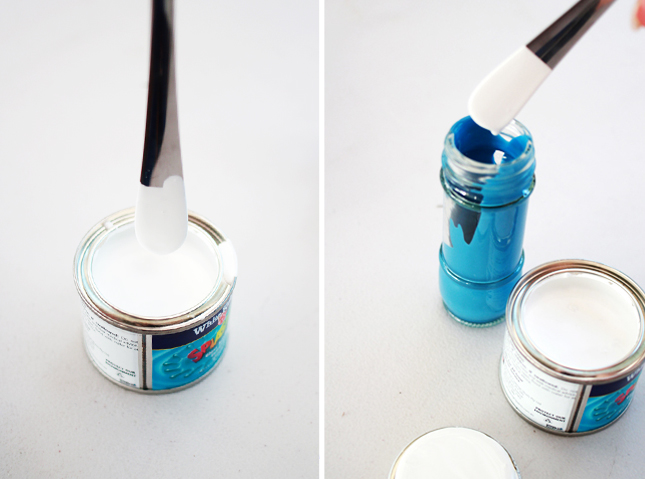
DIY Ombre Enamel Dipped Flatware | www.highwallsblog.comDIY Ombre Enamel Dipped Flatware | www.highwallsblog.com

What You Need:

1 tin of enamel paint in white
1 tin of enamel paint in your choice of colour
A selection of flatware/cutlery to paint
A tall jar or container - the height of your handle
A piece of polystyrene foam large enough to hold your set

What You Do:

1. Take a tall jar or container that is roughly the height of the handle part of your cutlery (narrower is better) and pour some of your coloured paint into said jar. You want to fill around 1/5 of the jar - but this will vary depending on your container.

2. Lay down a drop cloth/newspaper - this is going to get messy! Take the polystyrene foam and set up a “table” over your prepared cloth/paper; I used two cans of spray paint as the ‘legs’ with the foam as the top. This is where we are going to hang our flatware while it dries. Return the foam on a flat surface for now.

3. Take you flatware pieces that you want in the darkest shade; dip the end into the paint and gently tip the jar to one side, allowing the paint to slide down the side of the jar - over the handle until covered to your desired height. Turn the piece over while in this position to ensure even coverage on  both sides. If you don’t rush this step you will get nice clean lines.

4. Remove your piece from the paint and hold over the jar so that any excess can run back into the jar. Check the coverage and re-dip if you need to touch up any areas.

5. Once the drips have almost stopped, firmly skewer your piece into the polystyrene foam by the fork/blade end and prop back onto your pre-prepared ‘table’ set up so that it  can continue to dry. As the paint dries off it may leave a little lump where it dripped off, so push each piece it at an angle with the front facing up. This way, if you need to smooth down the lump later, any imperfections will be at the back of the handle.

6. Take your neck piece and using the handle end as a kind of spoon, decant a small amount of while paint into the jar and mix with the handle thoroughly until a shade just lighter than your oirginal colour. Be patient and mix slowly so as to avoid making air bubbles. Once ready, repeat Step 3  and 4 to cover the piece you just used to mix with.

7. Repeat for the next pieces, adding a little more white each time to get lighter and light colours. Allow to hang overnight to dry completely.  Once dry you can wash and use straight away.

A Few Tips:

- If you find any air bubbles occurring when you dip, take a toothpick dipped in paint and gently pop and smooth out any bubbles. If this doesn’t help, just dip again over the first coat.
- The enamel paint can be peeled away when it is touch dry. If you have any drips, or mistakes on a piece and you want to start again. Just allow it to dry slightly and you can quite easily scratch the paint away. It isn’t as easy once it is fully dry.
- Rotate your pieces while they hang to dry, alternating angles so that they dry evenly (and hopefully without any ‘drip lumps’)

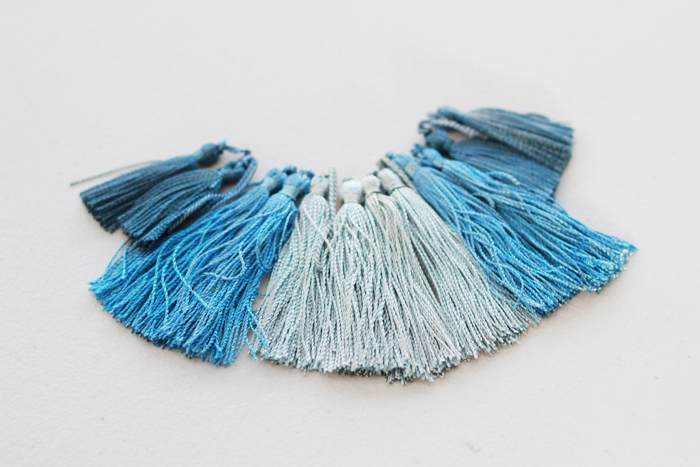
thumb-tasselnecklace

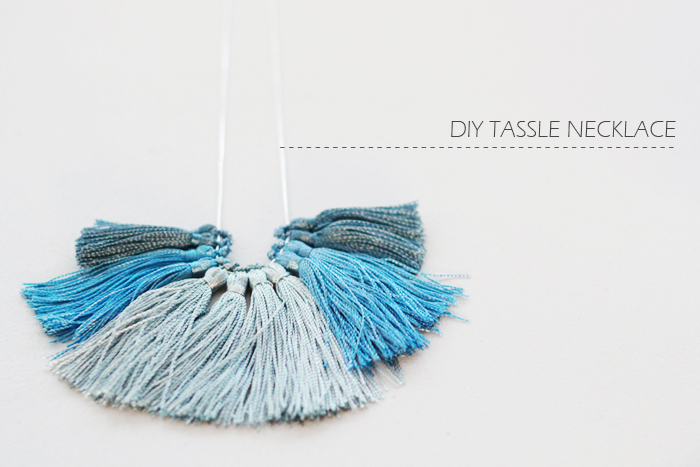
DIY Tassle Necklace

I remember when I was a child I loved playing with the tassels around the house. I loved how soft little ‘brush’ end of the tassels were. My mother had a teeny tassel on the end of the key for the glass cabinet in our living room. I used to steal it from the door and play with it while I watched TV. Man, did she get mad when I would inevitably forget to put it back! Hoo boy!
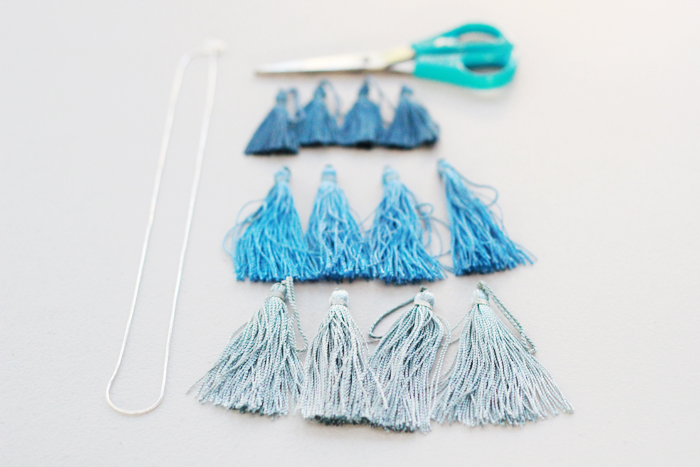
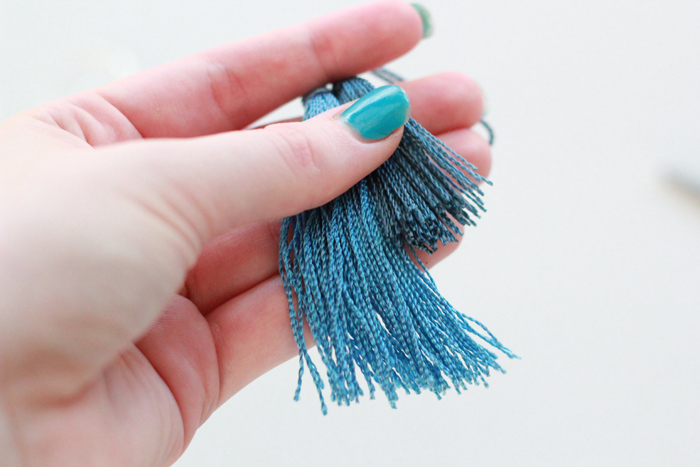
Now that I’m a grown up, I can play with whatever the hell I like, (I mean, except when I’m visiting home…. ‘Hi Mum!’) So when I spotted this necklace I just had to have one, but for $175 it was a little out of my price range. ‘I could totally make one myself’ I decided and high-tailed in to the nearest craft store.One thing you’ve probably noticed by now that all of my DIY’s are… how shall I put this? Stupidly easy? I can’t help it! I guess I’m inherently lazy. Anyway, this one is no exception. Sure, you can make the tassels yourself if you are more patient than I am, but for $3 for a pack of 4, I was willing to take the lazier option.  In actual fact, this project cost me around $9 (as I already had a spare chain laying around) and roughly 15 minutes of my time. Talk about a bargain!What I ended up making isn’t really the same as the necklace in question, but I actually would wear this version more. (You could still make one similar by getting a series of different colours in the same size, as opposed to the colours and sizes I chose. The method is still the same!)

Oh Etsy 12.09.12

This year is going seriously fast! I can’t believe its my birthday next week! I feel like there should be a few more weeks at least until it comes around! I’m not even slightly prepared to be another year older.Normally by now I have a whole host of items listed in my Etsy cart, just waiting to be bought with birthday money, but this year I only have a few things listed…. I think that means I’ve been doing too much Etsy shopping recently (oops?) Anyway, here is the shortlist of beauties I’ve got my eye on. You know, in case anyone is wondering what to get me…

TWO / Envelope BagCORIUMI /$64

MOODBOARD03

1 / 2 / 3 / 4 / 5 / 6 / 7 / 8 / 9 / 10
Even though we just had the first day of spring on the weekend, I obviously haven’t quite gotten over winter fashions and colours. I’ve developed a colour crush on Navy Blues, I think its largely due to my on going search for the perfect navy shade in nail polish… why is that so difficult to find? Regardless, these pictures have inspired me to continue on my quest! I’m hanging onto my navy shades for as long as I can this spring.

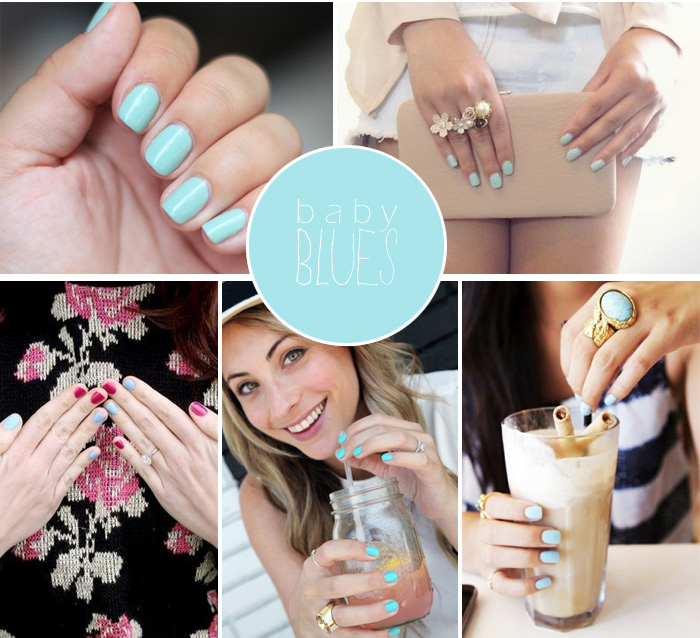
Baby Blues

 (Images Sources: 1, 2, 3, 4, 5)
As I mentioned in yesterday’s post, I have pretty much every colour of the rainbow in my nail polish collection - or so I thought. Until recently I hadn’t noticed the missing colour and now it’s all I can think about!Yes, I have developed a new colour obsession: pale blue nails! In my opinion it’s the perfect colour for the change of seasons - still bright and sunny but a cooler shade to match the cooler weather. And as with all good nail colours, it gives that lovely pop of colour to an outfit. I’m on a mission now to find the perfect shade, any recommendations?P.S. How great is that red and blue combo! I’m definitely trying it once I find the perfect blue…

oh Etsy… Blue Edition

It was yellow last week and now it seems I’m into blue this week! I don’t usually go through colour phases this quickly!

1. As much as I love my type writer, I kind of wish it were this Vintage Smith Corona Typewriter. Amazing!
2. I’m such a sucker for a Pumpkin shaped pincushion!
3. Mystery Science Theatre 3000 Locket by PicaPica Press is just so clever, I’d love to see one of my photos in the little screen!
4. Heehee I could resist putting in this little plush kitty, he’s just so happy!
5. This simple blue chalcedony oxidized necklace is so elegant and charming.
6. I simply adore these vintage 1950′ shoes! They’re even in my size, but I’m still a little hestitant to buy, those older shoes are always a little on the small size!
7. Jimboart’s hand drawn plates are just too awesome. I gotta give this drawing on crockery thing a go!

HAPPY WEEKEND EVERYBODY :)