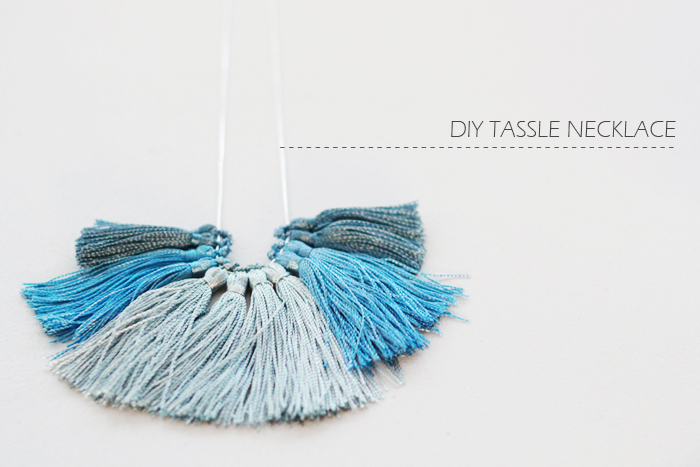
I remember when I was a child I loved playing with the tassels around the house. I loved how soft little ‘brush’ end of the tassels were. My mother had a teeny tassel on the end of the key for the glass cabinet in our living room. I used to steal it from the door and play with it while I watched TV. Man, did she get mad when I would inevitably forget to put it back! Hoo boy!
Now that I’m a grown up, I can play with whatever the hell I like, (I mean, except when I’m visiting home…. ‘Hi Mum!’) So when I spotted this necklace I just had to have one, but for $175 it was a little out of my price range. ‘I could totally make one myself’ I decided and high-tailed in to the nearest craft store.One thing you’ve probably noticed by now that all of my DIY’s are… how shall I put this? Stupidly easy? I can’t help it! I guess I’m inherently lazy. Anyway, this one is no exception. Sure, you can make the tassels yourself if you are more patient than I am, but for $3 for a pack of 4, I was willing to take the lazier option. In actual fact, this project cost me around $9 (as I already had a spare chain laying around) and roughly 15 minutes of my time. Talk about a bargain!
What I ended up making isn’t really the same as the necklace in question, but I actually would wear this version more. (You could still make one similar by getting a series of different colours in the same size, as opposed to the colours and sizes I chose. The method is still the same!)
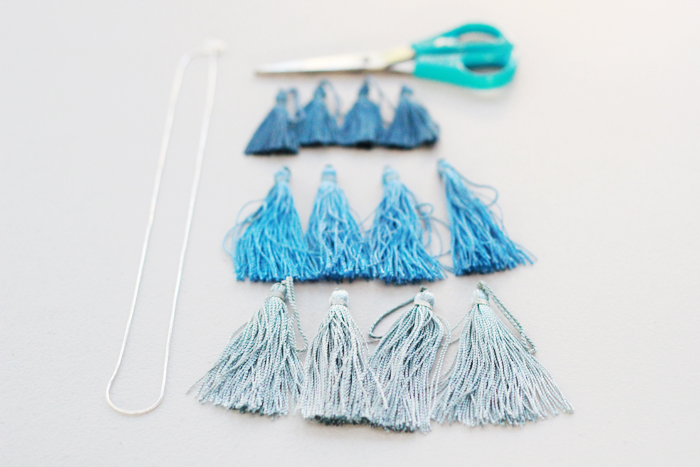

What You Need:
A chain or cord
12 Tassels (in 3 colours)
Scissors
What You Do:
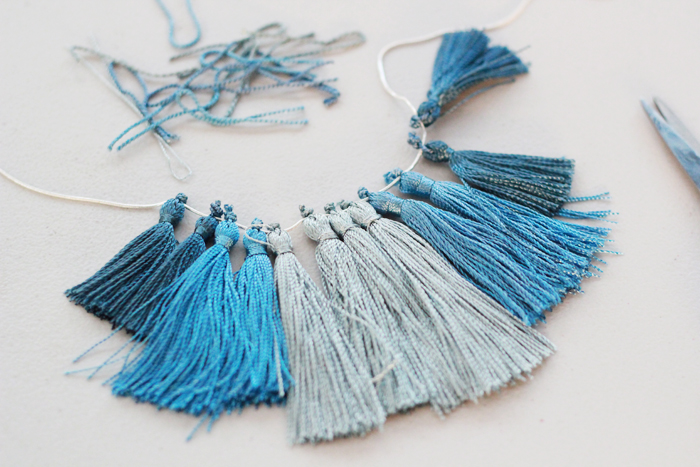
1. Take the tassels and arrange into a pattern you like. I chose to make mine semi ‘ombre’ with the lightest in the center and the darkest on the outside. Line your tassels into your desired order on a table so that you can see how they will look once strung together.
2. I wanted a gradient in the lengths of my tassels so I purchased them in 2 sizes: 4 of the shorter length and 8 in the longer length. Measure the middle colour against the long and the short tassels and trim to a length in between the two. Once you are happy with the length, use the first tassel you cut as a guide for the other three.
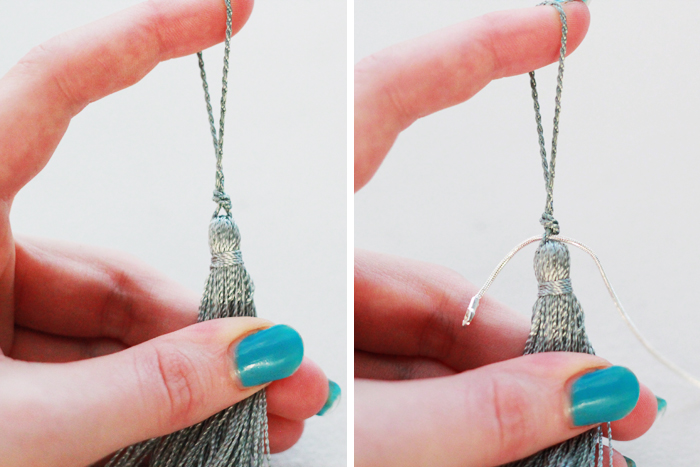
3. Place your tassels back in their original order and starting from one end, take the first tassel and place the hanging loop around your index finger. Then with your thumb and remaining fingers pull the body off the tassel so the string is tight. As shown above there is a small hole made between the knot of the loop and the top of the tassel.
4. Take your chain (or cord) and thread it through this hole. Repeat for all the tassels, gently pulling them down the chain as you go to avoid tangling.
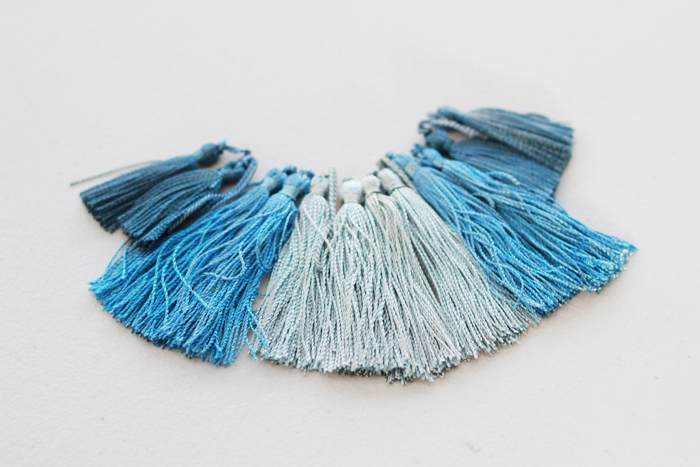
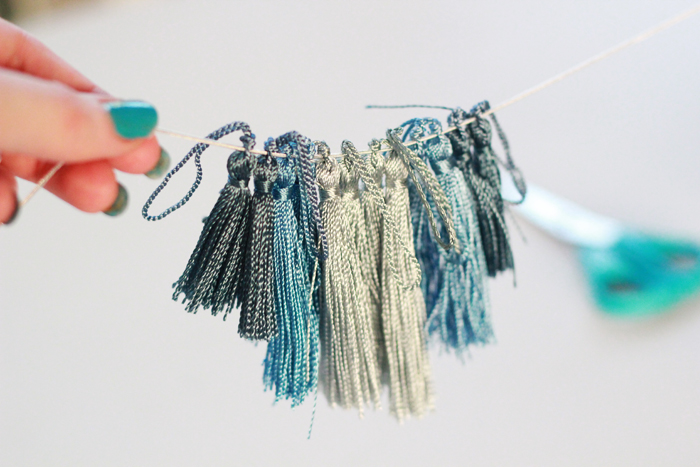
5. Once all the tassels have been threaded pull them all to the center of the chain and straighten until all are hanging evenly. Now that you can see how they fall you may want to trim any long/loose threads.
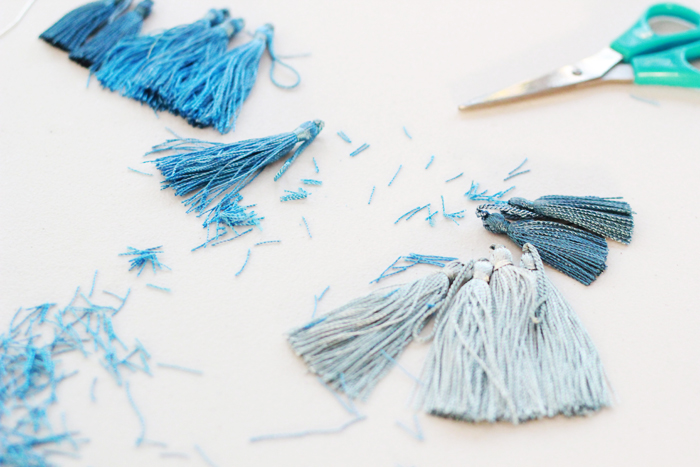
6. Carefully trim the loop from the top of each knot. Ensure before you cut that the knots are still tight and aren’t coming loose (you wont be able to fix them easily once you have cut the excess thread.
7. Prepare your most modest answer for all the compliments you’re gong to receive when you wear your new necklace!


What say you?