DIY | Rope & Copper Bracelet

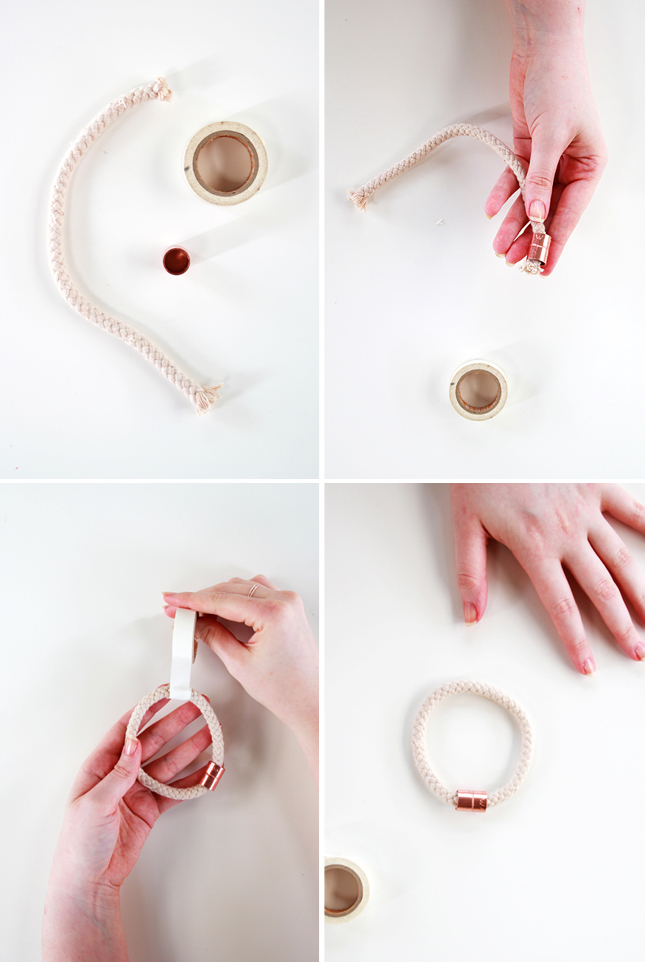
While cleaning up my desk the other day, I found I had accumulated a collection of random off cuts and assorted items. So naturally I mashed a few together to make something pretty. To make this rope and copper bracelet you’re going to need (wait for it…) rope, some white paper tape and a copper fixing around about the same thickness as your rope.
Take a length of rope and measure around your wrist so that it can slip over your hand, cut to size. Thread your copper fixing onto the rope. Tape the ends together securely , you can dab a bit of strong hold glue between the ends if you want to but it’s not required. Thread the copper fixing back over the join so that it covers the tape - the taped area should fix snugly in the fixing so that the copper piece wont move. If it is too loose add in an extra layer of tape.
Voila! I’ve been rocking my new creation all week and I gotta say; I kind of love it!


thouswellblog
March 12, 2014 at 1:59 amThis is gorgeous! So simple :)
Dani
March 12, 2014 at 11:52 amThanks Kevin! :)
Lucy Meek
March 13, 2014 at 12:43 amThis is such a nice idea! I wish I had odds and ends in my house that would look good as a bracelet.
Dani
March 13, 2014 at 9:55 amI have a never ending supply of useless things! I’m slowly learning to find use them rather than hoarding forever haha!