DIY | Wrapped Baubles
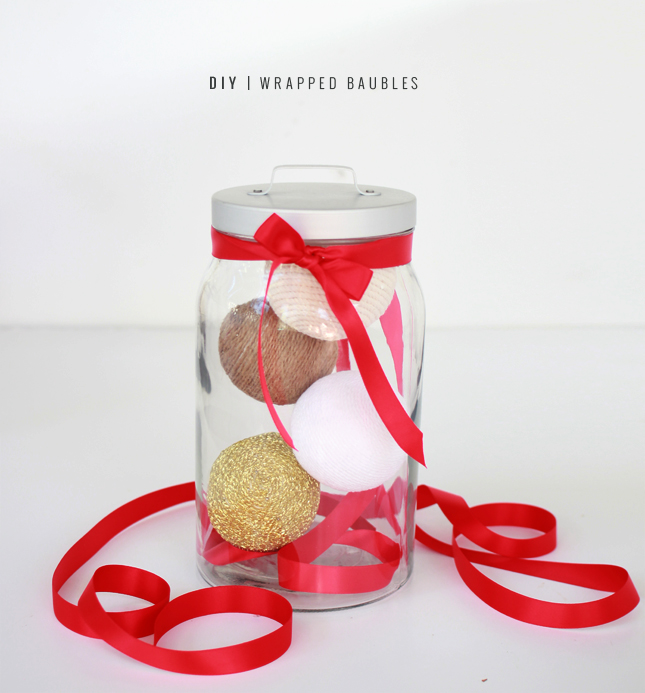
Christmas drives me crazy in the best possible way. I revert back to my childhood self, and suddenly I’m all about making paper chains and hand made decorations to trim my tree. As a child we use to make the old sequin baubles from polystyrene balls and they were my favourite Christmas craft project. I’m certainly no less obsessed with sequins as I was back then, but this year I thought I’d try a more “grown up” version inspired by some wrapped balls I spotted in a home-ware store. They take half the time to make and wont end in my living room blanketed in sequins.
However fair warning; making these guys can be fiddly, and you will end up with hands covered in PVA glue, but that’s okay? Then you get to peel it off afterwards, in that morbidly satisfying way it peels away like a layer of skin. You guys did that as a kid as well… right?
What You Need:
Polystyrene Balls - as many as you want to make
PVA / Craft Glue
Sewing Pins
Thin Rope or String
What You Do;
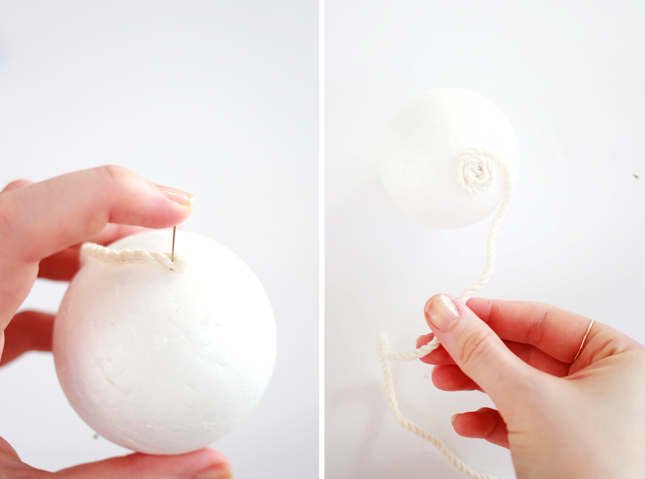
1. Start by putting a drop of glue on the top of the polystyrene ball and smooth out with your finger until it evenly coats the area. You don’t need to use a lot here.
2. Take the end of your rope/string/twine and pin the end into the center of the glue area.
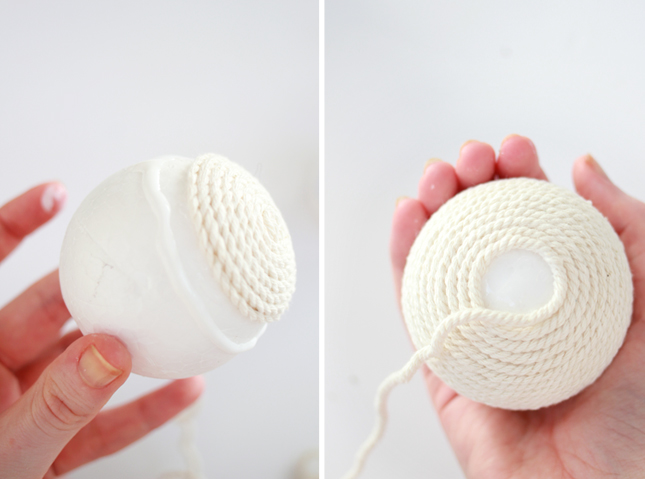
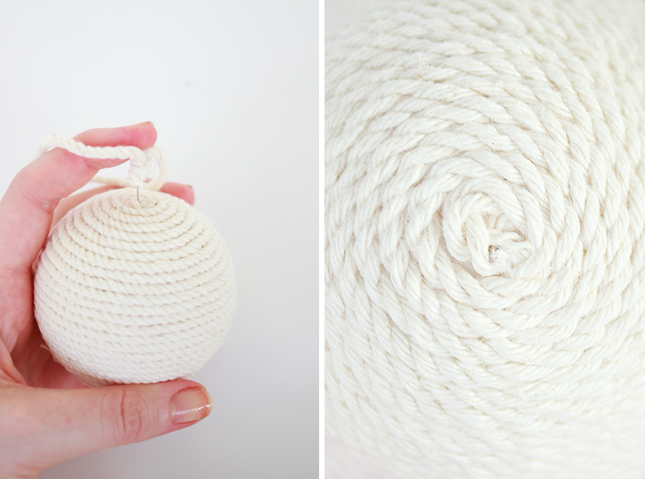
3. Hold the ball in one hand and the string in the other and turning the ball slowly, wrap the string around itself in a spiral. Try to keep your wrap flush against itself so that you can’t see the polystyrene below. The thinner your string the fiddlier this may be - use additional pins to hold the string in place here and there if you need too. (You can always remove them later.)
4. Once you get to the end of the glued area, apply another run of glue below the part you just finished wrapping, smooth out evenly and continue to wrap. It’s best to do this a little bit at a time, otherwise you will end up with a hot mess of glue and string.
5. Repeat step 4 until you reach the opposite end of the ball. It should be fairly simple until you get to the point where the ball starts to curve away again. Slow down when you get to this point as the string will likely try to slip down the Styrofoam. Use more pins to secure if need be.
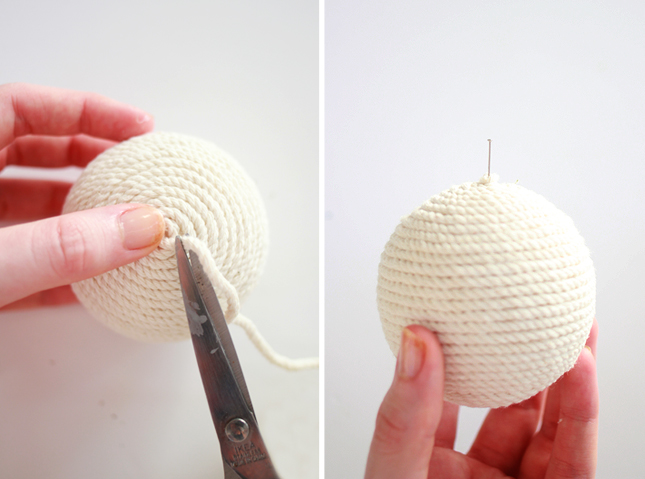
6. Once you reach reach the end and all the ball is wrapped trim the string away, and secure the end of the spiral with one last pin. Allow to dry completely before using - any extra pins you put in should be easy to remove at this point.
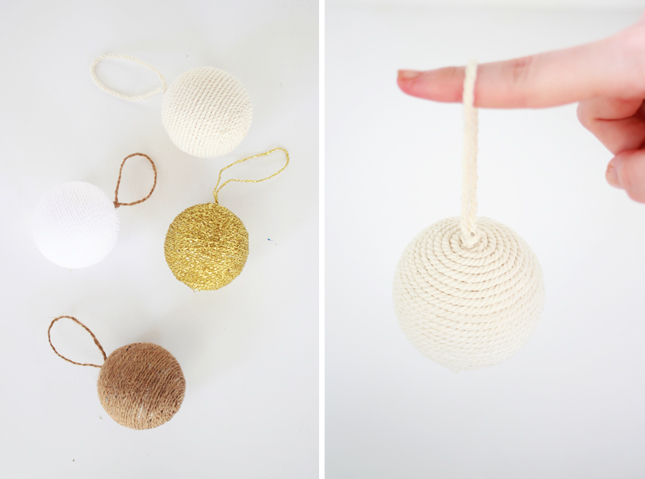
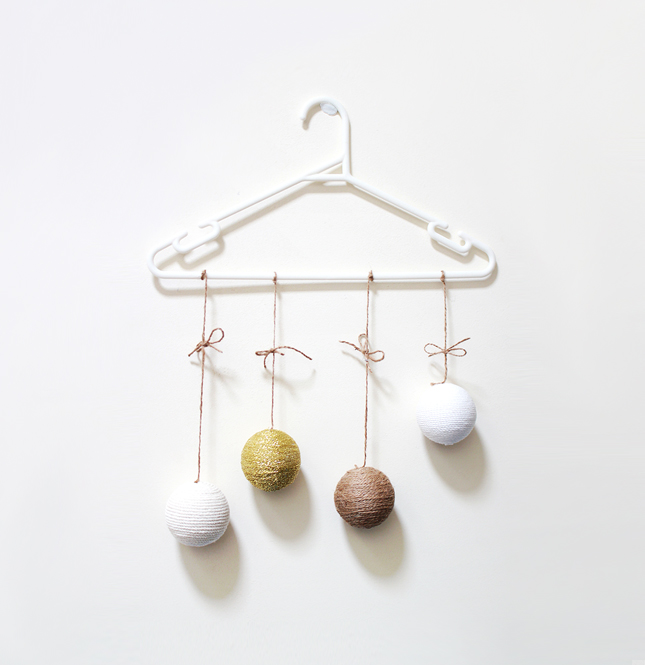
Once you have the bauble made, the skies the limit in what you can do with them! Put a bunch in a bowl or vase as a table display. Make them into hanging baubles by tying a knot in a piece of looped string and pin through the knot into the top of the bauble (See below). Or my personal favourite, make them into a garland or festive mobile! What will you do with yours?


emma
November 20, 2013 at 7:49 pmLove these, they are so cute! I am planning on making so many things this december, like you i revert back to my childhood self! Thanks for sharing.
Tara Victoria
November 21, 2013 at 4:40 amThese are so awesome! I love them and so easy too!
annarosamos
November 22, 2013 at 4:39 amI had a very similar idea too! Girl I’m telling ya, great minds think alike!! :) Beautiful diy xoxoxo