Recipe: Roasted Strawberry & Chili Jam
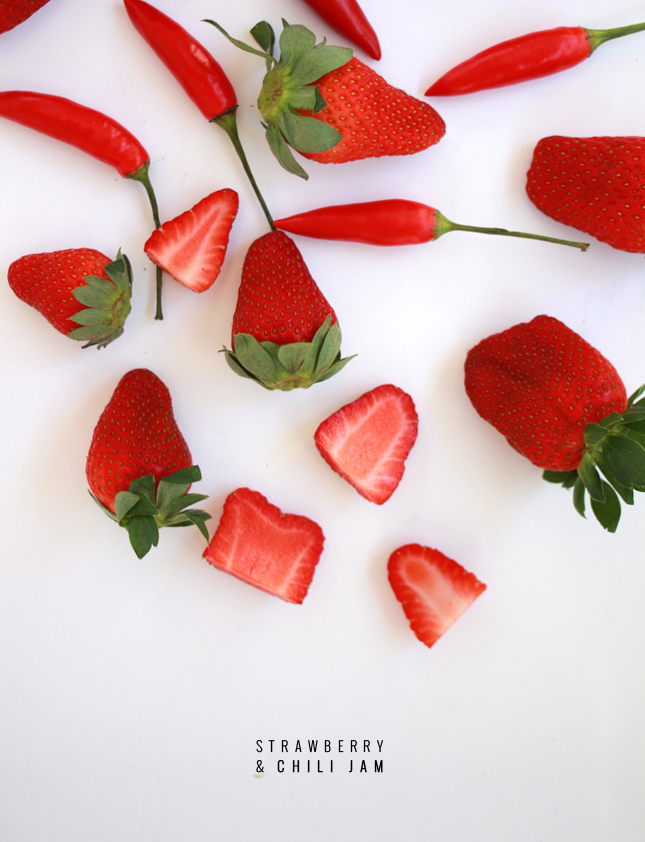
Roasted Strawberry & Chili Jam | www.highwallsblog.com

Every year as winter comes to a close, my local supermarket is suddenly brimming with punnets and punnets of strawberries at bargain prices. My over zealous enthusiasm for these sweet treats takes over. I can’t help but snatch up a basket full of berries and inevitably end up purchasing punnets of over ripe berries. You would think I would learn from past mistakes, but I always seem to buy way too many considering they aren’t the best to start off with.

Of course, if you’re a long time reader, you will know that I have an arsenal of recipes incorporating strawberries. But for those times that I get really over excited, my fall back is the old classic; strawberry jam. I mean who doesn’t love strawberry jam? Mash up strawberries, smear on bread, done! How good is that?

The sophisticated mix of sweet and spicy flavours are the prefect combination. Roasting the strawberries intensifies the sweetness and the kick of chili adds depth (plus it gives a surprising aftertaste for the unprepared).  It is a marriage of flavours I never thought would work before trying, but surprisingly it totally works!
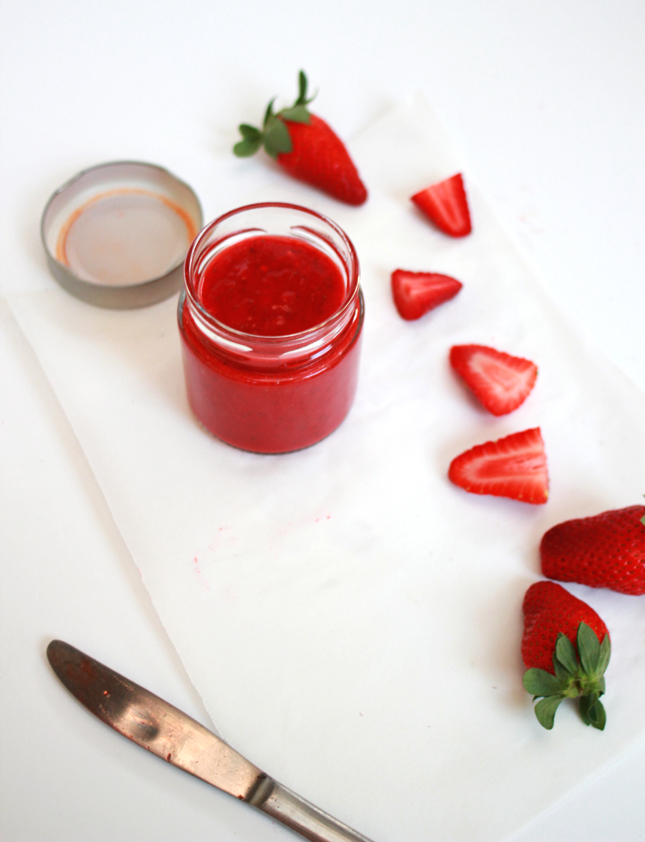
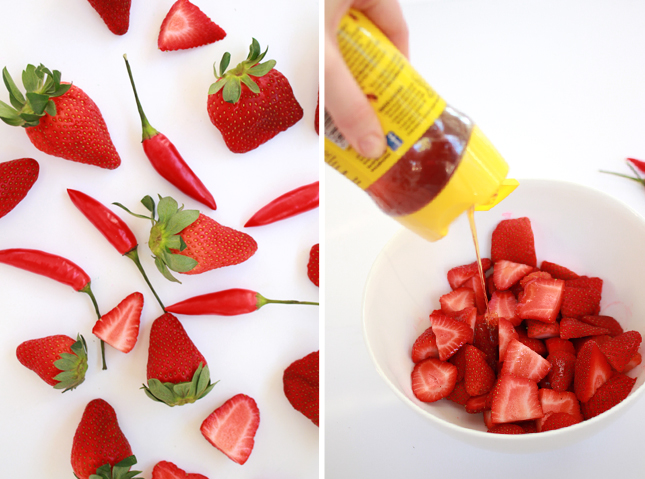
Roasted Strawberry & Chili Jam | www.highwallsblog.comRoasted Strawberry & Chili Jam | www.highwallsblog.com

What You Need:

1 punnet of strawberries
Extra Virgin Olive Oil
Honey
2 Chilli Peppers
2 star anise pods
Salt and pepper to taste
Balsamic vinegar (optional)
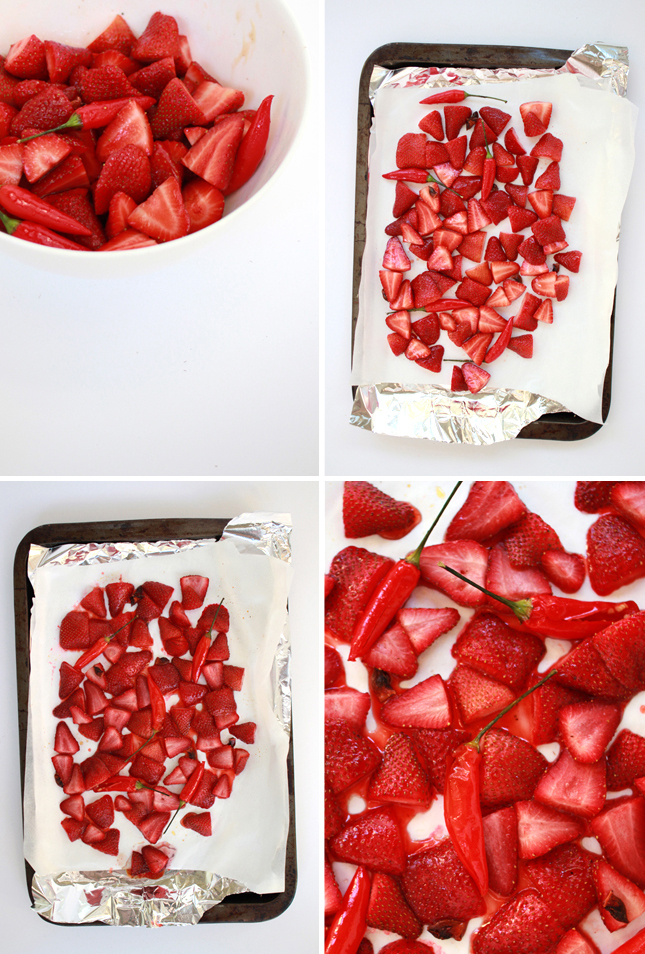
Roasted Strawberry & Chili Jam | www.highwallsblog.com

What You Do:
1. Preheat your oven to 150 degrees celsius and line a baking sheet with a line of aluminum foil and a piece of baking paper.

2. Rinse and half strawberries and add to a large bowl with anise pods and whole chili peppers.

3. Toss the prepared strawberries and chili’s with a drizzle of honey, a drizzle of olive oil  and season with salt and pepper.

4. Spread the strawberry mixture on the prepared baking sheet and bake for 20 minutes.

5. Discard the anise pods. Remove the chili’s from the baking tray and cut off the ends. Carefully cut open each chili and using a knife, scrape the flesh and seeds from the inside and discard the skins.

6. Add the chili and strawberries with the juices  and blend until smooth. If you prefer add 1 tsp of balsamic vinegar for extra depth and to help preserve the jam for long.
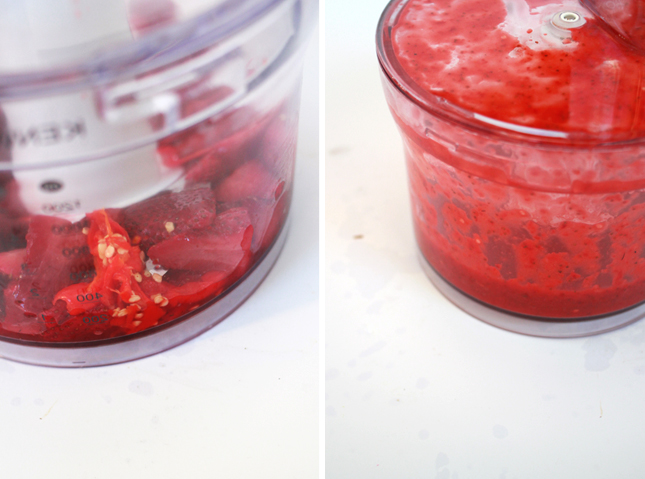
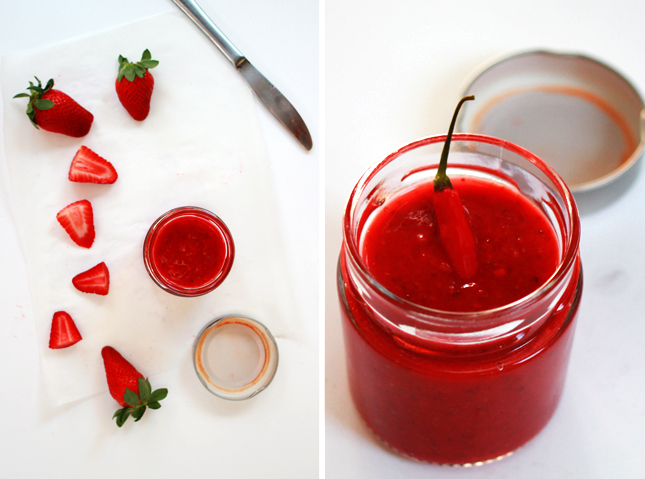
Roasted Strawberry & Chili Jam | www.highwallsblog.comRoasted Strawberry & Chili Jam | www.highwallsblog.com

Serve while still warm on bread, toast, scones; you know - any kind of delicious carbs! Just remember to warn people before you serve it up. Not everyone would enjoy this spicy spread on their morning toast…
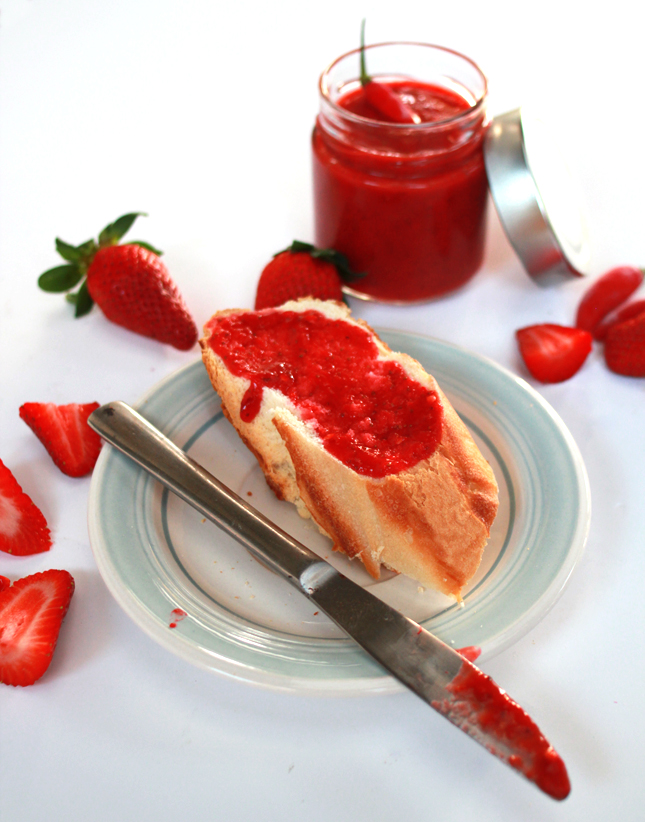
Roasted Strawberry & Chili Jam | www.highwallsblog.com

thumb-chilisauce

Chili Sauce

Recipe for Chili Sauce | www.highwallsblog.com

How do you feel about a bit of spice? How about a lot of spice? When I was younger I could only eat the mildest of curries and spicy foods. My delicate little tongue couldn’t handle too much chili. Even as I grew older and started to appreciate chili flavours more and more, I was still on the mild flavours. But I had to harden up fast when I moved in with my boyfriend and house mates as they love love LOVE chili! Basically any dish that can have chili in it, does, without fail. It’s at the point now where we have frozen chilies on our freezer and a jar of chili sauce in the fridge for daily use. I’m proud to say I’m pretty good with a bit of spice these days!

The sauce we had was a batch made by the boyfriends dad, but we as we came to the end of our last jar I decided to have a crack at making my own for the house. How hard could it be?

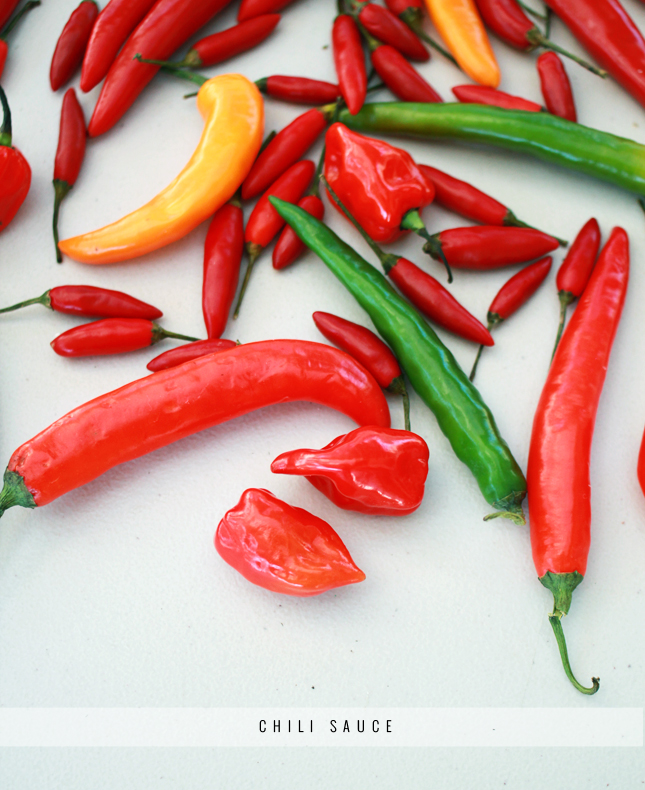
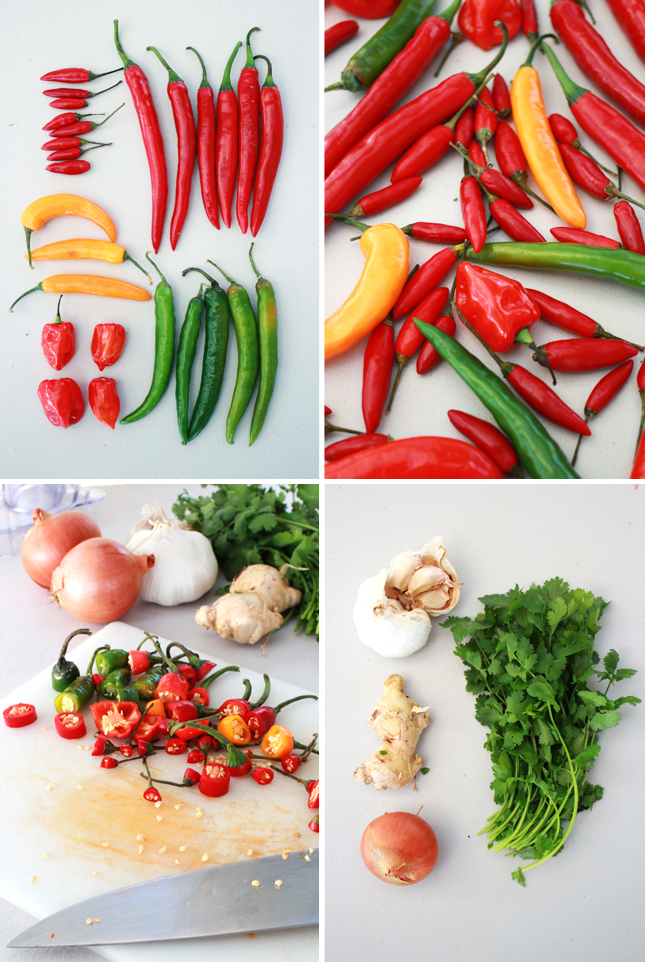
We used a mixture of different chilies; regular long red and green chilies, birds eye and habanero chilies. I bought a big bag of mixed chilies  (probably double what is in the first image below) and that made 2 jars of sauce. The measurements aren’t exact, we like our sauce extra hot so we left all the seeds in, but you can discard them or else use less chilies overall for a milder flavour.

Recipe for Chili Sauce | www.highwallsblog.com

What You Need:

Lots of Chilies!
1 small onion
4 - 6 cloves of garlic
A 3cm piece of ginger
1 bunch of coriander
1/4 cup of Red wine vinegar
1/4 cup of Olive Oil

What You Do:

1. De-seed the chilies according to your tastes. If you like it hot keep them in, or else discard.

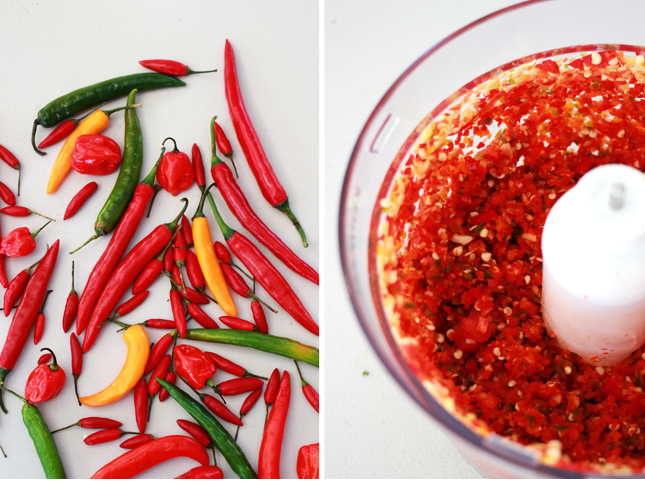
2. Roughly chop the chilies, garlic, ginger, onion and coriander. Blend in a food processor in batches until all the ingredients are extra finely chopped and mixed together.

3. Transfer to a large pot over medium heat and add about 1/4 of a cup of red wine vinegar and the same of olive oil.  Cook, stirring regularly, allowing the liquid to reduce as you cook. You want to let everything to soften but not burn.

4. Reduce the heat to a low setting and continue to cook and stir until the mixture starts to form a thick paste. If it looks too dry or thin, add another splash of red wine vinegar and allow to reduce again. Season with salt and pepper.

5. Once the sauce has achieved a good consistency, take off the heat and allow to cool to room temperature.  Then spoon into jars and store in the fridge overnight to allow flavours to mature.

Use your sauce when cooking curries, stir fries and even a little spoonful in casseroles and meat dishes will give your meal a little extra flavour. The vinegar will keep in the fridge for a few weeks, so depending on how much you make, freeze any left overs if you don’t think you will use it very quickly. Our first attempt turned out pretty well, we’ve already used up most of it. I’m looking forward to improving the recipe with future batches. What about you guys? Have you got a recipe for chili sauce? What are your secret ingredients?

Recipe for Chili Sauce | www.highwallsblog.com