
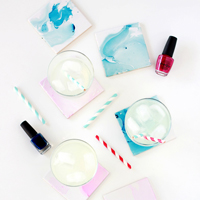
DIY | Watercolored Marbled Coasters
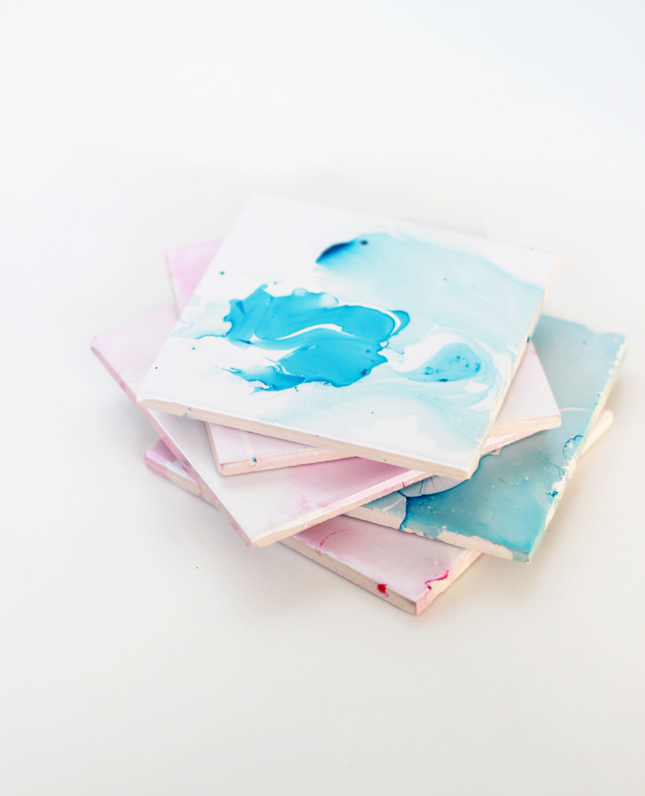
Did you know you can buy loose tiles from the hardware store? and for peanuts! PEANUTS I say! While browsing the shelves of my local hardware store I discovered this fact and so, naturally, I stocked up. Then I got home and had no idea what to do with the damn things. They sat with my craft supplies gathering dust for months until I suddenly realised: with a simple nail painting technique and a bit of patience – I had the makings of some super sweet watercolor marble coasters at my fingertips!
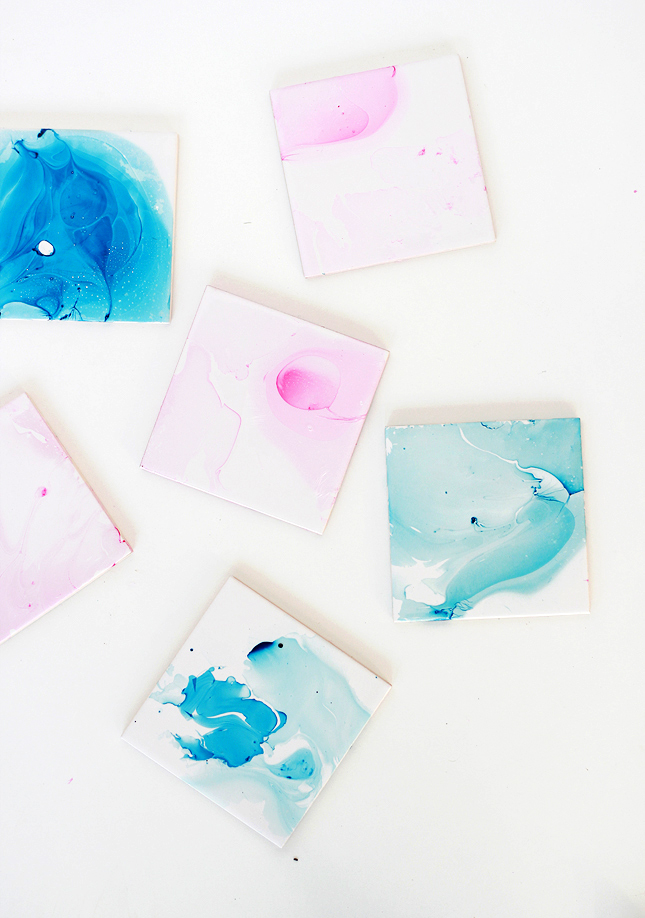
I’m kind of obsessed now. Everything I own will soon be watercolored and marbled!
 |
 |

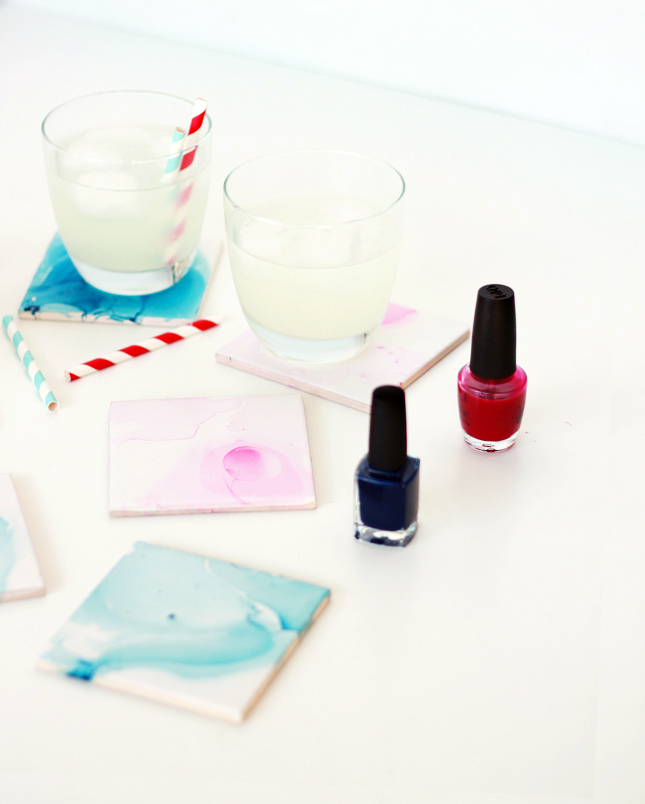
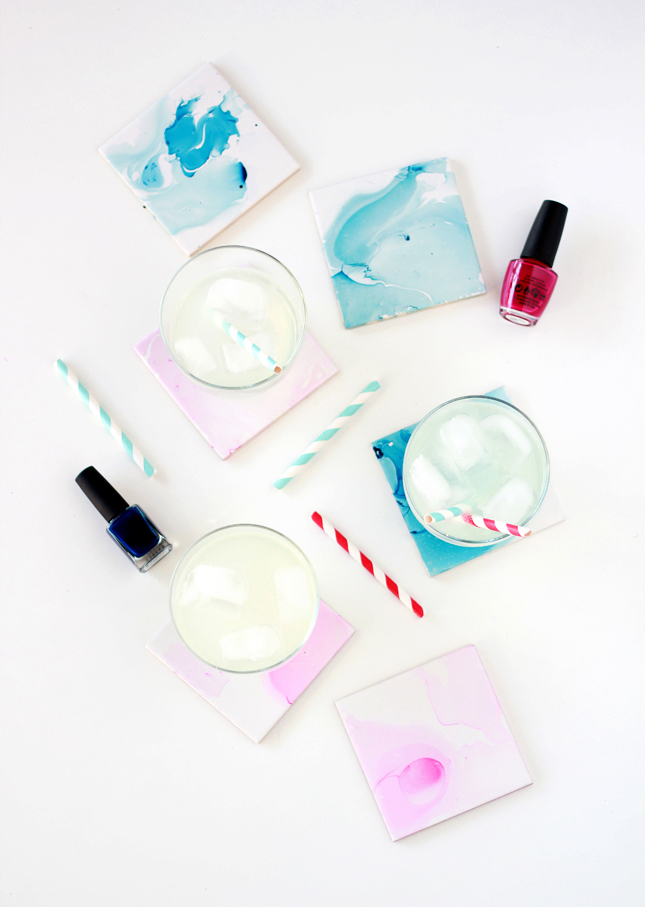
| MATERIALS: Loose Tiles Nail Polish Plastic container Felt |
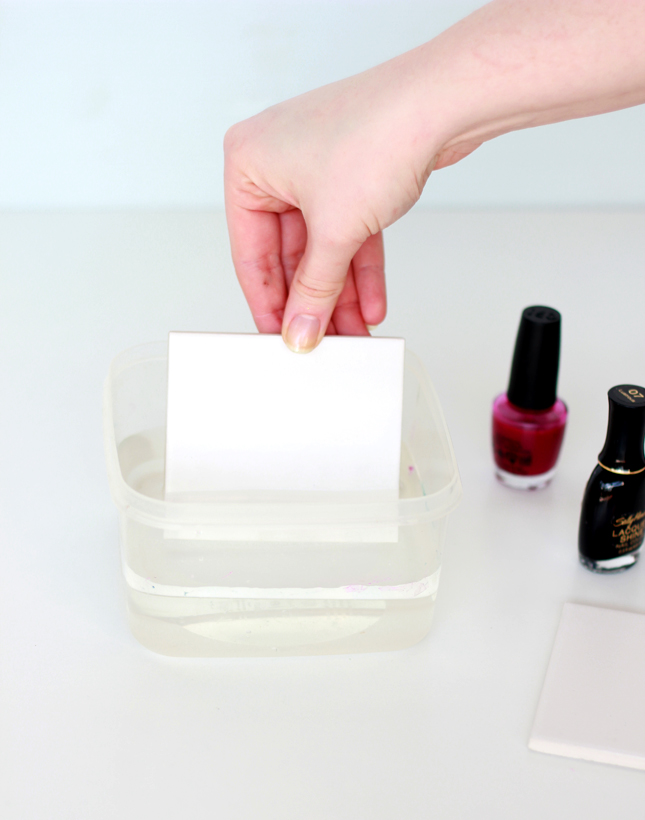
1. Take a plastic container just bigger than your tiles and fill it it room temperature water.2. Place a single tile into the water with the surface facing up. Allow any bubbles that form to dissipate.
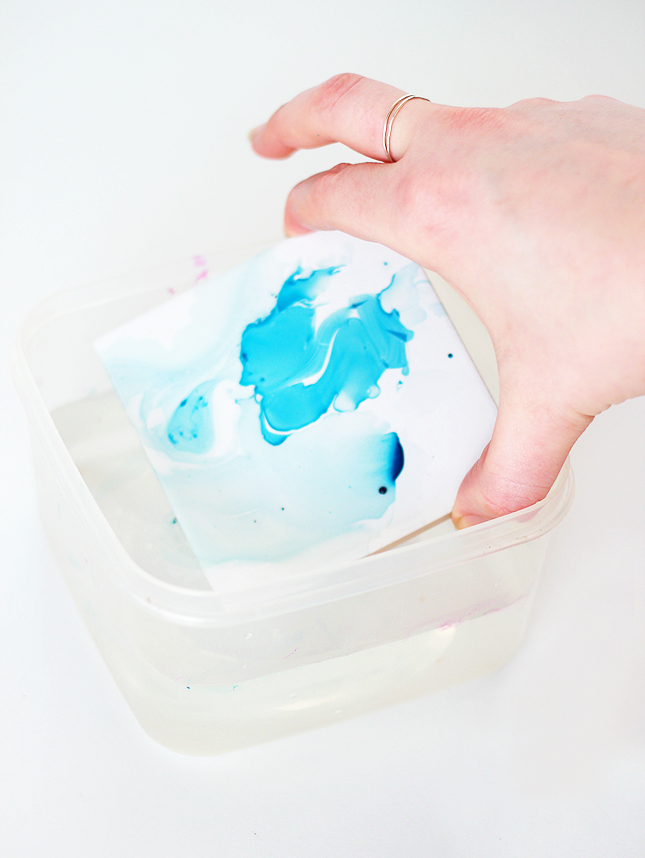
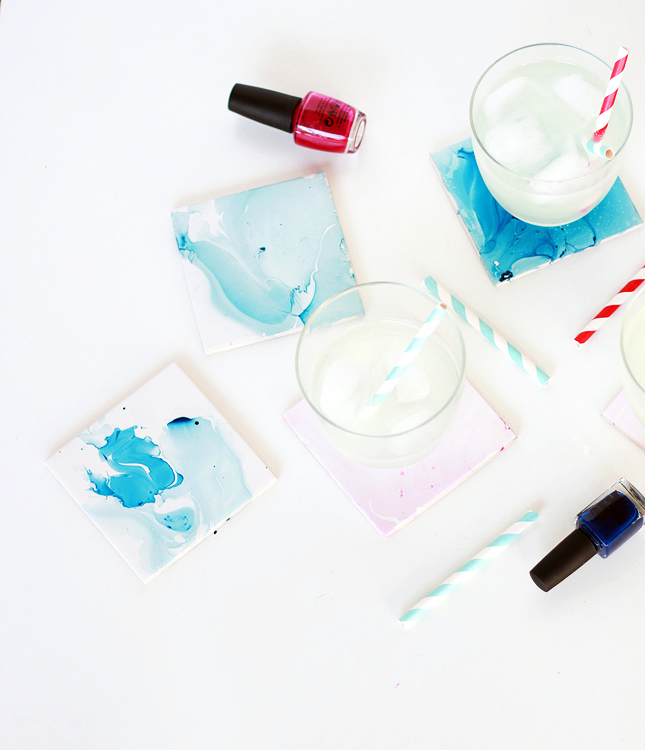
3. Carefully, drip nail polish onto the water surface; the first few drops will spread out across the water. keep dripping until you have a few different levels of colour on the surface. 4. Using a toothpick, swirl the nail polish until you are happy with the pattern. 5. Very delicately, dip your fingers into the water along the rim of the container and pick up the tile, lifting so that the nail polish coats the surface as you bring it out of the water. 6. Set aside and allow to air dry completely. 7. Before using, glue a square of felt onto the underside of each tile. |
TIPS & TRICKS:
– Practice a few times prior to starting. It will take a few tries to get the hang of it.
– Change water in between colors of nail polish.
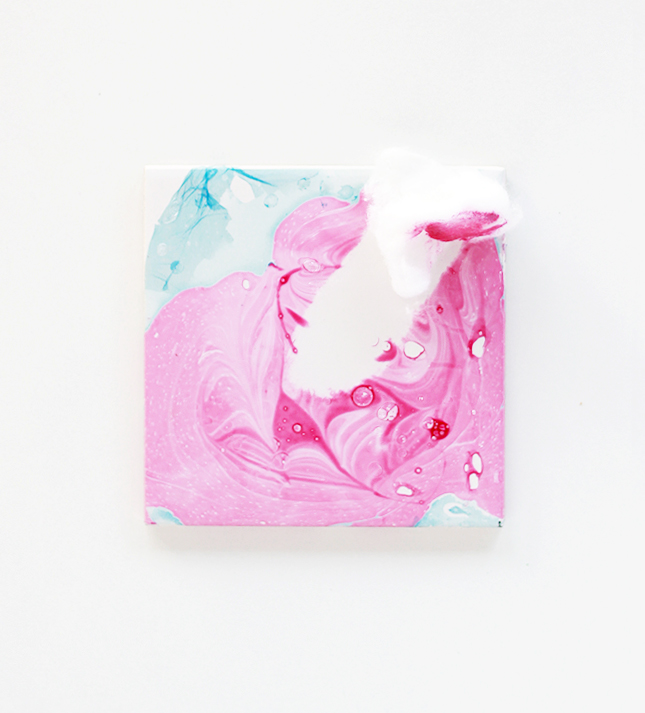
– If you don’t like the marbled effect on a tile you can easily remove the color with some nail polish remover and a cotton ball.
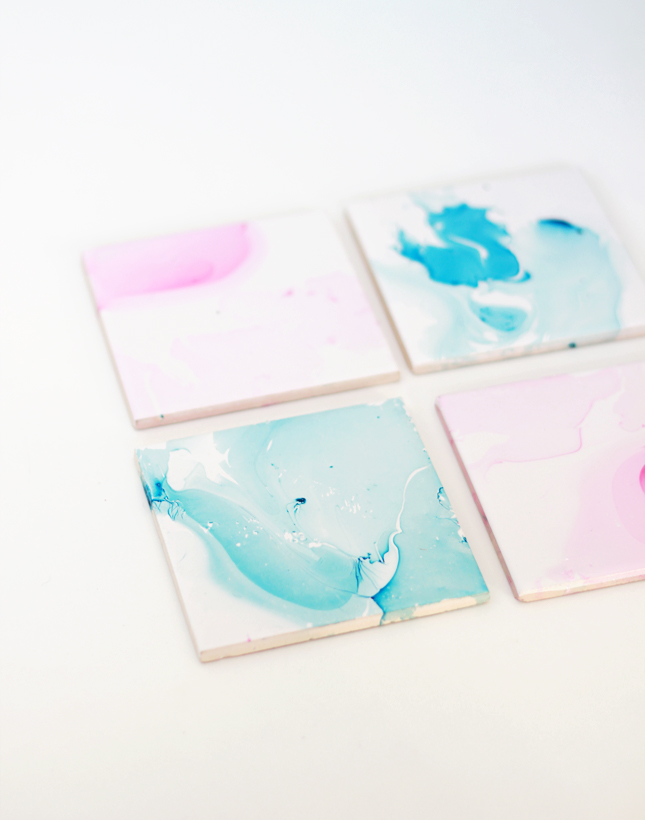
– For darker patterns, instead of putting the tile into the water, leave it out and place it face down onto the water surface after adding the nail polish. This is slightly easier, but this method wont yield patterns as soft as those pictured here. (See below for a coaster made with this method)
Simplette
September 3, 2014 at 7:46 pmSo pretty ! I also admire your photography.
Jade
September 4, 2014 at 5:49 pmThese are such a great idea for homemade gifts! Thinking of doing some in Christmas colours now to pack in my little Christmas goody-bag this year.
Dani
September 4, 2014 at 6:36 pmGreat idea Jade! 🙂
Trends on Our Radar: Marbling – Goedeker’s Home Life
September 18, 2014 at 10:01 pm[…] HIGH WALLS | Watercolored Marble Coasters […]
Amelia Madeleine
September 29, 2014 at 1:47 pmWow these look amazing! I was just thinking that they would make Christmas gifts too! I can’t believe they are just water and nail polish. I’ll have to try these
DIY Marbled Things: Step by Step Tutorial
May 15, 2015 at 6:01 pm[…] 1) Marbled Coaster; 2) Marbled Eggs; 3) Marbled Glasses; 4) Marbeld Mugs; 5) Marbled Paper; 6) Marbled Dish Towels; 7) Marbled Jawelry Tray; 8) Marbled Switch Plate […]
9 Trendy Marble Home Décor Projects You Can DIY in a Day | EuroMarket News
August 8, 2015 at 7:39 am[…] A pair like watercolor and marble can’t be beat! You’ll be obsessing over these coasters in no time. Learn all the tips and tricks for DIYing your own watercolored marble coasters, here. […]
9 Trendy Marble Home Décor Projects You Can DIY in a Day
August 8, 2015 at 2:33 pm[…] A span like watercolor and marble can’t be beat! You’ll be obsessing over these coasters in no time. Learn all a tips and tricks for DIYing your possess watercolored marble coasters, here. […]
9 Trendy Marble Home Décor Projects You Can DIY in a Day – Day Trader Site
August 10, 2015 at 10:40 am[…] A pair like watercolor and marble can’t be beat! You’ll be obsessing over these coasters in no time. Learn all the tips and tricks for DIYing your own watercolored marble coasters, here. […]