thumb-animaljars

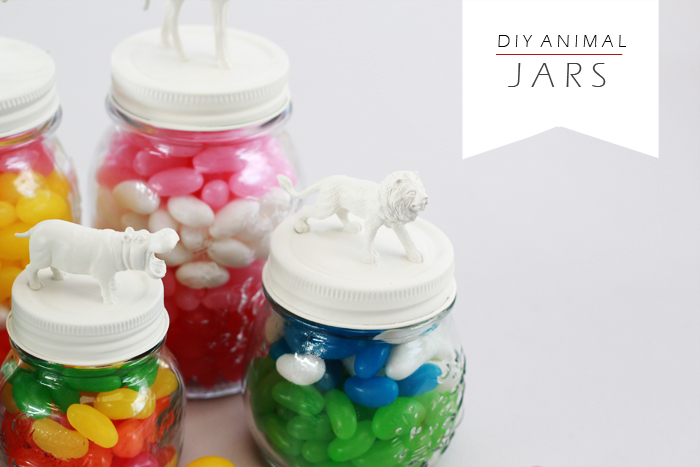
DIY Animal Jars

Growing up, we were always encouraged to make homemade gifts instead of spending lots money. As a child I was never able to think of something that I could make that could compare, in my young mind at least, to a store bought gift. Now that I’m all grown up I’ve learnt to appreciate the value of something homemade, and as my parent’s before me, I hope to instill this quality in the younger ones in my life. Starting with my god daughter and her brothers and sisters.

My best friend lives in my hometown with her little family, so I only get to see them when I visit a couple of times a year. I’m determined to be the cool ‘auntie’ who brings awesome presents when she visits, but it’s hard when you don’t get to see the little ones very often. I never know what to get them! But this year I think I’ve nailed it! I figure pretty much anything with sweets involved is going to be a winner with kids and although their mother is probably going to kill me for supplying them with this much sugar, at least it’s ultimately a useful gift…
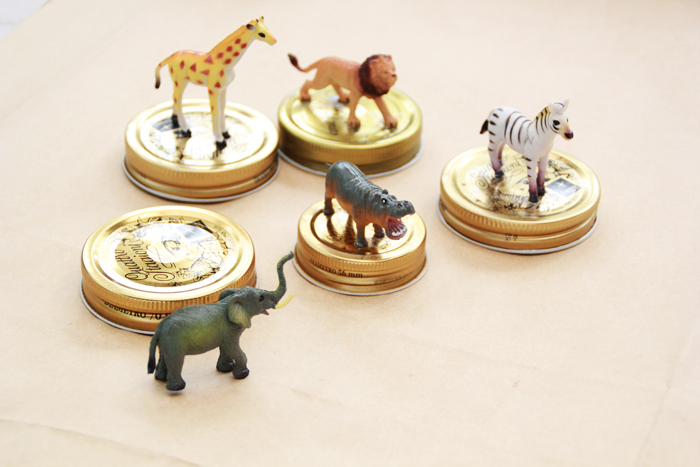
What You Need:
Various sized Jars (I used mason jars, but any screw top jars will do)
Small Toy Animals
Spray Paint in colour/s of your choice
Sealer or Top Coat (optional)
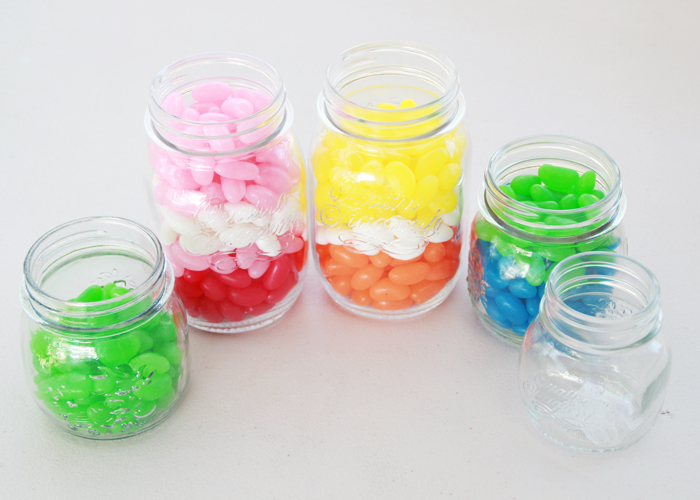
Delicious Fillings
Paper/drop sheet
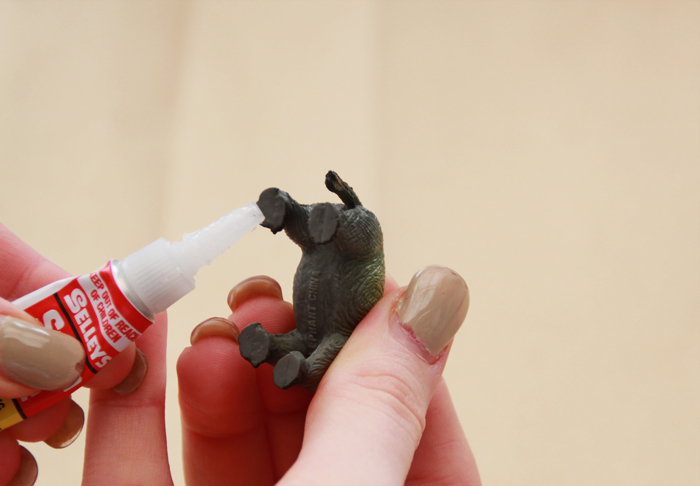
Superglue

What You Do:
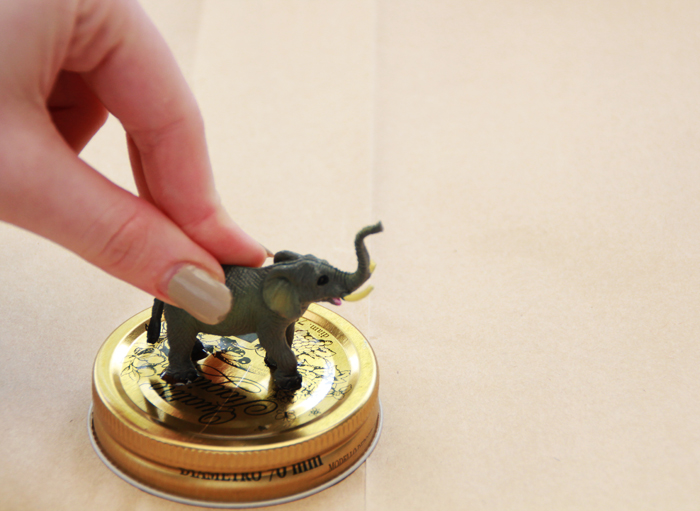
1. Take your toy animals and arrange them on your jars to your liking. Try different combinations until you are happy with the combinations of jar and animal sizes.
2. Remove the Jar lids and carefully glue the base/feet of the animals, pressing down firmly for 30 seconds. Allow to dry completely.
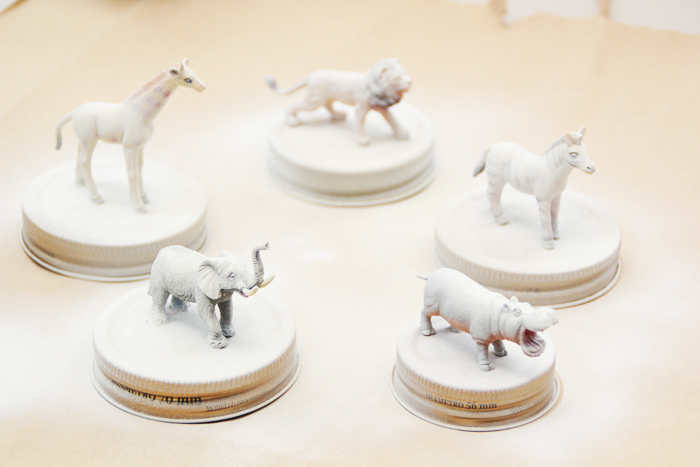
3. Place the animals/lids evenly spaced out on your paper/drop sheet. Shake the spray paint well and cover each lid/animal with a light even coating of paint. If you are painting your animals different colours you may want to do a base coat of white paint before moving onto the colour.
4.  Once your animals/lids are a clean white colour - roughly 2-3 coats (and are completely dry) you can start on your colours if you so choose. I decided to keep my animals white so that the fillings really pop with colour! Allow the paint to dry completely in between coats and ensure each coat is light and even. Be patient.
5. Once you have achieved the depth of colour you are after, now is the time to add your top coat if you have it and allow the animals/lids to dry overnight. Once dry you can fill your jars with whatever you like and screw your animals back onto the jars. Voila! You’re done!
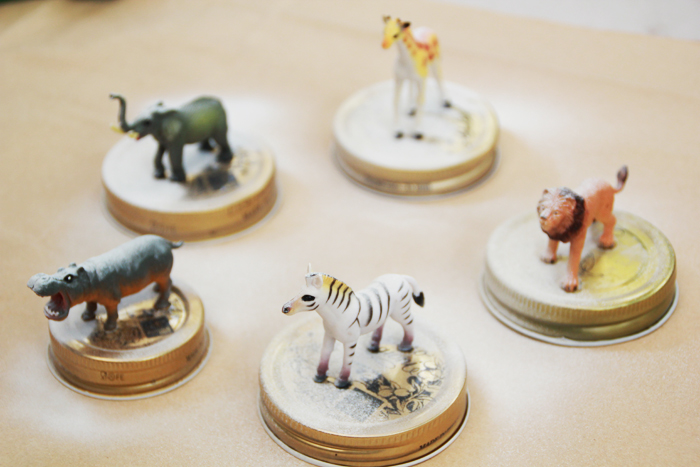
I love how the animals look after the first coat of white. It’s like they got caught in a snowstorm with little patches of their stripes and spots peeking through.


My whole house smelt like jellybeans the day I put these together. I had the spread out in piles on our dining table, I felt like a little kid sorting them into their colours - it was so much fun! Honestly, I had a little too much fun in general making these guys. Now my biggest problem is that I kind of love them where I have them sitting on my shelf waiting for Christmas. I’m probably going to have to make some for myself!

Washi Tape Frames

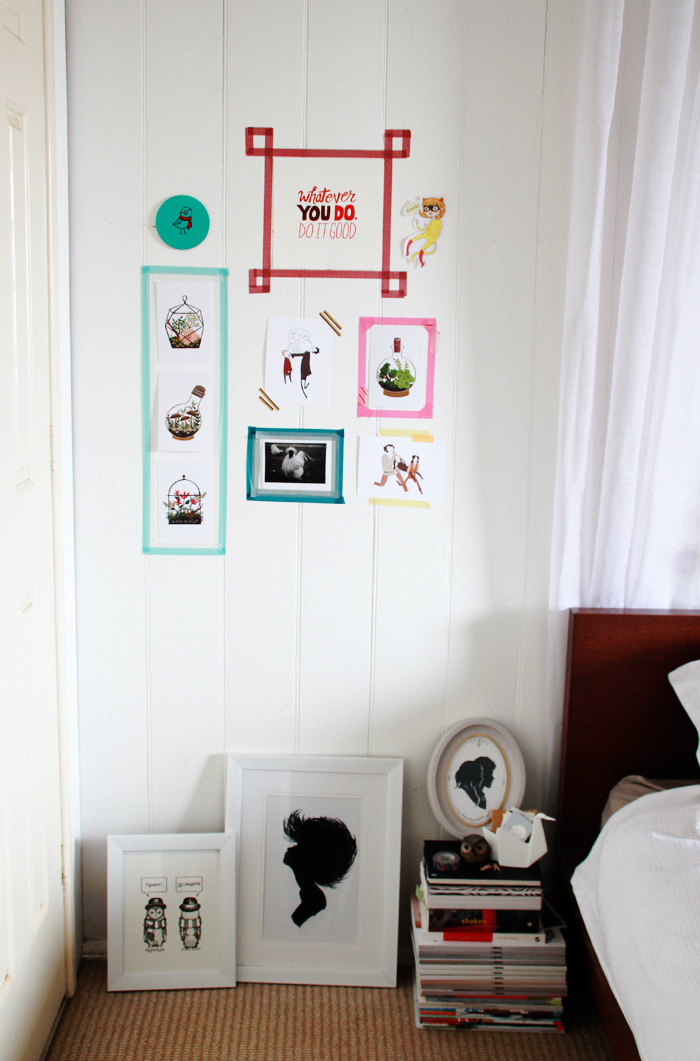
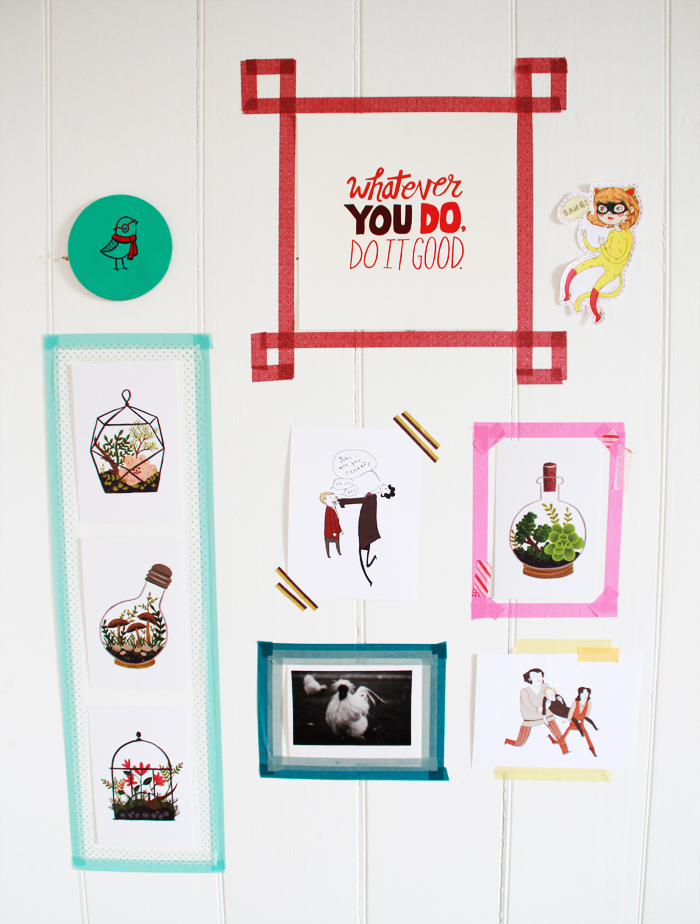
When I decided to share this little DIY (Is it really a DIY? Maybe more a simple idea?) I was super excited at the prospect of taking some photos with my fancy new tripod I received for my birthday. It seems, I may need some more practice with it as these photos aren’t the best… room photography is hard you guys!I don’t know about you, but I rent the house I’ve lived in for the last couple of years. While renting is super convenient, and hooray for no mortgage, it can be a bit of a deterrent to making our space a little more stylish than it is. One of my weaknesses is buying art prints and while my collection is growing slowly, I have limited space to hang them. I obviously can’t put nails in the walls and we’ve had some bad experiences with those stick on wall hangers. A few of my favourites are propped up in frames around the place, but I recently found a new way to display my art collection; washi tape ‘frames’!

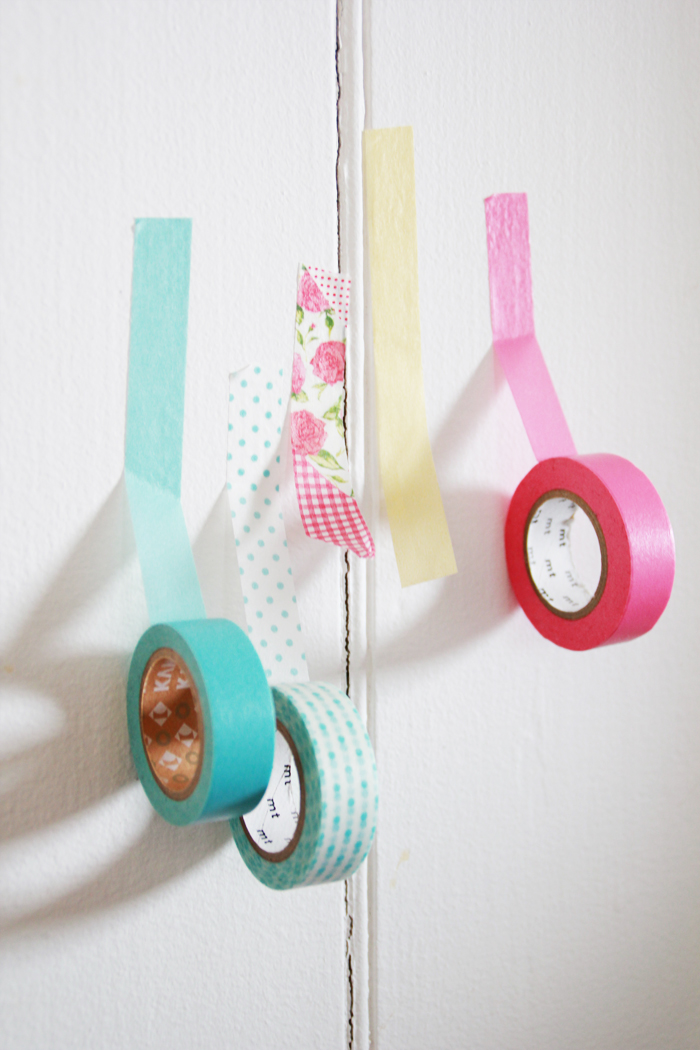
Thankfully, washi tape/MT tape isn’t super strong, so I’ve had no issues with it peeling paint off the walls. I’ve been experimenting with different styles and shapes, but I feel it gives the wall a much more ‘purposeful’ feel, rather than just sticking up some pictures. What do you think? Would you try this at home? Or do you have clever ways to display your pictures?

thumb-tasselnecklace

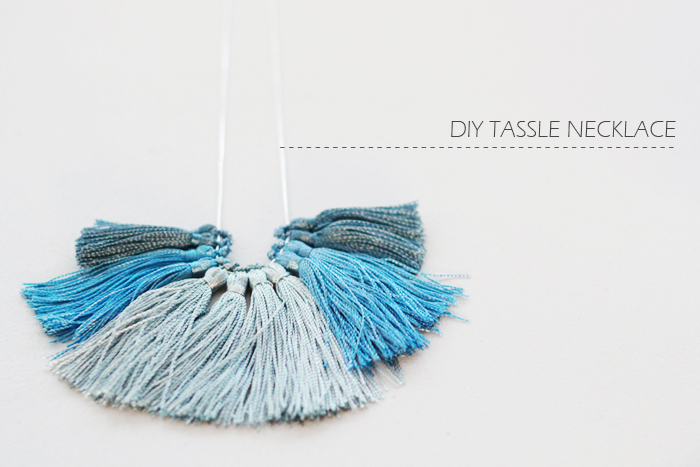
DIY Tassle Necklace

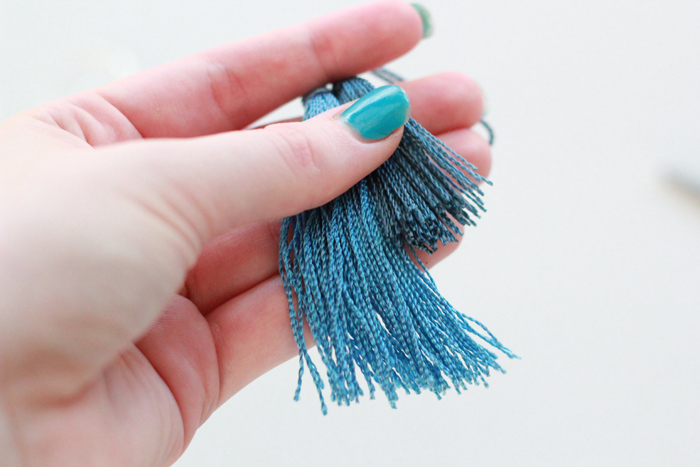
I remember when I was a child I loved playing with the tassels around the house. I loved how soft little ‘brush’ end of the tassels were. My mother had a teeny tassel on the end of the key for the glass cabinet in our living room. I used to steal it from the door and play with it while I watched TV. Man, did she get mad when I would inevitably forget to put it back! Hoo boy!
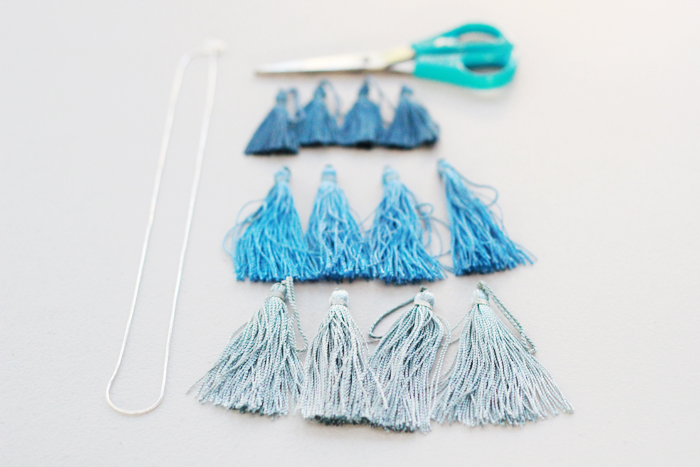
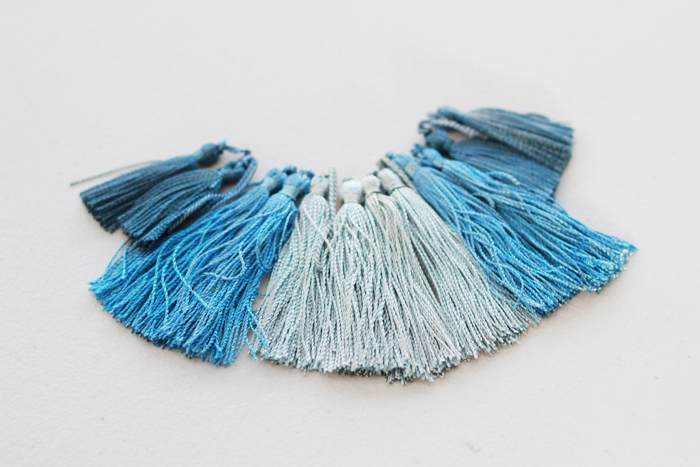
Now that I’m a grown up, I can play with whatever the hell I like, (I mean, except when I’m visiting home…. ‘Hi Mum!’) So when I spotted this necklace I just had to have one, but for $175 it was a little out of my price range. ‘I could totally make one myself’ I decided and high-tailed in to the nearest craft store.One thing you’ve probably noticed by now that all of my DIY’s are… how shall I put this? Stupidly easy? I can’t help it! I guess I’m inherently lazy. Anyway, this one is no exception. Sure, you can make the tassels yourself if you are more patient than I am, but for $3 for a pack of 4, I was willing to take the lazier option.  In actual fact, this project cost me around $9 (as I already had a spare chain laying around) and roughly 15 minutes of my time. Talk about a bargain!What I ended up making isn’t really the same as the necklace in question, but I actually would wear this version more. (You could still make one similar by getting a series of different colours in the same size, as opposed to the colours and sizes I chose. The method is still the same!)

thumb-dinoplanters

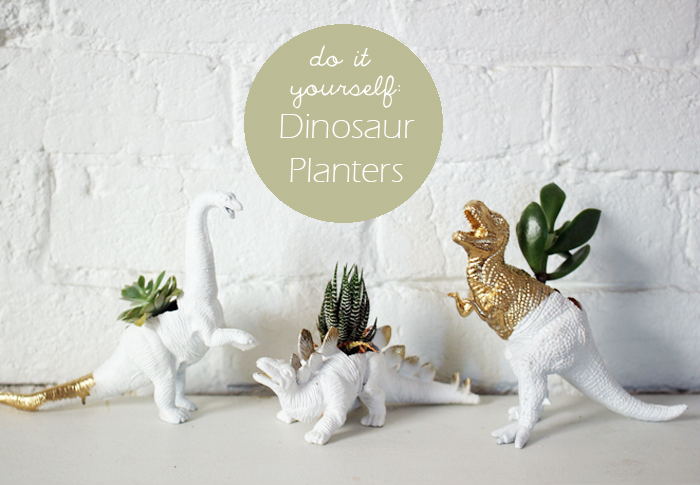
DIY: Dino Planters

A few months ago I spotted dinosaur planters on etsy and was smitten with the idea. I had wanted to buy one of my own, but when I came across some rubber dinosaurs in the toy section of my local department store for only $2 each, I thought I’d give it a try myself.My love of white is well documented on this blog as well as my love for a feature colour combination. As such, I chose white and gold for my dino’s but you can obviously tailor yours to whatever colour you want. There were so many colours to choose from at my local hardware store!

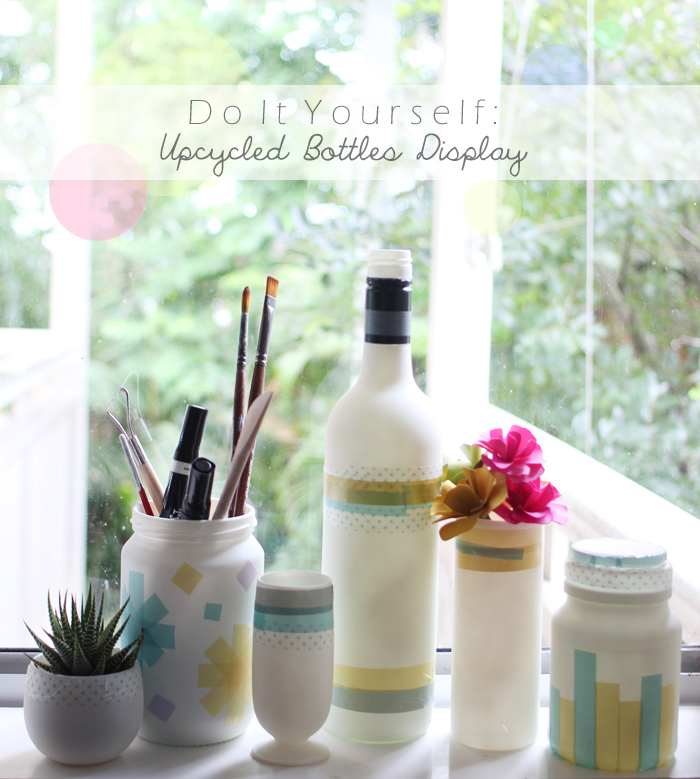
DIY: Upcycled Bottles Display

I have a tendency to buy something for a single use, but instead of keeping it stored away for the next time I need it, I devote hours to finding random uses for said item.Which is pretty much exactly what happened when I recently purchased a can of spray paint. Originally, it was purchased to touch up a couple of scratched palings around my house. However, it wasn’t long before I starting thinking: “What else can I spray paint?”In my defence, spray painting is stupidly fun. There really is no other cheap medium in which you can get such a smooth even finish so easily.

I had actually wanted to do this DIY for ages, inspired by these beautiful painted bottle - I had intended to create something similar. I popped down to my local thrift store to find a few bottles to use, only to find that they were having a sale on glassware! I picked up all you can see here (with the exception of the wine bottle – which I ‘emptied’ by myself) for a measly $2! Bargain! My good luck inspired me to get a little more exciting with my DIY-ing (especially as I only had white spray paint).

READ MORE

thumb-egglet

Easy Peasy Easter Project

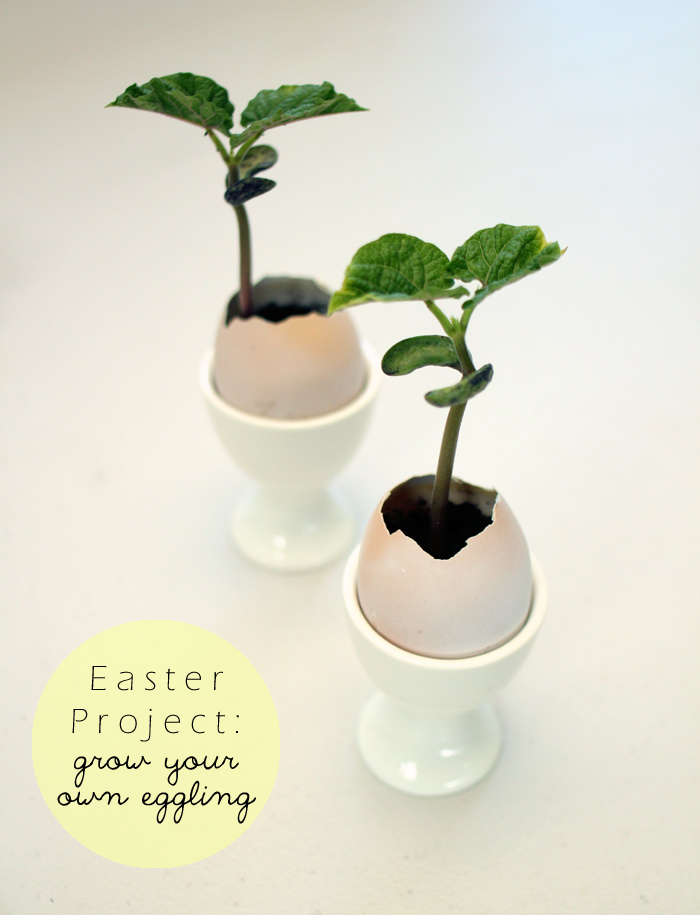
Remember when you were a child and you used to do little experiments at school that were actually very simple, but at the time you thought they were totally amazing? One of my favourite’s was growing bean sprouts in cotton wool. I was so excited with those seeds started to sprout. Growing something from a scratch still excites me to this day, so I have been looking forward to Easter so I could pull out this DIY from my childhood…

A few months back I stumbled across Egglings. Naturally, I was smitten with the idea of ceramic eggs in which you could grow your own herbs and plants. It’s pretty much the most adorable idea ever! While the ‘real’ egglings are obviously a little more permanent, my little brother and I used to make something similar every year on the Easter holidays when we were kids.
READ MORE
thumb-washinotebooks

Home made Notebooks

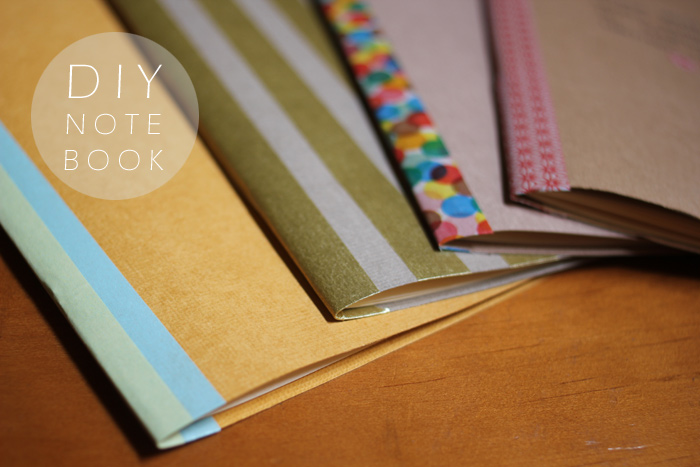
Can we take a minute to talk about notebooks? I’m pretty sure you’re all like me and can’t resist a good notebook… No? Just me then? Fine. I have a huge collection of beautiful blank books just waiting to be written or drawn in. Aaand a lot of them will stay that way! I don’t want to ruin their crisp perfect pages with my horrible handwriting or a drawing that didn’t turn out… I have a problem, okay! (Don’t judge me.) 

One of the ways I’ve found to combat this problem is to make my own notebooks. They are the perfect size to carry around in your bag for making lists and notes, and they are super light so you can take a couple with you.

DIY Cartography Heart Set

OMG. My first DIY! I wanted to get the happy couple something special for their wedding gift as they are pretty important to me. They have lived together for a while now, so they certainly didn’t need any toasters or punch bowls, so I was on the hunt for something original. I had seen similar cartography sets around online, but most of them were selling for more than I wanted to spend. Then it dawned on me how easy it would be to make one myself, and how much more it would mean being handmade…

READ MORE

thumb-terrarium

Terrarium Attempt #1

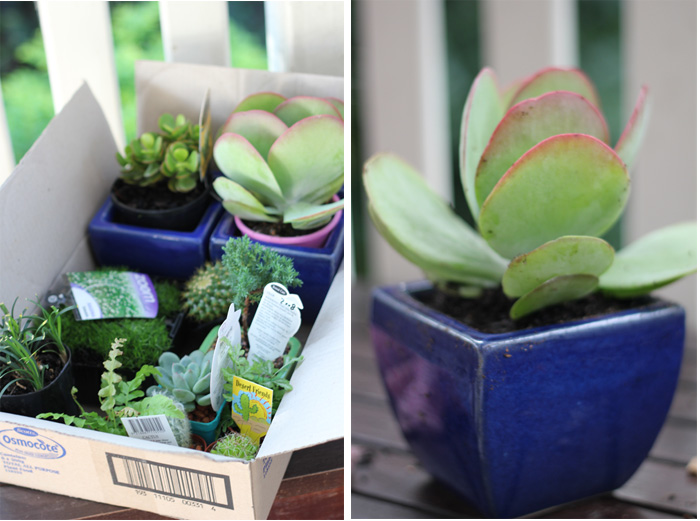
So, on Saturday I went on an epic adventure to find a plant nursery. One of the problems with being new to a big city is I don’t know where anything is. That doesn’t stop me, but seeing as Google directions are almost always wrong at some point along the way, it makes for wild adventures in driving. I was so close to the place I needed to go for about an hour but kept getting turned around due to traffic and streets I didn’t know very well. Once I finally got there I may have gotten a little excited and bough a big box of plants! Oops!
I love this guy with the huge leaves, I almost bought a BIG version of him, but decided for half the price, the little one was way better.
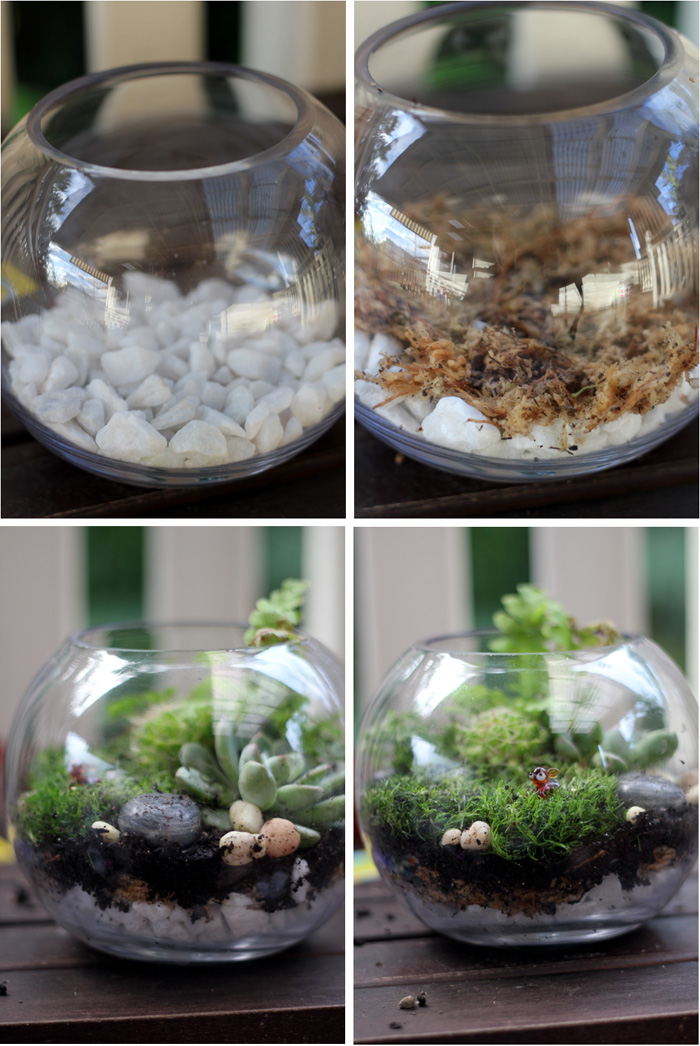
The original reason I was actually looking for plants was that I decided I wanted to build a terrarium for the first time. I decided I wanted one with succulents to put on my desk at work. I bought a teeny glass fishbowl and some little animal toys with the plan of making a tiny jungle. The animals where WAY too big, so I had to make do without them. Apart from that it was pretty simple process; rocks for drainage, moss, topsoil, plants = Terrarium! I even added my little glass deer I got from the Christmas Markets in Paris, but she’s a little lonely. I’ll have to find her a friend…
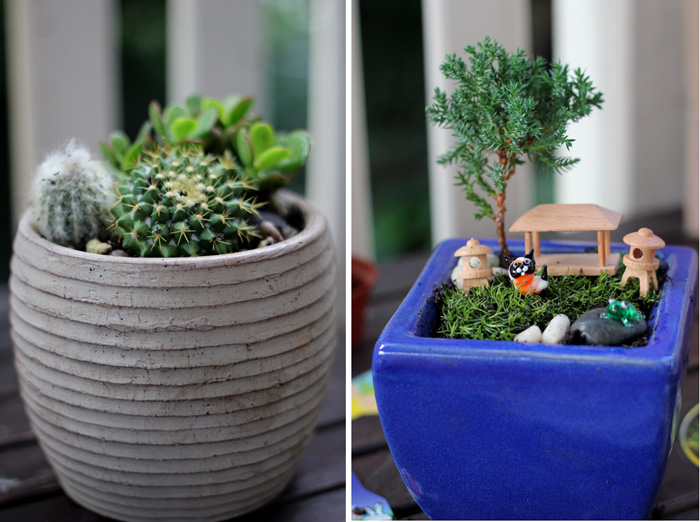
I have to admit, upon arriving at the nursery, I got a little carried away. I found so many awesome plants I wanted them all! I decided to make boyfriend one as well. His didn’t turn out so well…. like, not at all. He has this little wooden Japanese garden toy set I bought for him and was going to use as a centerpiece of his terrarium. He also LOVES Cacti, so I figured why not  put the two together?
Because it looks stupid, that’s why.It actually wasn’t a total disaster. After trying in vain to make him something I was happy with, I used part of the set, the cacti and the bonsai tree I bought him to make 2 little pots of cuteness that I actually like more than my terrarium!

There was so much love put into those pots. Do you know how hard it is (and how much it hurts) to re-pot a cactus?! And I did it repeatedly! lol That’s true love. Do you ever do that? Start one project and accidentally end up making something else that’s actually kind of better than  your original idea?