Is it Friday yet? No? Oh well, let’s pretend it is and make ourselves a drink to celebrate! TGIW! Amirite!?
Can we talk about elderflower for a second? It seems that despite seeing it everywhere on places like Pinterest and in recipe books, I am completely unable to track down this mythical ingredient in local stores. ‘Pick up from your grocery store’ they say. They are damn liars the lot of them! At this point, I was almost convinced that elderflower was something more akin to unicorns, or pixies, or a movie based on an 80’s cartoon that doesn’t suck - you know, things that sound wonderful, but don’t actually exist. You guys, I was totally ready to give up and then, just when I least expected it…
It was like the heaven’s opened up! There was a shining light and a chorus of angels singing, and there, in the beam of light I saw it: Elderflower…. cordial!? Eh! Close enough!
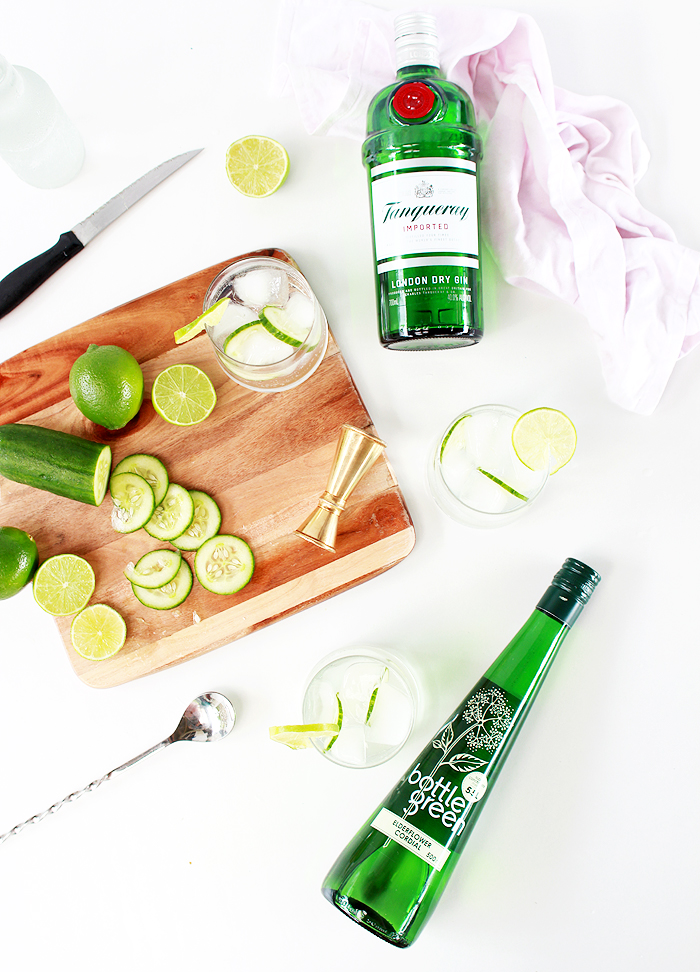
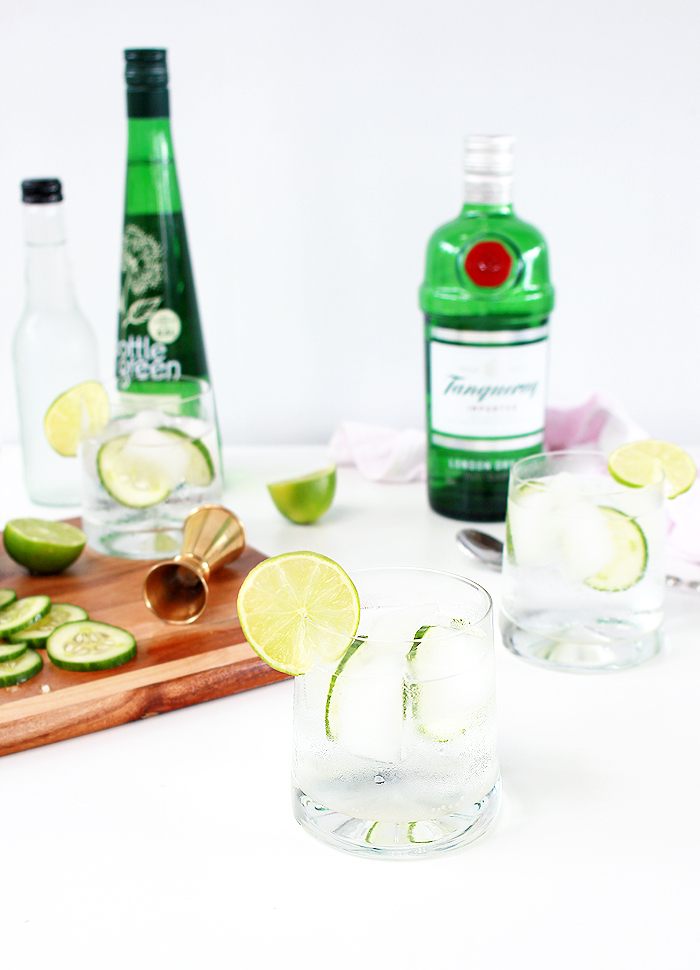
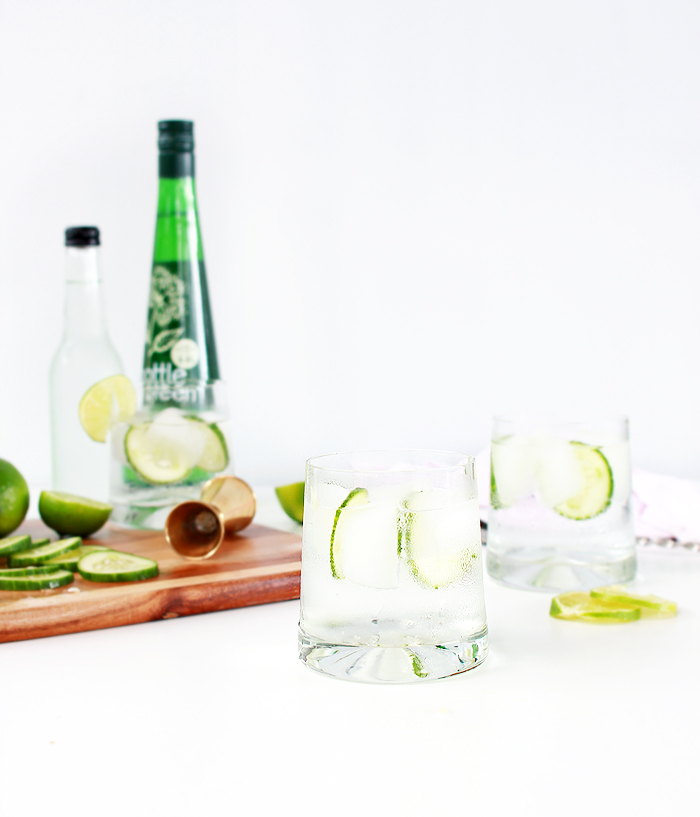
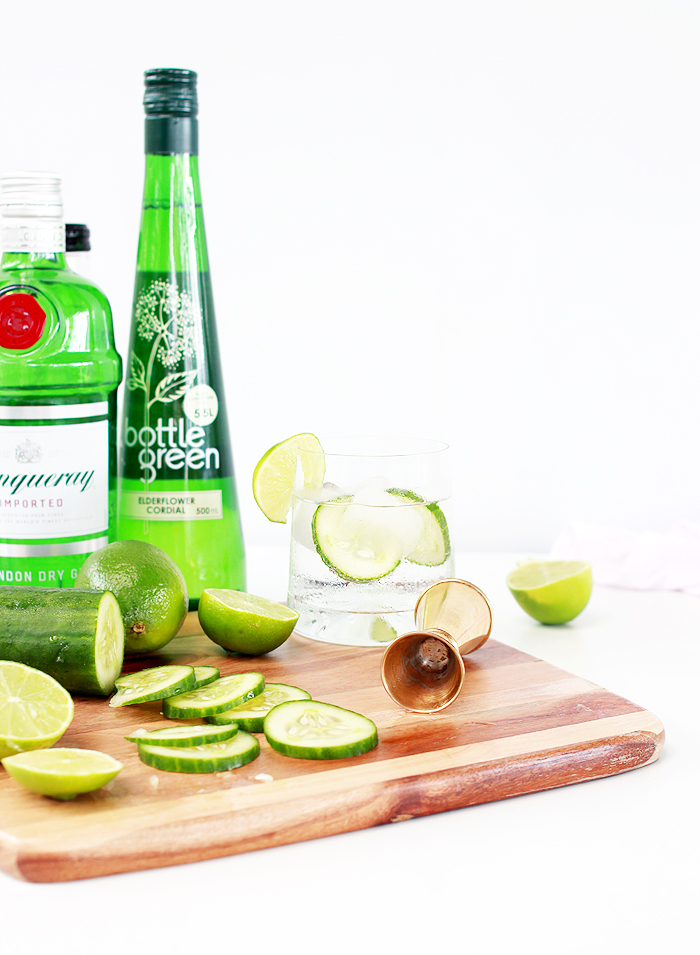
This stuff is good. Like, too good! So good in fact, that I am a little concerned how much I will love the real thing when I finally track some down. I’ve been putting it in everything. Popsicles, lemonade, cakes, icing. But by far, my favourite concoction is (of course) the alcohol related one! A dash of elderflower and a few slices of cucumber in your old fashioned G&T is next level delicious! The flavour is sweet but subtle and a perfect mix with a good quality gin (Tanqueray is what I usually have on hand, but use your favourite brand!)
Cucumber is in my opinion the perfect cocktail ingredient. It’s crisp and refreshing, and when mixed with the elderflower undertones… perfection!