thumb-float

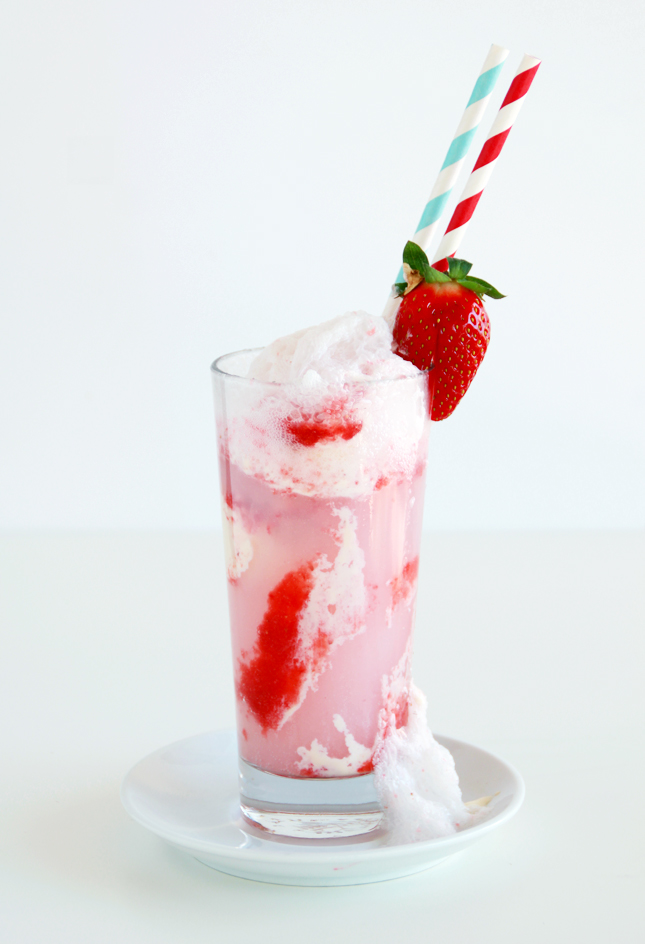
DRINK | Strawberry Ice Ccream Floats

 Strawberry Ice Cream Float | www.highwallsblog.com

You may have seen this ridiculously delicious looking creation over at The Sugar Hit a few weeks ago. I certainly did and it totally turned me around on the idea of ice cream floats. The whole concept of mixing ice cream with soft drink (usually called a ‘spider’ in Australia) never sat well with me as a kid. I think it was more a mental aversion rather than a dislike founded on anything real. While my friends went crazy for them and had them at every birthday party, I would always keep my soft drink un-tainted and… well… boring!

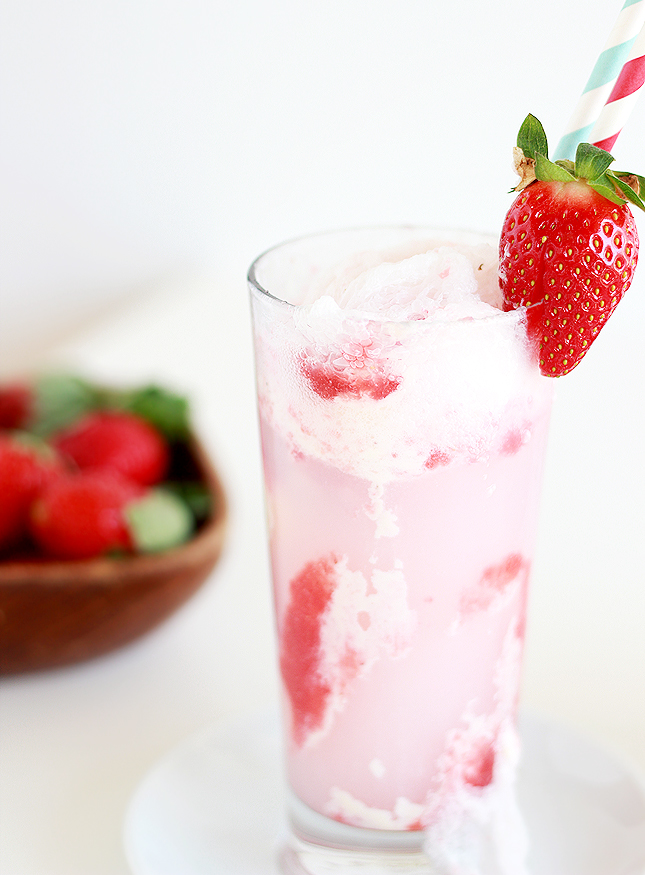
But seeing as it is ice cream month, how could I not at least give this oh so popular dessert drink a try? Taking Sarah’s advice, I opted for a fresh fruit flavour with my favourite ingredient strawberries. Guys, I’m gonna be honest. I am totally converted! I still think that creamy ice cream and fizzy drinks should not work together, but for some reason: It. Totally. Does. I don’t want to admit how many of these things I have had over the last couple weeks. It’s dangerous when you can make something so delicious with ingredients you can find in your fridge.

Strawberry Ice Cream Float | www.highwallsblog.com

INGREDIENTS:2 cups of strawberries
1/2 a cup of maple syrup
1 pint of vanilla ice cream
Soda water or lemonade
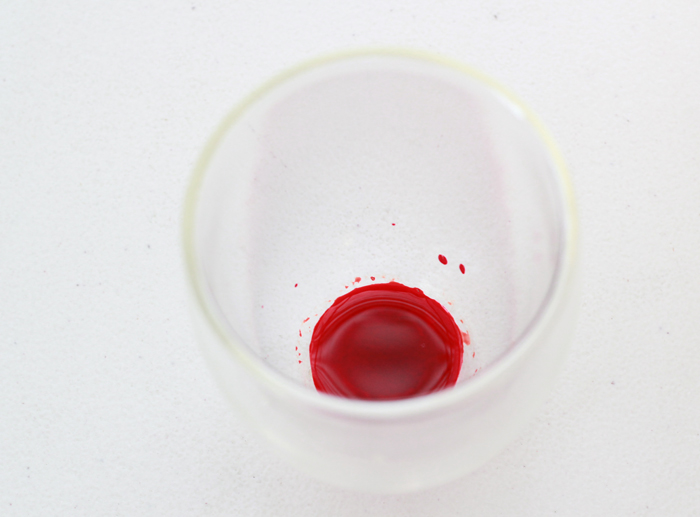
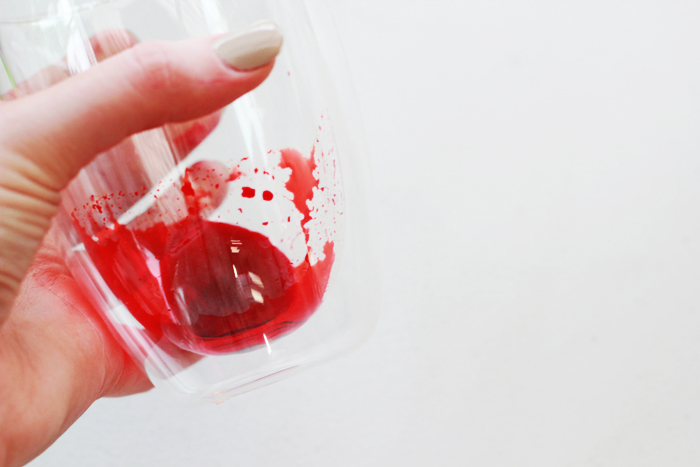
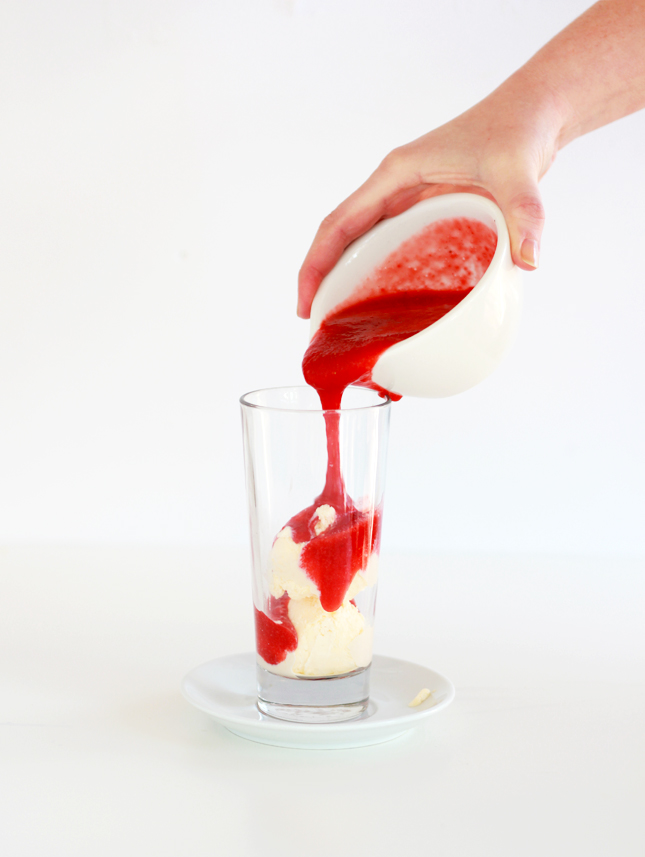
1. Wash, hull and slice the strawberries in half.2. Place strawberries and maple syrup in a blender and process until just slightly chunky to form strawberry syrup/puree.

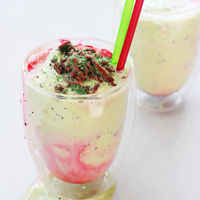
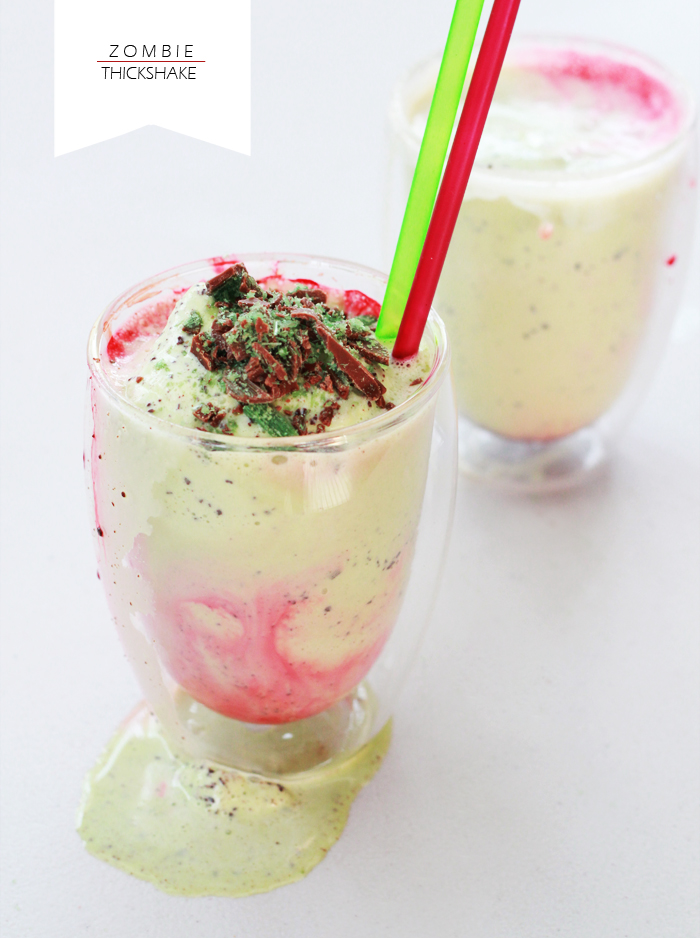
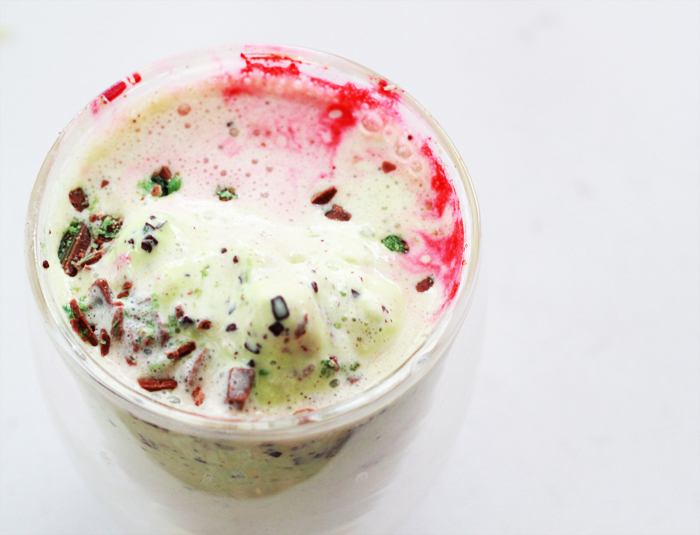
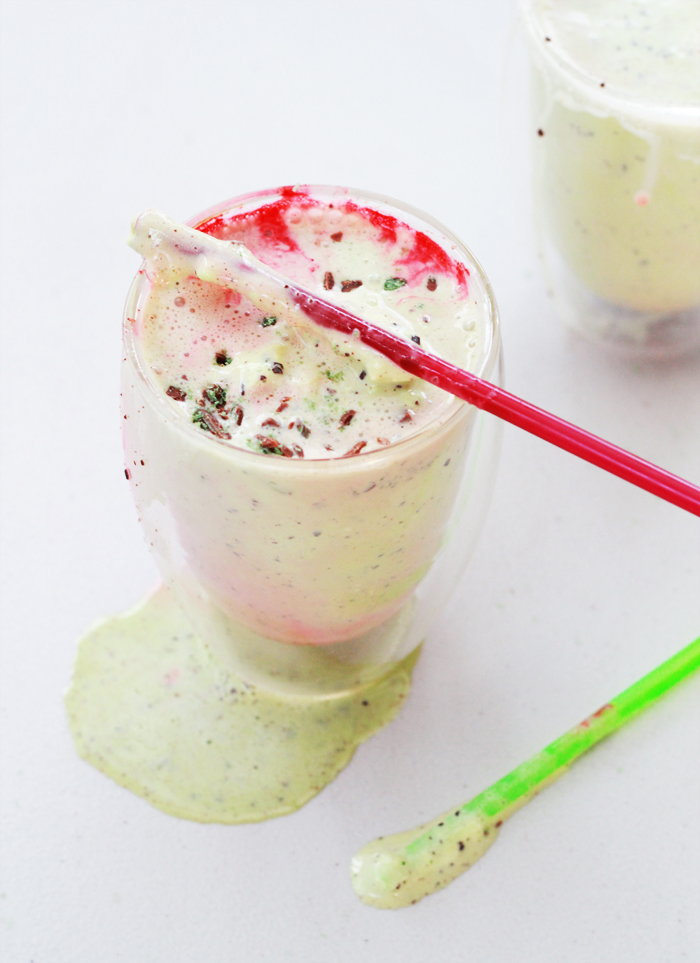
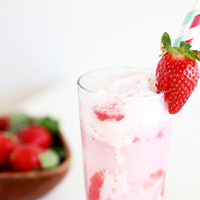
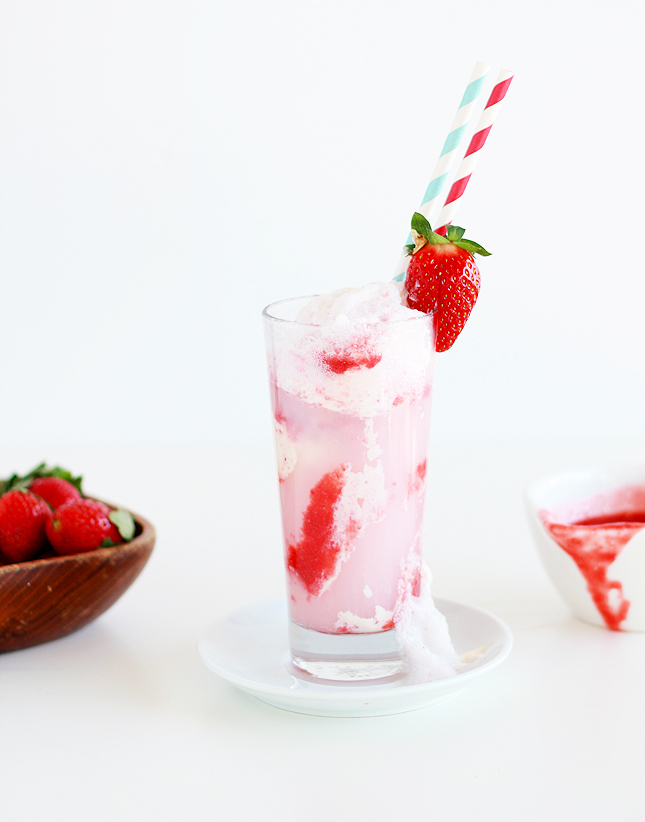
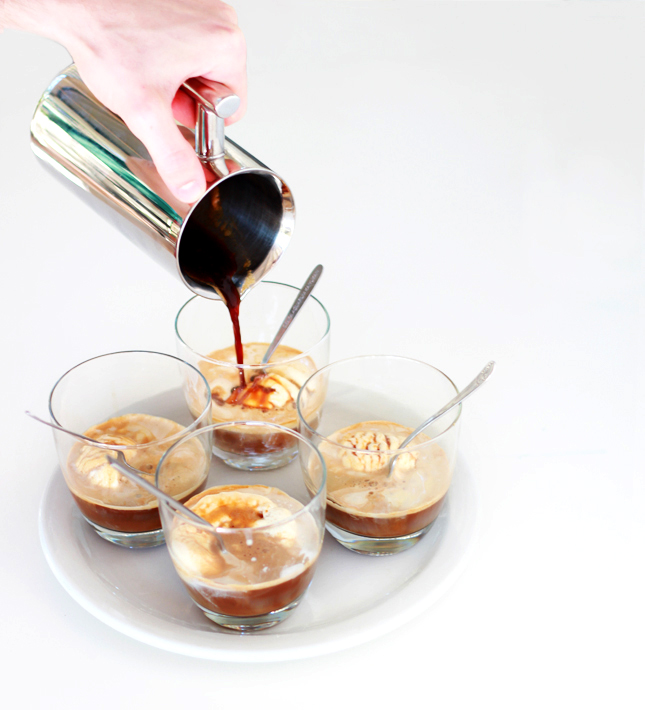
3. Scoop vanilla ice cream into a tall glass and top with 1/4 of the strawberry syrup. Fill with soda water or if you are looking for something extra sweet - lemonade! Garnish with a whole strawberry.

Strawberry Ice Cream Float | www.highwallsblog.com Strawberry Ice Cream Float | www.highwallsblog.com Strawberry Ice Cream Float | www.highwallsblog.com


thumb-affogato

EAT | Classic Italian Affogato

One for the coffee lovers - Homemade classic Italian Affogato | www.highwallsblog.com

Yes we are still celebrating Ice Cream Month here at High Walls, and this week’s addition is the Italian classic, Affogato. I’m sure you’ve heard of this before. Despite its fancy Italian name (which literally means ‘drowned’!) this one is deceptively simple! You take a shot of espresso pour it over a generous scoop of ice cream, allowing the hot and cold temperatures to meld the contents into a marbled cup of delicious.

I have to admit, even though I don’t drink coffee, this is one of my favourite recipes I’ve shot for this blog! I love the simplicity of it all. The swirl of melted ice cream against the dark espresso. It’s all very decadent without being expensive or time consuming. It’s one of those recipes that is perfect all year round.

We stuck with the traditional recipe, but if you’re in the mood for a late night alternative, you can always add in a shot of Frangelico or even your favourite whiskey or port. Nightcap anyone?

One for the coffee lovers - Homemade classic Italian Affogato | www.highwallsblog.com

INGREDIENTS:
Vanilla Ice Cream
1 shot of Espresso
per person
1. In a bowl or wide glass, place a large scoop of vanilla ice cream.
2. Prepare a shot of espresso, preferably with a coffee maker - instant coffee is not really going to cut it here, and while still hot, pour over the ice cream. If adding alcohol, then pour this over at the same time.
3. Serve immediately with a spoon.  If you normally take a lot of milk in your coffee you may want to add extra ice cream to taste.

One for the coffee lovers - Homemade classic Italian Affogato | www.highwallsblog.com

One for the coffee lovers - Homemade classic Italian Affogato | www.highwallsblog.comOne for the coffee lovers - Homemade classic Italian Affogato | www.highwallsblog.com

One for the coffee lovers - Homemade classic Italian Affogato | www.highwallsblog.com

thumb-icecream-pie1

EAT | Mixed Berry Ice Cream Pie

Mixed Berry Ice Cream Pie | www.highwallsblog.com

Our next stop on the runaway train that is Ice Cream Month, is the city of Pie Town. Now I know a lot of you out there will be we acquainted with Pie Town in the form of its’s flaky pastry, fruit filled exports like the all American apple pie. But today I’m going to introduce you to its little known cousin; Ice cream pie.

Similar to cheesecake, this little guy has a sugary cookie crust encasing its cream insides.  Add in some mixed berries that, when combined with vanilla ice cream, give the pie that sweetness and tart you didn’t realise you’d been craving. This is ice cream for grown ups people. Your friends are going to suspect that you are perhaps secretly a chef in you spare time, after you whip this one out at parties. (Do people whip out desserts at parties? Maybe I have the wrong idea about what happens at parties… or maybe the parties I’m attending are totally awesome!)

Of course if berries aren’t really your wheelhouse, you can substitute them for other ingredients, but we’ll get back to that tomorrow with a slight variation on this recipe. For now, sit back and revel in the knowledge that you only need a few simple ingredients to make something oh-so amazing.

Mixed Berry Ice Cream Pie | www.highwallsblog.com

Mixed Berry Ice Cream Pie | www.highwallsblog.com

INGREDIENTS:
1 packet of Nice Biscuits1 cup of butter

1/3 cup of sugar

1 pint of vanilla ice cream

1 packet of frozen mixed berries

1.  Place the biscuits in a food processor and blitz until reduced to crumbs. Transfer to a bowl to a large mixing bowl. Along with the sugar (you can omit the sugar if you prefer).

2. Melt the butter and allow to cool slightly before using. Add gradually to the crumb mixture, mixing as you go until the mixture starts to clump together. (you may not need all the butter)

3. Press the mixture evenly into a pie or tart tin, pushing up at the sides and smoothing the bottom. The mixture should come together as you press down. Place in the freezer to set for 30 - 40 minutes.

4. Meanwhile allow the vanilla ice cream to soften in a large bowl. Place the 3/4 of the frozen berries in a food processor and pulse a few times to break down into smaller pieces.

5. Mix the berries (and any juices) into the softened ice cream. If you are feeling it, add in some finely chopped chocolate as well.

6. Remove the crust from the freezer and fill with the ice cream and berries. Ensure that the crust is completely filled and smooth down the top. Wrap in plastic wrap and return to the freezer for at least an hour.

7. To serve, remove the pie from the freezer and allow to sit on the bench to soften slightly before cutting into slices. Top with the remaining frozen berries and dusted with icing sugar if you so desire.

Mixed Berry Ice Cream Pie | www.highwallsblog.com

Mixed Berry Ice Cream Pie | www.highwallsblog.com

Mixed Berry Ice Cream Pie | www.highwallsblog.com

thumb-icecream-sandwiches

EAT | Choc Chip Crumb Cookie Icecream Sandwiches

Chocolate Chip Crumb Cookie Ice Cream Sandwiches! WOW! | www.highwallsblog.com

As we discussed yesterday, July is ice cream month in the US. “No Fair!” cry out all the other countries, but to them I say - why should America get all the fun?  Ice cream month sounds amazing, so let’s crash this party! We’re going to celebrate with a whole series of ice cream related recipes over the next few weeks. Let’s kick things off with an old faithful; ice cream sandwiches.

These cookies are an amalgamation of chocolate chip cookies and crumb cakes . As the name suggests, these cookies are super crumbly and while delicious on their own, when combined with ice cream they are next level.  A soft, crumbly cookie is the key to a good ice cream sandwich and these cookies sure do deliver! The crumble and chocolate chips mix in with the ice cream into a glorious messy marriage. Napkins are a must on this one guys! Be prepared for sticky fingers and dripped on shirts! Ice cream sandwiched by cookies. Is there anything better?

Chocolate Chip Crumb Cookie Ice Cream Sandwiches! WOW! | www.highwallsblog.com

Chocolate Chip Crumb Cookie Ice Cream Sandwiches! WOW! | www.highwallsblog.com

INGREDIENTS:

1 large egg
1/2 cup of caster sugar
1/3 cup of brown sugar
125g softened butter
1 teaspoon of vanilla essence
2/3 cup of self-raising flour
1 cup of plain flour
Roughly 1 cup of mini chocolate chips
Vanilla Ice cream

Crumble topping:

1/2 cup of plain flour
50g of chopped chilled butter
1/4 cup of brown sugar

1. Preheat oven to around 180 degrees Celsius (or 160 degrees if you have a fan-forced oven)

2. Place butter, caster sugar, brown sugar and vanilla together in a bowl and beat with an electric mixer until the mixture is pale and of a creamy consistency.

3. Add the egg and beat again until combined.

4. In a separate bowl, mix together the plain flour and self-raising flour. In small parts, stir the flour mixture into the butter/sugar mix until the mixture starts to form into dough. Mix in half the chocolate chips at the same time.

5. Spoon small amounts of the dough and roll in the palm of your hand into a ball.

6. Place dough balls onto a baking tray lined with baking paper 5cm apart. With the back of a spoon press an indent into the center of each cookie.

7. To make the crumble topping, place the flour and butter in a bowl and using your fingertips, rub the butter into the flour. Continue to do this until your mixture resembles coarse breadcrumbs. Add the brown sugar and stir to combine.  Mix in the remaining chocolate chips and sprinkle the crumble topping over the cookies.

8. Bake for about 5 minutes, as the cookies spread out, top with more crumble topping. Cook for another 7 - 10 minutes or until cookies are lightly golden but still very soft.

9. Transfer the cookies to a wire rack and allow to cool. Once completely cool, place 1 – 2 scoops of ice cream between two to cookies and press together firmly.

Chocolate Chip Crumb Cookie Ice Cream Sandwiches! WOW! | www.highwallsblog.com

Chocolate Chip Crumb Cookie Ice Cream Sandwiches! WOW! | www.highwallsblog.com

 Chocolate Chip Crumb Cookie Ice Cream Sandwiches! WOW! | www.highwallsblog.com

Chocolate Chip Crumb Cookie Ice Cream Sandwiches! WOW! | www.highwallsblog.com


thumb-cookieicecreamcake

Icecream Bread [pt 1]

Make your own Ice Cream Bread | www.highwallsblog.com

Hey Internet!! Internet are you listening to me? Pay attention - I have something of the utmost importance to tell you; Did you know, you can make bread from icecream?! No for reals, I’m serious! And it’s positively the easiest, fastest recipe you’ve ever seen!

I was procrastinating browsing on the never ending supply of randomness that is Tumblr and this ‘recipe’ came up on my feed. You need two ingredients; ice cream and self raising flour. That’s it. Who the hell came up with this idea? I think I need to find them and pledge my allegiance to them. If this is the caliber of their ideas, I’m totally on board with joining any kind of ice cream related cult they might be starting.

The ice cream flavour cooks mostly away to leave this wonderful subtle, almost ‘after taste’, of ice cream. You can use any flavour you want, and add on toppings to give the top a nice crunchy texture (kind of like adding sesame seeds to regular bread) and considering it takes literally 5 minutes to prepare, how can you not want to try this out?!  Obviously, the ice cream is the main ingredient, so make sure you get the good stuff. No low fat vanilla, we want full cream in crazy flavours. The Ben & Jerry’s style expensive brands. Trust me, it’s worth it.

Ice Cream Bread | www.highwallsblog.com

What You Need:

2 cups of Ice Cream, in any flavor you like
1 1/2 cups of Self Raising Flour

What You Do:

1. Preheat your oven to 180 degrees Celsius (350 f) and line a regular 8 x 4 loaf pan with baking paper.
2. Take your ice cream out of the freezer and measure out 2 cups. Leave on the bench to soften.
3. Once soften add the ice cream together with 1 and a half cups of self raising flour in a large bowl and mix until just combined.
4. Scoop into your prepared pan and smooth down the top. If you would like to add on any toppings now’s the time to do so. I chose cookies & cream ice cream so I topped mine with crumbled oreos for extra crunch!
5. Bake in the oven for around 45 minutes or until an inserted toothpick comes out clean.
6. Turn out onto a wire rack and allow to cool before serving.

Bonus points for serving with ice cream on the side, because, you know, that’s how we roll. Stay tuned for Part 2; my second attempt with a slightly more technical version of this recipe…

Make your own Ice Cream Bread | www.highwallsblog.com Make your own Ice Cream Bread | www.highwallsblog.com 

thumb-berryicecreamsandwich

Homemade Icecream (Sandwiches)

Berry & Chocolate Homemade Ice Cream Sandwiches from www.highwallsblog.com

Ice cream is a serious weakness of mine and finding out how easy it is to make at home is possibly one of the most dangerous things that has ever happened to me! You only need some condensed milk and cream to make the base, and something to flavour the batch! Thank goodness it takes hours to set properly, or else I’d probably make a new flavour (and eat it all) every day!

My mother first made these ice cream sandwiches for us last Christmas. I’ve dabbled with home made ice cream sandwiches before but these are something entirely different. The ice cream is a little less heavy than the store bought stuff. It’s not as creamy or milky, and with the addition of the berries  you get a lovely fresh flavour with the wonderful crunch of the Toblerone chunks. Mmmm… I think I ate about 5 of these the first weekend I made them…. so much for the diet!

Of course you can use any mix in’s you want, if berry and chocolate isn’t really your thing (although trust me, the combination is better than you might think) If you want to eat the ice cream straight, you can always pour the batch into  a deeper container and scoop it into a cone or bowl to serve instead of sandwiches. There really are so many possibilities!

Berry & Chocolate Homemade Ice Cream Sandwiches from www.highwallsblog.comBerry & Chocolate Homemade Ice Cream Sandwiches from www.highwallsblog.com

What You Need:

2 Cups heavy whipping cream
1 can Sweetened Condensed Milk
1 packet of Frozen Mixed Berries, semi thawed
2 Toblerone bars
Wafer biscuits

What You Do:

1. Line the base and the long sides of a rectangular baking pan with baking paper, allowing paper to overhang about 5cm on each end.

2. Whip 2 cups heavy whipping cream until stiff peaks start to form.

3. Take the berries (semi thawed) and mash gently with a fork until about 2/3’s of the packet are mashed but there are still a few whole berries. Chop the Toblerone’s into small chunks and add to the berries.

4. Mix the condensed milk with the berries and chocolate in a large bowl until well combined.

5. Fold whipped cream into sweetened condensed milk mixture, work slowly and carefully, so cream doesn’t collapse. Fold until evenly combined.

6. Pour into the lined tray and smooth flat. Your mixture should be around 3 - 4cm deep. Wrap the whole thing in plastic wrap and then in tin foil and freeze at least 6 hours or until set.

7. Remove from the freezer and using a wafer biscuit as a guide, cut slices from the slab of ice cream.

8. Sandwich between 2 Wafer biscuits to serve. Re-wrap what you do use and return to the freezer for later.

thumb-icecreamsandwich

Recipe: Icecream Sandwiches

Summer and I aren’t on speaking terms right now.

No, ‘Summer’ isn’t my friend named similarly to that of Zooey Deschanel in a certain movie; I’m talking about the actual season. Summer is a bitch. Summer is all “oh Dani, it’s such a hot day! You should make something cold and delicious, it’ll be fun!” and I’m like “Hell yeah, Summer! You’re so smart.” And just when you think you’re a freaking genius and everyone is going to be so impressed with your latest recipe- BAM! Summer comes around and Ruins. Everything.

You may have noticed I’m a little riled up for this weeks’ recipe. I’m probably over reacting. As I said, it was hot and therefore I decided that a recipe including ice cream would be the best idea ever. Who doesn’t love ice cream on a hot day? Summer apparently.

To be fair the cookie part of this recipe turned out brilliantly. They came out of the oven all soft and perfect and I was completely convinced this recipe was going to be the GREATEST thing ever. But the heat had different ideas when it came to adding the title ingredient. The ice cream lasted just long enough for me to snap a couple of quick photos before it turned from ‘melty goodness’ to ‘OMG now it’s just soup!’ Even rushing them to the freezer didn’t save the first batch of ice cream sandwiches. All that succeeded in doing was getting melted ice cream ALL through my freezer. I attempted a second batch the next evening and was a more successful but unfortunately was unable to get any photos. Ahh well. Lesson learnt, kids: buy premade ice cream sandwiches on a really hot day! On all other days, give these a try. They were extra delicious despite my temper tantrum.

What You Need:
185g of softened butter
3/4 cup of caster sugar
1 teaspoon of vanilla extract
1 egg
1 cup of corn flour*
1 cup of plain flour
1/4 cup of cocoa powder, sifted

What You Do:
1. Preheat oven to 180 degrees (or 160 degrees in a fan-forced oven) Line baking trays with baking paper.
2. Using an electric mixer, beat butter, sugar and vanilla until pale and creamy. Add egg. Beat until combined.
3. Sift the flour and cocoa powder over the butter mixture. Using a wooden spoon, stir to combine.
4. Cover and refrigerate the dough for at least 30 minutes before rolling.
5. Place dough between two sheets of baking paper and roll out to roughly 6mm thick. Using a large round cookie cutter** carefully cut out your cookies and place them evenly spaced on the prepared baking trays.
If dough gets a little soft after rolling, place in fridge until firm enough to handle. Similarly if you think the dough is too soft and it’s going to spread too much while baking, pop the trays in the freezer for 5 minutes before baking
6. Bake for 10-12 minutes until cookies are baked through but still soft.
7. Remove and allow to cool completely on a wire rack. Place the cookies in the freezer 30 minutes before serving.
8. To serve, place 1 – 2 scoops of ice cream on the base cookie and sandwich between the top cookie pressing the two together gently. Sprinkle around the edge any toppings you would like. I used dark chocolate shavings and sprinkles, but you can experiment with a multitude of combinations!

* 2 cups of plain flour will also work if you don’t have corn flour on hand. The corn flour just makes the cookies that little bit extra crumbly!
** I didn’t have a cookie cutter so I used a standard egg ring instead. Works just as well. 

Once your cookies are made you literally can make any combination you like! I had Neapolitan ice cream so I used those flavours with some toppings, but next time I’m definitely going to branch out and try some more exciting concoctions!

thumb-zombieshake

Zombie Thickshake

When I was a child I was that fussy kid your mum hated having over for dinner. What’s that? You’re having your family’s all-time favourite dish? Yeeeaaahhh, I’m probably not going to eat that. I was fussy with all kinds of basic things most people eat on a daily basis, but every now and then I would admit to not liking something that practically everyone in the world loves and it would kick up a fuss.One such time occurred at my best friend’s house after school; her mum decided that she would treat us kids to something a little special – homemade milkshakes!  My heart sank. Now I know what you’re thinking; “Who doesn’t like milkshakes?!” and I don’t even have a proper explanation for you! I’ve never been a big fan of milk, so I was already at a disadvantage, but realistically, I never had a good reason for not liking milkshakes. I just didn’t.

I may have been fussy, but I was also very shy, so naturally I just kind of stood there awkwardly while she got out the blender and the milk, just silently freaking out as to what I was going to say when I was handed this frothy, milky beverage.

We were handed our milkshakes and instructed to take them outside to enjoy in the yard. I shuffled out, staring at the seemingly enormous cup of milk in a mixture of horror and disgust. Once we were out of earshot of the adults I tentatively whispered to my friend, “I don’t like milkshakes.” My friend stared at me dumbfounded for a minute, the only sound between us was the slurping of her straw as she finished off her own milkshake. Without a word, she silently handed me her empty cup and liberated my untouched milkshake to be enjoyed as ‘seconds’. It was the perfect plan. That is of course until she became violently ill from ingesting an excessive amount of milk and sugar. Our ruse was discovered pretty quickly after that…

It was a couple of years before I gave milkshakes another proper try, this time in the form of thick shakes. Now I know that milkshakes are delicious and all, but whoever decided to replace half the milk with copious amounts of ice cream was a genius. I may not be a huge fan of milk on its own, but ice cream is something I can get behind every time! I’ve never looked back!

The best thing about Milkshakes/thickshakes is that the method is pretty much the same regardless of what flavour you choose. If you decided to go with strawberry or chocolate, I would suggest adding in a tough of flavoured toppings or actual fruit but as it stands this is a pretty simple way to make yourself a shake. Normally I don’t make mint flavoured recipes, but the green colouring was totally necessary for the Zombie theme so I made an exception…

What You Need:
Mint Choc Chip Ice Cream
Full Cream Milk
Peppermint Crunch Chocolate bar (or similar)
Red Food Colouring (flavourless)What You Do:
1. Add together 1 cup of milk and roughly 1 cup of ice cream together in a blender and pulse until a thick, smooth consistency. I like my shakes to be EXTRA thick, so you can alter these amounts until you get the desired consistency.

2. Take a serving glass and add around 1 teaspoon of food colouring – enough to cover the bottom of the glass.
3. With the shake mixture ready to pour, take the glass and swirl the food colouring around the lower half of the cup so that the sides are coated. Quickly, before the colouring starts to settle at the bottom again, pour out the excess and quickly pour in your shake mixture filling to 2cm from the rim of the glass. You should have created a marbled red and green effect around the edge of the glass. The colouring wont affect the taste of your shake.
4. Using an ice cream scoop, spoon out one or two scoops of ice cream into the centre of the glass.
5. Using a rolling pin or something heavy, gentle crush the Peppermint Crunch Bar while still in the packet. Sprinkle the crushed pieces on top of your shake.
6. Serve immediately and try not to make as much of a mess as I did. (Especially with the food colouring, that stuff staaains!)

Maxibon Cake

Let me apologize in advance for the random and sheer stupidity of the content of this post.I don’t know if I can call this a recipe. It barely qualifies really. It’s actually quite insane. No, its totally insane. Let me explain: My housemate always has ice cream cake for his birthday, its tradition. Yesterday while discussing cakes and food, we joked about ice cream and he made a comment about making a cake out of Maxibons. In case you haven’t experienced the wonder that is a Maxibon, basically it is an ice cream sandwich with biscuit on one side and dipped in chocolate on the other. They are amazing. Anyway, our joke was mainly because we do have a habit of buying these ice creams in bulk, and someone joked about stacking them on top of each other to make a cake….Challenge accepted.

You are looking at 8 Maxibons and 4 layers of creamy goodness! I used cookies & cream ice cream as the ‘frosting’ and as cement to hold the whole thing together. It was gloriously disgusting. I’m a little ashamed of how delicious it was. I think my fingers are still frozen from handling so much ice cream, and I still feel quite ill, but it was totally worth it.