thumb-recipe-gnt

DRINK | Cucumber & Elderflower Gin & Tonic

TGIW! Celebrate with a mid-week cocktail - a simple twist on an old favourite, Cucumber and Elderflower Gin & Tonic!

Is it Friday yet? No? Oh well, let’s pretend it is and make ourselves a drink to celebrate! TGIW! Amirite!?

Can we talk about elderflower for a second? It seems that despite seeing it everywhere on places like Pinterest and in recipe books, I am completely unable to track down this mythical ingredient in local stores. ‘Pick up from your grocery store’ they say. They are damn liars the lot of them! At this point, I was almost convinced that elderflower was something more akin to unicorns, or pixies, or a movie based on an 80’s cartoon that doesn’t suck - you know, things that sound wonderful, but don’t actually exist. You guys, I was totally ready to give up and then, just when I least expected it…

It was like the heaven’s opened up! There was a shining light and a chorus of angels singing, and there, in the beam of light I saw it: Elderflower…. cordial!? Eh! Close enough!

This stuff is good. Like, too good! So good in fact, that I am a little concerned how much I will love the real thing when I finally track some down. I’ve been putting it in everything. Popsicles, lemonade, cakes, icing. But by far, my favourite concoction is (of course) the alcohol related one! A dash of elderflower and a few slices of cucumber in your old fashioned G&T is next level delicious! The flavour is sweet but subtle and a perfect mix with a good quality gin (Tanqueray is what I usually have on hand, but use your favourite brand!)

Cucumber is in my opinion the perfect cocktail ingredient. It’s crisp and refreshing, and when mixed with the elderflower undertones… perfection!

 TGIW! Celebrate with a mid-week cocktail - a simple twist on an old favourite, Cucumber and Elderflower Gin & Tonic!TGIW! Celebrate with a mid-week cocktail - a simple twist on an old favourite, Cucumber and Elderflower Gin & Tonic!TGIW! Celebrate with a mid-week cocktail - a simple twist on an old favourite, Cucumber and Elderflower Gin & Tonic!TGIW! Celebrate with a mid-week cocktail - a simple twist on an old favourite, Cucumber and Elderflower Gin & Tonic!

thumb-recipe-diy-lemonade-bottled

Bottle your own Home Made Lemonade!

Download these FREE Lemonade Bottle Labels PLUS a recipe for the best home made lemonade!
After the holiday celebrations we found ourselves with a surplus of empty bottles, and in particular, these glass soda water bottles caught my eye. So naturally, I liberated them for some home grown recycling.

After a soak in some warm soapy water, their ugly store labels scrubbed right off, leaving them clean and ready for something a little nicer. It only takes 5 minutes to print a set of these adorable Home Made Lemonade labels (Print onto an A4 sheet of adhesive paper) and give your cheap-o supermarket bottles a new lease on life!

Fill your pretty ‘new’ bottles with some home made lemonade (you wouldn’t want that label to be a lie, now would you?) and your done! I’ve even supplied my favourite recipe for classic home made lemonade below! Take them to work or send them to school with your little ones, just generally show em off! Convince your friends you have your own exclusive brand. I wont tell ;)

click-to-dowloadDownload these FREE Lemonade Bottle Labels PLUS a recipe for the best home made lemonade!

Homemade Lemonade
 
Ingredients
  • 1 cup of freshly squeezed lemon juice (around 6-8 lemons)
  • 6 cups of water
  • 1 cup of white sugar
  • Soda water (optional)
Instructions
  1. Place the lemons on a hard flat surface and with the palm of your hand, firmly roll the lemons back and forth to soften the insides. Cut each lemon in half two and using a citrus juicer, extract the juice into a bowl and set aside.
  2. Place the left over lemon rinds into a large bowl and set aside also.
  3. Meanwhile, bring 4 cups of water to the boil.
  4. Place the sugar in a bowl and pour over 1 cup of boiling water. Mix until the sugar has dissolved.
  5. Pour the remaining boiling water over the lemon rinds, cover and allow to sit for at least an hour.
  6. Discard the lemon rind and combine with the sugar water, lemon juice and an additional 2 cup
  7. Cover the lemon rinds with the other 3 cups of boiling water and let this sit for about an hour and you will have lemon infused water. Discard the rinds.
  8. In a large pitcher, combine the lemon juice, the dissolved sugar water, the 3 cups of lemon infused water and the remaining 2 cups of water (or substitute for soda water if you prefer more fizz!). Mix well before decanting into your prepared glass bottles.
  9. Chill this in the refrigerator for a few hours or overnight before serving for a deeper flavour or else serve with a few extra wedges of lemon to garnish.

Download these FREE Lemonade Bottle Labels PLUS a recipe for the best home made lemonade!Download these FREE Lemonade Bottle Labels PLUS a recipe for the best home made lemonade!

tumb-recipe-cherry-rum-shooter

DRINK | Rum Soaked Cherry Shooters

Rum Soaked Cherry Shooters! This spicy and sweet shooter is the perfect boozy dessert or nightcap for the festive season!

So, I know that we only just made sangria, so maybe I should hold off on the alcoholic drinks for at least a few days. But to hell with being responsible! Instead we’re going to make Rum Soaked Cherry Shooters! Hooorraaaaayyy!

In my defence, these little drinks need to be made in advanced, so really, even though we’re making them today, we wont actually be drinking them for a week or more!

Rum Soaked Cherry Shooters are exactly what they sound like; cherries soaked in rum! Eat the cherries and drink the rum. No one, not even the most useless amateur cook in the world, can mess that up! But here’s the secret, when soaked together the cherries and the spiced rum mix together to create something extra special. The cherries, keep they crunchy texture, but suddenly have a whole lotta kick to them! And the juices from the cherries marry together with the rum, resulting in a sweeter, fruitier taste. Kind of like a strong schnapps! And don’t let the name fool you, these drinks are designed to be sipped and enjoyed, not shot down tequila style ;)

Rum Soaked Cherry Shooters! This spicy and sweet shooter is the perfect boozy dessert or nightcap for the festive season!Rum Soaked Cherry Shooters! This spicy and sweet shooter is the perfect boozy dessert or nightcap for the festive season!

At first glance there’s not a lot to this recipe -grab some cherries, a bottle of spiced rum , add together a voilà! And really that’s the beauty of it! It takes literally 5 minutes to prepare and then you can set it and forget it! While there isn’t much to the method, there are some tricks that will help you get the most out of your shooters:

  • Make sure you get fresh, ripe, crunchy cherries! You want them to crisp and full of flavour!
  • The cherries will lose a lot of colour the longer they are soaked, but don’t worry, they should retain that crunch factor as long as you keep them refrigerated.
  • If you want to make and serve these the same day, simply slice the cherries all the way around  before soaking and allow to sit fir a few hours. The flavours wont be as strong as if you soak them for a longer period of time, but you will get a similar outcome. The best way to do this is prepare the shooters in the morning and serve after dinner.
  • Simarly, if you are short on time, instead of refrigerating, store in a warm, dry, dark place, like a cupboard or pantry. This will expedite the process, but your cherries will end up a little softer and mushier than if refrigerated.

Rum Soaked Cherry Shooters! This spicy and sweet shooter is the perfect boozy dessert or nightcap for the festive season!

RUM SOAKED CHERRY SHOOTERS
 
This spicy and sweet shooter is the perfect boozy dessert or nightcap for the festive season!
Author:
Ingredients
  • 500g of Fresh Cherries
  • 1 Bottle of Spiced Rum (we use Kraken Rum)
Instructions
  1. Prepare your cherries by removing the stems and washing the cherries thoroughly.
  2. Place the cherries into the vessel they will be soaked in; this can be a large jar (from which you can serve from later) or if you have individual sized jars or cups, these will also work. It is best to store your rum & cherries in something with an air tight lid.
  3. Fill the vessel with as many cherries as you can without going over the rim of the glass.
  4. Pour the rum over the cherries until they are completely submerged, leaving at least 2cm at the top of the vessel to allow for the release of juices.
  5. Seal your cherries tightly; either with the vessels lid, or if that wasn't possible, with a couple of layers of plastic wrap secured with a rubber band. Place in your refrigerator to soak.
  6. Soak for at least 24 hours - 1 week. How long you soak the cherries for is up to you- the longer they soak, the stronger the flavours will be! 1 month is optimal for the boldest flavours but the cherries and rum should keep for 2 - 3 months as long as they are kept refrigerated.
  7. If not already individually prepared, serve in a large shotglass or small jar/glass. Don't worry about the name, these little drinks are designed to be sipped - not shot!

Rum Soaked Cherry Shooters! This spicy and sweet shooter is the perfect boozy dessert or nightcap for the festive season!Rum Soaked Cherry Shooters! This spicy and sweet shooter is the perfect boozy dessert or nightcap for the festive season!

thumb-recipe-sangria

DRINK | White Christmas Sangria

Get boozy on Christmas Day with some  Apple Cider White Sangria - it's just fancy punch!

Now that we’re adults, Christmas has changed from being all about the presents, to being all about the food and booze. C’mon, don’t look at me like that - you know its true! Everyone loves to talk about all the amazing food they are going to overeat on the big day, but (in my opinion), not enough is said about the liquor situation. I’m not sure how well that reflects on me, but I’m going with it!

Here in Australia it is HOT on Christmas Day. It’s actually the hottest time of year for us. So my Christmas usually revolves around staying cool: air conditioned houses and friends pools are at the top of my list, just after keeping ‘hydrated’. A refreshing beverage can make all the difference, so I’m happy to present my Christmas time/summer time favourite - White Christmas Sangria.

The beauty of sangria is its simplicity. Grab some of your favourite fruit - drench it in a good bottle of wine - add some more liquor (brandy, rum, or in my case; apple cider (coz I love a bit of fizz!) and top with some soda water or ginger ale for extra bubbles! If you’re feeling really adventurous you can always add fruit juice or extra sweeteners. And of course, a few herbs or spices are always a welcome addition fora bit of extra kick! This being a Christmas Sangria, I usually add a cinnamon quill, but you can replace this with some leafy herbs or omit it all together.

Essentially, we’re just making fancy punch, and you can never go wrong with punch. Merry Christmas!

Get boozy on Christmas Day with some  Apple Cider White Sangria - it's just fancy punch! Get boozy on Christmas Day with some  Apple Cider White Sangria - it's just fancy punch!

White Christmas Sangria

Ingredients

  • 750ml of white wine
  • 3 cups apple cider
  • 1 large apple
  • 1 large orange
  • 1 lemon
  • 1 pomegranate
  • 1 cinnamon quill (*optional)
  • Soda water (to top off)

Instructions

  1. Prepare your fruit by thinly slicing the apple, orange and lemon and placing into a large jug or container.
  2. Pour the wine and apple cider into the jug, making sure that all your fruit is submerged. Add the pomegranate seeds and cinnamon to the top.
  3. Cover with airtight lid or cover tightly with plastic wrap and refrigerate for at least 4 hours (or overnight if you have time) Remove the cinnamon before serving.
  4. To serve, scoop out some of the fruit and place into a glass with ice. Top up 3/4 full with the sangria mixture and top off with soda water for extra fizz!
http://www.highwallsblog.com/2014/12/drink-white-christmas-sangria/
Get boozy on Christmas Day with some  Apple Cider White Sangria - it's just fancy punch!Get boozy on Christmas Day with some  Apple Cider White Sangria - it's just fancy punch!Get boozy on Christmas Day with some  Apple Cider White Sangria - it's just fancy punch!

thumb-float

DRINK | Strawberry Ice Ccream Floats

 Strawberry Ice Cream Float | www.highwallsblog.com

You may have seen this ridiculously delicious looking creation over at The Sugar Hit a few weeks ago. I certainly did and it totally turned me around on the idea of ice cream floats. The whole concept of mixing ice cream with soft drink (usually called a ‘spider’ in Australia) never sat well with me as a kid. I think it was more a mental aversion rather than a dislike founded on anything real. While my friends went crazy for them and had them at every birthday party, I would always keep my soft drink un-tainted and… well… boring!

But seeing as it is ice cream month, how could I not at least give this oh so popular dessert drink a try? Taking Sarah’s advice, I opted for a fresh fruit flavour with my favourite ingredient strawberries. Guys, I’m gonna be honest. I am totally converted! I still think that creamy ice cream and fizzy drinks should not work together, but for some reason: It. Totally. Does. I don’t want to admit how many of these things I have had over the last couple weeks. It’s dangerous when you can make something so delicious with ingredients you can find in your fridge.

Strawberry Ice Cream Float | www.highwallsblog.com

INGREDIENTS:2 cups of strawberries
1/2 a cup of maple syrup
1 pint of vanilla ice cream
Soda water or lemonade
1. Wash, hull and slice the strawberries in half.2. Place strawberries and maple syrup in a blender and process until just slightly chunky to form strawberry syrup/puree.

3. Scoop vanilla ice cream into a tall glass and top with 1/4 of the strawberry syrup. Fill with soda water or if you are looking for something extra sweet - lemonade! Garnish with a whole strawberry.

Strawberry Ice Cream Float | www.highwallsblog.com Strawberry Ice Cream Float | www.highwallsblog.com Strawberry Ice Cream Float | www.highwallsblog.com


thumb-affogato

EAT | Classic Italian Affogato

One for the coffee lovers - Homemade classic Italian Affogato | www.highwallsblog.com

Yes we are still celebrating Ice Cream Month here at High Walls, and this week’s addition is the Italian classic, Affogato. I’m sure you’ve heard of this before. Despite its fancy Italian name (which literally means ‘drowned’!) this one is deceptively simple! You take a shot of espresso pour it over a generous scoop of ice cream, allowing the hot and cold temperatures to meld the contents into a marbled cup of delicious.

I have to admit, even though I don’t drink coffee, this is one of my favourite recipes I’ve shot for this blog! I love the simplicity of it all. The swirl of melted ice cream against the dark espresso. It’s all very decadent without being expensive or time consuming. It’s one of those recipes that is perfect all year round.

We stuck with the traditional recipe, but if you’re in the mood for a late night alternative, you can always add in a shot of Frangelico or even your favourite whiskey or port. Nightcap anyone?

One for the coffee lovers - Homemade classic Italian Affogato | www.highwallsblog.com

INGREDIENTS:
Vanilla Ice Cream
1 shot of Espresso
per person
1. In a bowl or wide glass, place a large scoop of vanilla ice cream.
2. Prepare a shot of espresso, preferably with a coffee maker - instant coffee is not really going to cut it here, and while still hot, pour over the ice cream. If adding alcohol, then pour this over at the same time.
3. Serve immediately with a spoon.  If you normally take a lot of milk in your coffee you may want to add extra ice cream to taste.

One for the coffee lovers - Homemade classic Italian Affogato | www.highwallsblog.com

One for the coffee lovers - Homemade classic Italian Affogato | www.highwallsblog.comOne for the coffee lovers - Homemade classic Italian Affogato | www.highwallsblog.com

One for the coffee lovers - Homemade classic Italian Affogato | www.highwallsblog.com

thumb-rosella-cocktails

DRINK | Rosella Cocktails - 3 Ways!

 3 Rosella & Vodka Cocktails -  See the full recipes at www.highwallsblog.com

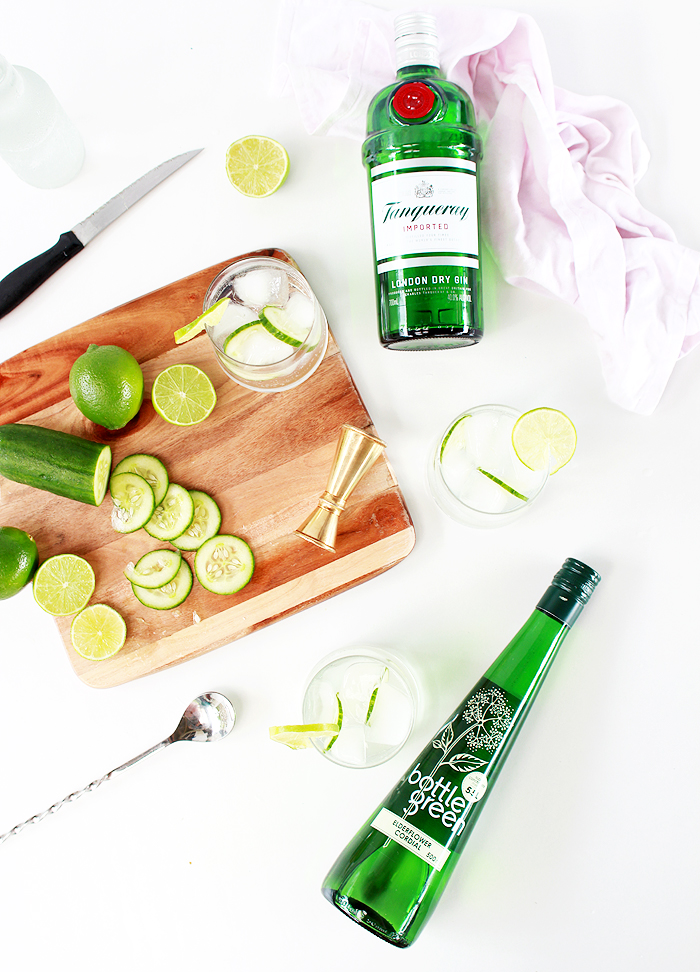
The boyfriend has the greenest thumb of anyone I know, so when he started growing a rosella tree in our yard I shouldn’t have been surprised when it grew crazy big seemingly overnight! With an abundance of these tart red fruits, we turned out attention to finding as many uses for them as possible. A bottle of vodka later and we had some pretty great cocktail recipes!

I can already hear some of our international readers scratching their heads. “What is this ‘rosella’ you speak of?!” they ask. It may be little harder for you to obtain the key ingredient for this recipe, but trust me, it’s totally worth the extra effort!

The Rosella goes by many names, but essentially it is a plant in the Hibiscus family. It both flowers and produces these vibrant, fleshy, flower-looking ‘fruit’ that, while not actually a fruit, is totally edible and can be used for cooking and flavouring. The red flesh of the rosella has an amazing tart, tangy sweetness and can be used to make tea, made into jams and even used in many folk medicine remedies.

For those of you who may not have access to rosellas straight from the bush, I am told you can buy the fruits from health food stores in the US (sometimes packaged as “Flor de Jamaica”) or Caribbean or Asian supermarkets in the UK.

Excotic Rosella Cocktails - 3 ways! See the full recipes at www.highwallsblog.com

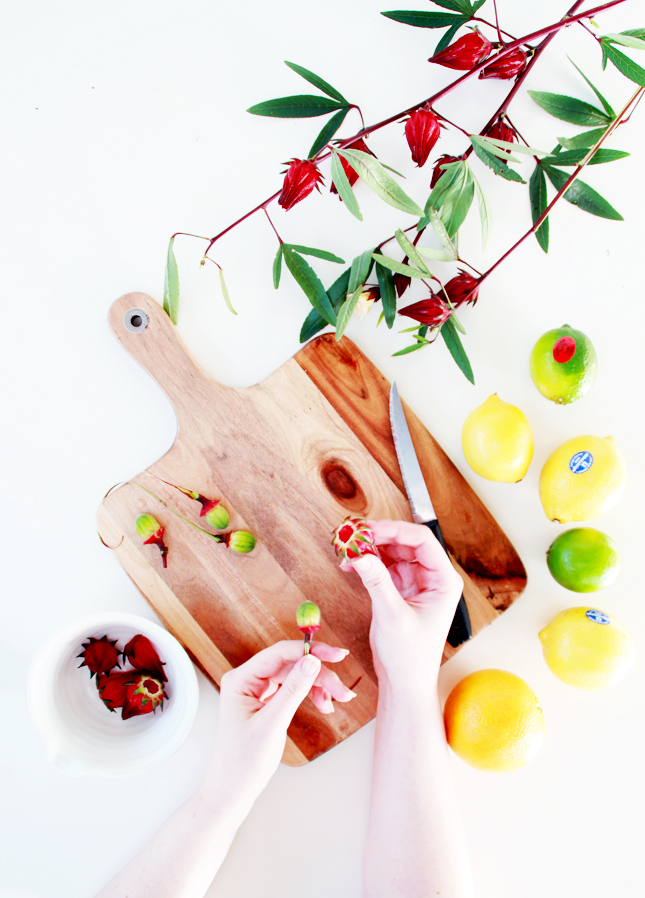
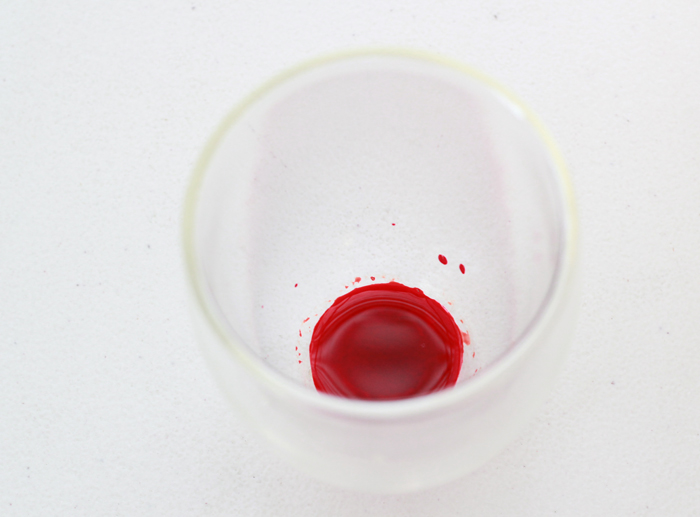
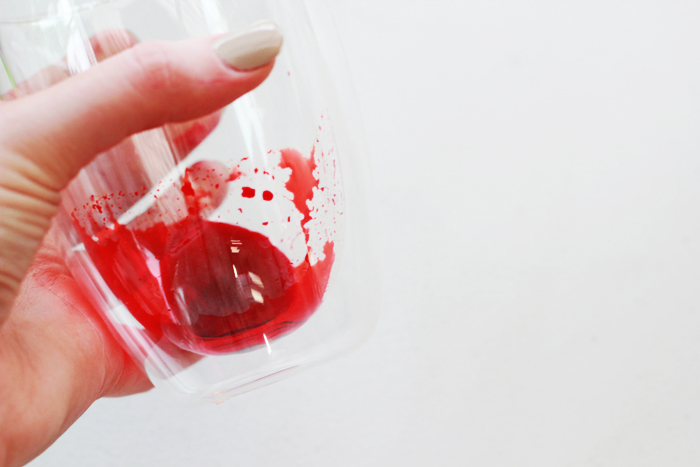
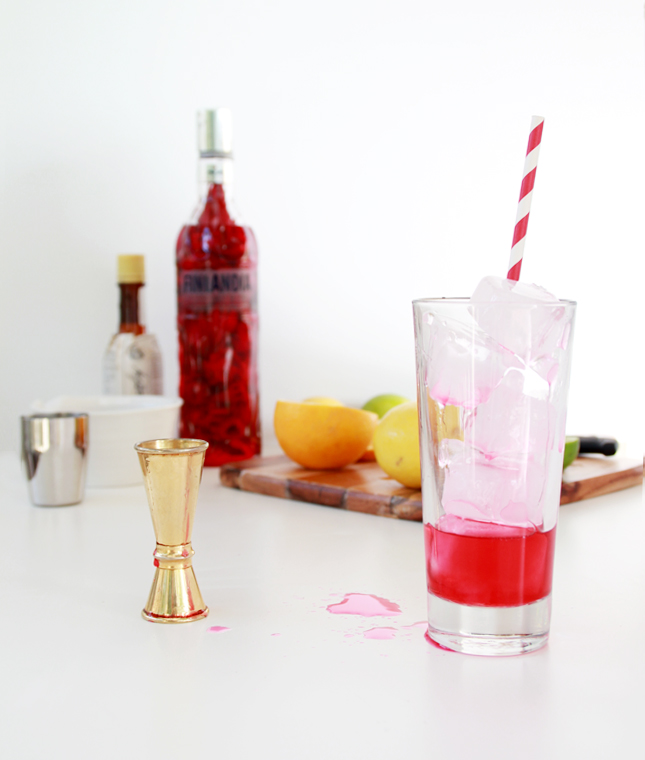
For our cocktail recipes we infused a bottle of vodka with the rosellas. The rosellas themselves snap away from the branch quite easily, after which you will need to remove the large seed from inside, leaving only the red outer layer.  To do this, run a sharp knife around the base of the green leaves on the pod, pressing firmly through the flesh until you can feel the seed inside.  When you have scored a line around the base of the whole pod, you should be able to firmly pull on the stem and the seed should pop out from the red flesh.  Do this over a sink so you can run the rosella under the tap as you go as ant sometimes like to live inside.

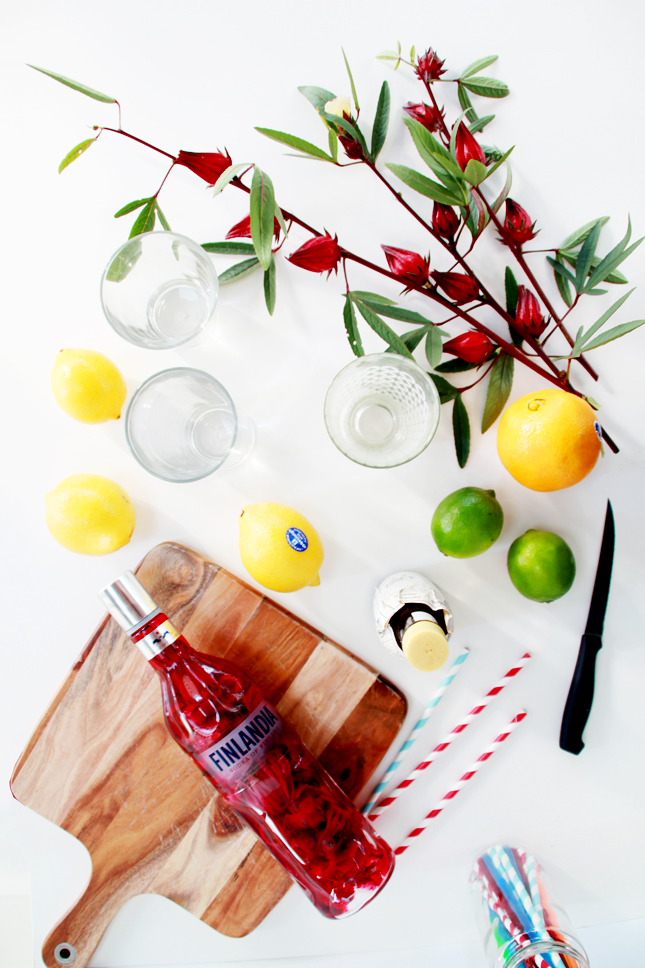
Once you have your rosellas prepared, ensure they have been thoroughly washed and then simply cram as many as you can into the vodka bottle. The longer you leave the mixture, the stronger the flavour.  We were impatient, so we only let our vodka infuse for a week, but the taste was still delicious! I’m looking forward to making these cocktails again in a couple of months when the flavours have really developed!

Alternatively, if you don’t want to infuse your alcohol (or you want to use different alcohol), you can boil the rosella down to create a syrup that you add to the drinks, similar to a basic sugar syrup.

Excotic Rosella Cocktails - 3 ways! See the full recipes at www.highwallsblog.com  Excotic Rosella Cocktails - 3 ways! See the full recipes at www.highwallsblog.com   Excotic Rosella Cocktails - 3 ways! See the full recipes at www.highwallsblog.com

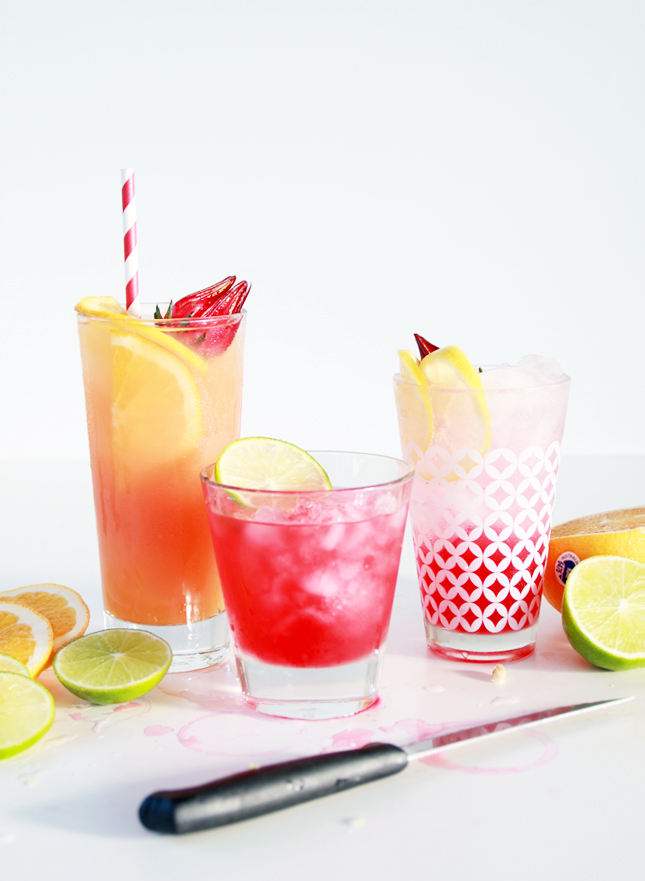
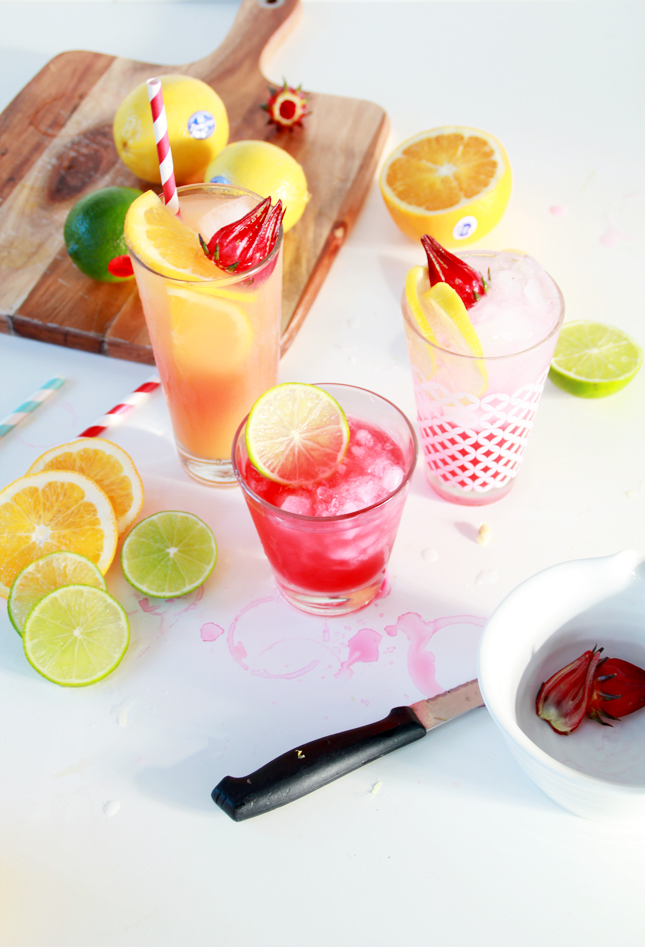
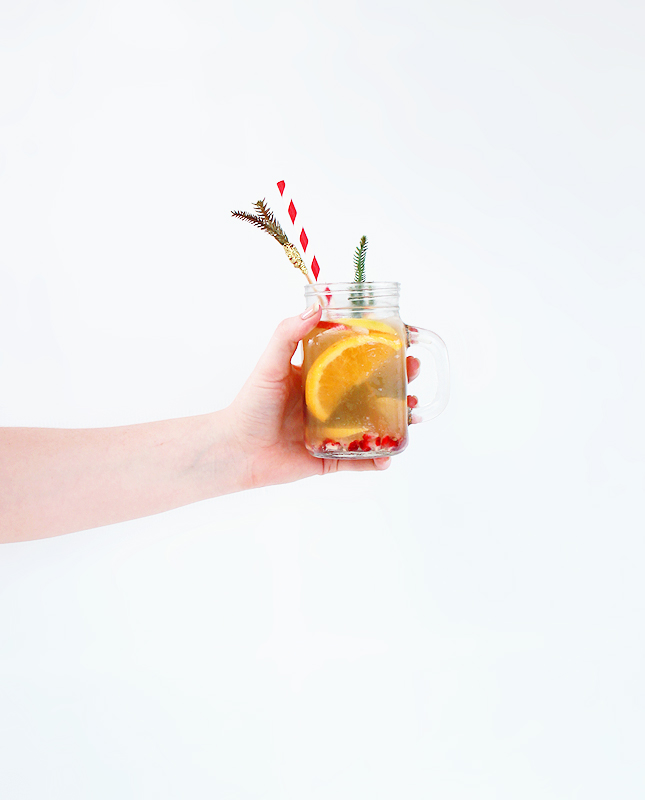
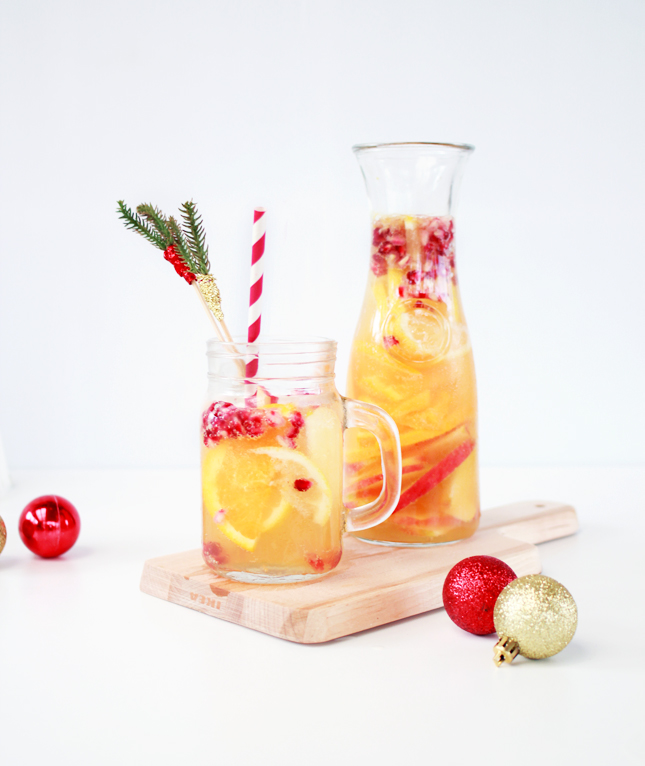
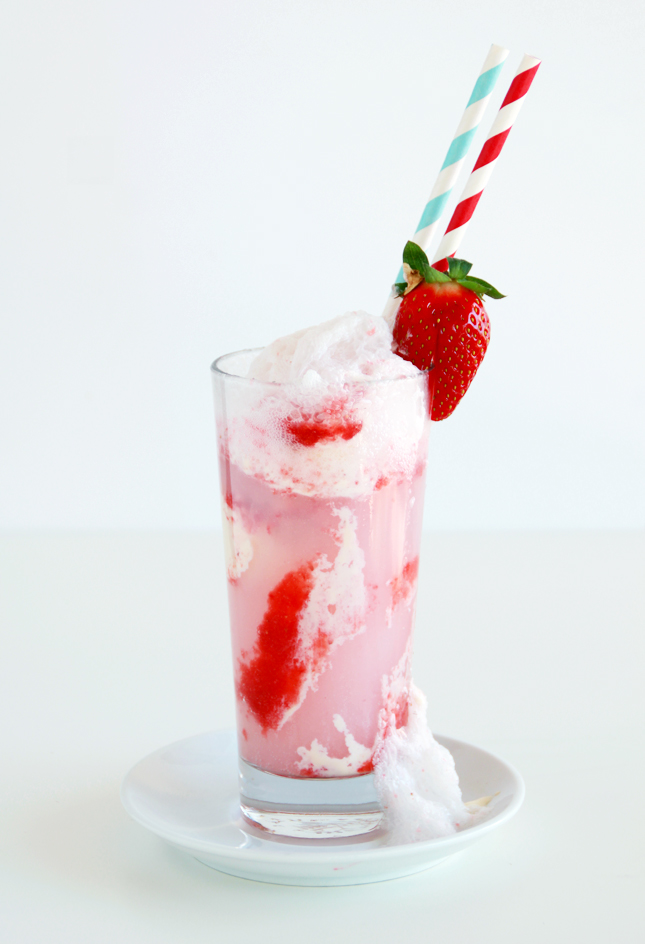
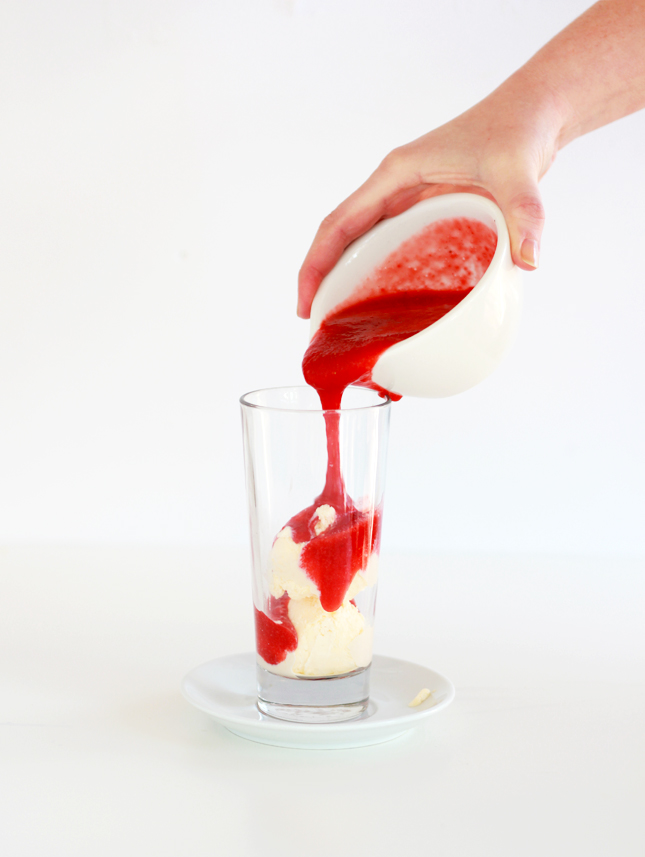
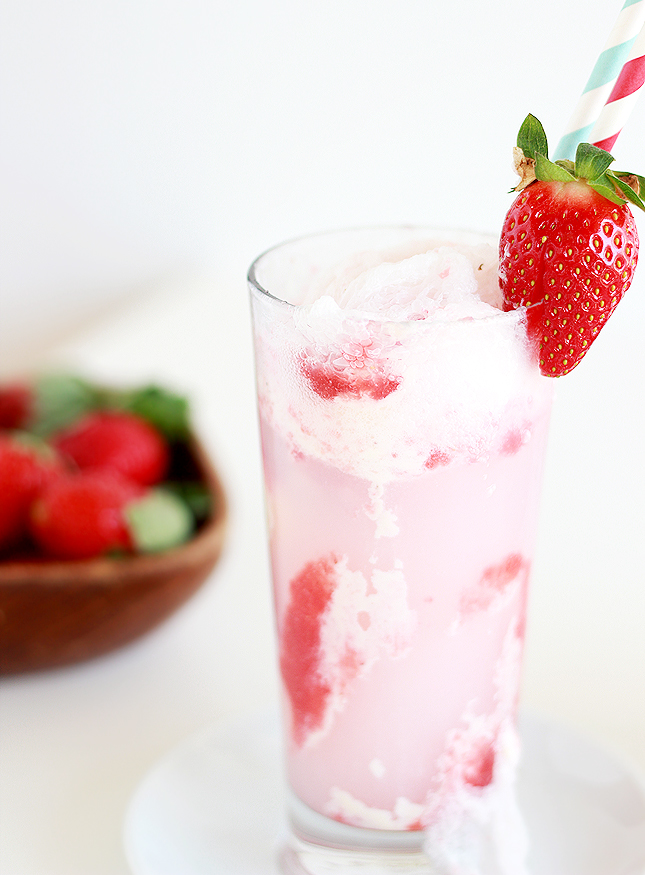
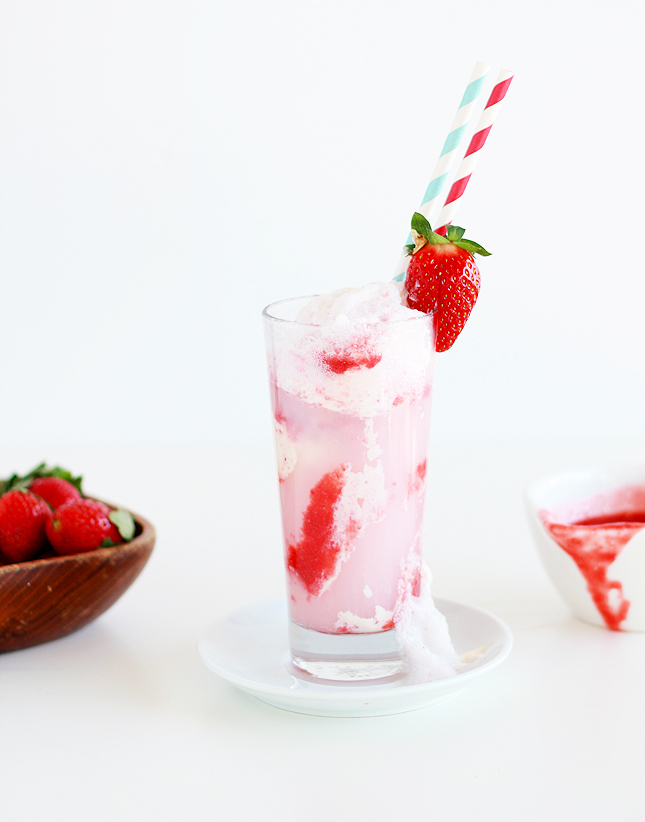
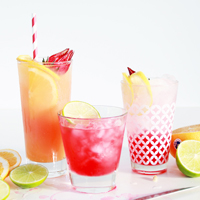
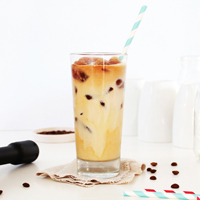
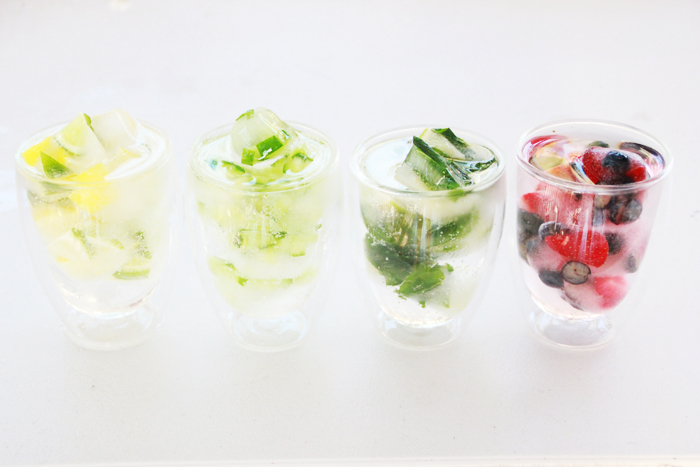
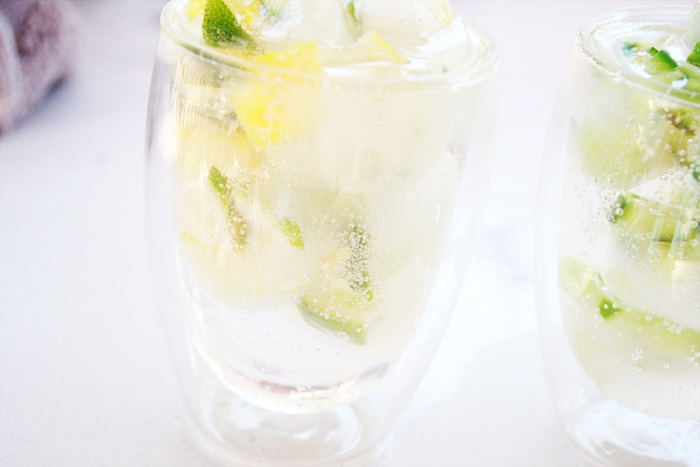
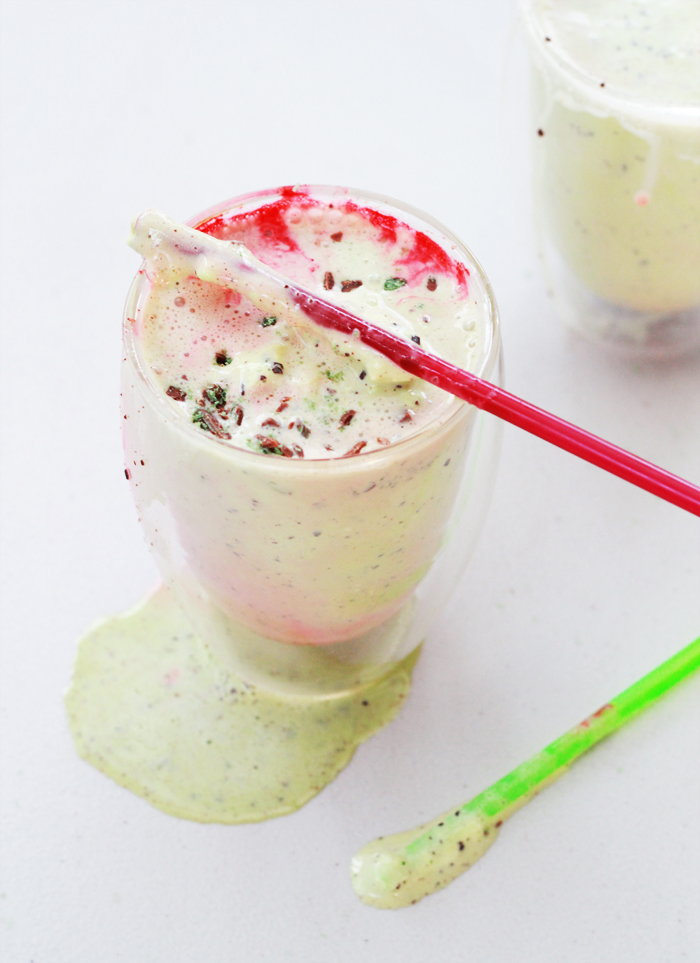
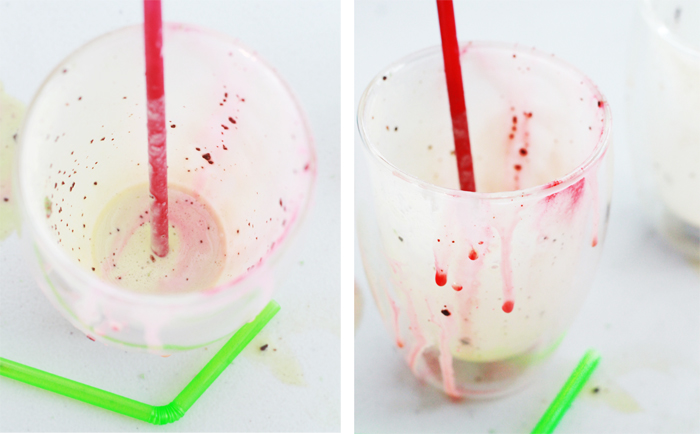
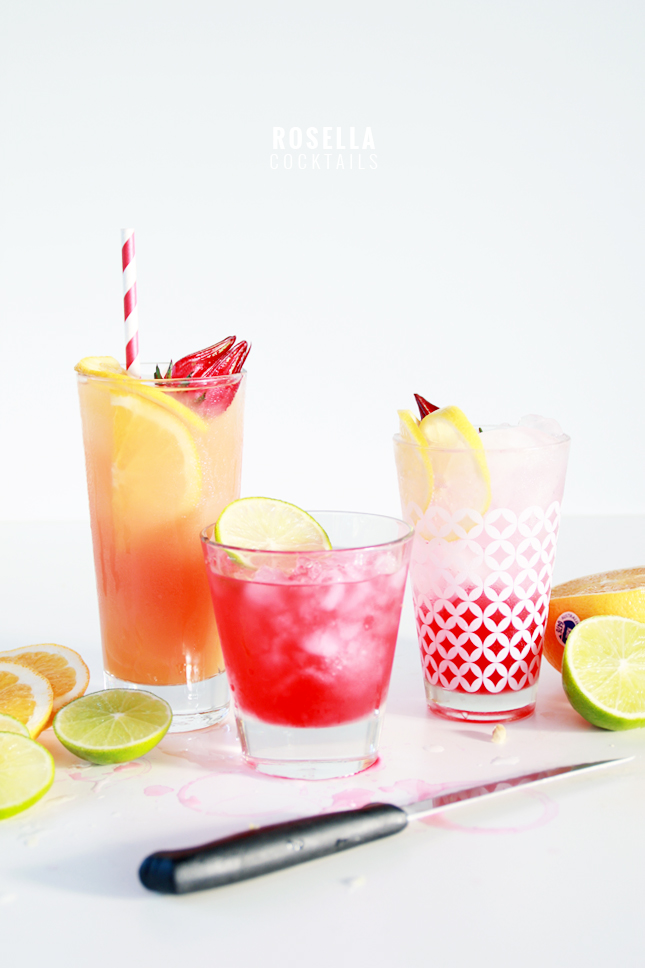
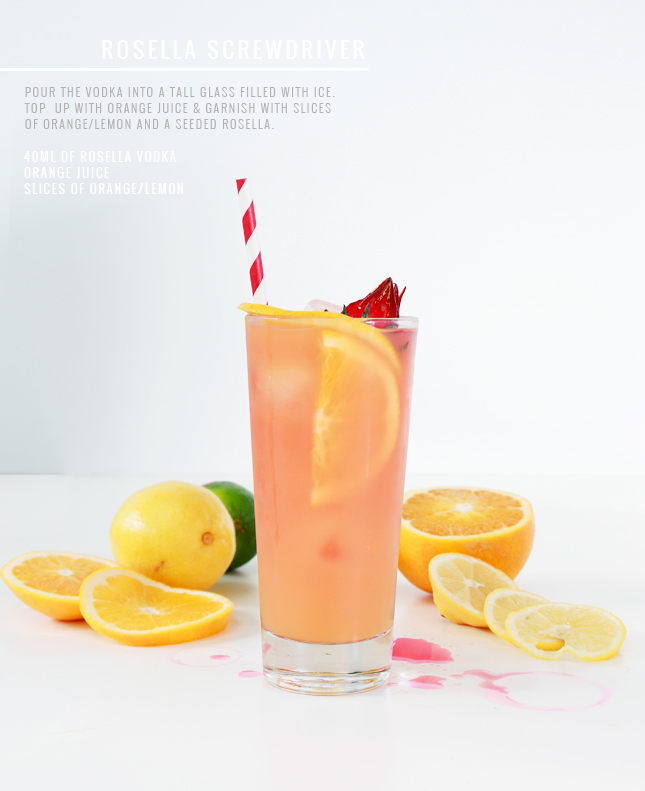
First up an easy fruit cocktail: The Rosella Screwdriver! Perfect for you Rosella First-Timers, mixed with orange juice, it’s not too strong as the juice softens out the rosella flavour. As an added bonus; check out how pretty it looks as the colours mix together!!

___________________________________________________________________________________

INGREDIENTS:
40ml of Rosella Vodka
Orange Juice
Slices of orange/lemon
METHOD:
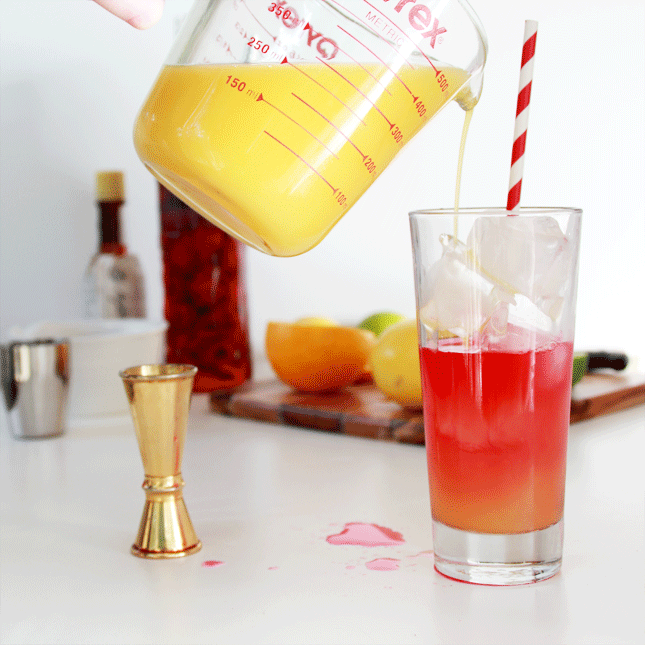
1. Pour the vodka into a tall glass filled with ice.
2. Top up with orange juice and garnish with slices of orange/lemon and a seeded rosella.

YUM! Rosella Screwdriver Cocktail -  See the full recipe at www.highwallsblog.comYUM! Rosella Screwdriver Cocktail -  See the full recipe at www.highwallsblog.com

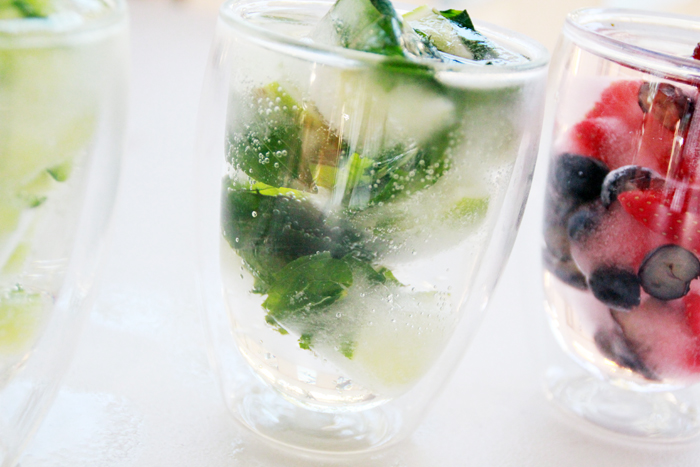
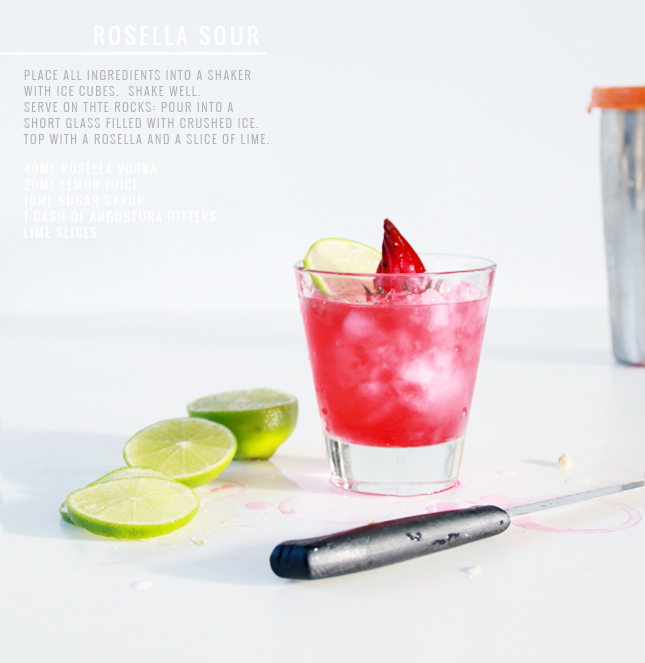
Next up, my personal favourite: The Rosella Sour! Served on the rocks, this baby is almost too easy too drink, if you know what I mean! I had a few too many of these for ‘testing’ purposes….

___________________________________________________________________________________

INGREDIENTS:
40ml Rosella Vodka
20ml lemon juice
10ml sugar syrup
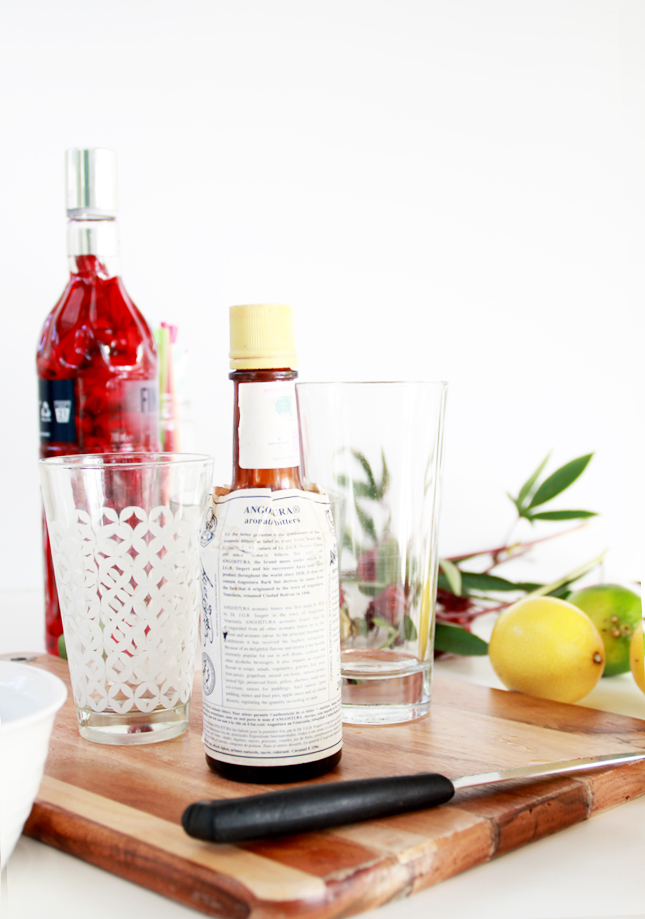
1 dash of Angostura Bitters
Lime Slices
METHOD:
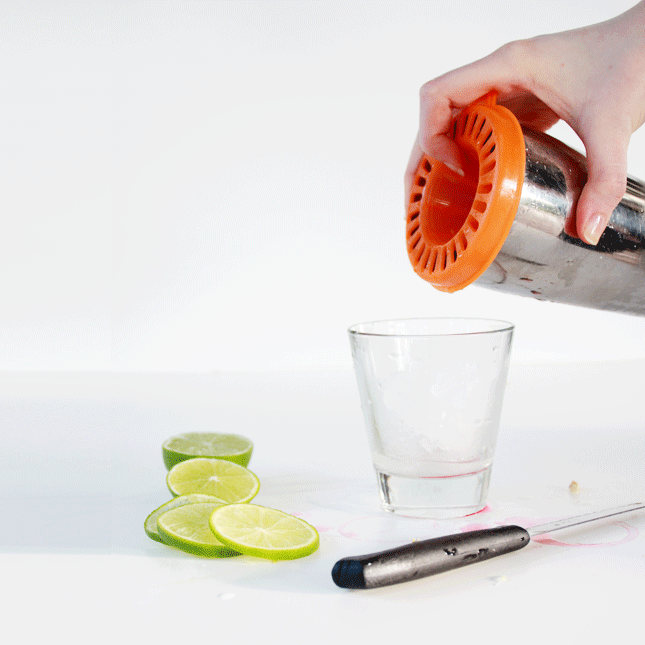
1. Place all ingredients into a shaker with ice cubes.  Shake well.
2. Serve on the rocks: Pour into a short glass filled with crushed ice.  Top with a rosella and a slice of lime.

YUM! Rosella Sour Cocktail -  See the full recipe at www.highwallsblog.comYUM! Rosella Sour Cocktail -  See the full recipe at www.highwallsblog.com

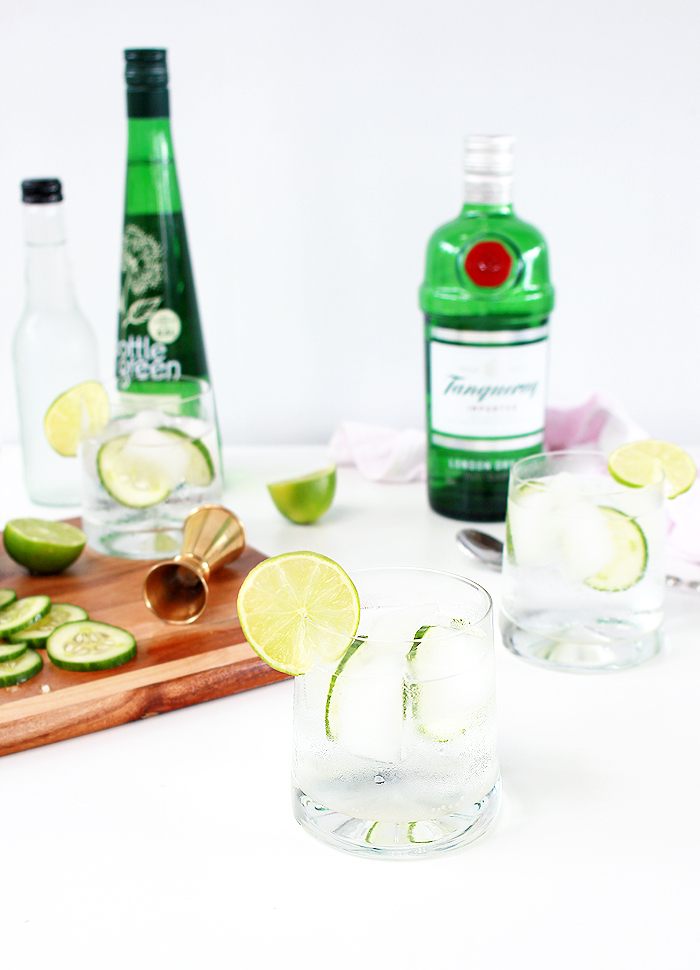
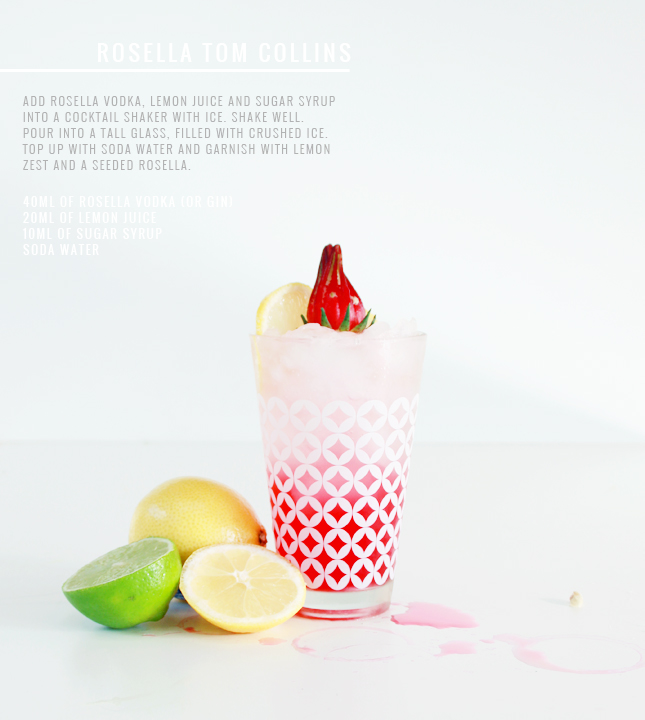
Last but not least, this cocktail was for the boys who are all about the classic: Tom Collins (with a twist!) Now your usual Tom Collins is made with Gin, so of course you can infuse your own to make these bad boys. However, a Tom Collins is just as good with Vodka, so seeing as we already had a big bottle on the go, we pressed on…

___________________________________________________________________________________

INGREDIENTS:
40ml of Rosella Vodka (or Gin)
20ml of Lemon Juice
10ml of Sugar Syrup
Soda Water
METHOD:
1. Add 40ml of Rosella Vodka, 20ml of Lemon Juice and 10ml of sugar syrup into a cocktail shaker with ice. Shake well.
2. Pour into a tall glass, filled with crushed ice.
3. Top up with soda water and garnish with lemon zest and a seeded rosella.

YUM! RosellaTom Collins Cocktail -  See the full recipe at www.highwallsblog.com

And there you have it! So easy to make and you won’t see these cocktails on a bar menu! All your friends will be super impressed with your exotic new mixes at your next dinner party. Don’t worry, we’ll let you take all the credit! Enjoy!

3 Rosella & Vodka Cocktails -  See the full recipes at www.highwallsblog.com  3 Rosella & Vodka Cocktails -  See the full recipes at www.highwallsblog.com

thumb-iced-coffee

Recipe | Homemade Iced Coffee

Wake up with this easy Iced Coffee Recipe | www.highwallsblog.com

Alright coffee lovers, this one is for you! You know who you are: the folks who can’t function in the morning without your daily cup-o-joe. Sometimes, I wish I were like you. I wish I liked the taste of coffee. It smells so SO good and some days I could really use a magical, miracle drink to wake me up properly. But alas, no matter how many sugary or chocolatey incarnations I try,  I simply have never enjoyed the bitter taste of coffee.

If missing out on the general social experience of a morning coffee wasn’t enough, the boyfriend and housemates are obsessed. They are on a first name basis with all the barista’s in our area. We have not only a proper coffee machine, but also a bean grinder. Not to mention the bags upon bags of boutique, high end beans that line our pantry. My mornings begin in a haze of whirring machinery and rich, earthy scents. As you are probably gathering, I am the odd one out in my house. When everyone around me is enjoying their warm liquid wake up call, I am still stumbling around the house grumbling and silently cursing the day.

In these times, my only saving grace is iced coffee. Not that it is my favourite thing, but if it is sugary and milky enough, I have at least a small gateway down through the rabbit hole to caffinated Wonderland. So it was only natural that my desire to be included would lead me to conjuring up a home-made recipe (Look at me everybody! I used the coffee machine!) Everything about this recipe can be tailored to your liking, so I’ve tried to stay away from using strict measurements. A serve for me includes only one or two coffee ice cubes and a metric tonne of milk, cream and sugar, but for the coffee lovers (ie: what is pictured), you’re looking at a richer more balanced coffee flavour. Either way, this one is a winner if you have even a hint of love for that ‘magic’ bean….

Wake up with this easy Iced Coffee Recipe | www.highwallsblog.com Wake up with this easy Iced Coffee Recipe | www.highwallsblog.comWake up with this easy Iced Coffee Recipe | www.highwallsblog.comREAD MORE

thumb-ice

Ice to Meet You

Flavoured water has never been my thing, but lets be honest, how great do these ice cubes look? My new favourite thing as of late is cucumber beverages. It’s just so cool and refreshing and SO damn tasty! So I decided to whip up a batch of cucumber ice cubes to add to my drinks and, as these things usually happen, I got a little carried away. Summer is hot and it’s important to keep hydrated kids. I know, I know. Water is boring after your 27th cup of the day, so why not spice it up a bit?There is no real recipe for these bad boys, pretty much fill your ice cube trays with different flavour combinations, top up with water and freeze. I made 4 even batches of Cucumber, Strawberry/blueberry, Lemon & Lime and Lemon and Mint. We kicked back on Sunday afternoon, relaxing on our balcony with some nice big glasses of flavoured sparkling water. They were a huge hit! I’m going to make a few more batches to keep in the freezer for the next hot day (or even better, the next time we have guests! They look so great in a glass!)

Have you made flavoured ice before? What flavours did you come up with? I’m thinking these combinations for my next batch:
  • Lemon & honey
  • Celery and Fennel
  • Basil and Cucumber
  • Orange and Lime
  • Lemon and Raspberry
  • Kiwi
  • Watermelon
  • Coffee
thumb-zombieshake

Zombie Thickshake

When I was a child I was that fussy kid your mum hated having over for dinner. What’s that? You’re having your family’s all-time favourite dish? Yeeeaaahhh, I’m probably not going to eat that. I was fussy with all kinds of basic things most people eat on a daily basis, but every now and then I would admit to not liking something that practically everyone in the world loves and it would kick up a fuss.One such time occurred at my best friend’s house after school; her mum decided that she would treat us kids to something a little special – homemade milkshakes!  My heart sank. Now I know what you’re thinking; “Who doesn’t like milkshakes?!” and I don’t even have a proper explanation for you! I’ve never been a big fan of milk, so I was already at a disadvantage, but realistically, I never had a good reason for not liking milkshakes. I just didn’t.

I may have been fussy, but I was also very shy, so naturally I just kind of stood there awkwardly while she got out the blender and the milk, just silently freaking out as to what I was going to say when I was handed this frothy, milky beverage.

We were handed our milkshakes and instructed to take them outside to enjoy in the yard. I shuffled out, staring at the seemingly enormous cup of milk in a mixture of horror and disgust. Once we were out of earshot of the adults I tentatively whispered to my friend, “I don’t like milkshakes.” My friend stared at me dumbfounded for a minute, the only sound between us was the slurping of her straw as she finished off her own milkshake. Without a word, she silently handed me her empty cup and liberated my untouched milkshake to be enjoyed as ‘seconds’. It was the perfect plan. That is of course until she became violently ill from ingesting an excessive amount of milk and sugar. Our ruse was discovered pretty quickly after that…

It was a couple of years before I gave milkshakes another proper try, this time in the form of thick shakes. Now I know that milkshakes are delicious and all, but whoever decided to replace half the milk with copious amounts of ice cream was a genius. I may not be a huge fan of milk on its own, but ice cream is something I can get behind every time! I’ve never looked back!

The best thing about Milkshakes/thickshakes is that the method is pretty much the same regardless of what flavour you choose. If you decided to go with strawberry or chocolate, I would suggest adding in a tough of flavoured toppings or actual fruit but as it stands this is a pretty simple way to make yourself a shake. Normally I don’t make mint flavoured recipes, but the green colouring was totally necessary for the Zombie theme so I made an exception…

What You Need:
Mint Choc Chip Ice Cream
Full Cream Milk
Peppermint Crunch Chocolate bar (or similar)
Red Food Colouring (flavourless)What You Do:
1. Add together 1 cup of milk and roughly 1 cup of ice cream together in a blender and pulse until a thick, smooth consistency. I like my shakes to be EXTRA thick, so you can alter these amounts until you get the desired consistency.

2. Take a serving glass and add around 1 teaspoon of food colouring – enough to cover the bottom of the glass.
3. With the shake mixture ready to pour, take the glass and swirl the food colouring around the lower half of the cup so that the sides are coated. Quickly, before the colouring starts to settle at the bottom again, pour out the excess and quickly pour in your shake mixture filling to 2cm from the rim of the glass. You should have created a marbled red and green effect around the edge of the glass. The colouring wont affect the taste of your shake.
4. Using an ice cream scoop, spoon out one or two scoops of ice cream into the centre of the glass.
5. Using a rolling pin or something heavy, gentle crush the Peppermint Crunch Bar while still in the packet. Sprinkle the crushed pieces on top of your shake.
6. Serve immediately and try not to make as much of a mess as I did. (Especially with the food colouring, that stuff staaains!)