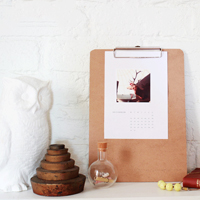
thumb-instacalendar

Instagram Calendar DIY
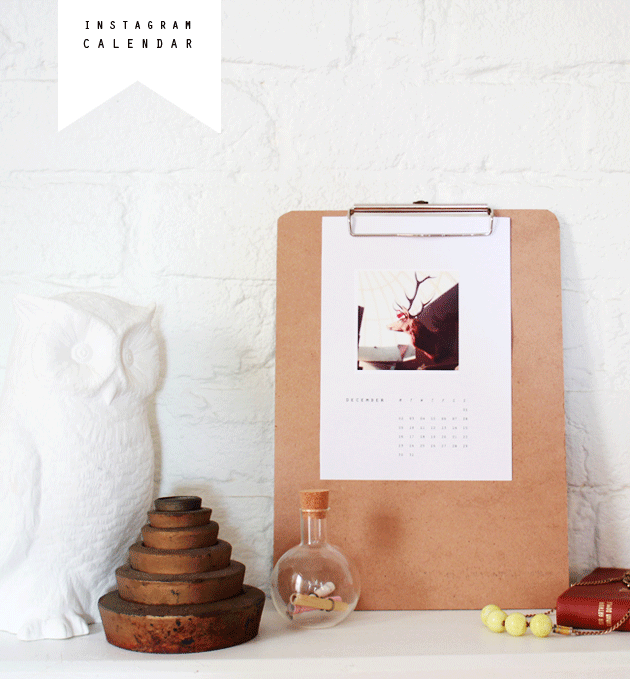
DIY Instagram Calendar from www.highwallsblog,comWe all have that friend who loves Instagram just that little bit too much. You know the one. She takes a photo of her feet in the sand in front of the ocean and its all #dayatthebeach #beachdayez #beach #vacation #holiday #sand #sun #surf #clouds #hermitcrab #seagull #fun #omg #tan …oh my god - hashtag STOP!

I understand if you are promoting your brand, art etc on Instagram, you would include relevant tags to encourage a wider audience see’s your pictures. But I really don’t understand why my 18 year old cousin needs everyone to see a Valencia filtered picture of her hot chocolate (#winter #treats #yum #naughty #chocolate #coffee) If you love your Instagram shots that much and want the world too see them, why not do it the old fashioned way? Put them up around your house!

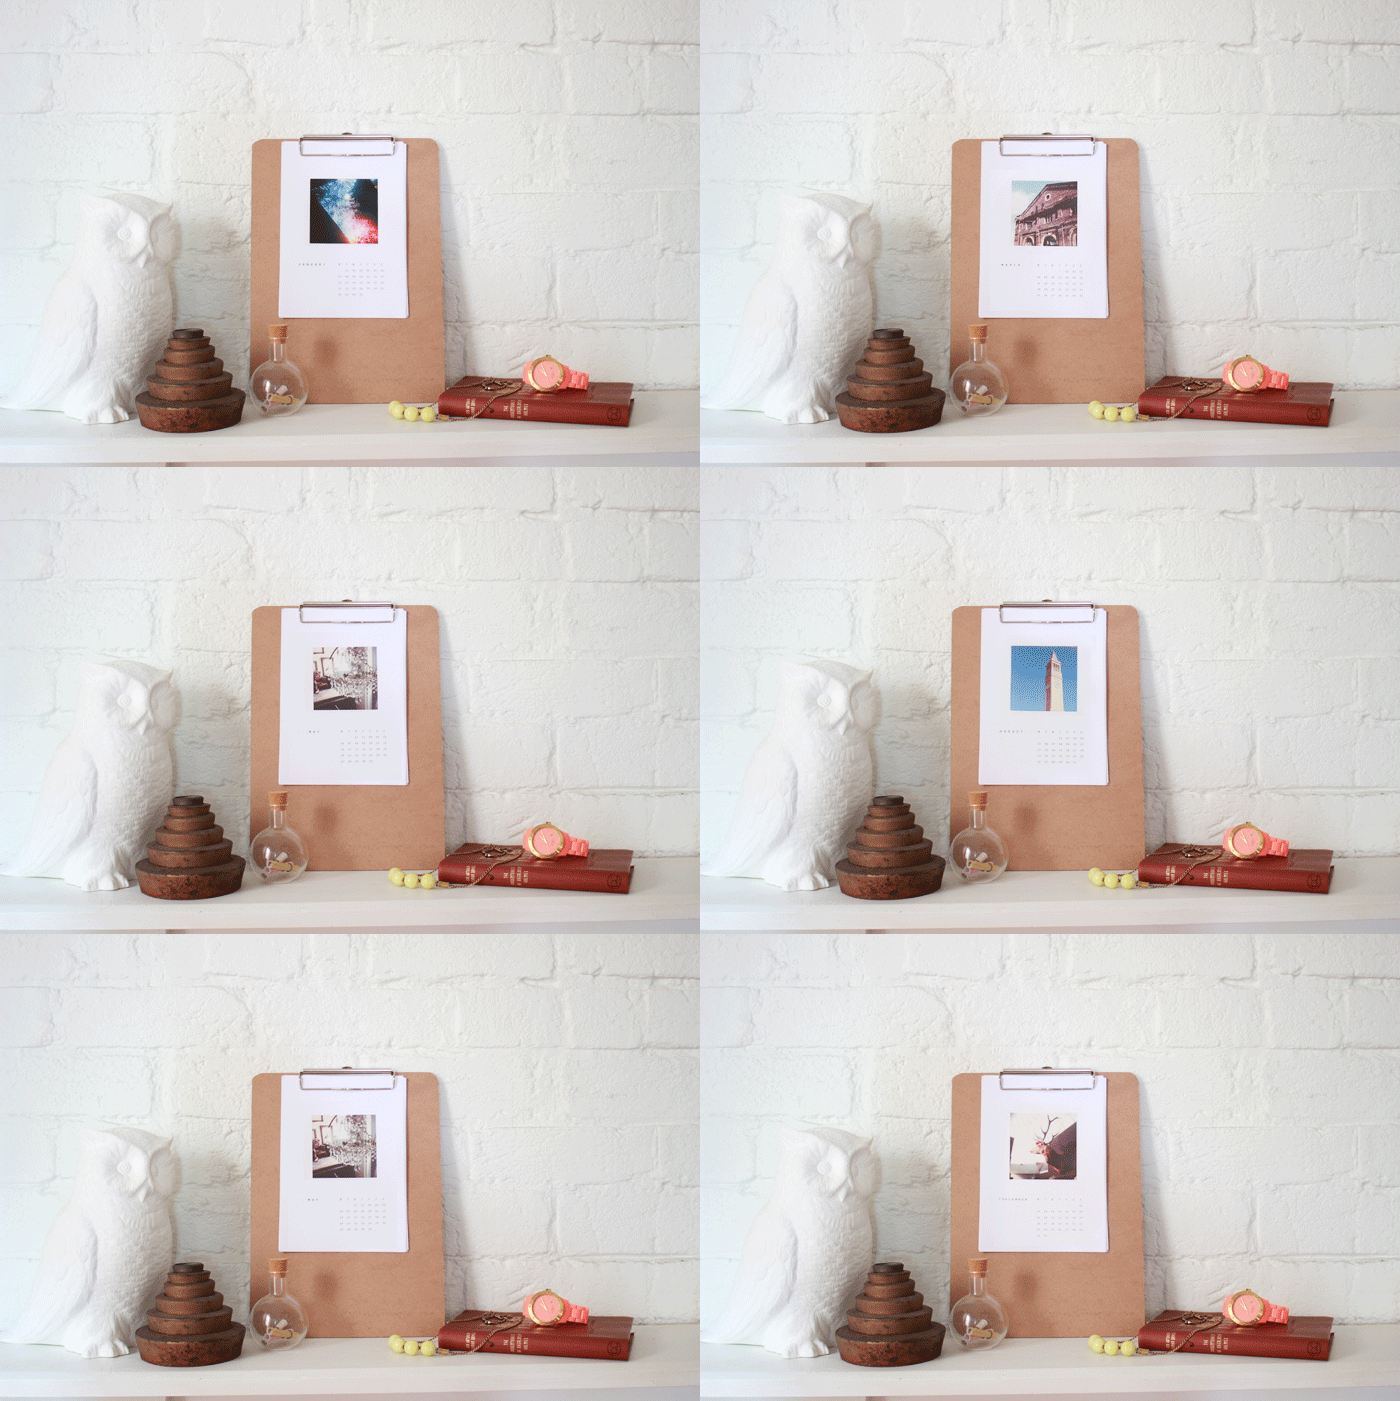
I still haven’t gotten around to putting up a calendar at home, so I mocked up this little monthly calendar using some of my favourite instagram photos from the last 12 months. There are many online services that will do this for you, but why not do it yourself? It takes about 15 minutes (once you’ve selected your photos) and all it costs is the price of a clipboard and 6 colour prints!
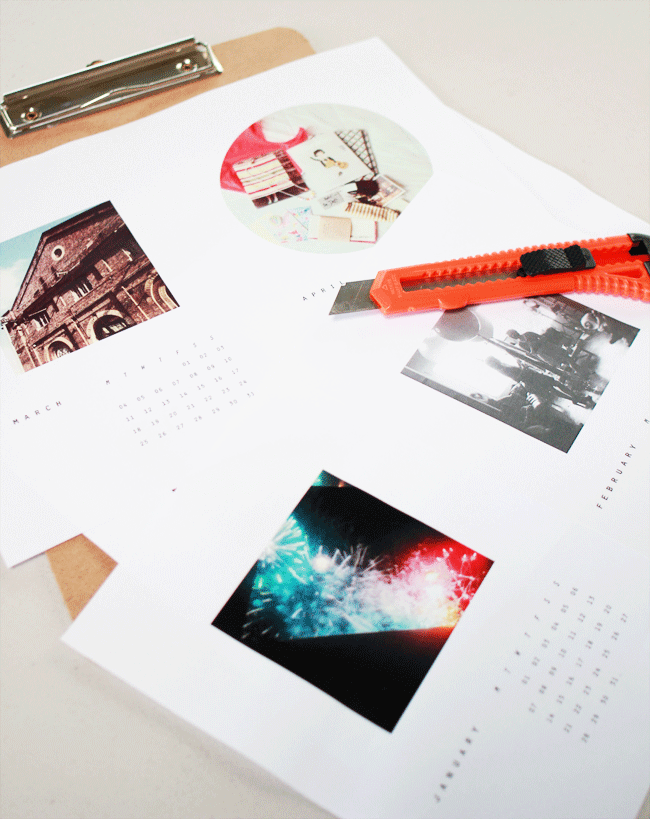
DIY Instagram Calendar from www.highwallsblog,com

What You Need:

a clipboard
6 A4 sheets of paper
a craft knife or scissors
access to a colour printer
12 Instagram photos

What You Do:

1. Choose your photos - You can download your photos in one of the following ways:

On a Mac you can get them through Preview

  • Plug your iPhone into your Mac
  • Launch Preview
  • From the File menu navigate down and select “Import from iPhone…”
  • Select “Import All” to get all the pictures, otherwise individually select pictures and click ‘Import’
  • Look in your ~/Pictures/ folder for the photos from your iPhone

On a Windows PC you can open the device as a folder when you plug it in:

  • Plug in your iPhone to the computer without iTunes running
  • Wait for a popup asking you what you want to do with the device
  • Select “View Content”
  • Find your photos through the folders that are displayed
  • Copy from the folder to your preferred location.

2. I made up some quick calendar templates which you can use for yourself, just click HERE (EDIT: 2015 Calendar!) to download the images. Open up with Photoshop and all you need to do is open each image and paste your Instagram photo into the blank space above the month layout. (If you aren’t familiar with Photoshop you can use any photo editing program or even insert the images on top of each other in Word.

3.  Print em out! 2 to a page so that you can cut in half - and do so with your knife or scissors.

4. Now all that’s left to do is put them in order and secure with the clipboard. You can hang on the wall or prop up on a shelf to display.

How easy is that! Aren’t you glad you didn’t shell out $40 to get someone else to do it for you! Obviously, the nicer the paper and printer you use the better quality your calendar will be. Try to choose photos that fit the months, for example - in December I used a picture of a deer head wearing a Christmas hat and for September I used balloons because that when my birthday is! You can tailor them to your own personal taste because they are your photos! Maybe you can even make one for that special Instagram-loving friend. If you can’t access their phone, you can always try using their Instagram photos from their profiles (http://instagram.com/’profilename’) Maybe your lovely gift will help to stop the hashtag abuse… ;)

#calendars #DIY #instgram #mylifeinpictures #easyaspie #months #photos #organise #dates (#justkidding)
DIY Instagram Calendar from www.highwallsblog,com

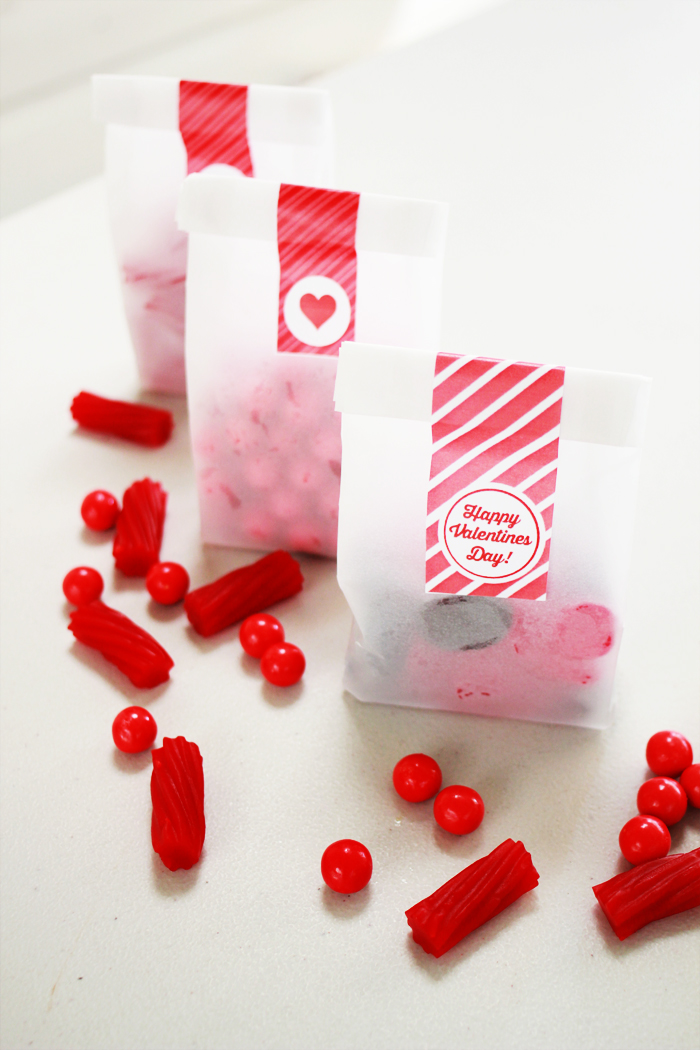
A Valentines DIY

Valentines Day DIY from www.highwallsblog.com

Valentine’s Day sure brings out the cynicism in people, doesn’t it? You are definitely FOR or AGAINST Valentine’s Day, there is no middle ground it seems. Online especially, all I see is Valentine’s gift guides and angry posts boycotting the whole event. Me? I’m a fan of Valentine’s Day. While I believe in showing love for the doesn’t people in your life should be an all year round kind of thing, what’s the harm in having a day that’s extra special? Yes, Valentine’s Day, like most other holidays has become completely commercialized, but I don’t know about you, but I enjoy buying gifts for my significant other! I don’t know, I guess I just like to see the potential for good these kind of holidays can bring, rather than the negative aspects.

If you feel like me, then hopefully you’ll enjoy this simple little DIY. It’s not flashy or extravagant, nor is it meant to be. It can be for your boyfriend, girlfriend, best friend, old friend or even that friendly barista at the coffee shop who always remembers your order.READ MORE

Sunday Sessions: 10.02.13

Sunday Sessions - Valentines Day Links

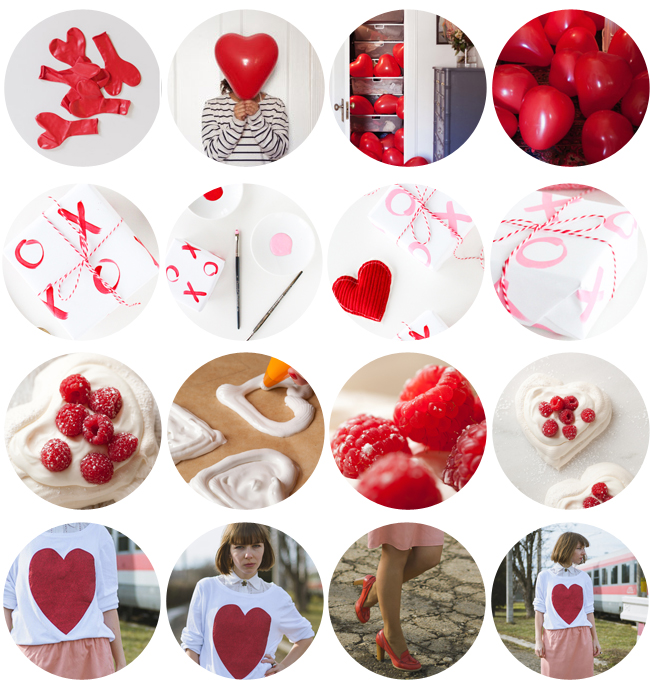
LINE ONE: I know I’m always sharing DIY’s from Oh Happy Day, but Jordan is just keeps impressing me! I’m loving the idea of this Heart Balloons in a Closet

LINE TWO: Another great crafty DIY, this time Valentines Gift Wrap from Sugar and Cloth - So simple and so effective!

LINE THREE: I don’t even really like Pavlova (I know, I know. How horribly un-Australian of me!) These Pavlova Hearts from Return to Sunday Supper look positively delectable!

LINE FOUR: My friend Daria was invited by Wildfox to be part of their Take 10 competition where 10 bloggers style the same Wildfox piece – a glitter heart jumper – and you can vote for who’s styling you like the most. If you like what you see, you should head over here and cast a vote!

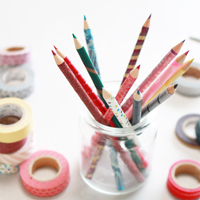
thumb-washipencils

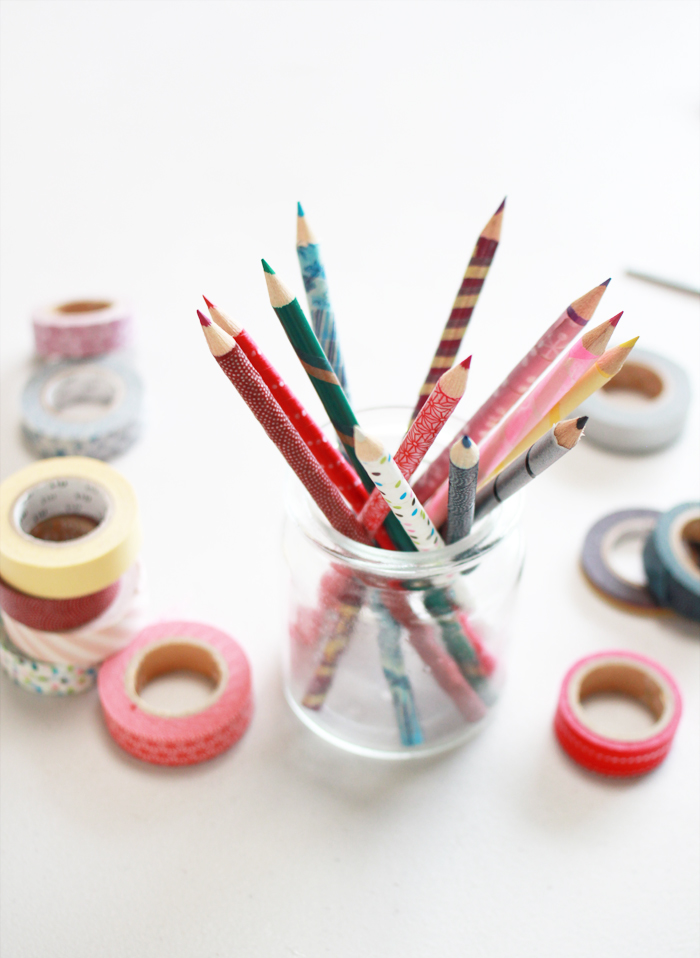
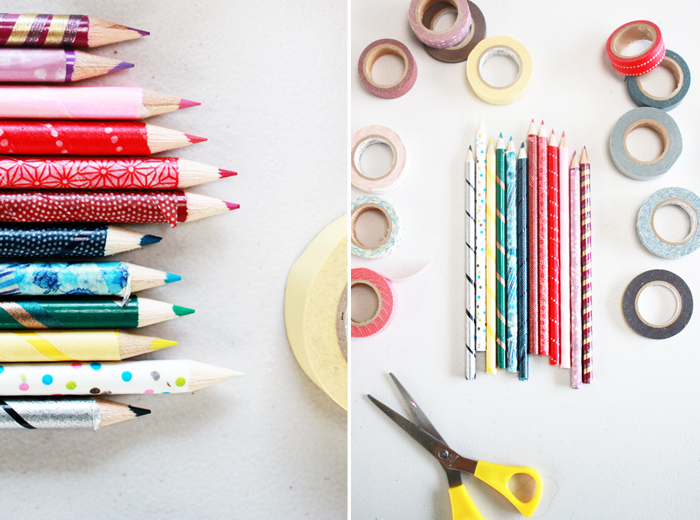
Washi Tape Pencils

Washi Tape Pencila from www.highwallsblog.com

So, maybe I have a washi tape addiction. If you’ve been with me for a while you might have noticed that this is my 4,372nd DIY project featuring washi tape (a totally accurate estimate) I just can’t seem to stop finding uses for the damn stuff! It’s not my fault I swear!

I don’t have any children of my own, so I’ll be the first to admit you won’t have seen many kid-friendly DIY projects around here. That said, I now have many friends with children, whose never ending cuteness is a constant source of  inspiration. This DIY is all thanks to an adorable conversation I had with the young boy of a friend, who was lamenting on how his pencil’s always get stolen at school because they get all mixed up. His mother suggested putting his name on each pencil with a label maker, but Ugh. How boring!

I had a packet of coloured pencils lying around looking equally as boring and lame, so I decided to give them a little personality and maybe give her some ideas to ensure all of his pencils always come home.

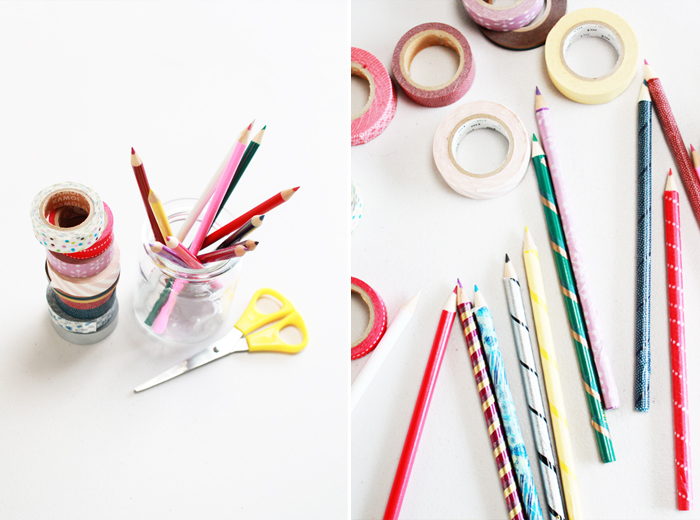
Washi Tape Pencila from www.highwallsblog.com

What You Need:
Pencils – preferably round, plain colours
Washi tape – all different patterns and colours
Scissors
Pencil Sharpener or exacto knife (optional)

What You Do:
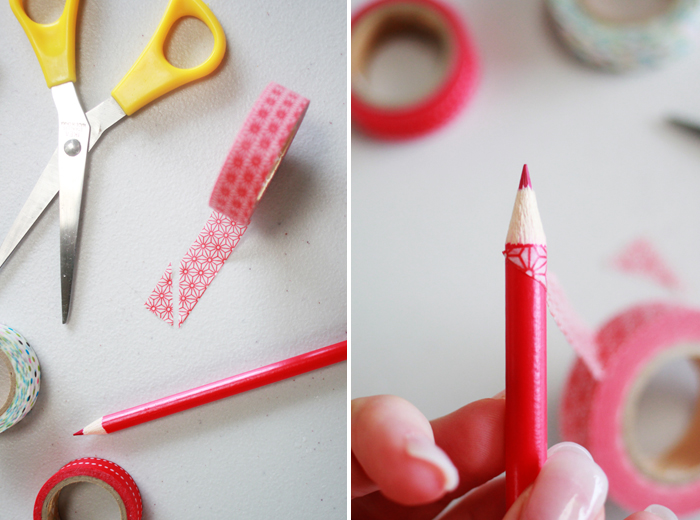
1. Start by pairing up your pencils with a matching tape. As Washi tape can be relatively se-through (especially your lighter colours) you will want to put similar or darker colours onto your pencil.

2. Take your tape and cut the end diagonally across the tape leaving a triangular shape.

3. Line the diagonal edge around the top of the pencil, along where the pencil tip begins. Wrap the tape around to create a flush line around the tip.

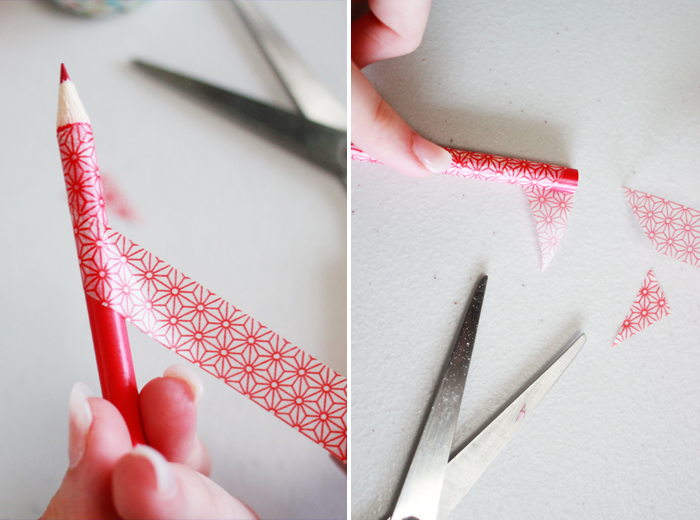
4. Gently pull the tape tight and slowly and carefully twist the pencil so the tape continues to wrap around, travelling down the pencil as you twist.

5. After a couple of turns you will be able to see if the tape is going to cover the pencil evenly. You will need to experiment with how much to angle this cut depending on how you want to wrap. For example, some of my pencils I left a gap in between the twist to leave the under colour showing through, for the patterned tapes I preferred to overlap so that the pattern was solid the whole length of the pencil. Washi tape sticks quite well, so don’t worry if you need to pull it off and try again once or twice. Just take your time so you don’t crease the tape.

6. Smooth the tape as you twist and continue until you reach the bottom of the pencil.

7. Once you reach the end, line up the base of the pencil and pull out and cut the tape around 3cm from the end. Then cut a diagonal line like we did in step 1 so that the tape wraps around the base neatly.

8. Smooth any bumps as necessary. If you find the tip is a little messy you can trim it by sharpening it with a (sharp) pencil sharpener or neaten it up with an exacto knife.

9. Repeat with all of your pencils until you have a whole set of unique and fun pencils!

Washi Tape Pencila from www.highwallsblog.com Washi Tape Pencila from www.highwallsblog.com

Most simple patterns will line up nicely as you wrap, but if you find that some patterns do not lend themselves to this method, you can always wrap the tape horizontally, cutting small strips and wrapping them individually. Just ensure that your strips are the same size so you don’t end up with a weirdly shaped pencil that is thicker in some parts.

These pencils would make a great gift, for the little ones upon their return to school or even for that crafty friend you know. What do you think? You could even use them to jazz up your plain old lead pencils!

Washi Tape Pencila from www.highwallsblog.com

Under the Tree

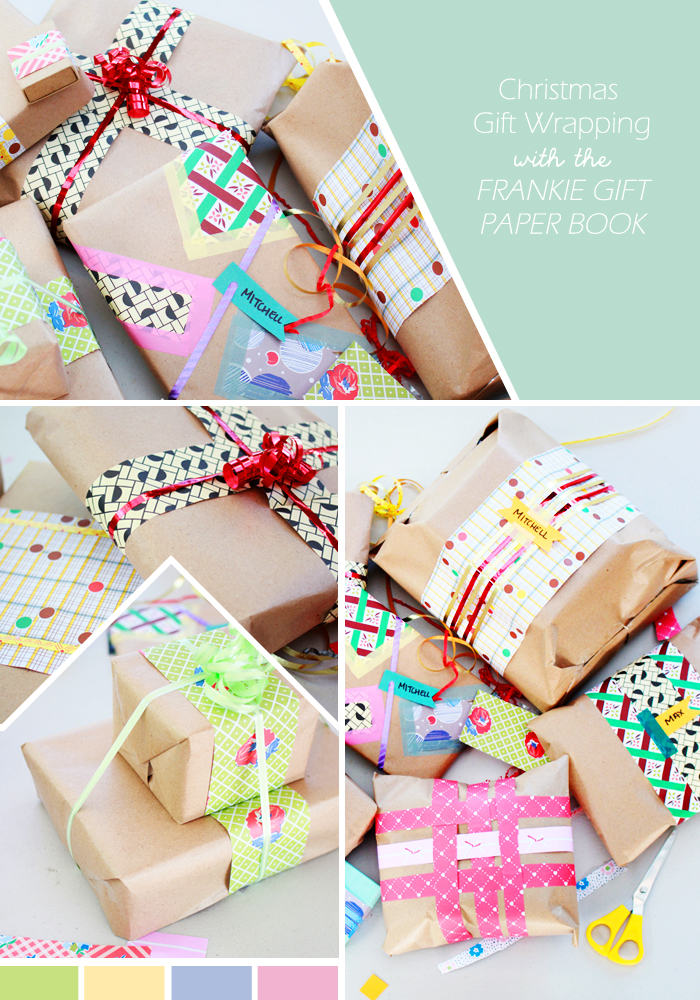
When I was about 20, I created a a Christmas tradition for myself. Every year a couple of days before Christmas, I sit in the airconditioning (because, Hoo Boy! Is it toasty this time of year!) and I watch either Love Actually or a DVD I have of a comedian Tim Minchin and wrap all of my presents for that year. A weird choice of viewing, I know. The year it started I was house sitting by myself over the Christmas period and they were the two DVD’s I had with me. That year was probably the first Christmas I went all out, finding the perfect gifts and wrapping them with all kinds of paper and ribbon. Ever since then, watching those two films never fails to put me in a Christmas mood! This year  I was armed with the Frankie magazine Gift Paper Book as well as my trusty kraft paper and I may have gotten a little carried away… They sure do look lovely under the tree though :)
(Don’t forget, you can win your own copy of these beautiful sheets of gift paper by entering the giveaway here!)

Sunday Sessions: 23.12.12

Last chance to share some Christmasy links before the actual day. I always wish that the end of the year wasn’t so busy so that I could try out more of these projects myself…
 
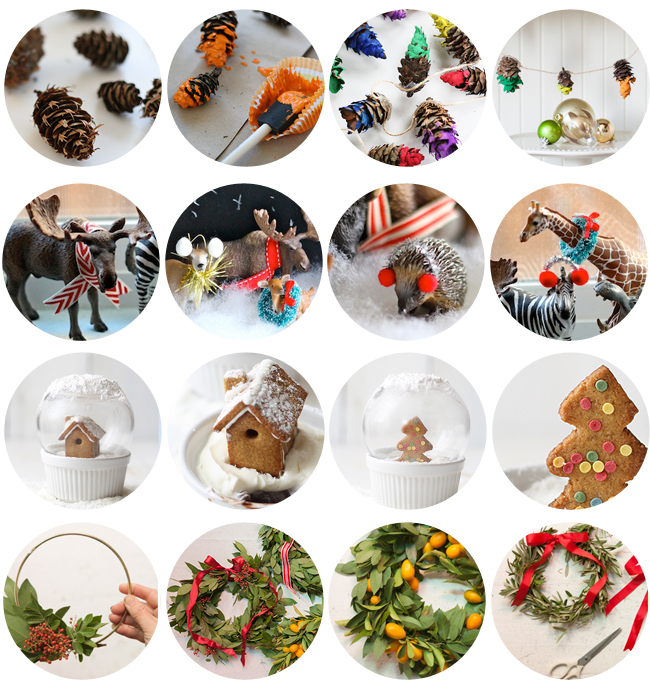
LINE ONE: Loving this nifty DIY for making Rainbow Dipped Pine Cone Garlands. They almost look like the old style of Christmas lights we used to have in our house as kids.
LINE TWO: Melanie over at You Are My Fave has been getting into the Christmas Spirit by putting teeny tiny scarves and earmuffs onto toy animals around her home. Adorable!
LINE THREE: I am totally want to try this next year, Edible Snow Globes are such a brilliant idea and look delicious to boot!
LINE FOUR: Oh Joy has more fantastic Christmas Projects, this time 3 beautiful wreaths you can make yourself. Next year I think I might make some mini wreathes for inside my house.

Drifter and the Gypsy: Tassel Garland

Hey guys! Exciting news! I am very excited to announce I am the new DIY Craft contributor to the amazing blog Drifter and the Gyspy! From now on I’m very happy to be contributing a monthly craft project along with some other very talented DIY-ers. Don’t worry, I will still be posting DIY projects up here on Tuesdays, but now you get bonus projects over at Drifter and the Gyspy! Hooray!
Check out my first post; DIY Tassel Garland. It was a lot of fun to put together and super easy!

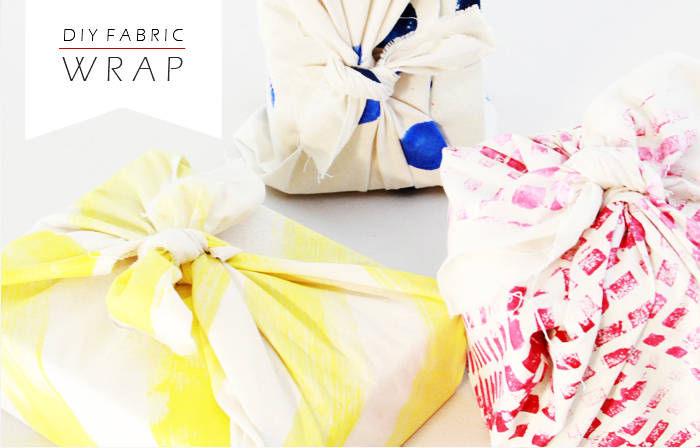
Fabric Gift Wrap

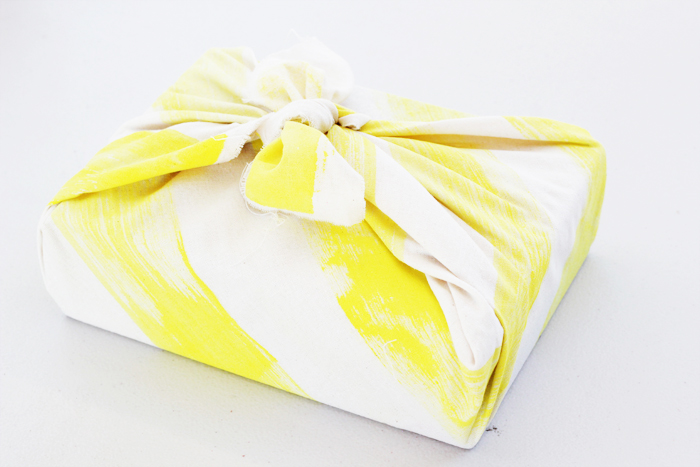
Ever since I went to Japan, I’ve been obsessing over fabric wraps, in particular, for gift wrapping. There are so many different ways to gift wrap presents, but fabric wraps still seems to be one style that doesn’t get used anywhere near as much, which is a shame considering what an art form it can be! Using fabric to wrap your gifts is also a little friendlier for the environment, as they can be used again and again, or even kept to be used as scarfs or linen.

These wraps can definitely be made to last. If you want to go out and purchase some fabric inks and nice material, you’ll make a long lasting gift within a gift. For me however, I chose to use what I had on hand, which still turned out beautifully, but probably wont last the distance long term.
What You Need:
Plain Calico or cotton fabric – as much as you might need to make a few large squares. I got around 2m
Fabric Dye/Paints – I used acrylic paints which worked just as well.

Painting tools – sponges, stamps, brushes etc

What You Do:

1. Take your fabric and cut into large squares. The size of your squares will depend on what you’re wrapping. I made mine around 50cm x 50cm.
2. Iron your fabric so that there are no creases and lay out on a flat surface with paper underneath to catch any bleed through.
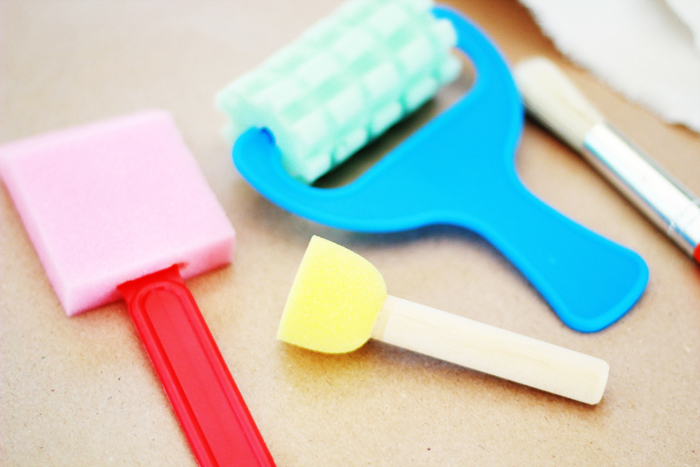
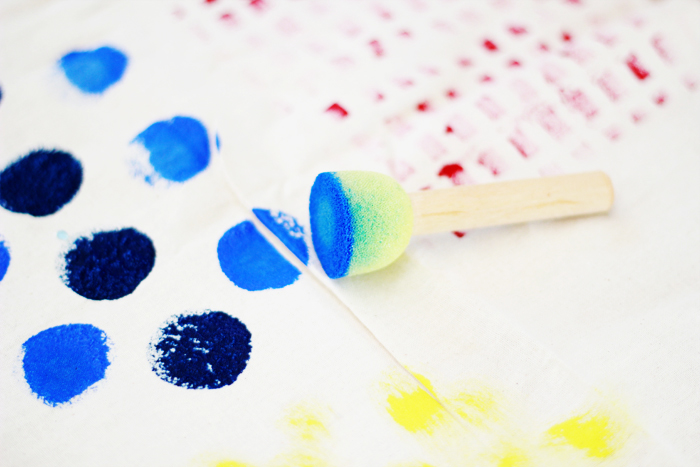
3. Prepare your painting tools; I picked up a kids packet of ‘painter starter kit’ which had a mini textured roller, round sponge stamp, paint brushes etc for about $4. But if you have stamps or shapes you want to use go for it! Pour out a dollop of paint/ink onto a flat pallet and load up your chosen painting tool. Test each one on a scrap piece of fabric until you have even coverage in your pattern.
4. Once you feel confident to start, begin from one side of the fabric creating an even pattern along one edge. Repeat until you reach the alternate side and the whole piece is patterned.
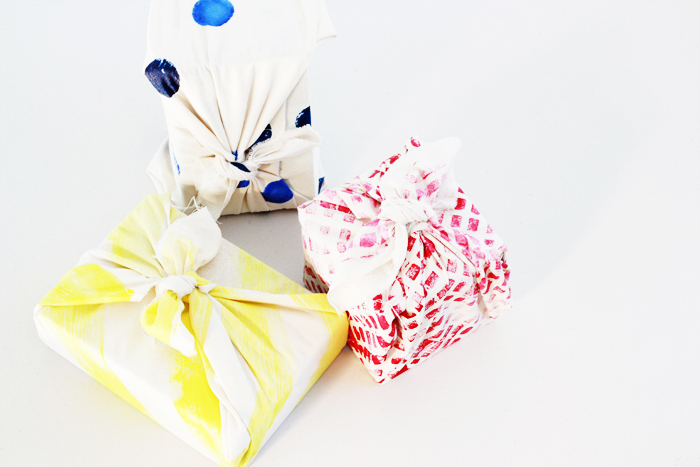
For my three fabrics I chose three patterns:
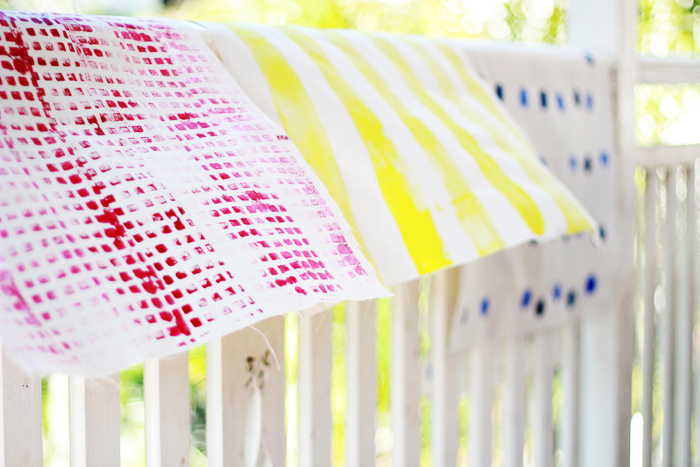
Yellow stripes - Painted by loading up a large flat sponge brush with paint and dragging across the fabric letting it run out as I went across to create a textured line.
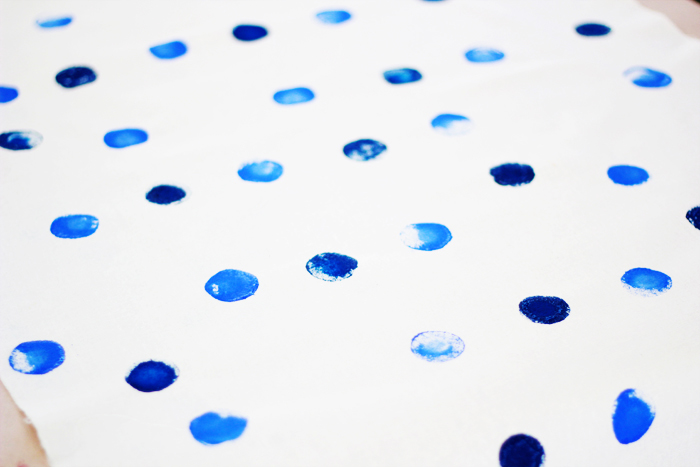
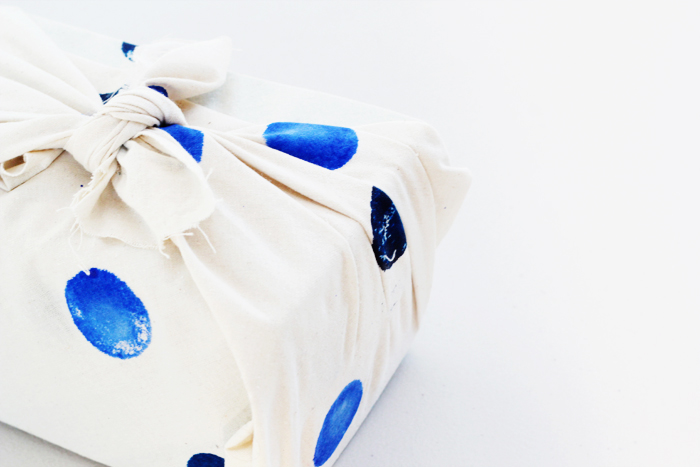
Blue Spots - I chose a light and a dark blue and created even spaced spots across the piece in the lighter colour. I then went back through and added the darker spots here and there.
Pink & Red texture - Using the textured roller, I created a textured effect starting from the middle of the fabric, making the colour lighter as I moved out (by adding a little white paint to the red each time I completed a line)
5. Hang the fabric out to dry. Leave until the paint/ink has completely dried. You can then iron the piece (using a protective sheet so that the paint doesn’t come off on your iron) to set the prints.
6. If you would like to hem the edges of the fabric, now is the time to do so. I liked the raw edges, so I left mine as they were (fraying bits and all!)

You can now wrap your gifts using your super awesome new fabric wrap! There are many great sites out there that can show you how to wrap gifts using material (check out Chewing the Cud) I used a pretty basic method of wrapping a simple box.

1. Lay the wrap face down and place the box in the middle.
2. Take the diagonally and tuck it around the box.
3. Take the opposite end and bring over the top, folding in the edge to line up with the edge of the box.
4. Gather together to two remaining sides and pull towards the middle of the box. Knot together and spread out the ends to make a ‘bow’ look.

What do you think? Will you give gift wraps a try this festive season?

thumb-animaljars

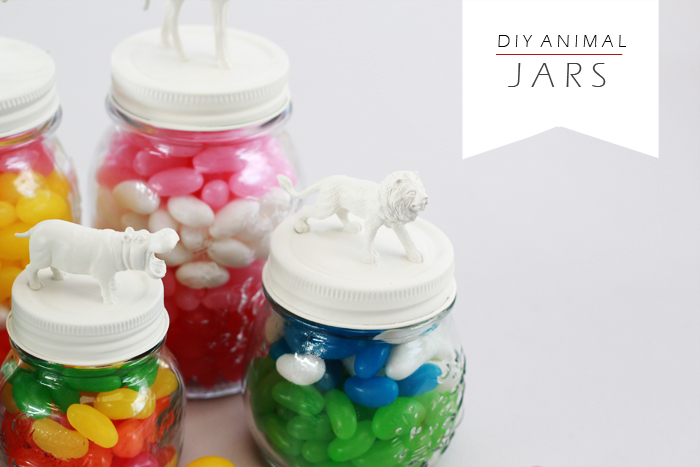
DIY Animal Jars

Growing up, we were always encouraged to make homemade gifts instead of spending lots money. As a child I was never able to think of something that I could make that could compare, in my young mind at least, to a store bought gift. Now that I’m all grown up I’ve learnt to appreciate the value of something homemade, and as my parent’s before me, I hope to instill this quality in the younger ones in my life. Starting with my god daughter and her brothers and sisters.

My best friend lives in my hometown with her little family, so I only get to see them when I visit a couple of times a year. I’m determined to be the cool ‘auntie’ who brings awesome presents when she visits, but it’s hard when you don’t get to see the little ones very often. I never know what to get them! But this year I think I’ve nailed it! I figure pretty much anything with sweets involved is going to be a winner with kids and although their mother is probably going to kill me for supplying them with this much sugar, at least it’s ultimately a useful gift…

What You Need:
Various sized Jars (I used mason jars, but any screw top jars will do)
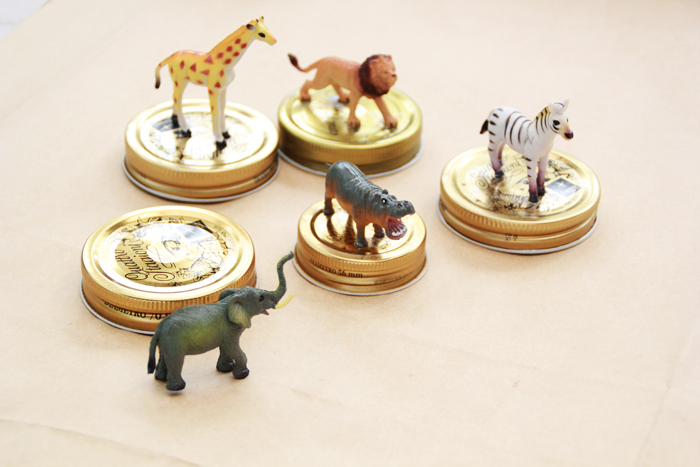
Small Toy Animals
Spray Paint in colour/s of your choice
Sealer or Top Coat (optional)
Delicious Fillings
Paper/drop sheet
Superglue

What You Do:
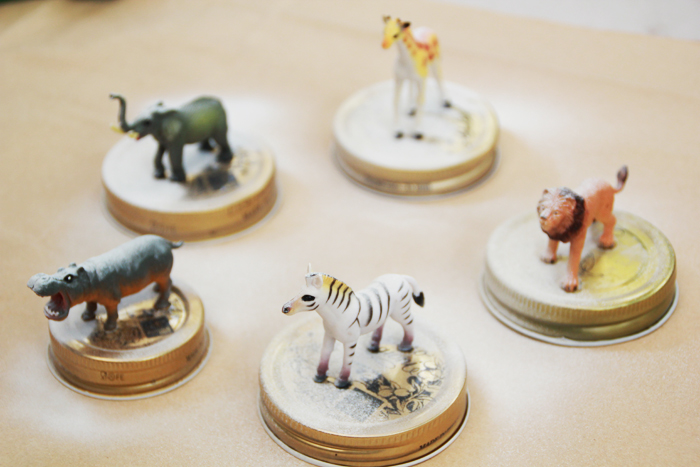
1. Take your toy animals and arrange them on your jars to your liking. Try different combinations until you are happy with the combinations of jar and animal sizes.
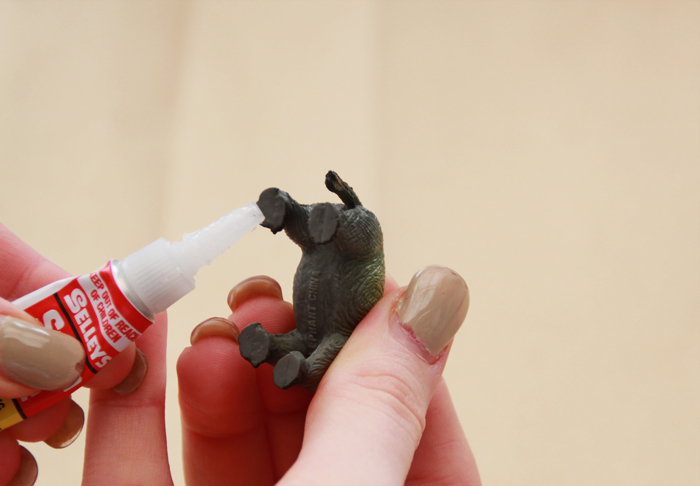
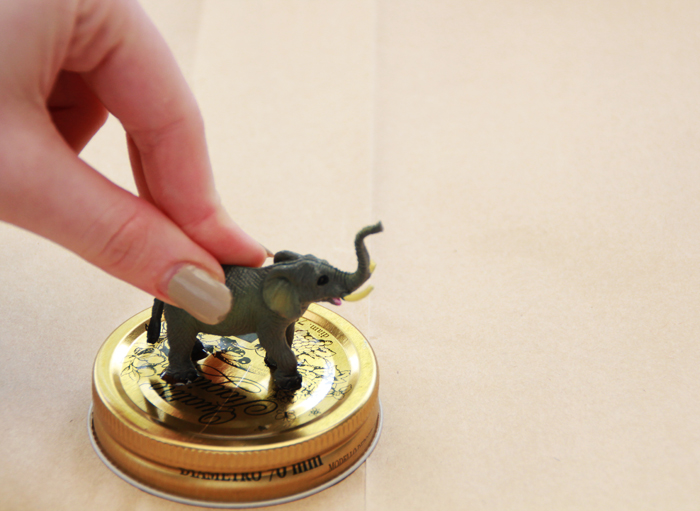
2. Remove the Jar lids and carefully glue the base/feet of the animals, pressing down firmly for 30 seconds. Allow to dry completely.
3. Place the animals/lids evenly spaced out on your paper/drop sheet. Shake the spray paint well and cover each lid/animal with a light even coating of paint. If you are painting your animals different colours you may want to do a base coat of white paint before moving onto the colour.
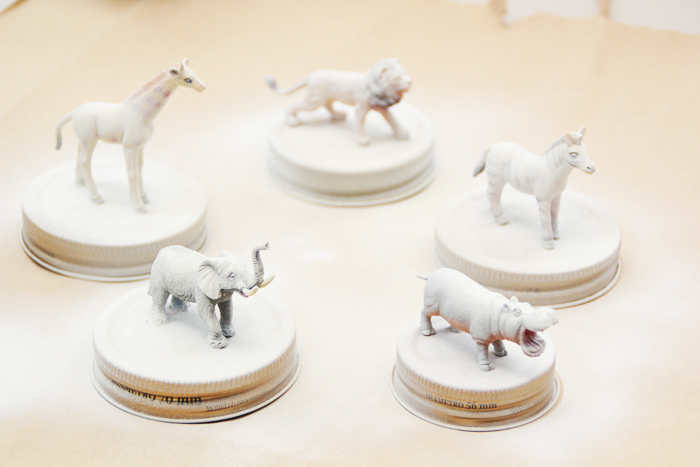
4.  Once your animals/lids are a clean white colour - roughly 2-3 coats (and are completely dry) you can start on your colours if you so choose. I decided to keep my animals white so that the fillings really pop with colour! Allow the paint to dry completely in between coats and ensure each coat is light and even. Be patient.
5. Once you have achieved the depth of colour you are after, now is the time to add your top coat if you have it and allow the animals/lids to dry overnight. Once dry you can fill your jars with whatever you like and screw your animals back onto the jars. Voila! You’re done!
I love how the animals look after the first coat of white. It’s like they got caught in a snowstorm with little patches of their stripes and spots peeking through.


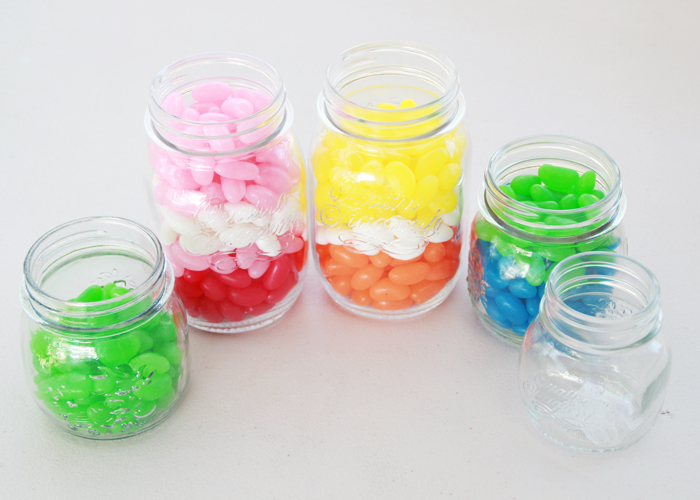
My whole house smelt like jellybeans the day I put these together. I had the spread out in piles on our dining table, I felt like a little kid sorting them into their colours - it was so much fun! Honestly, I had a little too much fun in general making these guys. Now my biggest problem is that I kind of love them where I have them sitting on my shelf waiting for Christmas. I’m probably going to have to make some for myself!

Washi Tape Frames

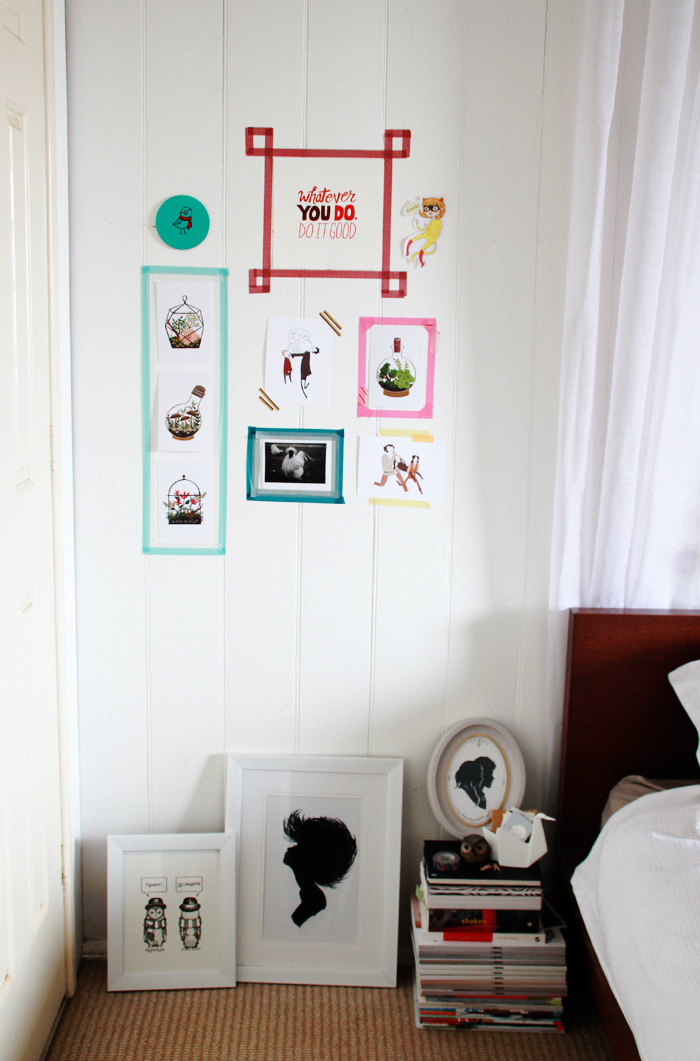
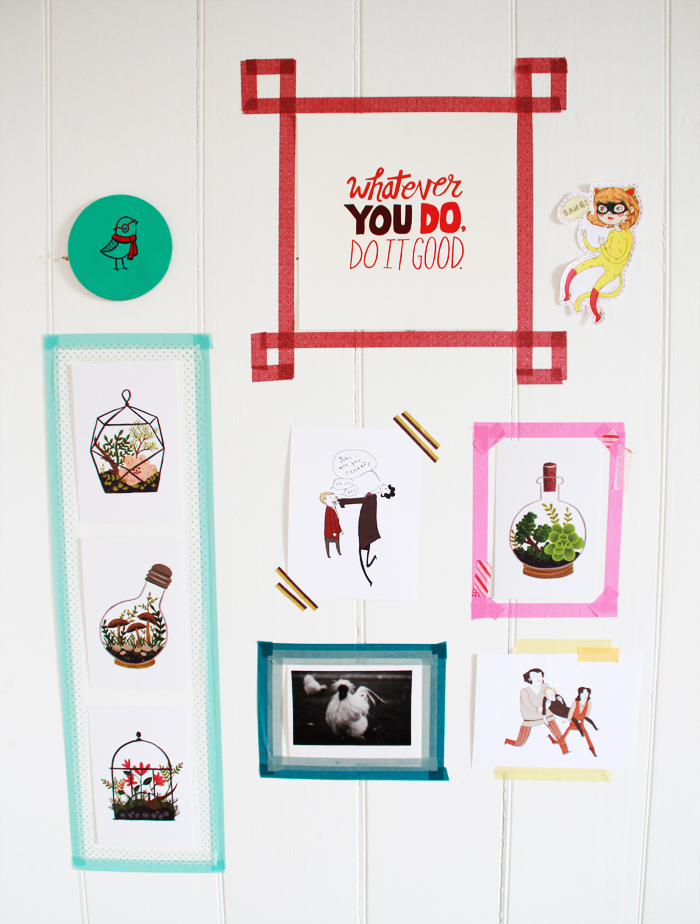
When I decided to share this little DIY (Is it really a DIY? Maybe more a simple idea?) I was super excited at the prospect of taking some photos with my fancy new tripod I received for my birthday. It seems, I may need some more practice with it as these photos aren’t the best… room photography is hard you guys!I don’t know about you, but I rent the house I’ve lived in for the last couple of years. While renting is super convenient, and hooray for no mortgage, it can be a bit of a deterrent to making our space a little more stylish than it is. One of my weaknesses is buying art prints and while my collection is growing slowly, I have limited space to hang them. I obviously can’t put nails in the walls and we’ve had some bad experiences with those stick on wall hangers. A few of my favourites are propped up in frames around the place, but I recently found a new way to display my art collection; washi tape ‘frames’!

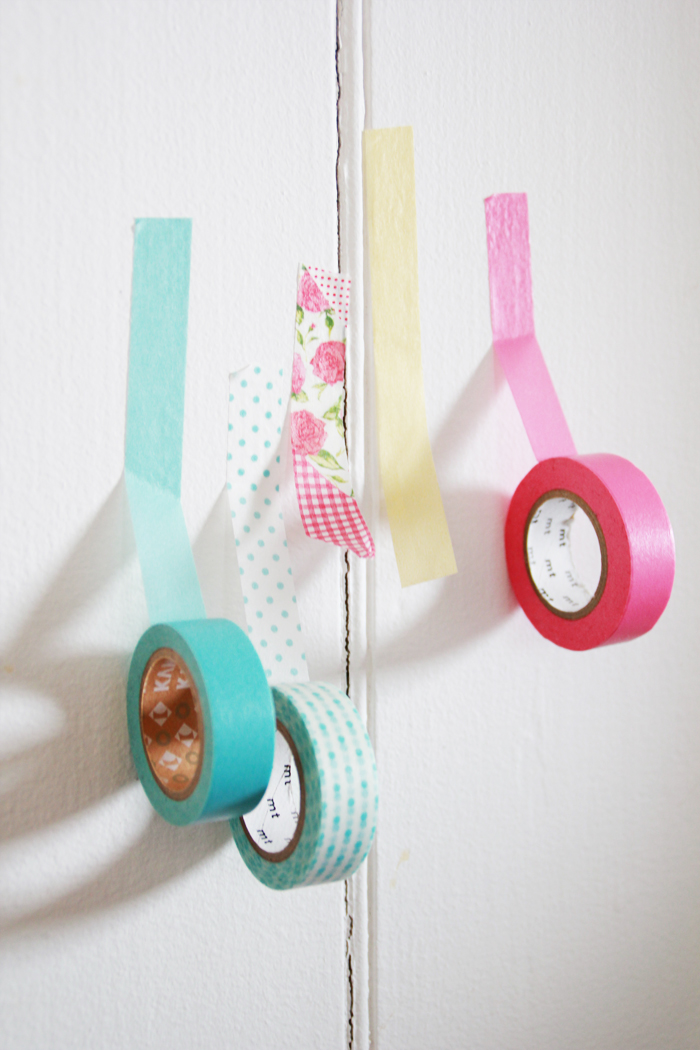
Thankfully, washi tape/MT tape isn’t super strong, so I’ve had no issues with it peeling paint off the walls. I’ve been experimenting with different styles and shapes, but I feel it gives the wall a much more ‘purposeful’ feel, rather than just sticking up some pictures. What do you think? Would you try this at home? Or do you have clever ways to display your pictures?