February 21, 2013
In
recipe
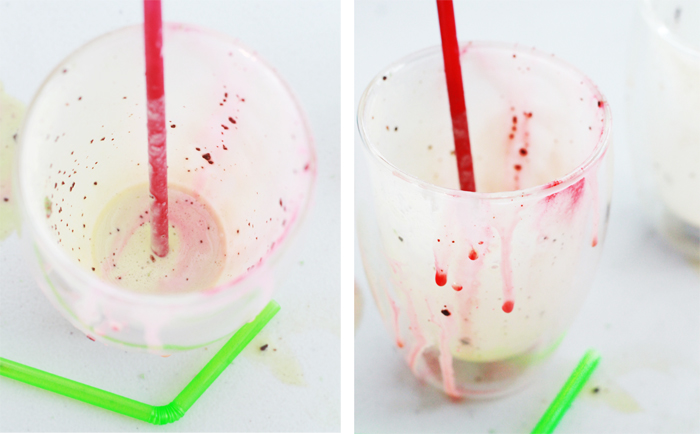
Ice cream is a serious weakness of mine and finding out how easy it is to make at home is possibly one of the most dangerous things that has ever happened to me! You only need some condensed milk and cream to make the base, and something to flavour the batch! Thank goodness it takes hours to set properly, or else I’d probably make a new flavour (and eat it all) every day!
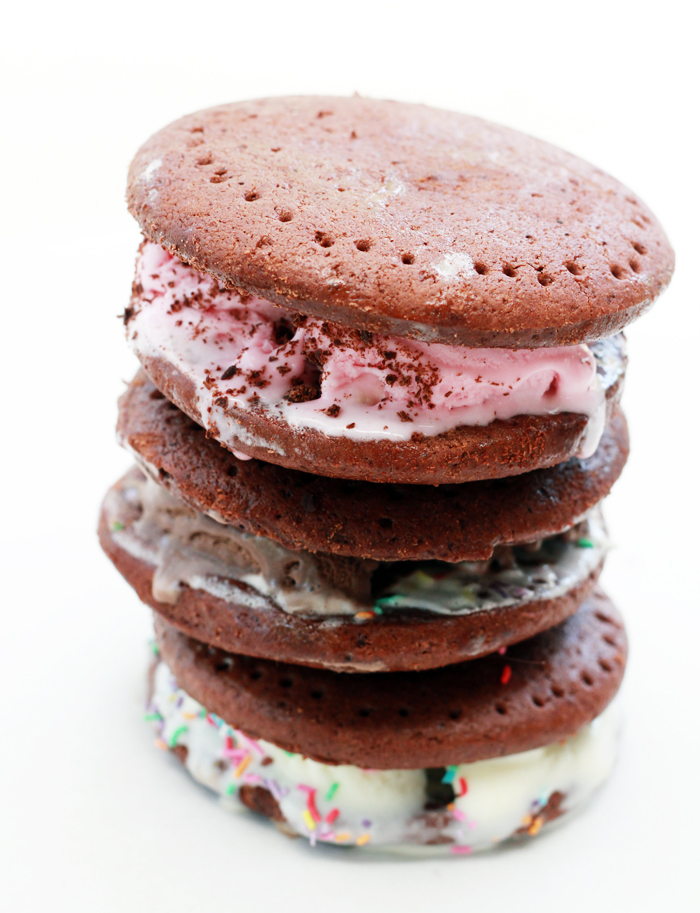
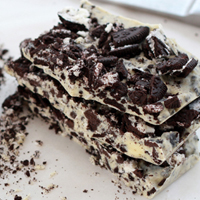
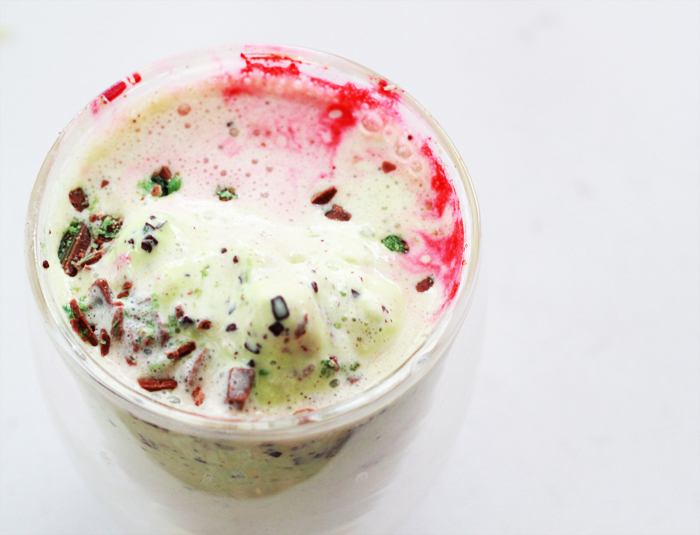
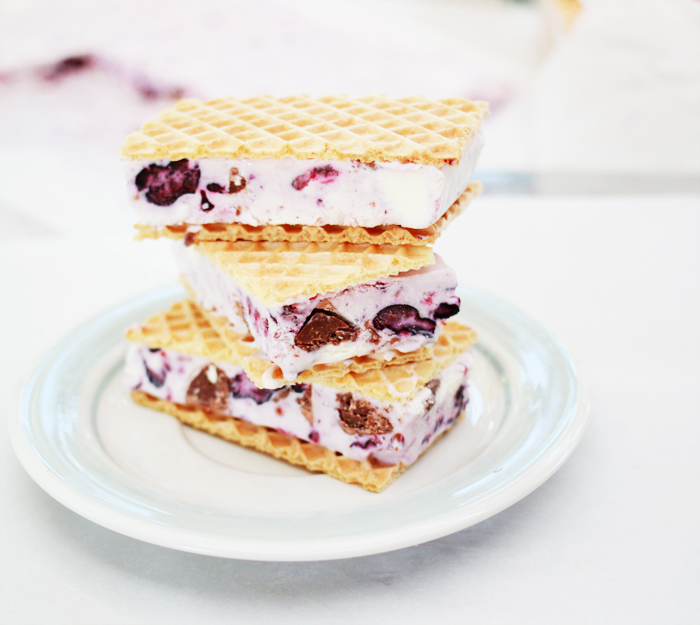
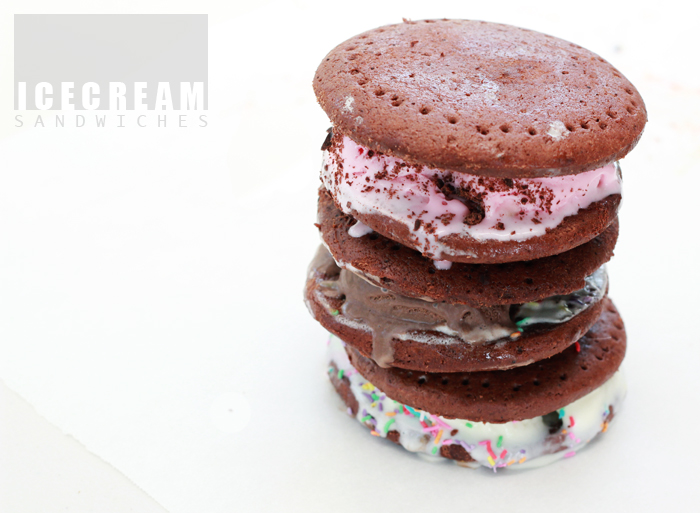
My mother first made these ice cream sandwiches for us last Christmas. I’ve dabbled with home made ice cream sandwiches before but these are something entirely different. The ice cream is a little less heavy than the store bought stuff. It’s not as creamy or milky, and with the addition of the berries you get a lovely fresh flavour with the wonderful crunch of the Toblerone chunks. Mmmm… I think I ate about 5 of these the first weekend I made them…. so much for the diet!
Of course you can use any mix in’s you want, if berry and chocolate isn’t really your thing (although trust me, the combination is better than you might think) If you want to eat the ice cream straight, you can always pour the batch into a deeper container and scoop it into a cone or bowl to serve instead of sandwiches. There really are so many possibilities!

What You Need:
2 Cups heavy whipping cream
1 can Sweetened Condensed Milk
1 packet of Frozen Mixed Berries, semi thawed
2 Toblerone bars
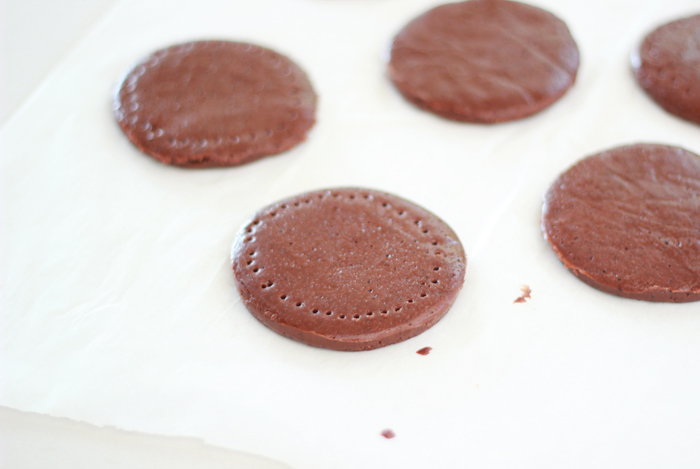
Wafer biscuits
What You Do:
1. Line the base and the long sides of a rectangular baking pan with baking paper, allowing paper to overhang about 5cm on each end.
2. Whip 2 cups heavy whipping cream until stiff peaks start to form.
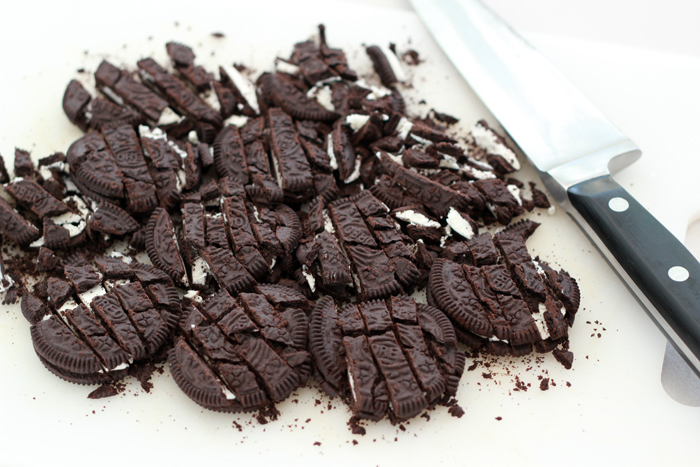
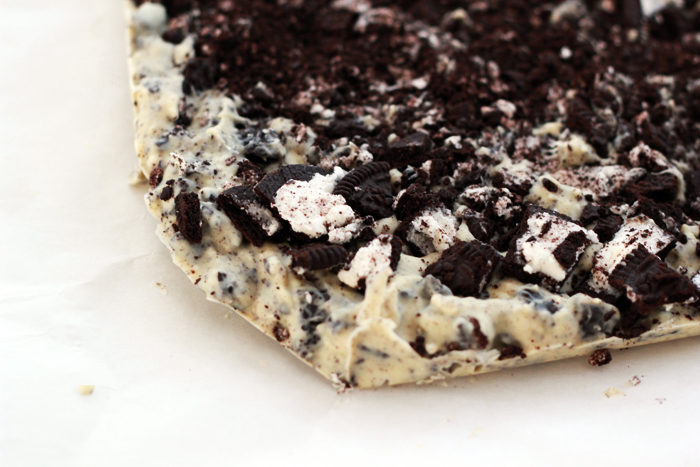
3. Take the berries (semi thawed) and mash gently with a fork until about 2/3’s of the packet are mashed but there are still a few whole berries. Chop the Toblerone’s into small chunks and add to the berries.
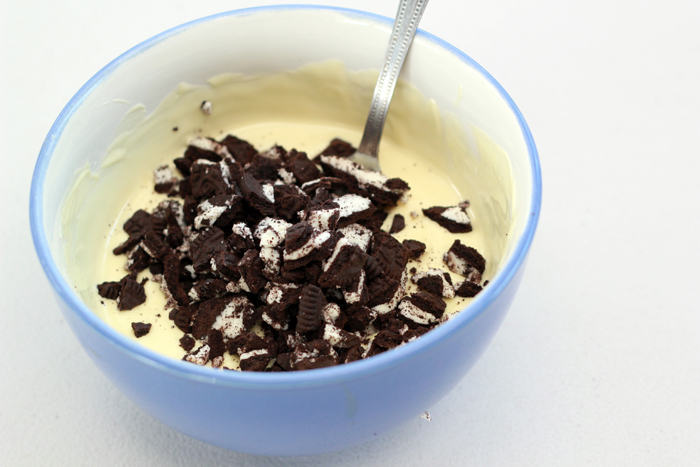
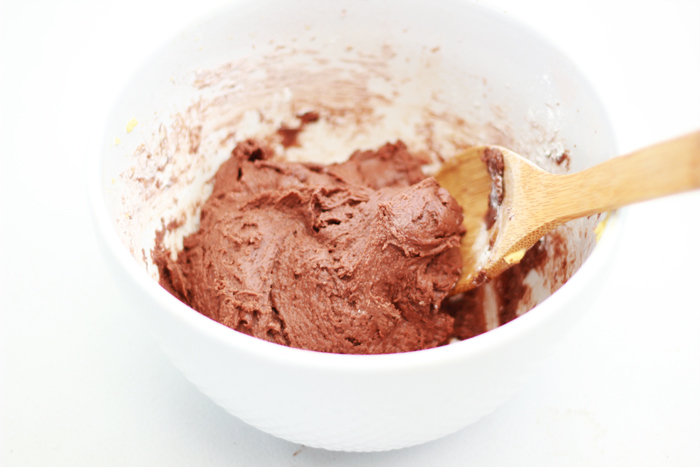
4. Mix the condensed milk with the berries and chocolate in a large bowl until well combined.
5. Fold whipped cream into sweetened condensed milk mixture, work slowly and carefully, so cream doesn’t collapse. Fold until evenly combined.
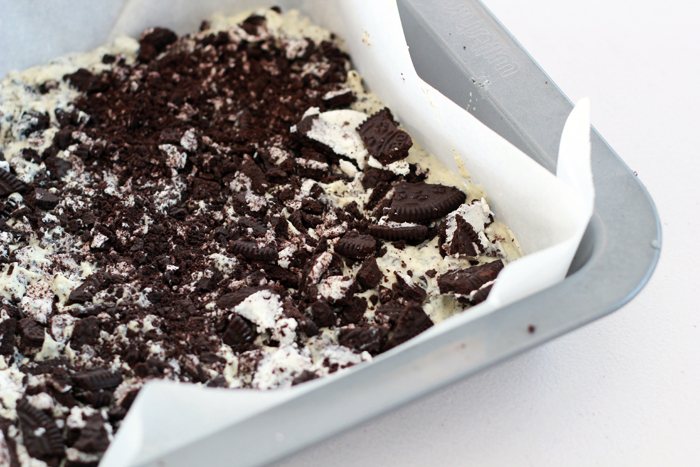
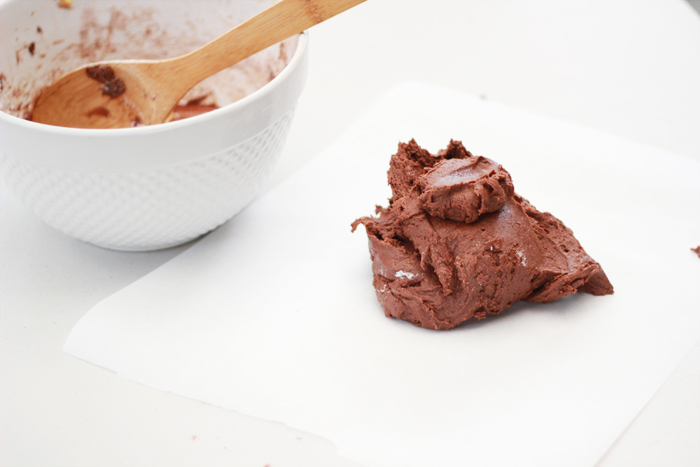
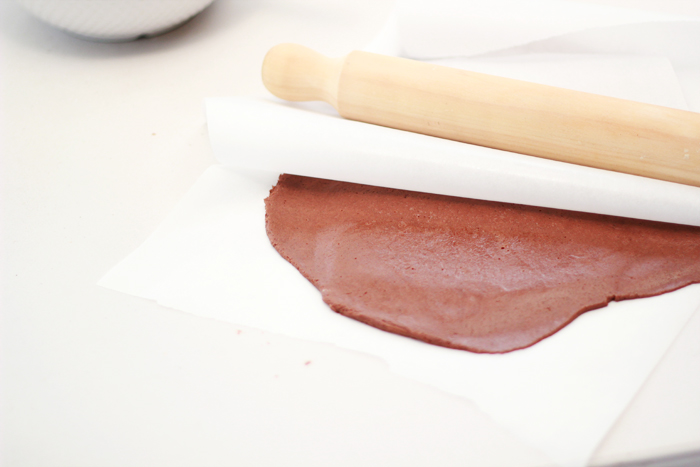
6. Pour into the lined tray and smooth flat. Your mixture should be around 3 - 4cm deep. Wrap the whole thing in plastic wrap and then in tin foil and freeze at least 6 hours or until set.
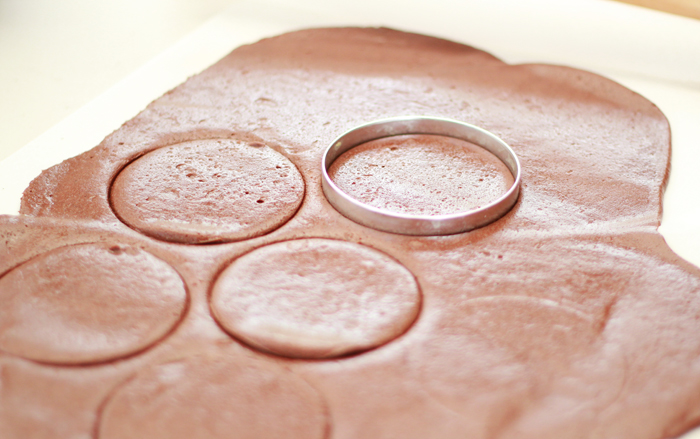
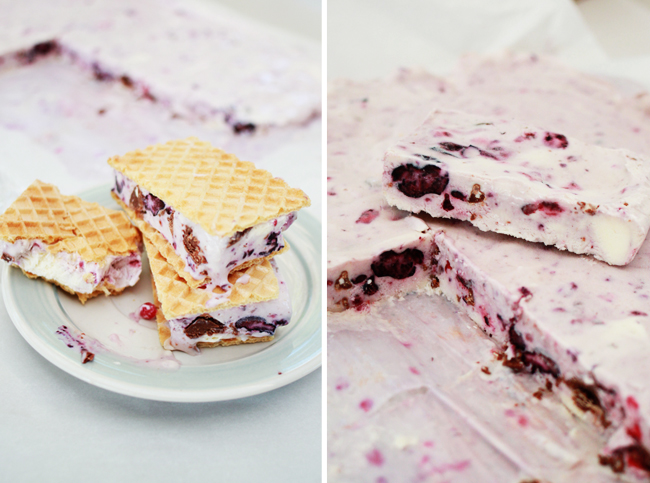
7. Remove from the freezer and using a wafer biscuit as a guide, cut slices from the slab of ice cream.
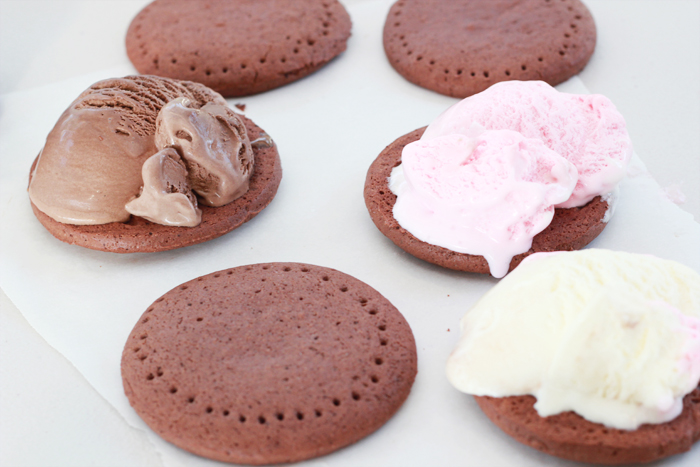
8. Sandwich between 2 Wafer biscuits to serve. Re-wrap what you do use and return to the freezer for later.


 What You Need: