Dreaming of Halloween
pumpkin-quote

Wishing for a proper Halloween, complete with pumpkins and jack-o-lanterns.
One day I will adventure to America and have a chance to dress up and party Halloween style :)

Readers and Followers

follow2As you probably know, Google recently announced that their Google Reader feature is being phased out over the coming months. Already, many people have decided to make the move and find a new RSS reader to keep track of all their daily reads. But with so many different services on offer, like Bloglovin’Feedly and Flipboard, which do you choose to replace the user friendly Google option?

I don’t use readers as much as I should. I follow so many blogs, but I have  tendency to visit each individual blog instead of grouping them all in one place. I always forget that I have a perfectly good Bloglovin’ account that has all my favourites listed for easy reading. I guess I just like visiting the individual pages and looking at the pretty layouts and designs :)

What about you? How do you follow your favourite blogs? Do you use an RSS feed, email subscriptions or just visit the pages individually?
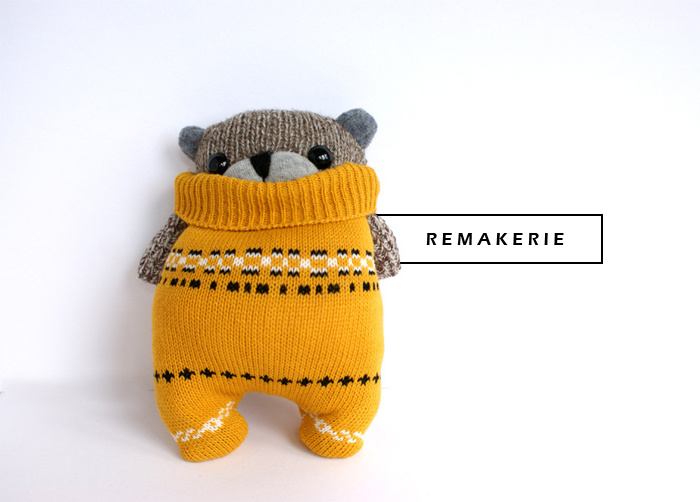
Snug as a Bug (or a bear)

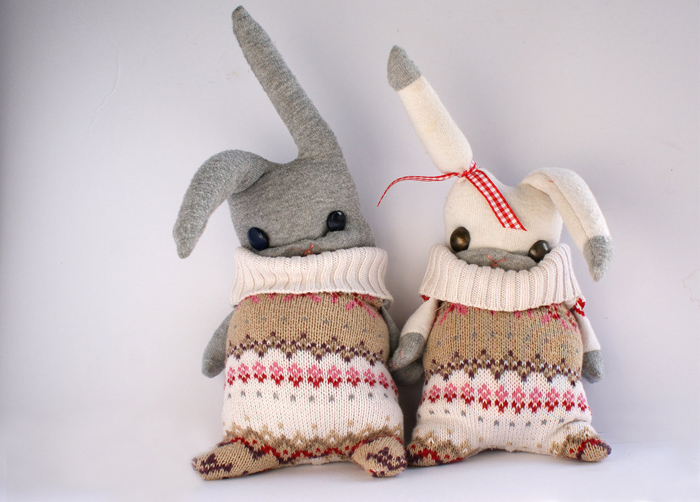
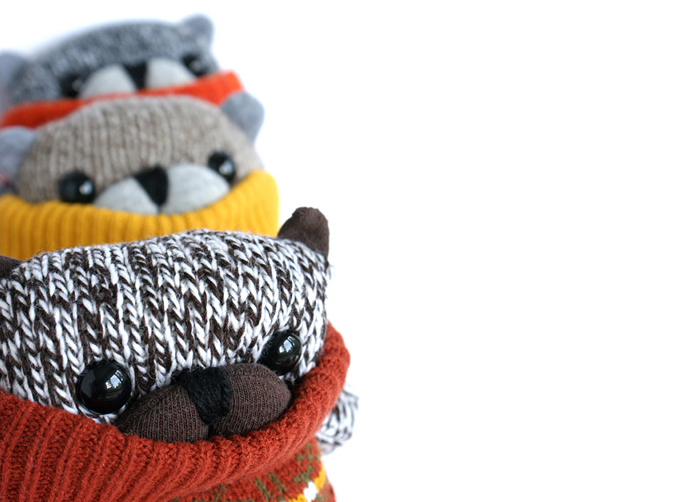
 Now usually I would save awesome Etsy finds for my weekly Oh Etsy collections, but I’m so entirely smitten with these little guys over at Remakerie I couldn’t wait for next week! Look how utterly and adorably cosy these cuties are! Don’t you just want to take home, oh I don’t know…. ALL of them!

Easy Peasy Cupcake Toppers

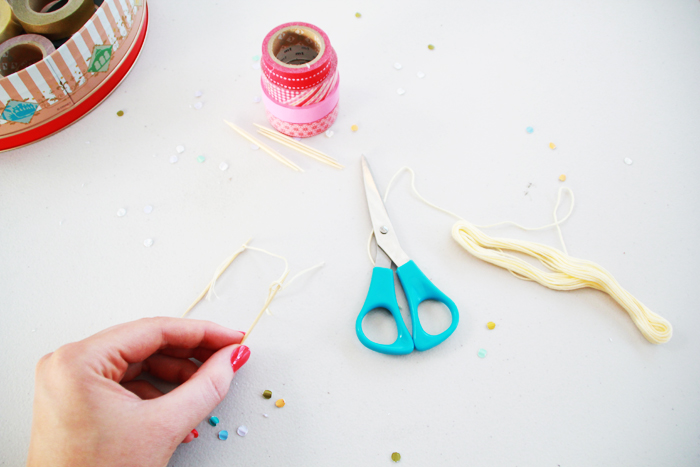
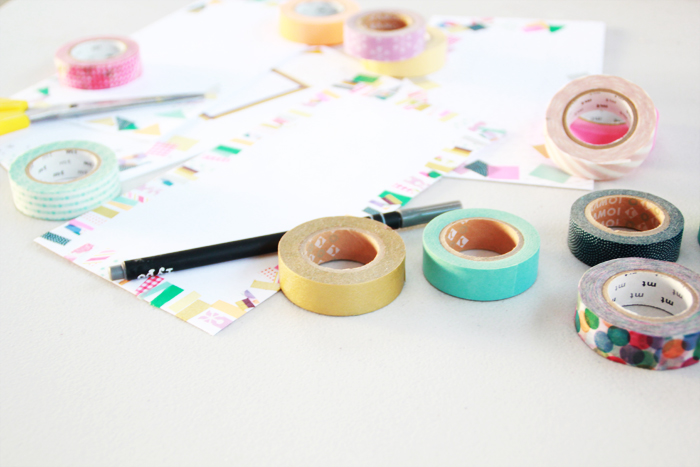
I’ve mentioned this already (probably a few too many times) but it’s my birthday on Thursday, so it’s pretty much birthday week around me at the moment! As I share my birthday with a co-worker, I thought it might be nice to make cupcakes to bring into work for her (read: us) on the day. But cupcakes weren’t festive enough apparently. Nope. I decided to add that little extra something to make them a little more exciting, and it was so simple I had to share it with you. All you need is some washi/MT tape, some toothpicks and some string (although the last one is optional).READ MORE
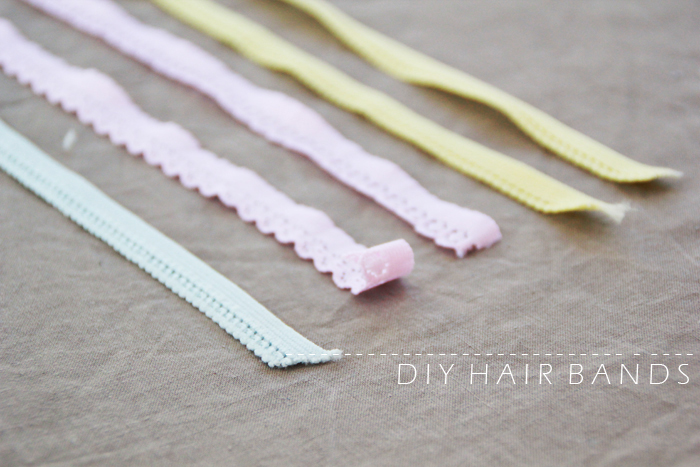
DIY Hair Bands

Where did this fad for elastic hair bands come from? I’ve started noticing these looped elastic bands everywhere lately! I have to admit, it’s quite the brilliant concept. Such a simple idea that has gone so far!
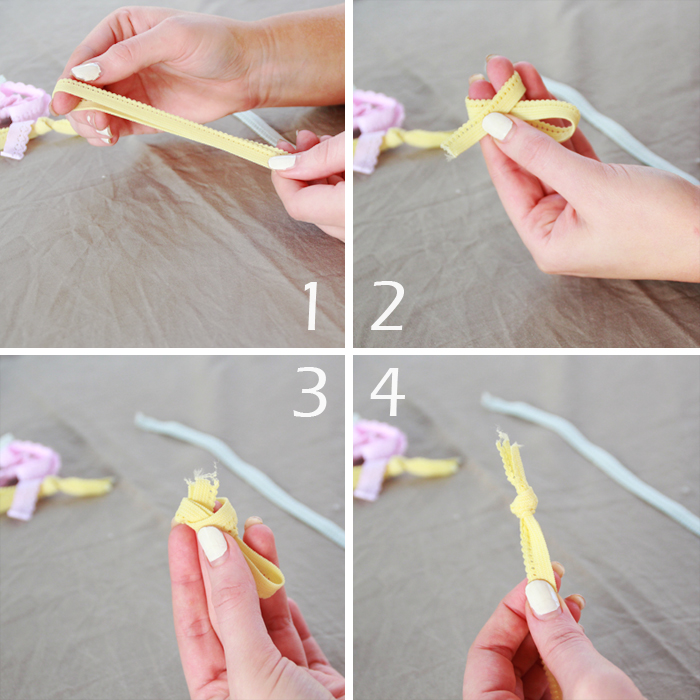
Anyway, I was in a store the other day and they were selling a pack of two for $15…. fifteen dollars people! Now, I have no problem spending money on quality items, but $15 for two? From a chain store? No.Me being me, I immediately declared “I could make these myself!” and decided to hit up my local craft store for supplies. All up I spent around $3 and 5 minutes; this got me 50cm of each colour elastic and made 6 hair bands all up. Not bad huh?

Letters to Friends

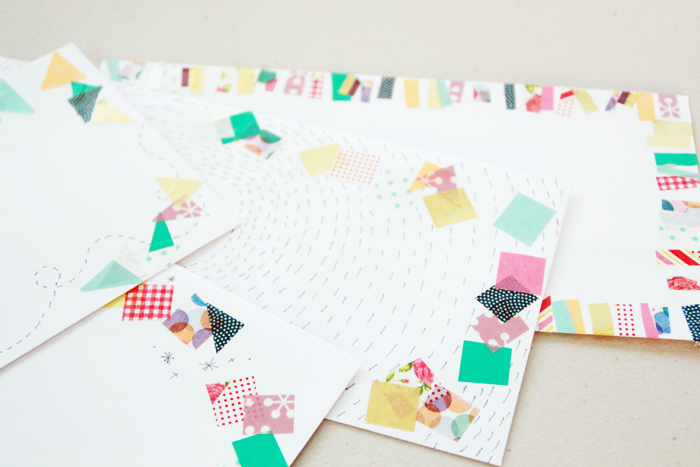
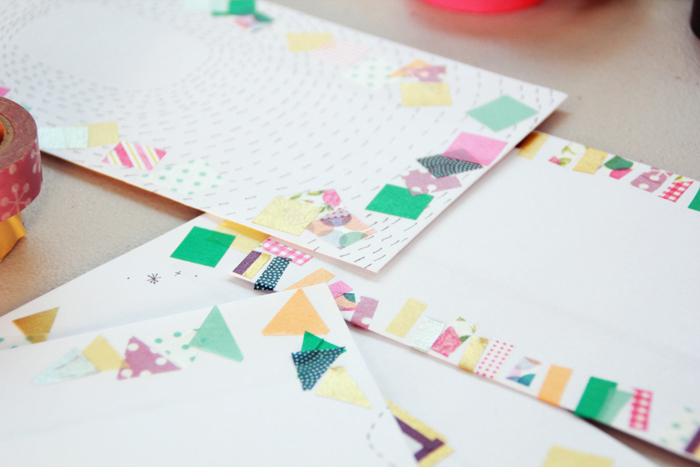
Living interstate from most of my friends and family means that I’m always trying to keeping in touch with everyone… well, you would think so… I’m actually terrible at keeping in touch with the people back home! I don’t mean to be so useless, I just get carried away in my day to day life, plus I’m really forgetful with these things. Oh dear!In an attempt to make up for the minimal frequency in which I make contact, when I do get around to sending out some letters, I try to make what I send just that little bit more exciting…

Make Your Own: iPad Wallpaper

Let me start off by saying that I am no expert on iPad’s or anything like that. When I first decided to make a wallpaper I figured that I could just upload any old picture as long as it was big enough and it would be fine…. but then when I flipped my iPad horizontally the background would cut off at the edges! Oh noes!After doing some research online and experimenting for a while in Photoshop, I finally managed to work out how to create not only the correct sized image, but a template that you can use whenever you want to make a new wallpaper.The most important thing to remember when making your wallpaper; is that when the iPad rotates different parts of the image are shown. You will need to take this into account when creating your image.

The screen is 1024 pixels (on the long side) and 768 pixels (on the short side), however your image needs to be a square shape to be able to accommodate both of these sizes. 768 x 768 pixels in the center are always visible but as I said before: when your screen rotates different areas of the image will be visible depending on the view as shown below:

With all this in mind here’s you are now ready to make an iPad wallpaper template (trust me, you’re totally ready…):1. Start off by using Photoshop or some other image editing program. Create a new image with the dimensions 1024 pixels x 1024 pixels (132 dpi).
2. Next we are going to add in some grid lines so that you can see your image divided into the areas above. Select the View menu and the New Guide option. Create your first Guide 4.6cm on horizontal orientation- a blue line will appear vertically down the left hand side of your image.3. Repeat Step 2 again three more times with the following measurements:
 - 4.7cm (vertical orientation)
 - 31.7cm (horizontal orientation)
 - 31.7cm (vertical orientation)
Your image should have an even border around the edge like this.4. Save your image as a PSD file so that you can use it again in the future - you now have a template for iPad wallpapers!
5. Now you can use your template to create images: Select a photo or image you would like to use (preferable bigger than the original image) and copy the image into your template. From here you can re-size the image making sure that the most important part of the image is positioned in the center square (like this.)6. To save your image select the File menu and Save for Web & Devices and save your image as a .JPG file.Hooray! Now you know how to make a shiny new wallpaper for your iPad! Once you have your template set up (which realistically takes about 5 minutes), you can make a new wallpaper whenever you want. I made a new wallpaper using a photo I took back in summer, but you could create an image from scratch if you are so inclined.

Never again will you need to use one of the boring ol generic backgrounds that come with your device. Everyone is going to be so jealous of your amazing computer skills!
PS. If you like the wallpaper I made you can download it for free below!

Cheesecake Cookies

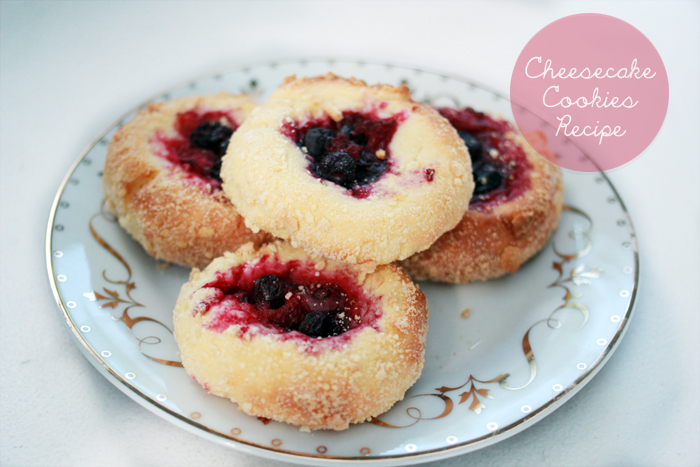
Over the last couple of years I have developed a love of cheesecake. I’ve mentioned before that I used to find cheesecake a bit sickly, but I have come across so many recipes for cheesecake in different forms I’m always intrigued enough to try them out - usually with delicious results!I spotted this recipe on Pinterest and had to give it a go. Mine didn’t turn out as well as the ones featured in the original recipe. I don’t think I had enough cream cheese in mine as they turned out more biscuit-y than cheesecake-y (are those words?) I also had to substitute a few ingredients that weren’t available at my local supermarket. Regardless, they turned out pretty delicious and I think my next batch will be even better now that I have learned from my mistakes!

DIY Decorated Porcelain

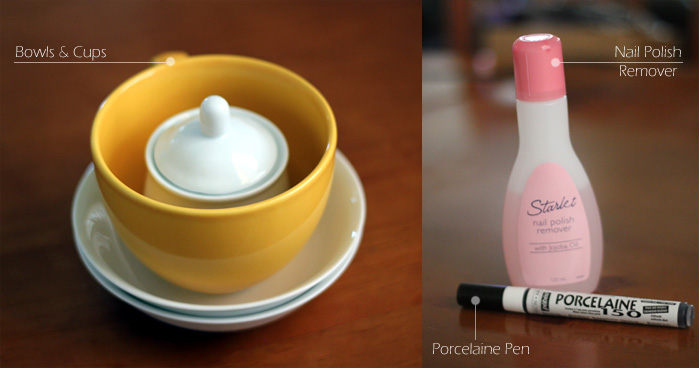
One of those so-simple-why-didn’t-I-think-of-that DIY’s that I always see going around is decorated porcelain. Such a simple and effective way to improve or revamp old crockery around your home, I always wanted to try it myself, but I was never sure where i could get the tools necessary. On a recent trip to my local craft store, I spotted these Porcelaine 150 pens for a measly $9! There was a whole selection of colours, but as this was my first try I decided to stick with simple black to test it out. And guess what; It was SUPER easy! Hooray!

To do this at home, you will need:

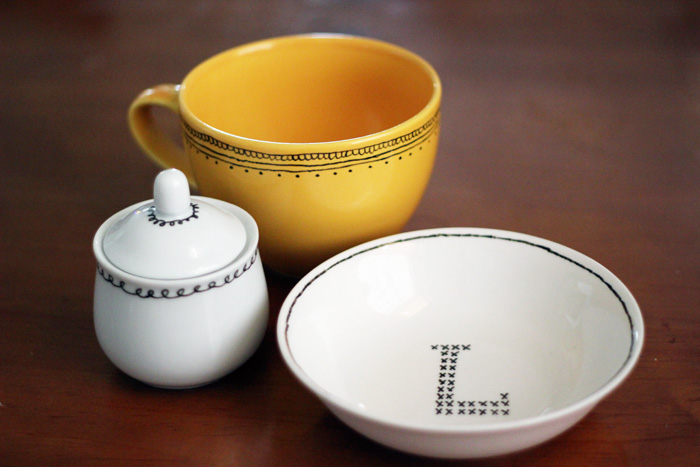
For my first attempt, I chose an old mug I had laying around, a sugar pot I picked up from the craft store for $2 and Loki’s food bowls that I thrifted for 50 cents each.
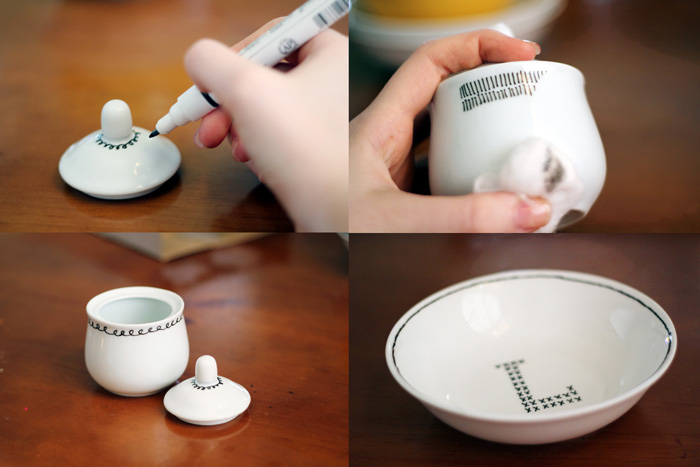
Decorating your items is as simple as pie… no, even easier! (What? Sometimes pies are hard to make…)
1. Give the pen a good shake before use, you may need to press down on the tip repeatedly to get the ink flowing.
2. Make sure your item to decorate is clean and dry - if it is wet the pen will not draw well on the china.
3. Now, I am notoriously impatient, so I didn’t use pesky things like stencils or guides. I’m all about the free-hand baby! But if you would like neater prettier designs than me, this would be the time to measure out and stick them on.  4. Because the pen is basically a marker you can just draw on your porcelain as you wish, I found that the pen would start to run out of ink after a few lines, so keep a small piece of paper or cardboard close by to re-load the tip and test the flow. (To do this press down on the tip a couple of times until the ink starts to come out again - Be careful you dont get too much!)
5. If you make a mistake, a touch of nail polish is perfect to wipe away your design. I believe a damp cloth would also work, but I chose nail polish because as an alcohol it dries very quickly, so you don’t have to worry about getting the China too wet to draw on.
6. Let the paint set - this will depend on the pen/paint you’re using: some can just air dry and some you will need to bake in the oven - check the directions on the product.
7. Voila! Proudly use your new and totally unique cup/bowl/plate/tattooed china doll!

My test subjects turned out even better than I had expected! I already have plans to try this again, next time with more colours and patterns! My dinner sets wont know what hit them!

Chickpea Sandwich Filling

Having just started my new job, I haven’t had much time this week to do anything of interest to blog about. I was going through some folders of photos I took last year and found these photos I had taken of a recipe that I meant to share and evidently, never did. I was pretty much obsessed with this sandwich filling last year, I was having if for lunch every day for weeks. It’s such a versatile dish. I had it so many ways; in a sandwich, on toast, in a roll, on crackers… It’s so easy to make and super cheap as well! I haven’t made it in ages, but now I’m craving it like crazy.