
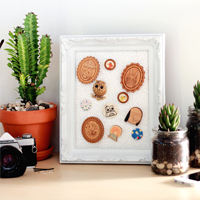
DIY | Brooch Display Frame
This week’s DIY project takes literally 10 minutes to make. I know a lot of projects claim this but this one is legit! You don’t even need to measure if you don’t want too. Is your cutting wonky? No problem! Essentially, this is craft for the un-crafty. This project is so forgiving that you simply can not screw it up and even if you make mistakes, your friends will still think you bought the end product from a store!
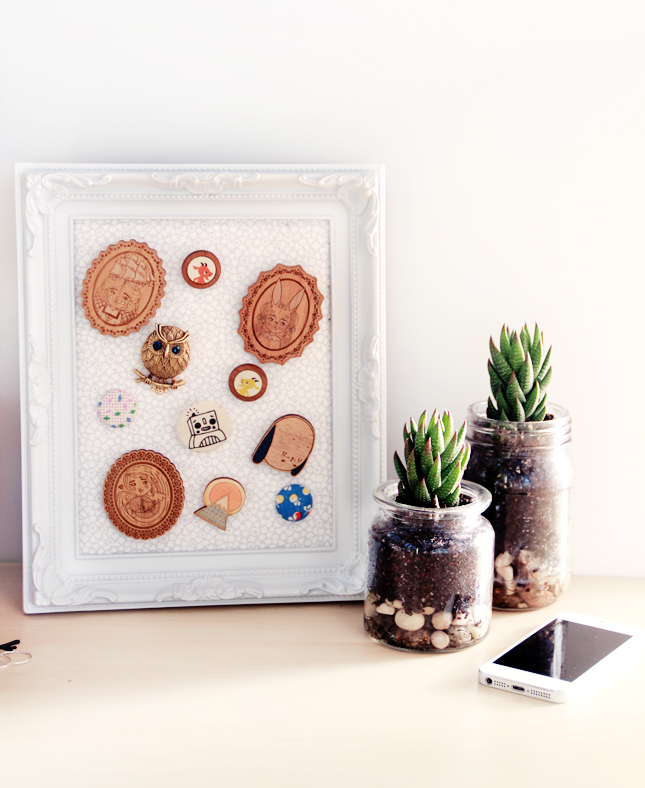
Now, I can’t take all the credit for the idea on this one. The wonderfully talented Meredith Crawford (aka One Sheepish Girl), shared her corkboard version on Instagram a couple weeks ago. As soon as I saw it I was like ‘Damn! I need me one of them!’ However, the cork version wasn’t going to work with my brooches, so I decided to put my own spin on her brilliant idea. No longer shall my brooches and pins be relegated to the bottom of my jewellery box! Now they can be displayed as the art pieces that they are!
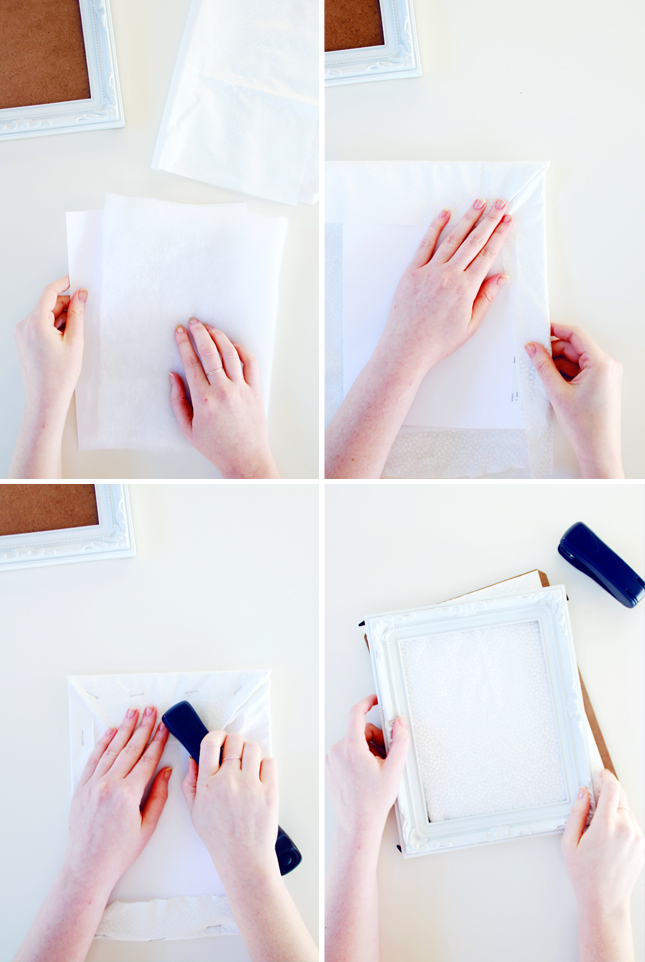
| MATERIALS: A Photo frameFabric padding Fabric in your choice 1 Piece of card A stapler |
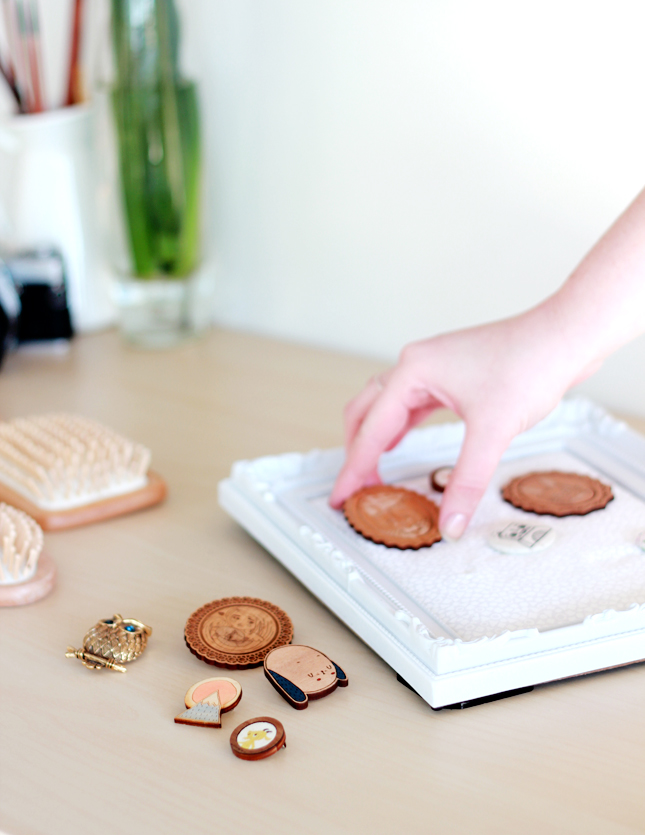
1. Start by separating the glass from your photo frame – most should easily pop out when you remove the back. Dispose of the glass panel carefully, OR if you decide to keep it, run a line of masking tape around the edges and in a cross formation across the surface. I kept my glass for a future craft project; the tape will not only protect you from any nasty cuts, but will also make the panel easier to see in storage! 2. Take your piece of card and ensure that it fits into your frame- cut to size if necessary. Then take your fabric padding and cut a piece the just smaller than your card. Place the padding on the card. 3. Cut a square of fabric roughly 1 inch larger than your card. Don’t worry too much about it being straight, just make sure that the fabric piece can cover the card and padding and wrap around the back of the card. 4. Lay the fabric over the padding and turn over so that the back of the card is facing up. Starting at one corner, fold the fabric onto the card and staple to secure. Then swap the other side and repeat this with the alternating corner, ensuring that you pull the fabric so that it is tight, but not so much that it causes the card to bend. 5. Continue around the edge of the card, alternating sides as you go, always making sure that the fabric is pulled flat. You can open up your stapler from it’s base so that you can staple down directly onto the card ( just be careful of your crafting surface as the staples may go through to whatever is underneath!) 6. Before you finish off the final corner, flip the piece over and check the fabric side. Make sure that there are no ripples in the fabric and if any of the staples are showing, you can gently slide your hand under the fabric and un-hook them so that they are inside. When you are happy you can staple the final corner. 7. Lastly, place your fabric ‘board’ into the photo frame and close up securely. Pin your brooches onto the fabric like you would a shirt or jacket and display them for easy access (and because they are damn pretty!) |
chelsea jacobs
July 9, 2014 at 1:57 amSo so pretty! I need to do this!