Download | 08

FREE Desktop Downloads from www.highwallsblog.com

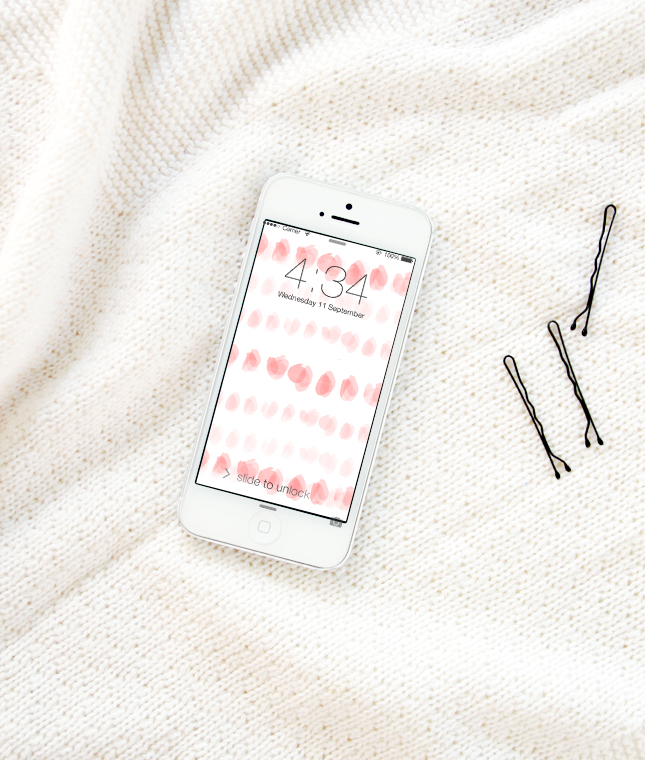
What’s that you say? You’re sick of your boring old background and you want a new one? What a coincidence - I’ve been feeling the same way! Because we’re such good friends, let me share my new background; it’s light and fun and perfect for those of you going into summer! Even better for us folks who might need a little brightness on a gloomy winter day! Click below to download and as always, if you need a different size, leave a comment below!

download-desktopdownload-ipad download-iphone5download-iphone4

FREE Desktop Downloads from www.highwallsblog.com

This & That: Sunglasses & Clutches

Sunglasses & Clutch combo from The Iconic | www.highwallsblog.com

I have never had any luck finding sun glasses that suit my face. No matter what shape or size, they never seem to sit quite right, you know? Usually I look for aviator’s, because - well- you can’t beat a classic! But even then they have to be the perfect pair, which I will inevitably break or lose within days of buying.

What I need is a timeless pair of chic oversized sunglasses, like these. While I’m at it, why not pick up an equally stylin’ giraffe print clutch. (Giraffe print is the grown up older cousin of leopard print and therefore obviously superior.) Am I  the only one who has issues with sunglasses? Does buying them with pretty bags help to solve the problem in any way? (please say yes!)

[images via The Iconic]

thumb-rosella-cocktails

DRINK | Rosella Cocktails - 3 Ways!

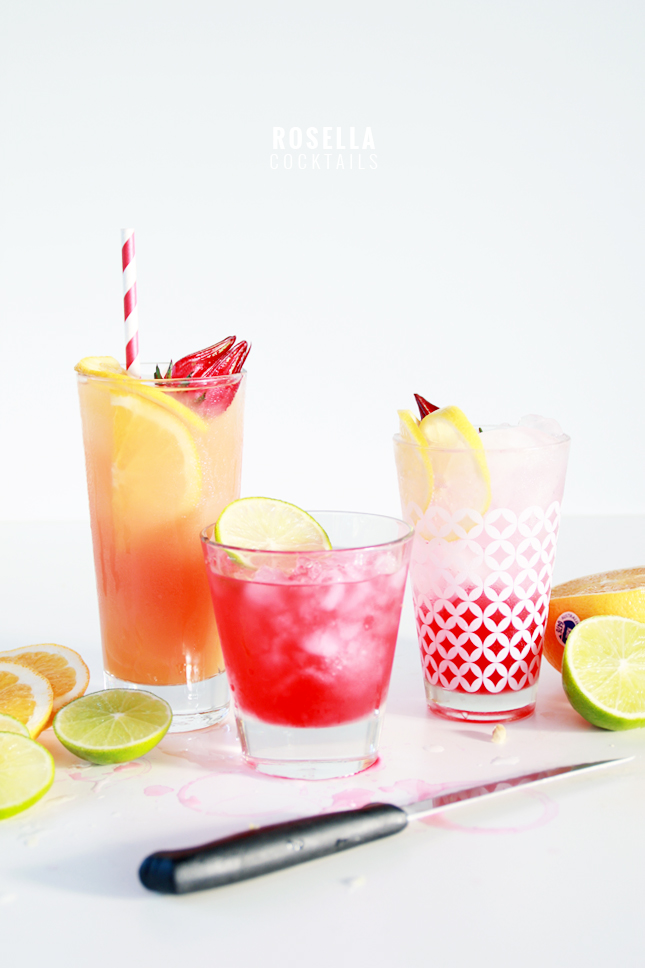
 3 Rosella & Vodka Cocktails -  See the full recipes at www.highwallsblog.com

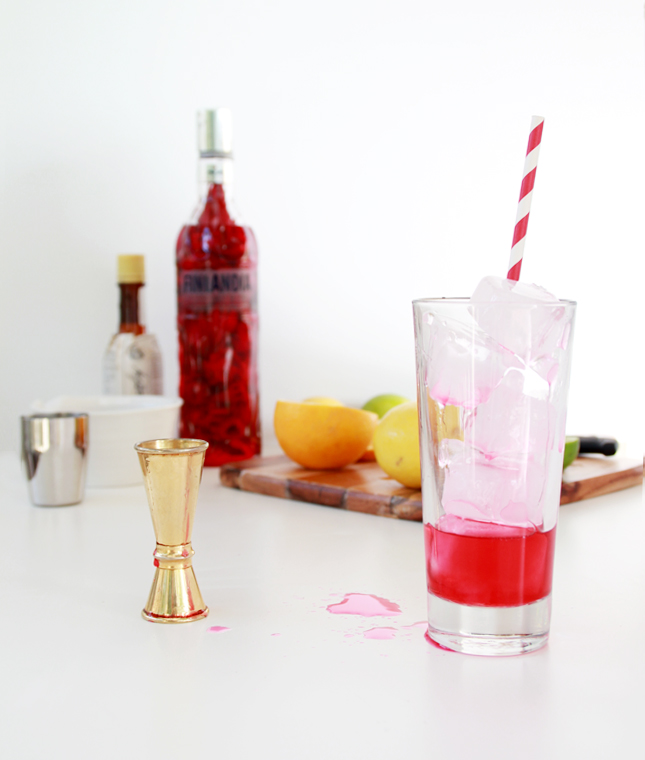
The boyfriend has the greenest thumb of anyone I know, so when he started growing a rosella tree in our yard I shouldn’t have been surprised when it grew crazy big seemingly overnight! With an abundance of these tart red fruits, we turned out attention to finding as many uses for them as possible. A bottle of vodka later and we had some pretty great cocktail recipes!

I can already hear some of our international readers scratching their heads. “What is this ‘rosella’ you speak of?!” they ask. It may be little harder for you to obtain the key ingredient for this recipe, but trust me, it’s totally worth the extra effort!

The Rosella goes by many names, but essentially it is a plant in the Hibiscus family. It both flowers and produces these vibrant, fleshy, flower-looking ‘fruit’ that, while not actually a fruit, is totally edible and can be used for cooking and flavouring. The red flesh of the rosella has an amazing tart, tangy sweetness and can be used to make tea, made into jams and even used in many folk medicine remedies.

For those of you who may not have access to rosellas straight from the bush, I am told you can buy the fruits from health food stores in the US (sometimes packaged as “Flor de Jamaica”) or Caribbean or Asian supermarkets in the UK.
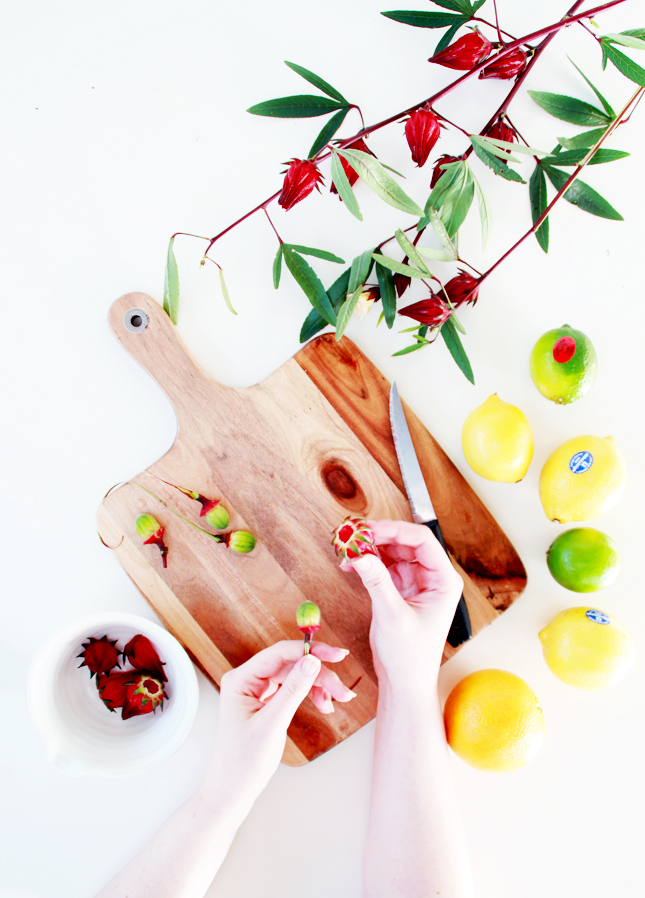
Excotic Rosella Cocktails - 3 ways! See the full recipes at www.highwallsblog.com

For our cocktail recipes we infused a bottle of vodka with the rosellas. The rosellas themselves snap away from the branch quite easily, after which you will need to remove the large seed from inside, leaving only the red outer layer.  To do this, run a sharp knife around the base of the green leaves on the pod, pressing firmly through the flesh until you can feel the seed inside.  When you have scored a line around the base of the whole pod, you should be able to firmly pull on the stem and the seed should pop out from the red flesh.  Do this over a sink so you can run the rosella under the tap as you go as ant sometimes like to live inside.

Once you have your rosellas prepared, ensure they have been thoroughly washed and then simply cram as many as you can into the vodka bottle. The longer you leave the mixture, the stronger the flavour.  We were impatient, so we only let our vodka infuse for a week, but the taste was still delicious! I’m looking forward to making these cocktails again in a couple of months when the flavours have really developed!

Alternatively, if you don’t want to infuse your alcohol (or you want to use different alcohol), you can boil the rosella down to create a syrup that you add to the drinks, similar to a basic sugar syrup.
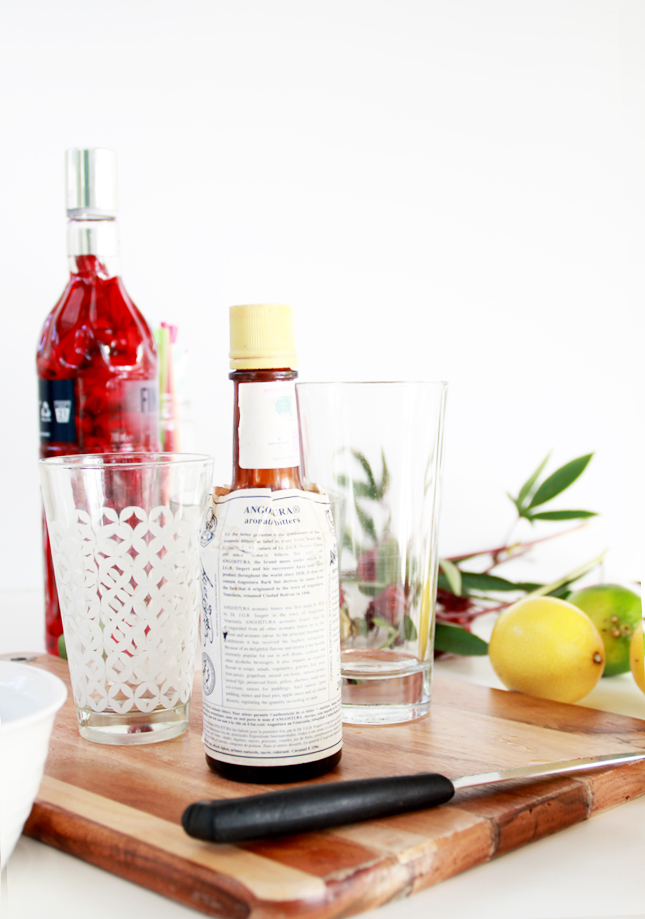
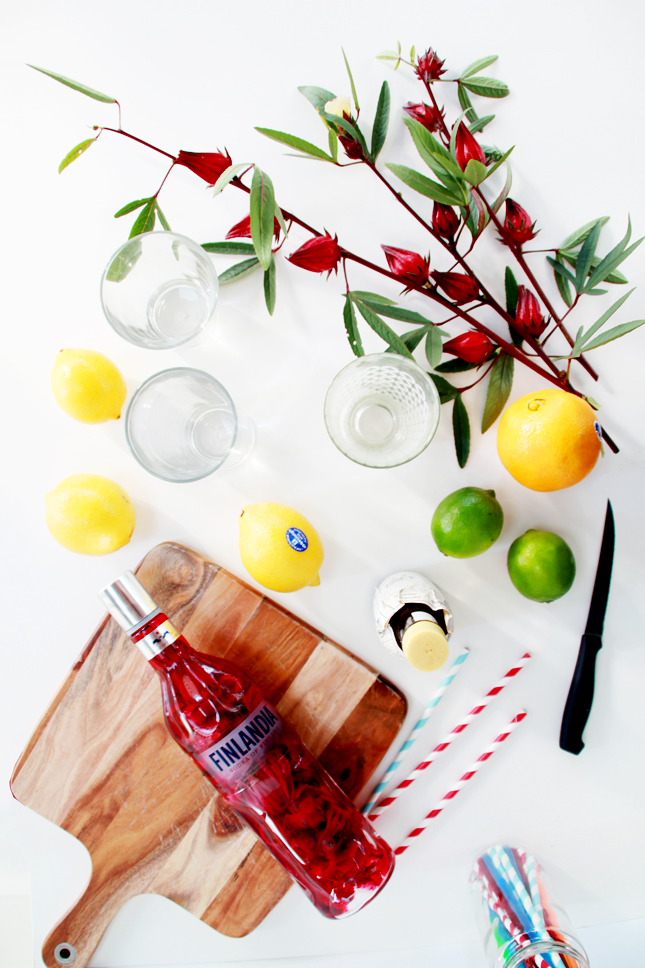
Excotic Rosella Cocktails - 3 ways! See the full recipes at www.highwallsblog.com  Excotic Rosella Cocktails - 3 ways! See the full recipes at www.highwallsblog.com   Excotic Rosella Cocktails - 3 ways! See the full recipes at www.highwallsblog.com

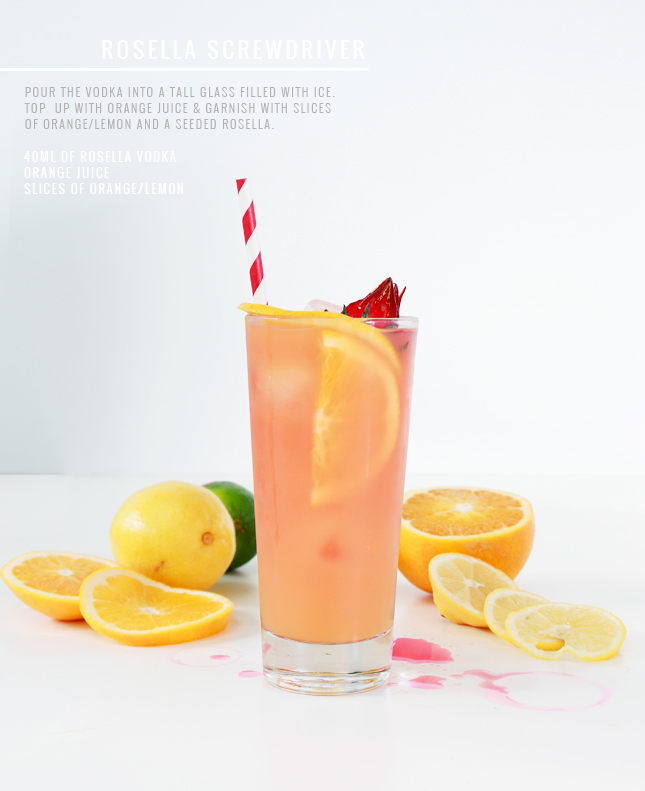
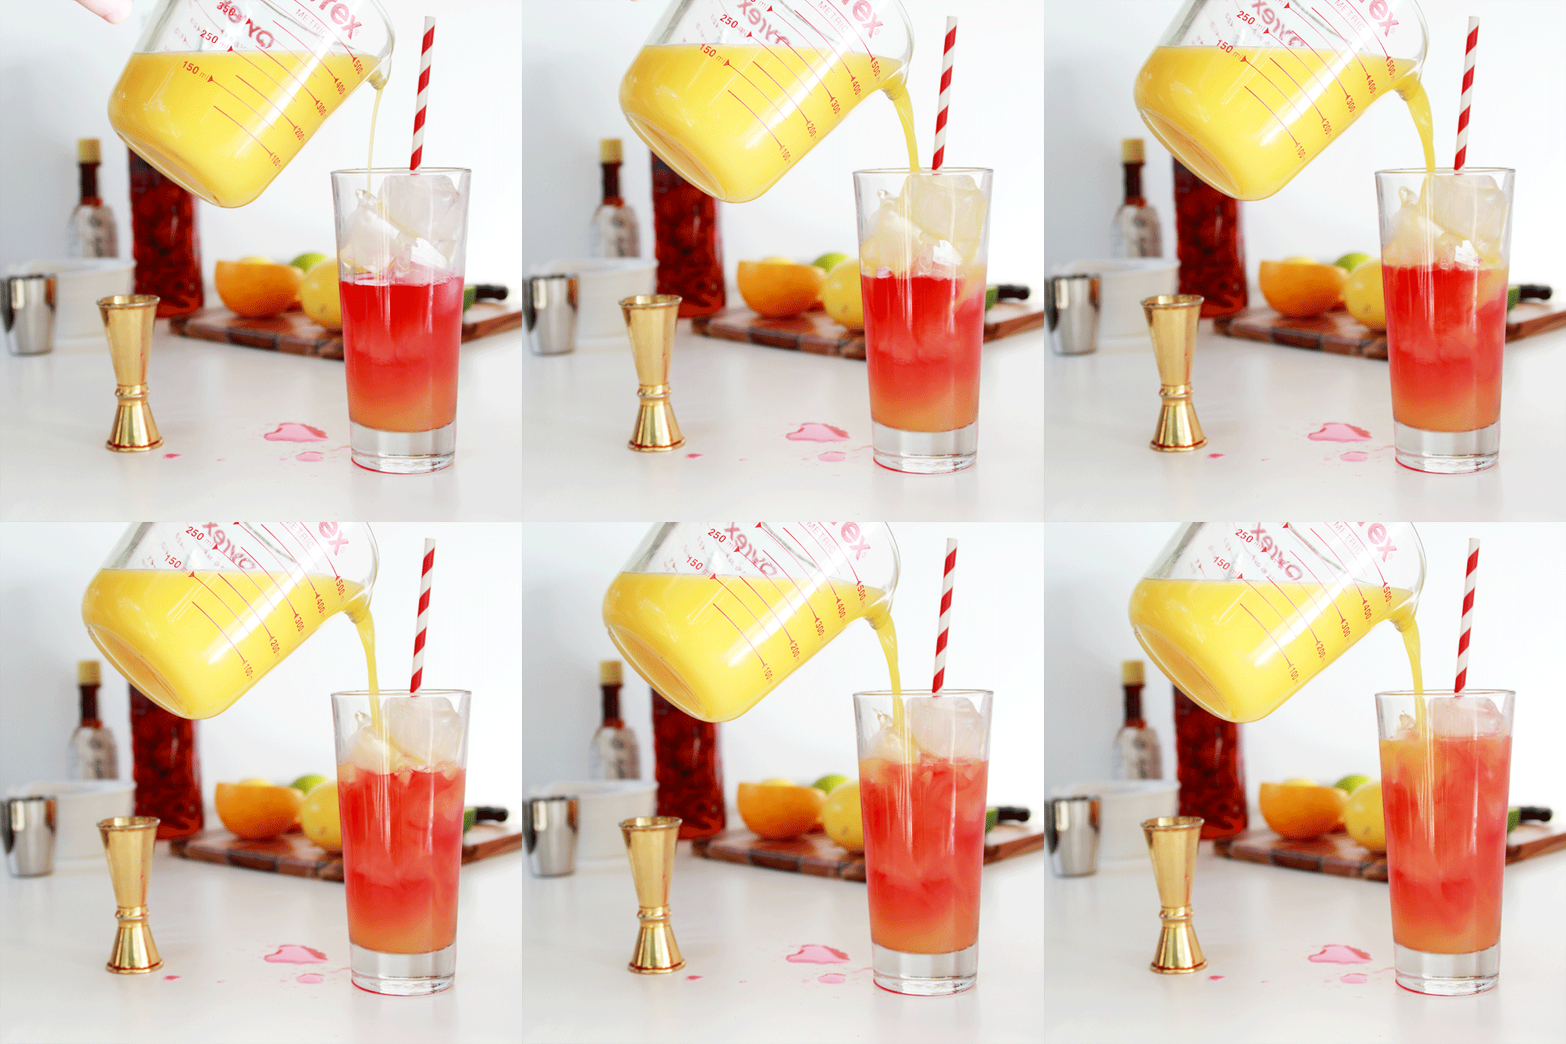
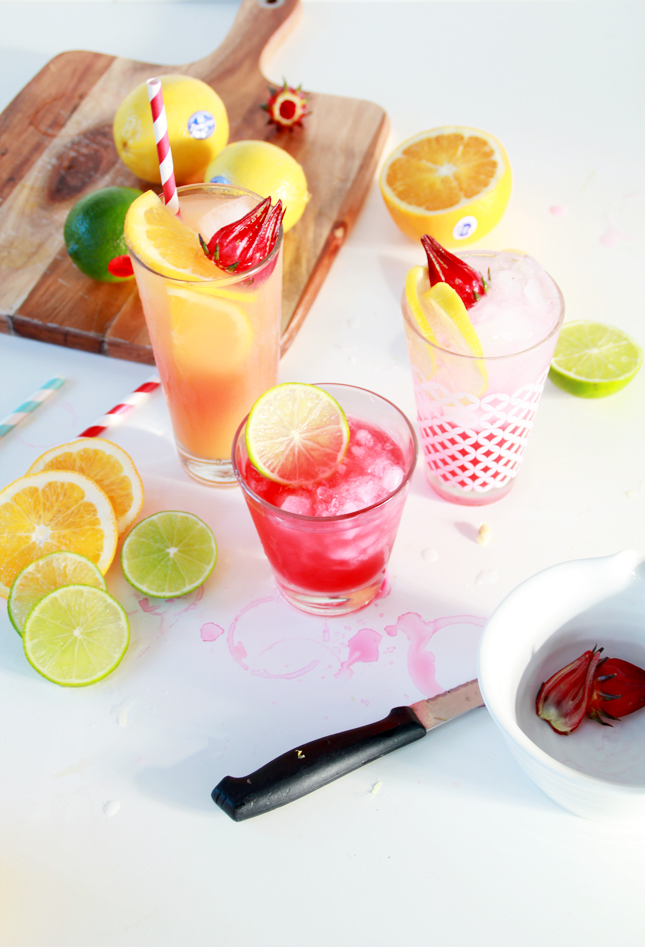
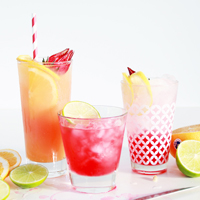
First up an easy fruit cocktail: The Rosella Screwdriver! Perfect for you Rosella First-Timers, mixed with orange juice, it’s not too strong as the juice softens out the rosella flavour. As an added bonus; check out how pretty it looks as the colours mix together!!

___________________________________________________________________________________

INGREDIENTS:
40ml of Rosella Vodka
Orange Juice
Slices of orange/lemon
METHOD:
1. Pour the vodka into a tall glass filled with ice.
2. Top up with orange juice and garnish with slices of orange/lemon and a seeded rosella.

YUM! Rosella Screwdriver Cocktail -  See the full recipe at www.highwallsblog.comYUM! Rosella Screwdriver Cocktail -  See the full recipe at www.highwallsblog.com

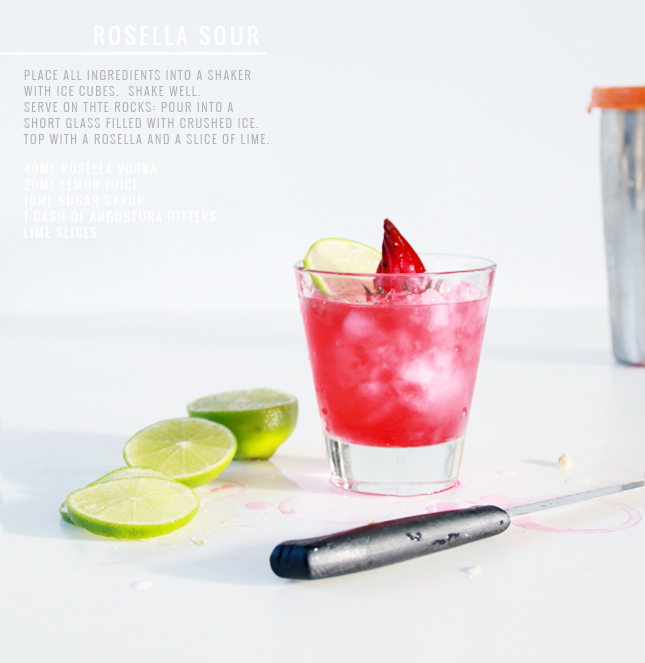
Next up, my personal favourite: The Rosella Sour! Served on the rocks, this baby is almost too easy too drink, if you know what I mean! I had a few too many of these for ‘testing’ purposes….

___________________________________________________________________________________

INGREDIENTS:
40ml Rosella Vodka
20ml lemon juice
10ml sugar syrup
1 dash of Angostura Bitters
Lime Slices
METHOD:
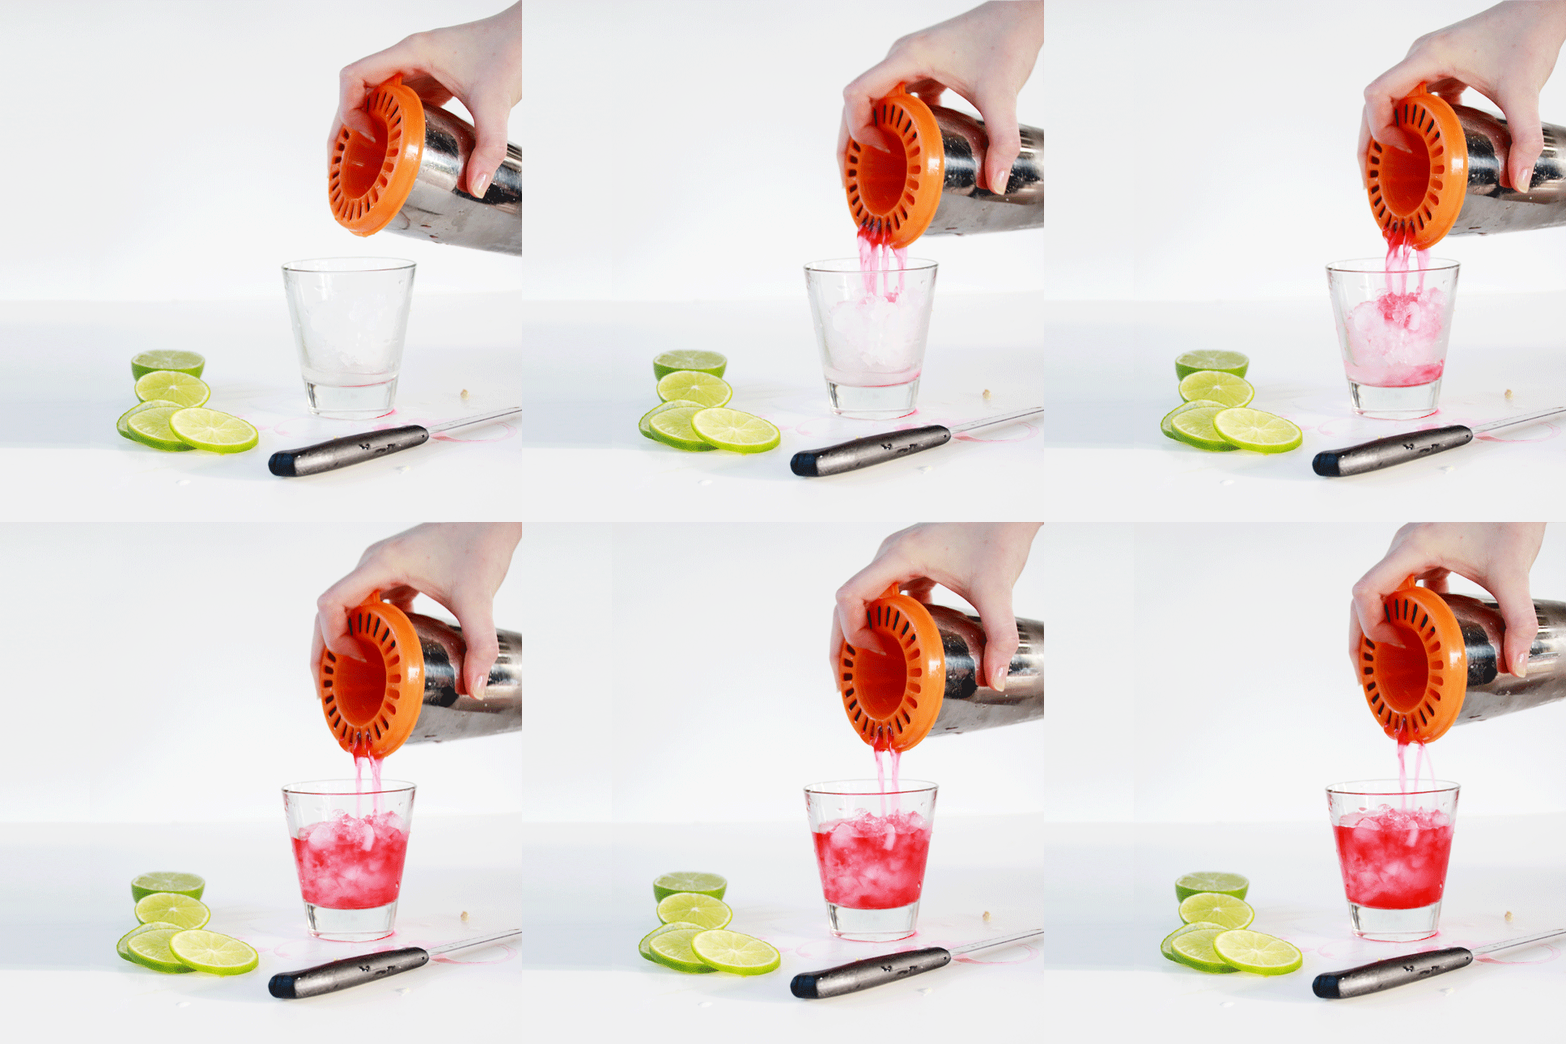
1. Place all ingredients into a shaker with ice cubes.  Shake well.
2. Serve on the rocks: Pour into a short glass filled with crushed ice.  Top with a rosella and a slice of lime.

YUM! Rosella Sour Cocktail -  See the full recipe at www.highwallsblog.comYUM! Rosella Sour Cocktail -  See the full recipe at www.highwallsblog.com

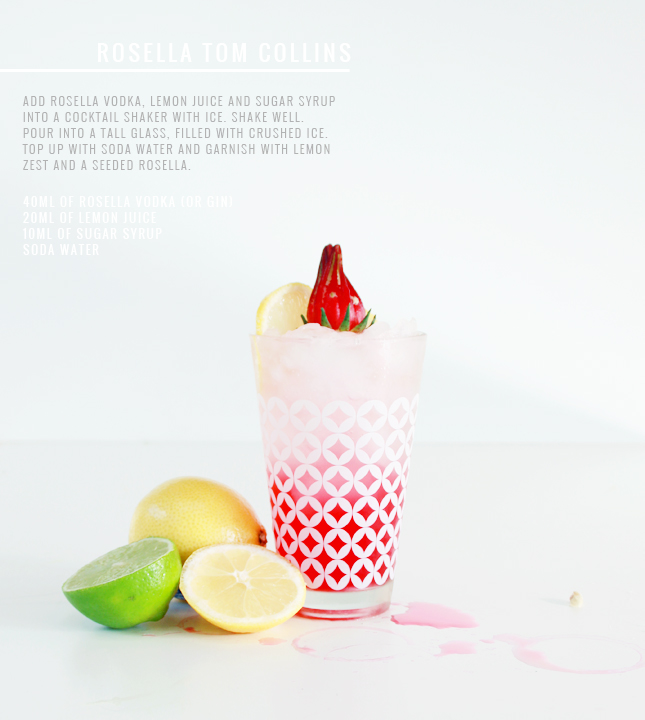
Last but not least, this cocktail was for the boys who are all about the classic: Tom Collins (with a twist!) Now your usual Tom Collins is made with Gin, so of course you can infuse your own to make these bad boys. However, a Tom Collins is just as good with Vodka, so seeing as we already had a big bottle on the go, we pressed on…

___________________________________________________________________________________

INGREDIENTS:
40ml of Rosella Vodka (or Gin)
20ml of Lemon Juice
10ml of Sugar Syrup
Soda Water
METHOD:
1. Add 40ml of Rosella Vodka, 20ml of Lemon Juice and 10ml of sugar syrup into a cocktail shaker with ice. Shake well.
2. Pour into a tall glass, filled with crushed ice.
3. Top up with soda water and garnish with lemon zest and a seeded rosella.

YUM! RosellaTom Collins Cocktail -  See the full recipe at www.highwallsblog.com

And there you have it! So easy to make and you won’t see these cocktails on a bar menu! All your friends will be super impressed with your exotic new mixes at your next dinner party. Don’t worry, we’ll let you take all the credit! Enjoy!
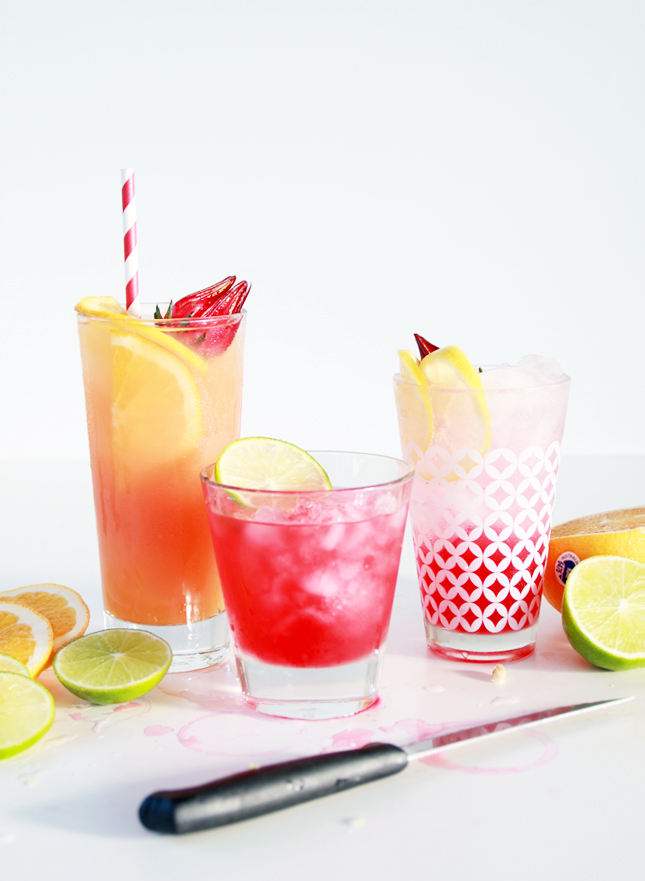
3 Rosella & Vodka Cocktails -  See the full recipes at www.highwallsblog.com  3 Rosella & Vodka Cocktails -  See the full recipes at www.highwallsblog.com

thumb-ipad-case

DIY | No Sew iPad Case

Make your own Padded iPad Case without sewing a stitch! (www.highwallsblog.com)

Every time I purchase a new piece of technology I make a solemn vow: this time will be different! This time I will  take extra good care of it. I will always put it away when I’m finished, I will keep the screen super clean and I will never throw it into my bag where it can get scratched up. But, just like new years resolutions, a few weeks pass and I’ve already broken every single one of my promises. Dammit! My iPad lasted the longest but lately I’ve started slacking off. Leaving it around the place, letting my cat walk over it and generally letting it get a little scuffed up. I realised my main problem is the poor thing doesn’t have anywhere to live! My problem had a clear solution - if I make a cozy case for my iPad to live it, I will obviously never treat it poorly again! Okay, this is probably not going to solve my problem forevere - but Shhh! Let me have this one!

For this project we’re using fabric / hemming tape instead of using a sewing machine. Fabric tape is a fine mesh substance that adhere to fabric when heated with an iron. It’s great for these kind of simple projects, as it is very forgiving - if you make a mistake you can reheat the seams and pull them apart and start again. It’s not as strong as using a sewing machine, but if, like me, are saving your pennies to buy yourself a machine, its an awesome alternative!

READ MORE

Sunday Sessions: 25.05.14

Sunday Sessions: A weekly round up of awesome links from around the web | www.highwallsblog.com

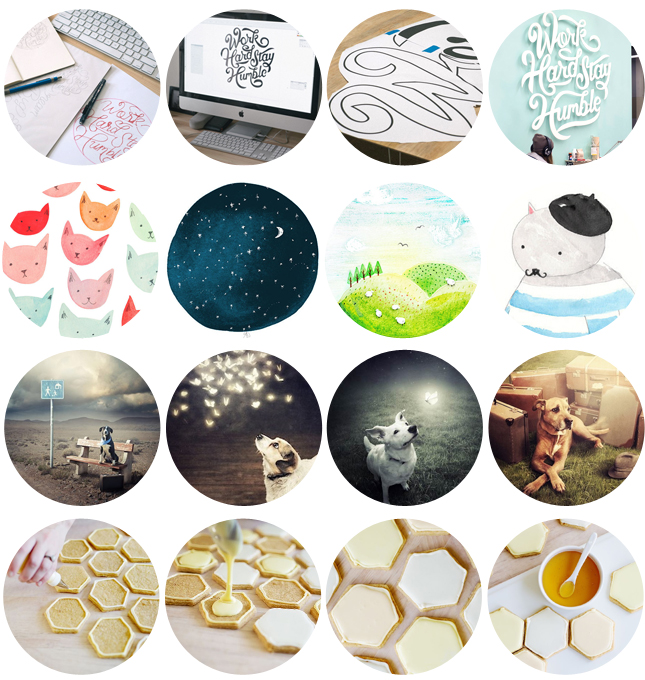
- Designer Clarke Harris created this amazing wall art ‘Work Hard Stay Humble‘  - starting with sketches, all the way through to the finished product. I love it! Check out his website to see some more of his amazing work!

- I came across the work of  Melbourne artist and illustrator Amy Borrell on Etsy and it was love at first sight!

- Artist Sarolta Ban has started a heartwarming project called Help Dogs with Images, wherein she asks her Facebook followers to submit a photo of a dog or cat that needs to be adopted and she creates one of these beautiful and surreal images to garner more attention for the animal. Whoever adopts the animal will also receive a print of the image and fans fan even buy prints with the proceeds going to the hosting shelter.

- I can’t stop looking at these honeycomb sugar cookies from A Beautiful Mess. The pastel colours have me all giddy… I need a hexagon cookie cutter - STAT!

SHOP | Ban.do

Checking out the brand Ban.do @ www.highwallsblog.com

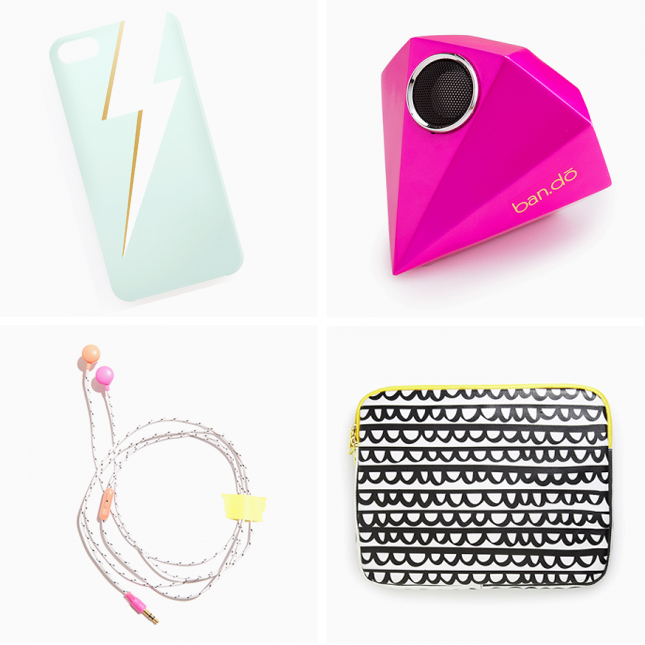
It is almost impossible for any regular readers of style blogs to not be aware of Ban.do‘s wonderful products. I’ve long been a fan of their sequinned heart hair clips and glittery headbands, but I recently was alerted their new range of super fun every day products. Patterned cups, colourful carry cases, even giant pink diamond speakers (and who doesn’t need one of those!) Ban.do is a candy coloured wonderland and I totally love it!

Checking out the brand Ban.do @ www.highwallsblog.com

phone cover | gem speaker | headphones | ipad case

thumb-frozen-yogurt

Eat | Homemade Frozen Yoghurt

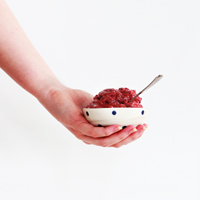
 5 Minute Frozen Yogurt  with only 4 ingredients! (via www.highwallsblog.com)

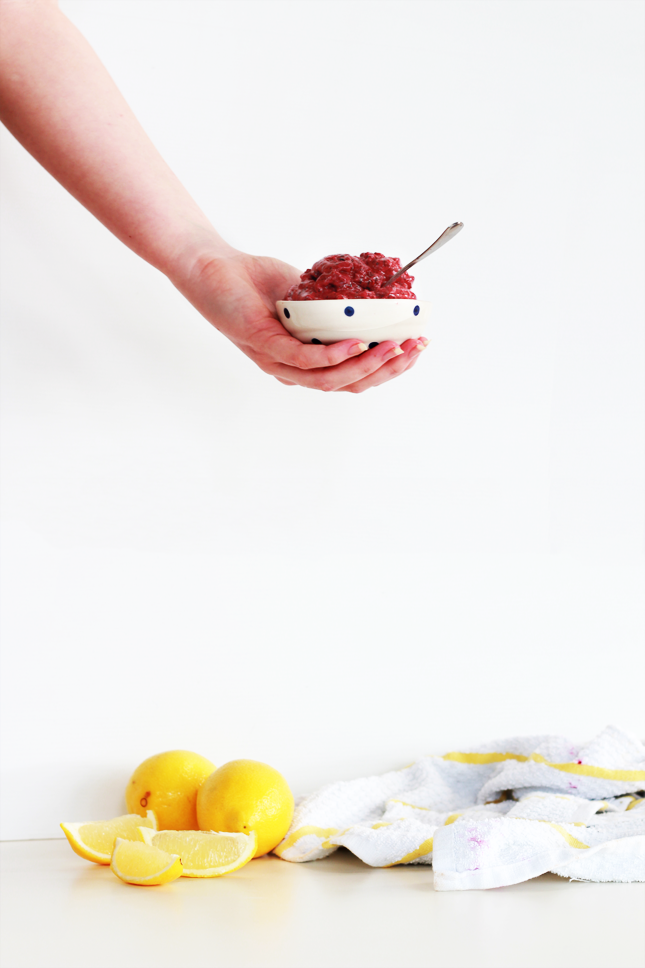
Frozen Yoghurt, or ‘Fro-Yo’ as the kids are calling it these days seems to have been the ‘new craze’ for the last couple of years. People have been singing the praises of frozen yoghurt so long that its starting to gain an almost fanatical following. I’m convinced that there is some kind of secret frozen yoghurt cult, whose members are slowly attempting world domination with this sweet treat.

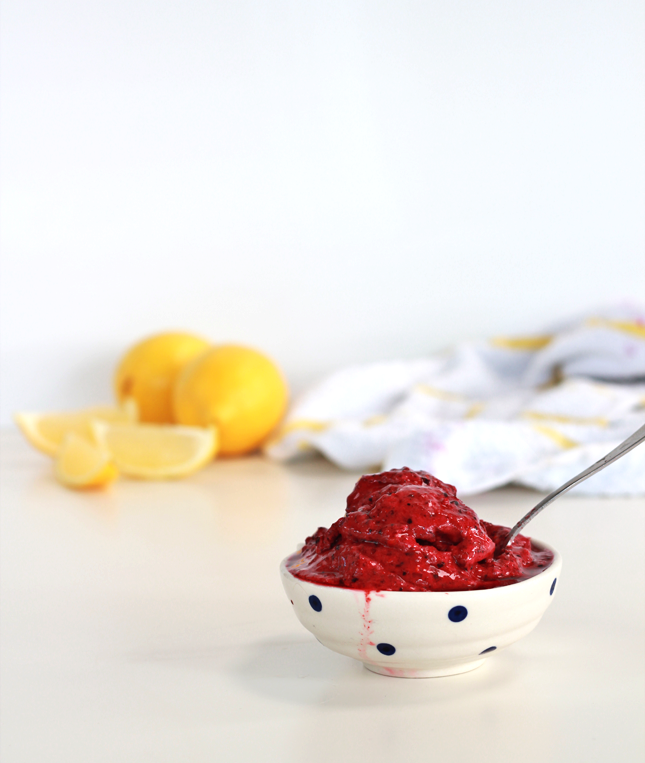
While touted under the banner of a ‘fat free’ dessert, we all know the truth of the matter: frozen yoghurt is only masquerading as a healthier alternative to ice cream. Sure it is fractionally better for you, but generally, any store bought frozen yoghurt is going to have just as much sugar in it as its decadent dairy cousin. (And don’t even get me started on adding candy toppings! ) Until now. I have for you today, the easiest and healthiest homemade frozen yoghurt recipe ever. When your recipe is 90% fruit, you know it’s gonna be healthy.

Of course, given my obsession with berry flavours, I was always going to make my fro-yo with said ingredient, but you can really make this recipe with most fruits! Banana, peach, plum, whatever floats your boat. Chop them up and freeze them ahead of time or be lazy like me, and buy the store bought frozen stuff. Never let it be said that any of my recipes or craft projects actually require any real effort ;)

 5 Minute Frozen Yogurt  with only 4 ingredients! (via www.highwallsblog.com)

Homemade Frozen Yoghurt

Ingredients

  • 4 cups of Frozen Mixed Berries
  • 1/2 cup of natural plain yoghurt
  • 3 tablespoons of honey
  • 1 tablespoon of lemon juice

Instructions

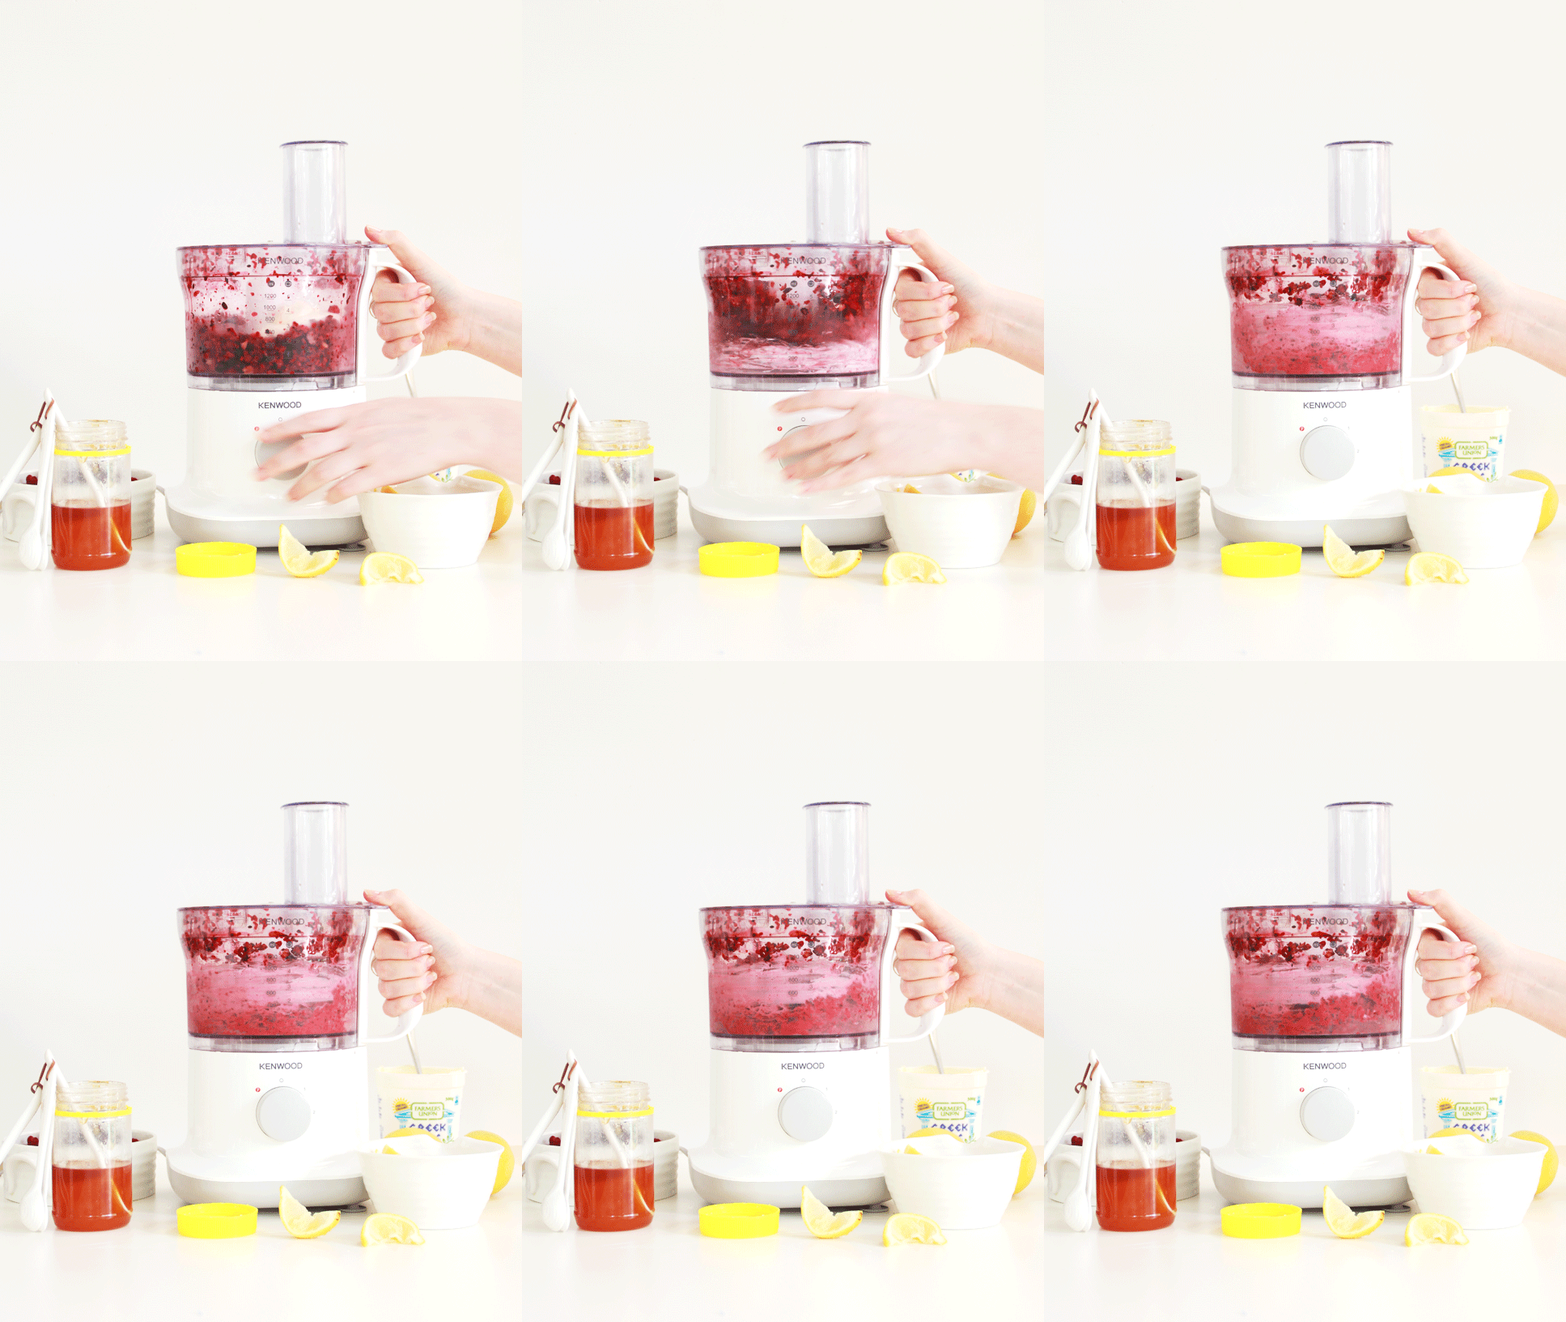
  1. Place the berries, still frozen into your food processor and process for 1 minute to get the berries broken down a bit.
  2. Add in 1/2 cup of natural yoghurt along with 3 tablespoons of honey and 1 tablespoon of freshly squeezed lemon juice.
  3. Process on high until the mixture is smooth and creamy. It is best to stop the mixer ever minute or so and stir the mixture to help the processor along.
  4. Taste your frozen yoghurt; the berries can be quite tart, so if you prefer your frozen yoghurt to be sweeter, you can add in extra honey to taste.
  5. When you are happy with the flavour, grab a spoon and dig in!

Notes

While it is better freshly made, the frozen yoghurt will keep in the freezer for a couple of weeks. If you find that it is getting too solid/icy during storage, just let it soften slightly and then add back to your food processor to get it back to a smooth consistency

http://www.highwallsblog.com/2014/05/eat-homemade-frozen-yoghurt/

5 Minute Frozen Yogurt  with only 4 ingredients! (via www.highwallsblog.com)

Oh Etsy: Red, White & Blue

oe-red-w-blue

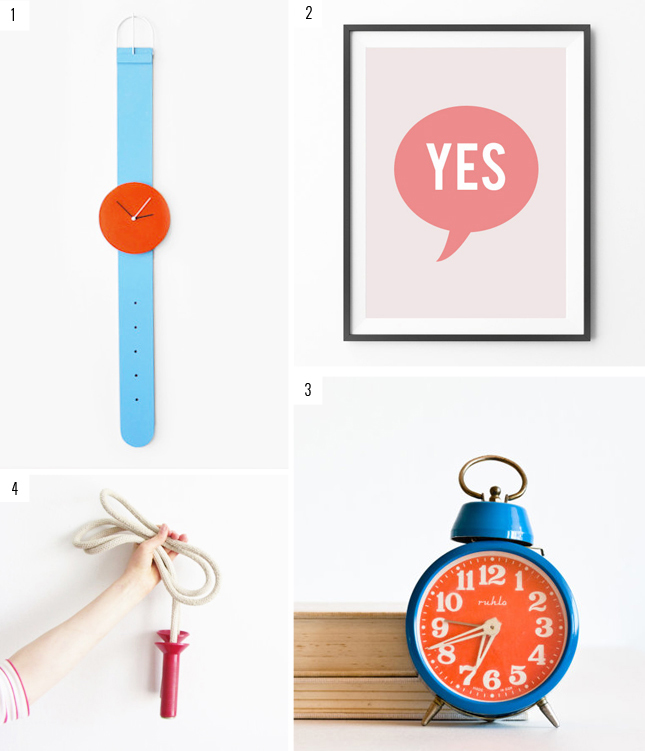
Red, White and Blue. There’s no denying it, these three colours really were made for one another. Whether is be on the flag made famous for these colours (not forgetting that England, Australia and New Zealand all share these colours on our flags as well!), or in every day life; you really can’t beat this perfect trio.

ONE / I probably wouldn’t be able to resist trying to ‘wear’ this oversized watch Wall Clock from Andrew Neyer

TWO / A simple Downloadable Print from The Midnight Shop to keep you motivated every day!
THREE / I almost wouldn’t mind being woken up by this pretty little Alarm Clock from Things That Were

FOUR / The little kid inside of me totally wants this Vintage Jump Rope from DOTTO

Oh Etsy | 15.05.14

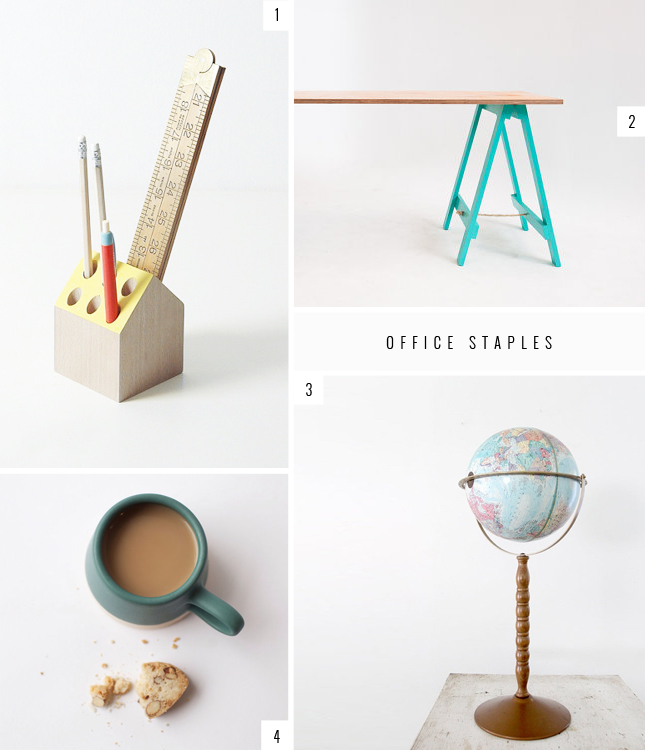
Find ways to liven up your work space with these office staples from Etsy (via www.highwallsblog.com)

I’ve been temping around the city the last couple of weeks, working for a few days at a time in a whole range of different offices. The one thing I’ve noticed is the huge lack of originality in said offices. It’s got me rethinking my own home office. When you spend so much time in one place you want it to be inspiring! Even paperwork deserves a stylish home, so here are a few office staples that I think could liven up some of these boring office spaces…
1 / Pens are an office essential, so if you’re going to have a pen holder how could you go by this adorable Beechwood pencil holder from Chocolate Creative?

2 / Normal desks are boring. This turquoise Tressel Table/Desk by Seven Hands High is super stylin!

3 / Every good office (and desk) needs a Vintage Globe to add that little bit of interest and class (via 86Home)

4 / Paper & Clay  have your early morning coffee fix covered with this gorgeous hand crafted Coffee Mug. Definitely a office staple.

thumb-oil-lamo

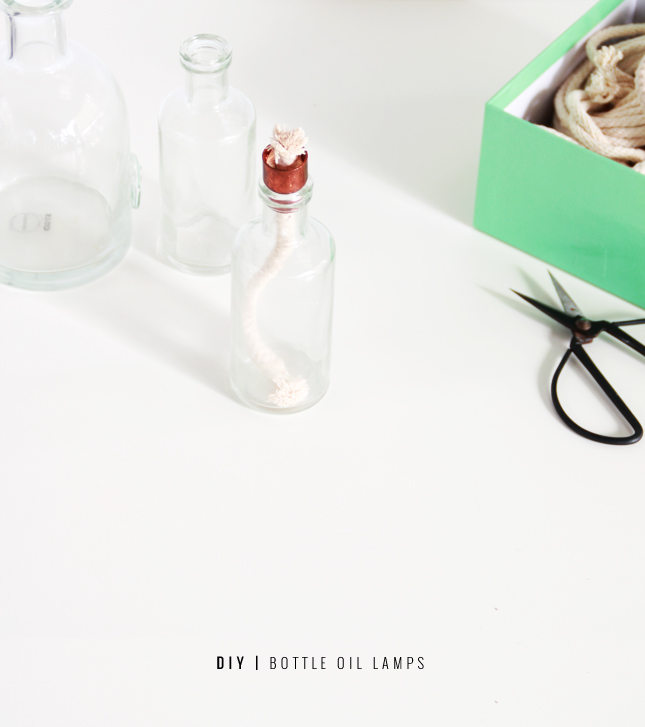
DIY | Bottle Oil Lamps

Make your own oil lantern from any glass bottle | Full steps at www.highwallsblog.com

Hi. My name is Dani, and I’m addicted to collecting bottles and jars. Phew! It feels good to get that off my chest!

I can’t recall when my obsession began, but what I do know is that I now have way too many glass vessels that I never use. My collection has started to get a little out of control as of late, to the point where I am running out of places to keep them all. Faced with the choice between culling some of the jars and bottles or finding ways to re-purpose them; I think we all know what I chose. Re-purposing all the way! It’s good for the environment and totally why I’m doing this, not because I couldn’t bare to part with any of my precious bottles…. Anyway, lets make Bottle Oil Lamps!

One of the great things about making your own oil lamps is that, not only can you make them from items from around your home, they are super useful for outdoor parties, keeping away those pesky mosquito or just for looking damn pretty. Depending on what oil you use you can use them indoors or outdoors. Citronella oil will keep the bugs away, you can buy kerosene based oil from your local hardware store or, like me, you can use good old olive oil. It burns cleanly (meaning not too much smoke) and I found it kind of smells like popcorn. Yum!

Make your own oil lantern from any glass bottle | Full steps at www.highwallsblog.comMake your own oil lantern from any glass bottle | Full steps at www.highwallsblog.com

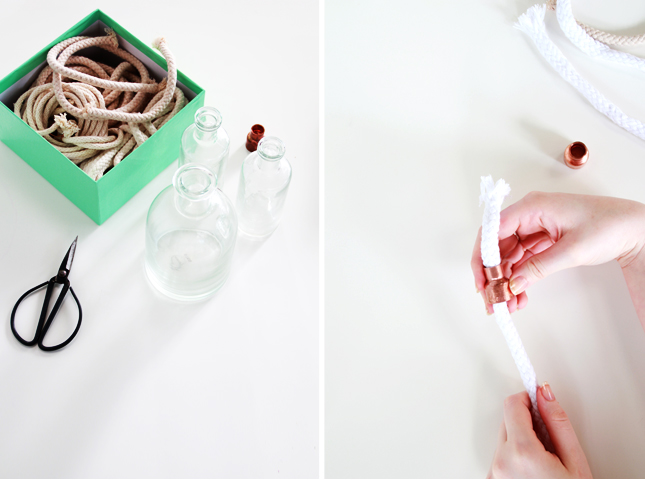
You Need:

A glass bottle or Jar
Copper Capillary Coupling (15mm)
Cotton Rope/Lantern Wicks
Oil of your choice

What You Do:

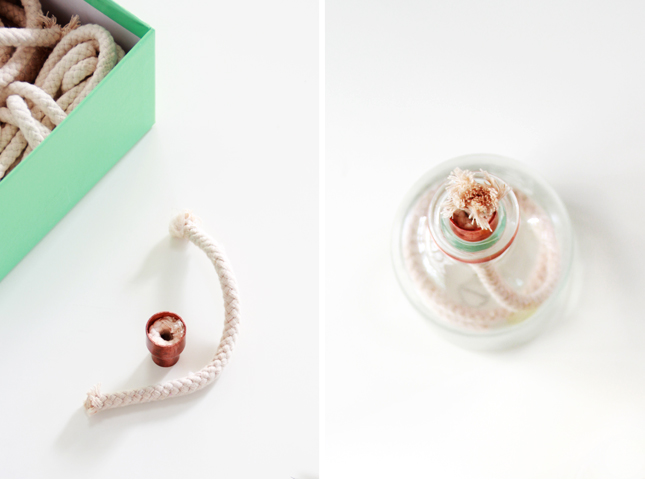
1. Cut a length of rope (or lantern wick) at least as tall as the bottle plus 1 inch. For a longer lasting lantern cut the rope double the length of the bottle. Ideally you want to use a rope thickness similar to that of your copper coupling (ie: 15mm for this project) however don’t worry if you have thinner rope, we can fix that later.

2. Thread the rope through the copper coupling. You can pick up a copper or brass coupling from your local hardware store for less than a dollar. Choose a size appropriate for your bottle, but the thinner part of the coupling should fit inside the bottle opening with the thicker part sitting on top. I found a 15mm diameter fits most bottles (ie: wine, beer, small decorative bottles etc). Thread the rope so that you have a couple of cm out the thicker end and the rest of the rope out the thinner side.

3. If you are worried about your rope slipping through the coupling and into the bottle, cut a piece of thin rope around 2 -3 cm long. Wrap it around to form a circle and press into the top (thicker side) of the coupling around your rope wick. This can be fiddly, so trim the piece accordingly so that the wick is snug but you can still pull it through.

4. Fill your bottle 3/4 with oil and thread your wick into the oil and your done! You will need to let the wick soak overnight  before you can light it. If you are using rope rather than purpose made wicks it may take longer as the store bought wicks are woven loosely compared to rope. The top of the wick should be slightly damp to the touch when it is ready to be lit.

Make your own oil lantern from any glass bottle | Full steps at www.highwallsblog.com________________________________________________________________________________

TIPS & SAFETY:

Always be aware of your surroundings when lighting your lanterns. Remember your dealing with an open flame, you don’t want to catch your house on fire!

When choosing what oil you want to use read any safety warnings on the bottle prior to using.  Olive oil is pretty safe to keep around  as it’s flash point is so high that it is less likely to catch fire and it doesn’t smoke like other fuels usually do. Plus olive oil is pretty easy to get a hold of and isn’t too expensive.