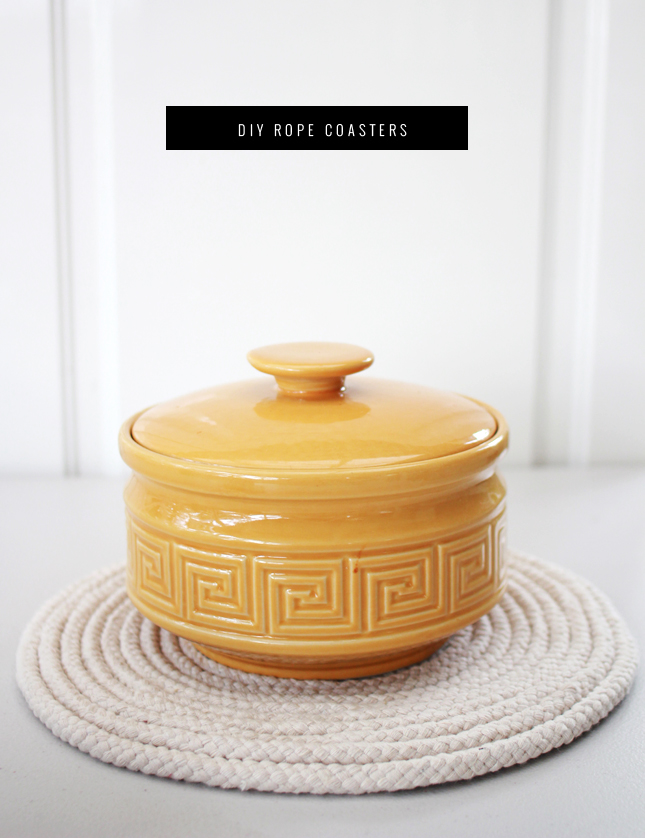
As you would have seen in my previous DIY posts; I am the queen of quick and easy projects. I don’t have the attention span (nor the patience) for anything that is going to take hours or days to make. I’m just not that committed I guess? So when I tell you that this project took me around 3 - 4 hours to complete, don’t freak out! While this project doesn’t fit the ‘quick’ part of my DIY-ing criteria, it certainly holds up its end of the bargain on the ‘easy’ side of things.
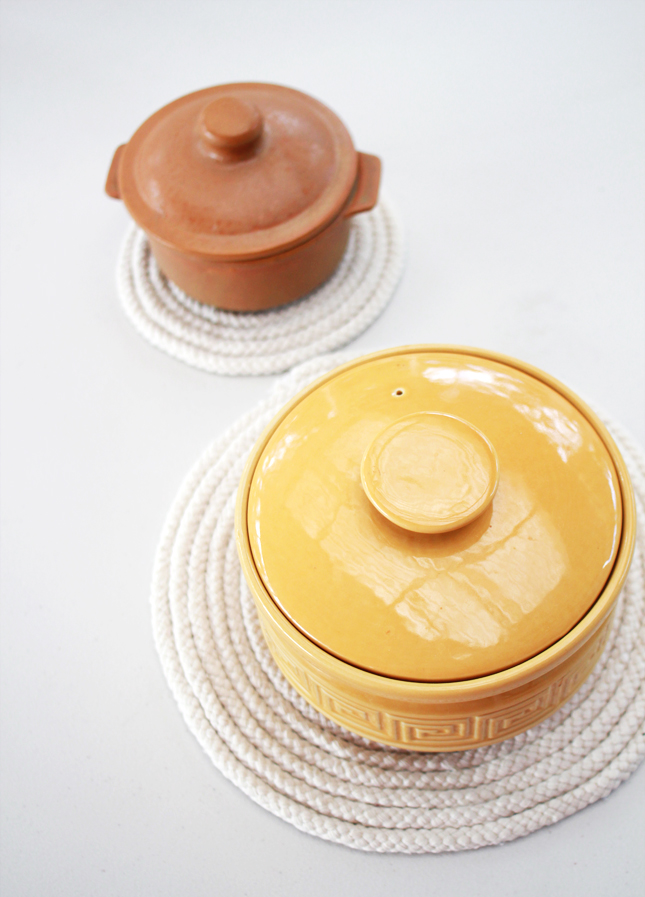
It may take a while, but I found it to be quite therapeutic. I stitched away a rainy Sunday afternoon watching a marathon of old Will & Grace episodes and I gotta say I’m pretty happy with what I have to show for it! I spotted a similar set of ‘nautical’ rope coasters in one of those boutique home ware stores (my original inspiration for this project) but at around $80 for a set of 2 I’m much happier with my home made version!
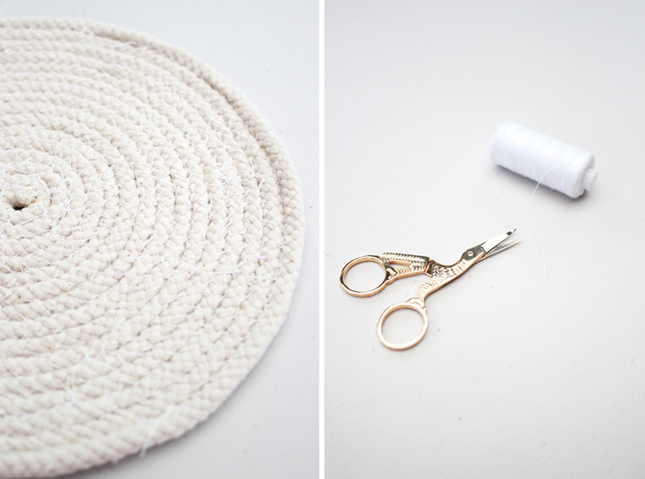
All you really need is a length of decent quality cotton rope, some white (or similarly coloured thread) and the ability to do some basic stitching. Remember to get cotton thread. We’re making those large coasters used for protecting your table tops from hot pots and serving dishes, so if you get synthetic or plastic based ropes you’re going to end up with a big melted mess as soon as you put any heat onto it. Yuck! I picked up 1o meters of good quality 15mm rope from my local hardware store for around $15, which made a large (45cm) and small (20cm) coaster.
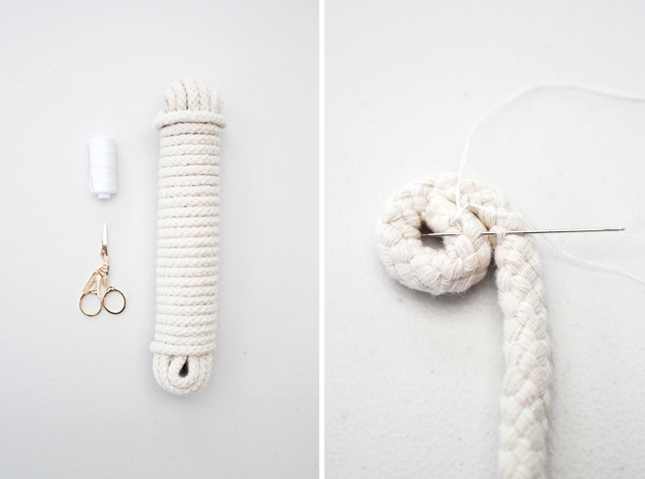
What You Need:
8 - 10 meters of Rope
Light coloured Thread
Needle
Scissors
What You Do:
Ensure there are no kinks or twists in your rope and neatly pool it on your workspace. You want to be able to access it easily as you progress. Your work space should be a large flat area (ie; a table or desk) and should be somewhere you can sit comfortably while you work. How big you want your coaster will determine how much rope you need and how long it will take. I used around 8 meters of (15mm dia) rope to make a coaster around 45 centimeters across. The thickness of your rope will also impact your sizing so test out your design before you start sewing by coiling the rope until you have the desired size and measure the length.
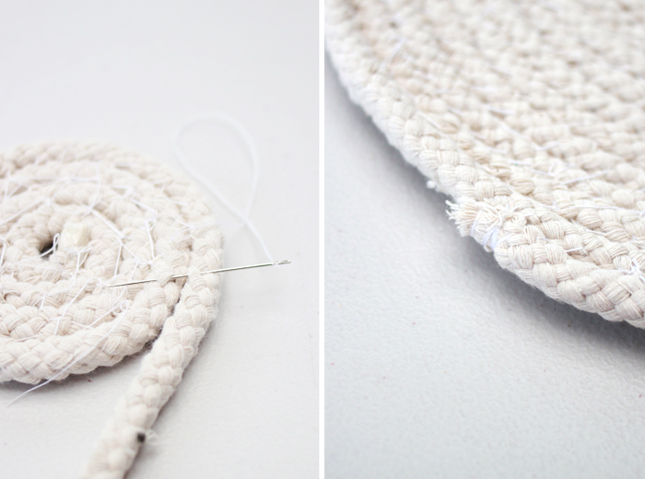
Begin by taking one end of the rope, lay it flat on your work space and twist it in on itself to make a circle. Stitch the end to the side of the rope and knot securely. Continue to coil the rope around the circle, a few centimeters at a time, stitching as you go. Stitch the together by threading the needle under a layer of the rope braid on each side and pull tight. Keep your rope flat on your work space so that your coaster will lay flat once completed.
To ensure that the stitching is secure and to avoid tangling long pieces of thread, stitch in sections, tying off each area as you come to the end of your thread. Don’t worry if your stitching isn’t super pretty as this will be the underside of the coaster. Continue to stitch the rope around itself until you have reached your desired size. Tie off the end by wrapping the thread tightly around the end of the rope 10 -15 times and stitching securely so that it is flush with the rest of the coil. Wrapping the thread around the end will help to stop the end from fraying and coming loose.
The larger your coaster gets the more it may start to curl inwards as you stitch, Don’t be concerned, just keep smoothing it down and make sure it stays flat as you stitch. When you flip it over to use it will curl towards the tabletop, which will actually help it to sit flush in the end.
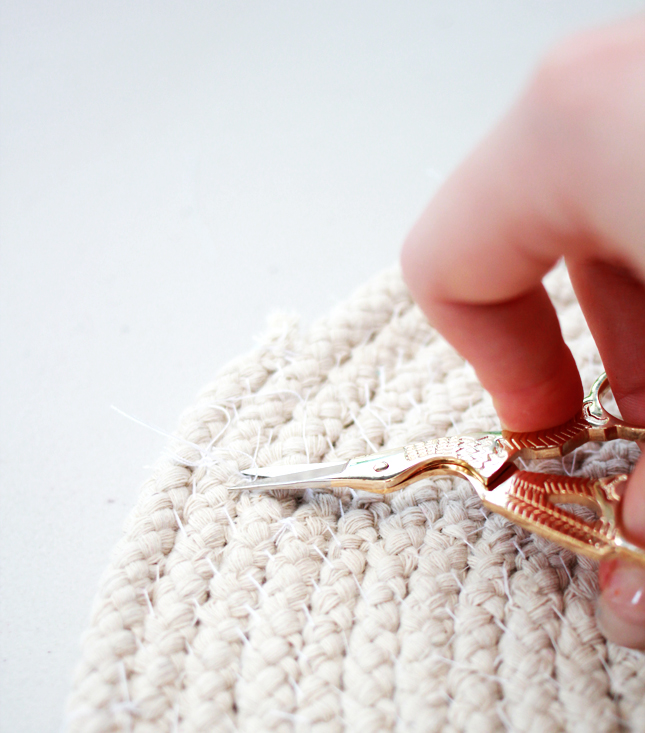
Smooth out the coaster and gently pull at the sides to see any loose areas. If the stitching pulls apart to show large gaps, make a few addition stitches to secure. Once you are happy with the strength of your coaster, take your scissors and trim away any access thread and neaten any frayed edges. Flip over and smooth out and you’re done!


Pingback: Featured! A Beautiful Mess, Selective Potential and more!Ivory Avenue | Ivory Avenue
Pingback: SARAHSMILE.ME