
DIY | Pretty Lightbox Picture Frame
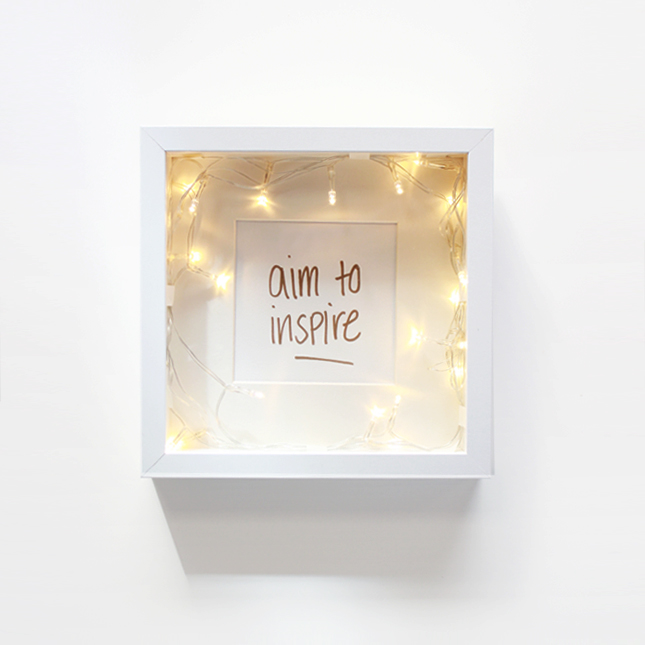
Who doesn’t love fairy lights? No, really. I want to know, so I can find them and convert them to my way of thinking! The teeny, twinkling lights have this uncanny ability to make anything awesome in my eyes. My boyfriend, being the clever boy he is, bought me a few sets of battery powered lights for my birthday and I have been brainstorming all of the ways to use them.
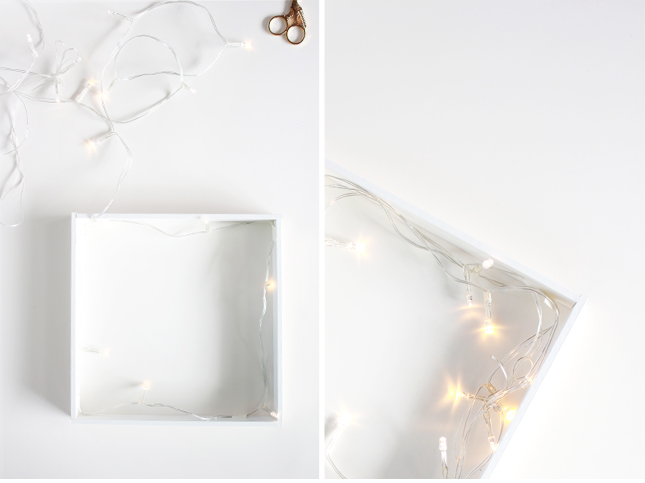
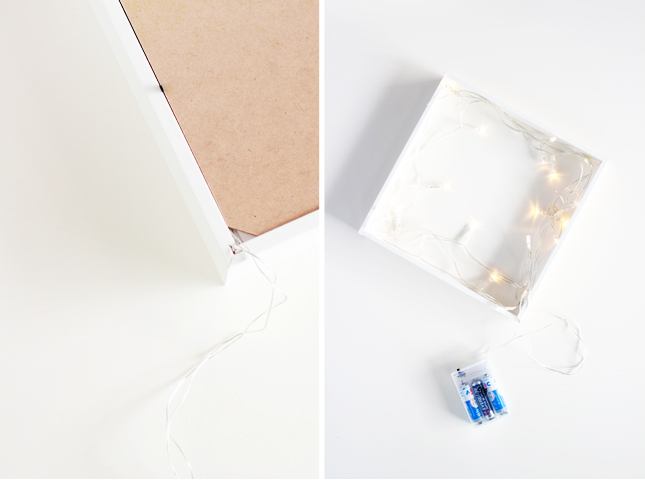
For this project you need battery operated Fairy Lights (you can get these from most dollar stores), an Ikea Box Frame and White Tape. It’s pretty easy to complete; start by separating the frame from the glass and the backing. Start from the end of the lights, run the string around the inside of the frame, securing with tape around the corners. Once you have attached all of the string, go back around, tucking the lights in under the string and securing any loose areas with more tape. Put your frame back together with the glass. One of the backing corners is cut off, so you can thread the battery pack through the gap when you secure the backing. Tuck it behind your frame and turn on your new lit up display! Oh, so pretty!
Kevin | Thou Swell
February 5, 2014 at 1:24 amGorgeous project! Easy and sweet result :)
emma
February 5, 2014 at 2:44 amI am also a lover of fairy lights! They are SO pretty!! I have some hanging on the shelf above my wardrobe :) I love the idea of this picture frame though, great idea!
La liste - Mes blogs DIY USA préférés - Chez Lisette
September 10, 2014 at 1:30 am[…] […]